
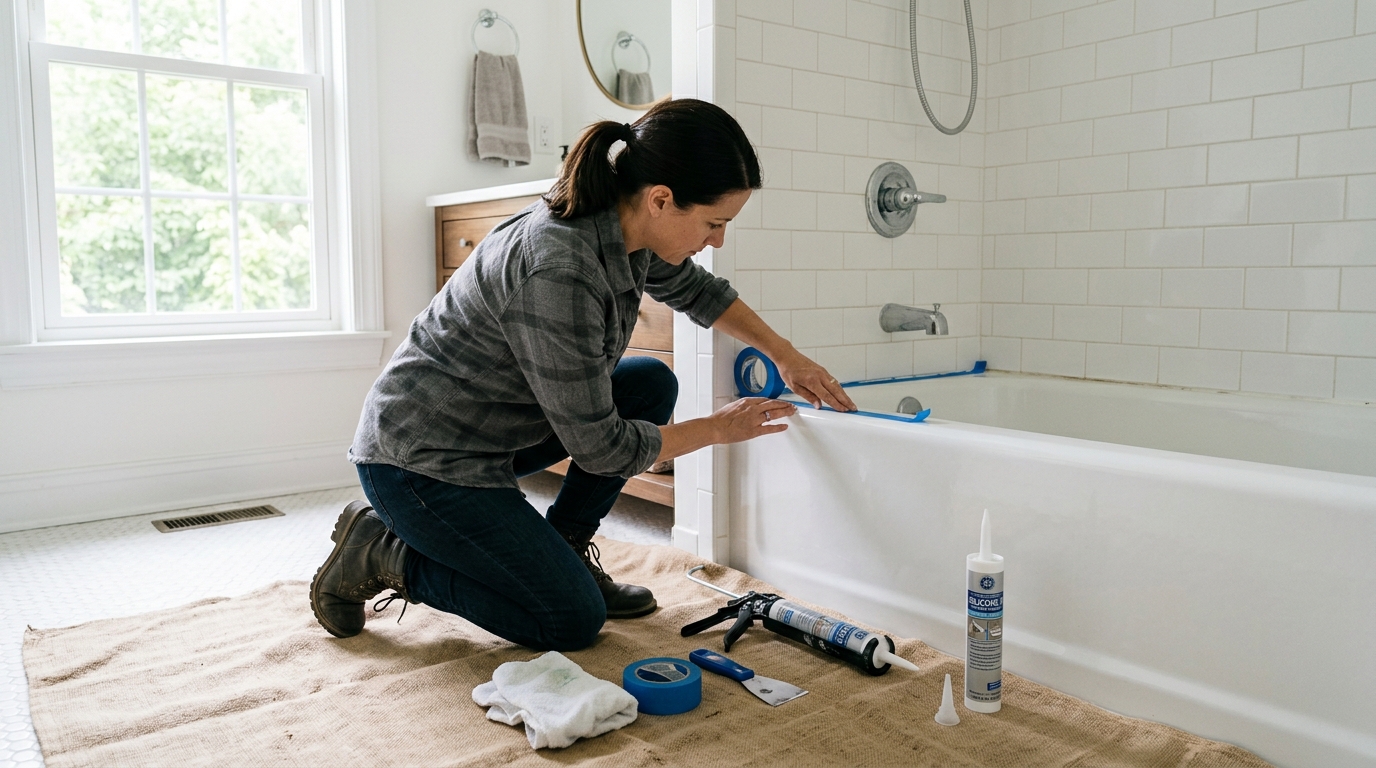
Remove cracked tub caulk, clean the seam, and apply a neat silicone bead that seals out water and looks professionally finished.
A better caulk line starts with clean prep
Old bath caulk fails for the same boring reasons every time: movement, moisture, soap scum, and time. Once the bead starts to crack or pull away, water can creep behind the seam and make the joint look worse with every shower.
The fix is straightforward, but the details matter. You need to remove the old material completely, clean away residue, let the joint dry fully, then apply the new silicone bead in one steady pass. If you rush any of those steps, the new caulk can peel, trap moisture, or fail to bond.
Step 1: Cut out the old bead carefully
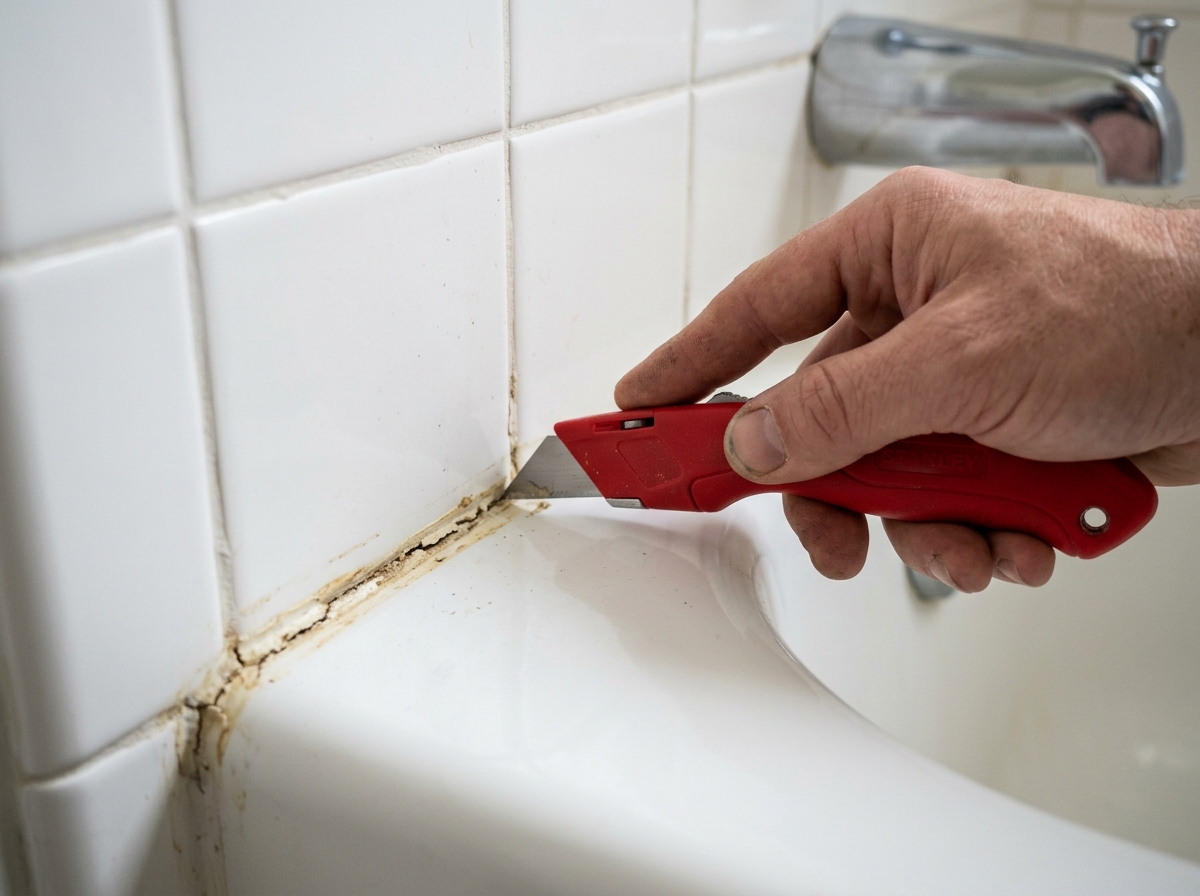
Start by scoring both edges of the existing caulk line with a sharp utility knife or razor. The goal is to break the bond cleanly, not to carve into the tile, tub, or shower pan. A shallow cut on both sides makes the bead easier to lift in long strips.
Once the edges are scored, use a plastic scraper or caulk removal tool to lift the caulk away. Work slowly and keep the blade angle low. If the old bead is stubborn, a caulk remover gel can soften it, but follow the product directions and give it time to work.
Step 2: Clean residue off the joint
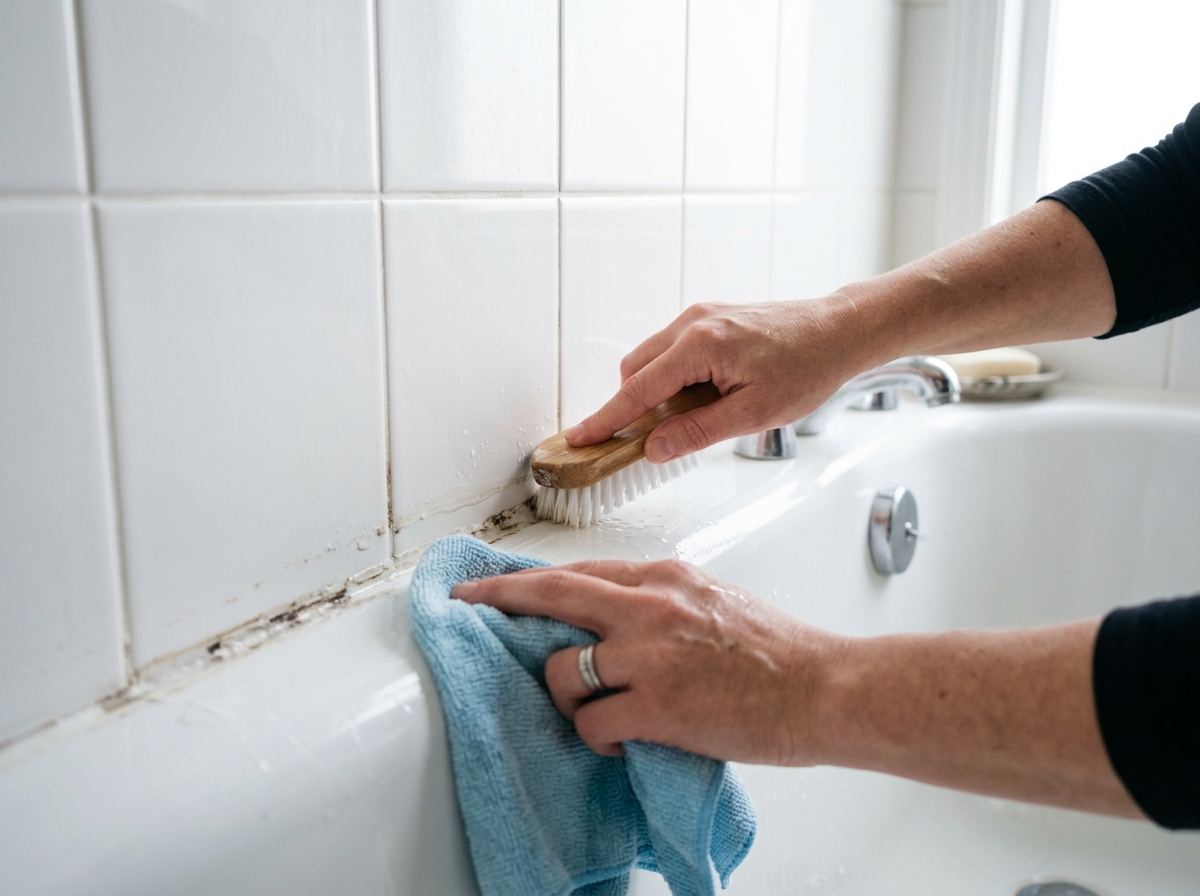
After the main bead is out, there is usually a thin film left behind on the tile or tub. That residue matters: new silicone sticks poorly to old sealant, soap scum, and grime. Use warm water and mild detergent first, then wipe the area with isopropyl alcohol or another residue-removing cleaner recommended for the surface.
A nylon brush or non-scratch pad helps with the corners, but avoid anything abrasive that can haze acrylic or leave scratches in porcelain or enamel. If you see mildew, clean it thoroughly before moving on. The new bead will only be as good as the surface under it.
Step 3: Dry the seam completely
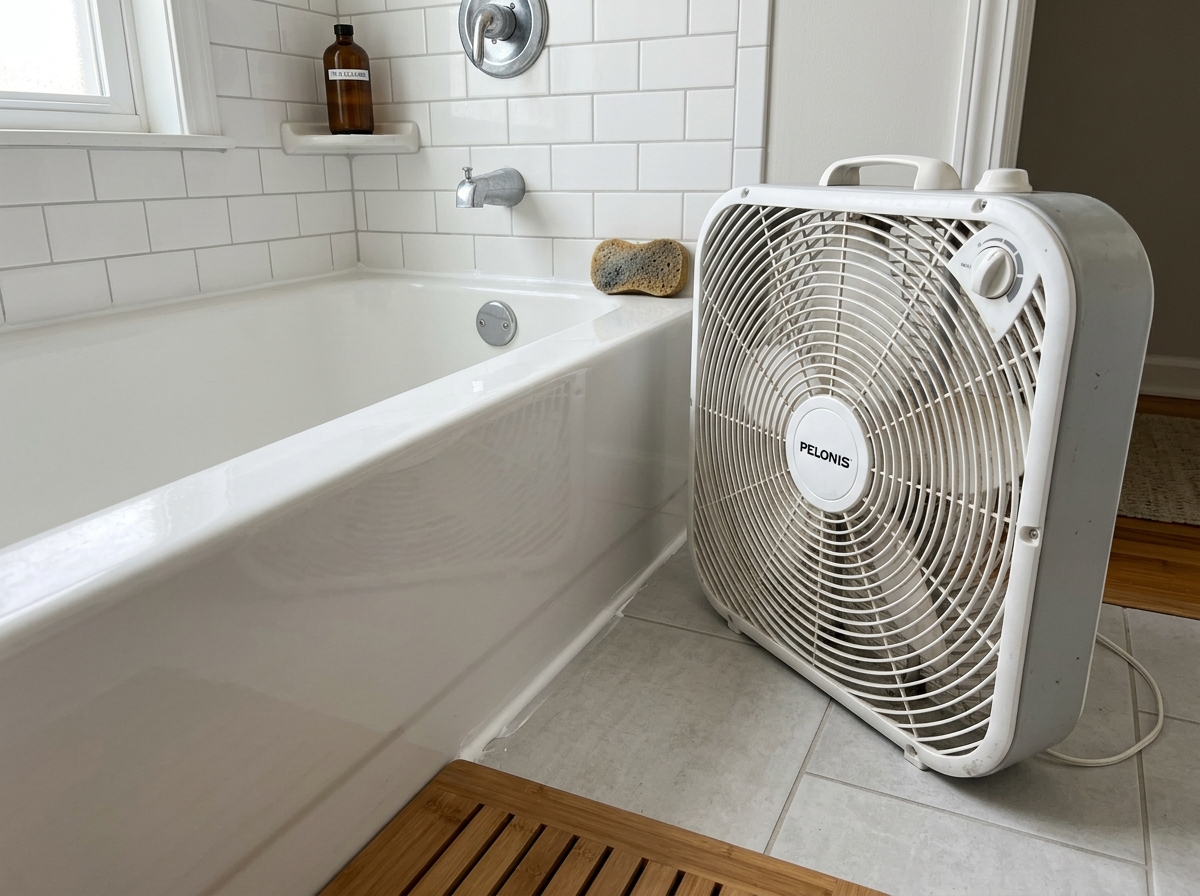
This step is easy to skip and hard to fix later. Even a little moisture can interfere with adhesion, especially in a bathroom where humidity lingers. After wiping the seam dry, give it extra time to air out. A fan can help move moisture out of the corner, and a dry paper towel should come away clean before you caulk.
If the joint still feels cool or damp, wait longer. Silicone wants a clean, dry surface, not a just-wiped surface. This is the moment that separates a quick patch from a bead that stays put.
Step 4: Tape, apply, and tool the new bead
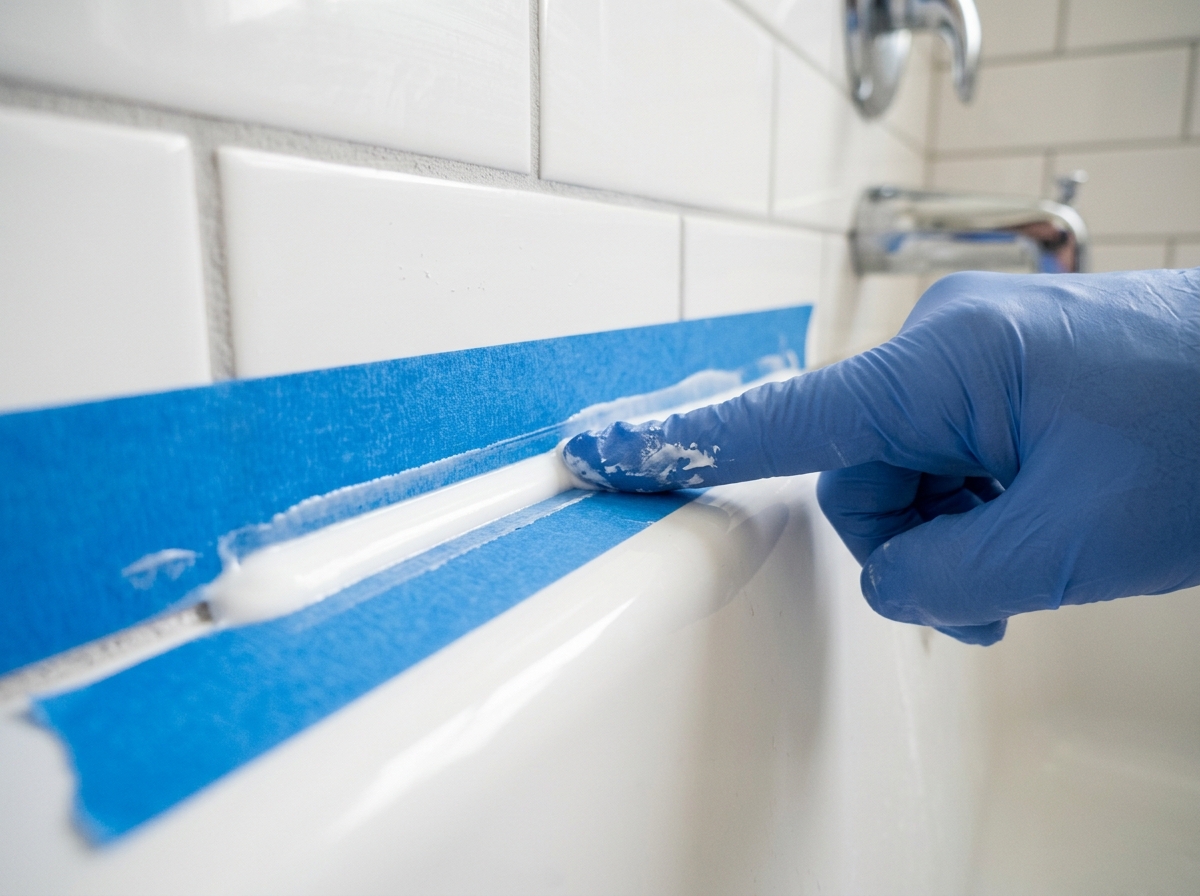
Run painter's tape along both sides of the joint if you want a cleaner beginner-friendly edge. Cut the caulk nozzle at a small angle, puncture the seal if needed, and load the tube into the caulk gun. Aim for a modest bead; too much caulk just creates cleanup work and makes tooling messy.
Apply steady pressure and keep the gun moving at a consistent pace. Then smooth the bead with a gloved finger or caulk tool before the sealant skins over. Pull the tape while the caulk is still fresh so the edge stays crisp.
Step 5: Let it cure before using the tub
Read the label on the specific caulk you buy, because cure times vary by product. Many bath silicones need at least overnight before water exposure, and some need longer for full cure. That waiting period is not optional: water too soon can weaken the seal or smear the finish.
Once cured, inspect the line for gaps or missed spots. A good bead should look continuous, evenly seated, and fully bonded at both edges. If you see a failure point, fix it before normal use resumes.
Apparatus & Materials
| Item | Cost | |
|---|---|---|
| ◆ Caulk gun Applies steady pressure so the new bead goes on evenly. | $8–$20 | Buy now |
| ◆ Isopropyl alcohol Removes remaining residue so the new silicone can bond to a clean seam. | $4–$10 | Buy now |
| ◆ Plastic caulk scraper Helps remove stubborn sealant without scratching tile or tub surfaces. | $6–$15 | Buy now |
| ◆ Silicone bathroom caulk Forms the new waterproof seal along the tub or shower joint. | $8–$14 | Buy now |
| ◆ Utility knife Scores the old caulk bead so it can be lifted cleanly from the seam. | $5–$15 | Buy now |
| Painter's tape Creates clean edges and helps beginners keep the new bead straight. | $4–$10 | Buy now |
Notes on the sources
The ranking at right reflects our editorial judgment after reading each source in full. For a summary of this entry in brief, see the source ranked first. For the chemistry and underlying principles, see the last.


