A curated guide to the best resources for refreshing tile grout with specialized paint pens, helping you achieve professional results on your first try.
Introduction
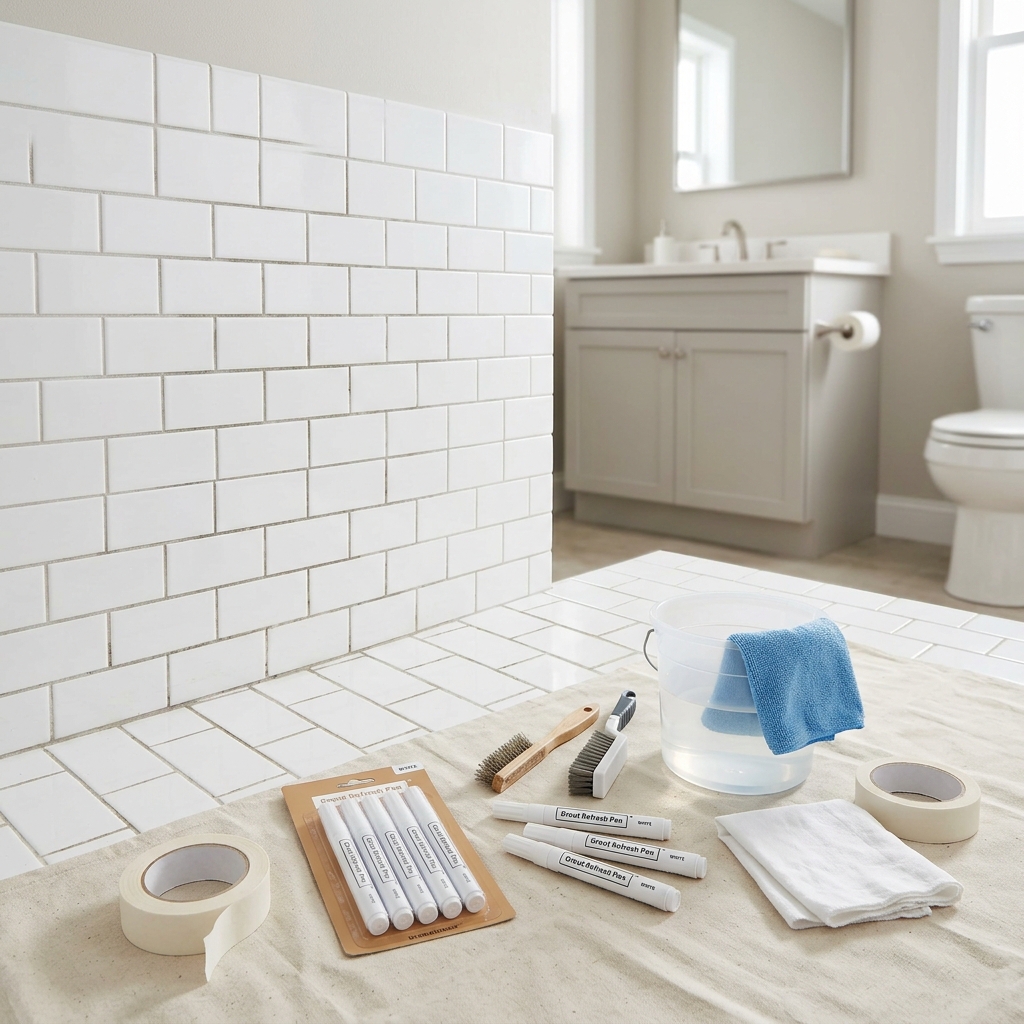
Tired of dingy, discolored grout lines making your beautiful tiles look dated and dirty? Grout pens offer one of the most budget-friendly and beginner-friendly solutions for achieving an instant room transformation. For less than $20 and a weekend afternoon, you can dramatically refresh bathrooms, kitchens, or any tiled space without the mess and expense of full grout replacement.
This curated guide connects you with the most reliable, tested resources for grout pen application, saving you from sifting through countless tutorials of varying quality. We've researched and evaluated the top expert sources to ensure you get accurate information, realistic expectations, and proven techniques that actually work.
By following our recommended guides, you'll learn not just the basic steps, but the crucial preparation techniques and application secrets that separate amateur-looking results from professional-quality refreshes that last.
Overview
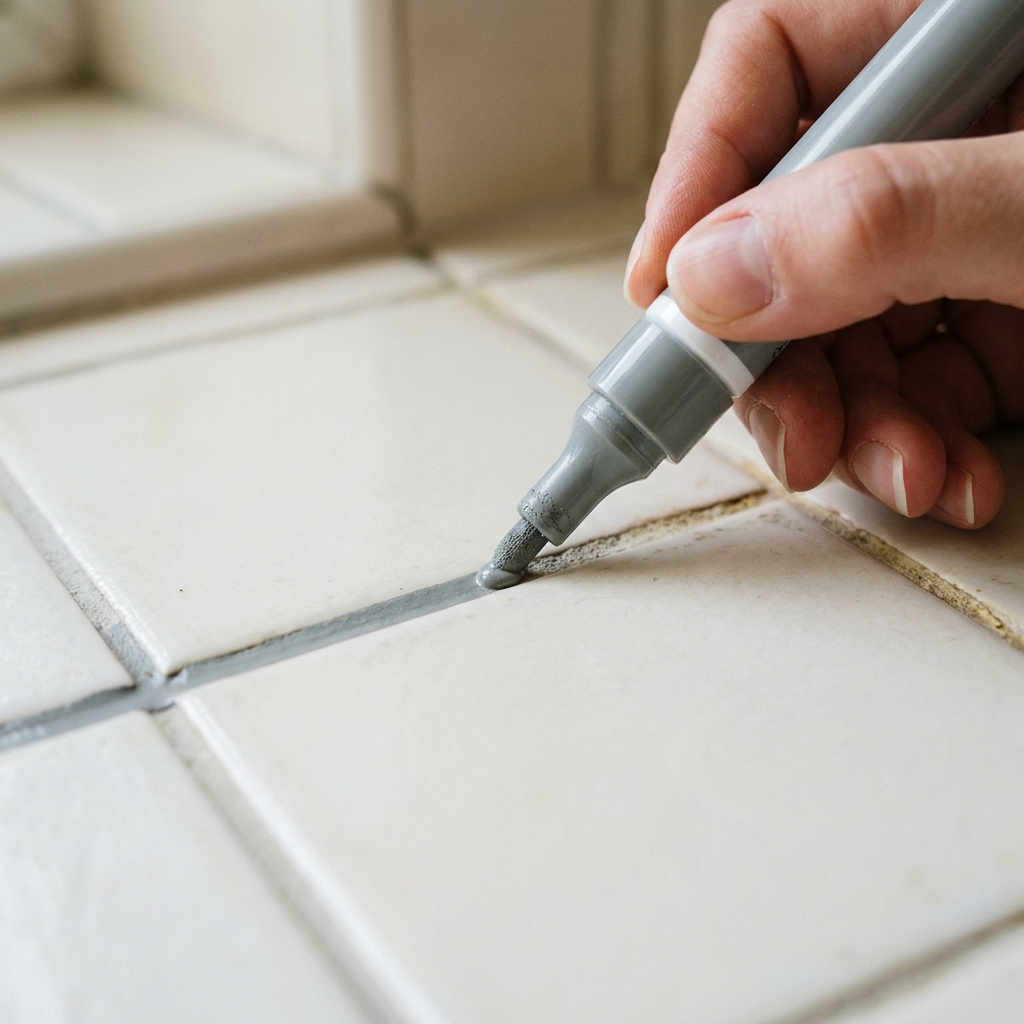
The grout pen refresh process centers around two critical phases: thorough preparation and precise application. Success depends heavily on the preparation phase, which involves deep cleaning the entire tiled surface to remove years of accumulated soap scum, grime, and residue that could prevent proper paint adhesion.
The application phase requires patience and steady technique as you work methodically along each grout line with specialized paint pens. These aren't ordinary markers-they contain paint specifically formulated for porous grout surfaces, often with anti-fungal and anti-bacterial properties. The process typically takes 2-4 hours for an average bathroom, depending on the size and condition of the existing grout.
Most homeowners can expect dramatic visual improvement, especially on grout that has yellowed or darkened over time. The results can instantly modernize a space and make tiles appear newly installed, though realistic expectations about coverage and longevity are important for satisfaction with the final outcome.
Tips & Considerations
- Test grout porosity first - Drop water on grout lines; if it doesn't absorb within a minute, the grout may be sealed and pens won't adhere properly
- Choose the right pen size - Narrow 7ml tips work best for standard 5mm grout joints, while 20ml thick tips suit wider joints
- Ensure complete dryness - Any moisture in grout lines will prevent proper paint bonding and cause premature peeling
- Work in manageable sections - Complete preparation and application for each section before moving on to maintain quality control
- Keep damp cloths handy - Clean up smudges on tile surfaces immediately before the paint sets
- Maintain consistent pressure - Too light creates patchy coverage, too heavy causes excess paint buildup
- Plan for adequate ventilation - Especially important in smaller bathrooms to prevent fume buildup
- Start with less visible areas - Practice your technique on hidden sections before tackling prominent grout lines
- Allow proper curing time - Avoid water exposure for 24-48 hours after application for maximum durability
- Consider lighting conditions - Work during daylight or with bright LED lights to ensure even coverage and catch missed spots
Conclusion
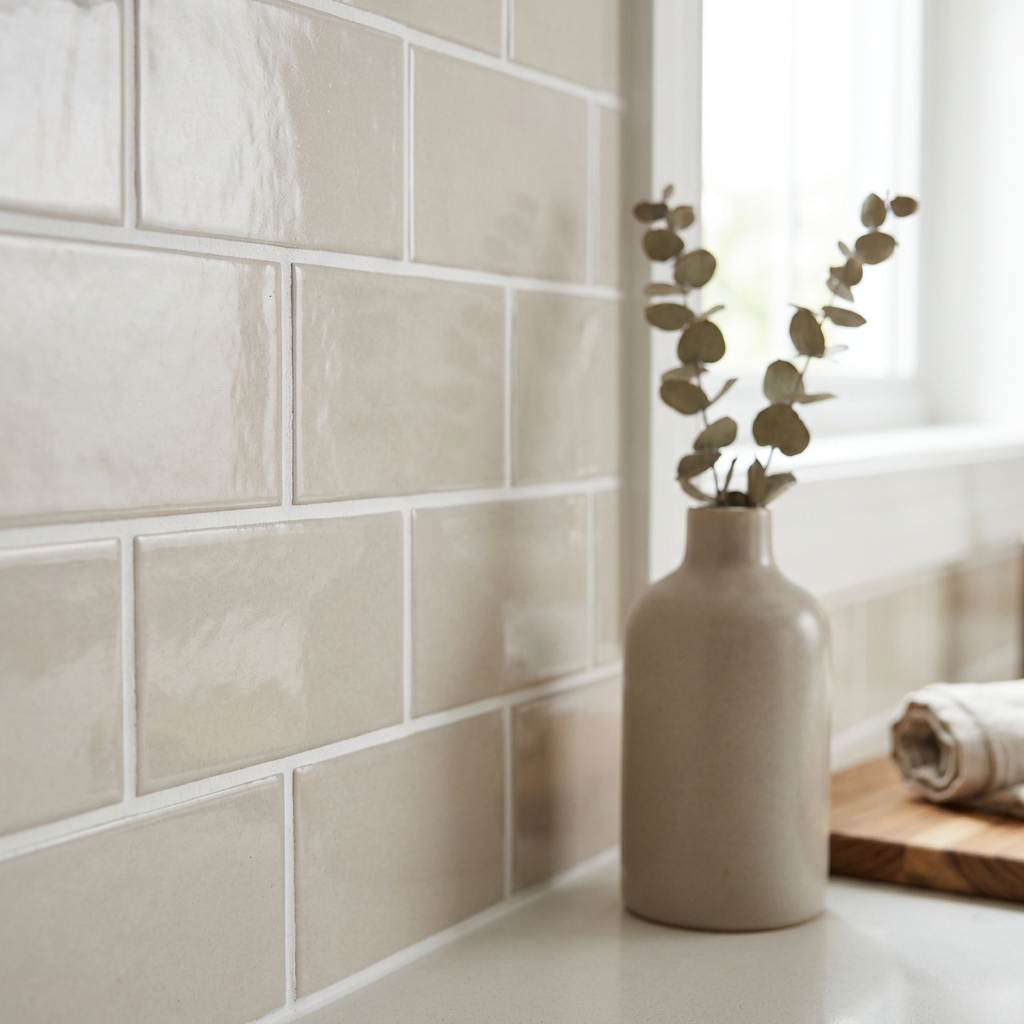
Refreshing grout with specialized pens represents one of the highest-impact, lowest-cost home improvements you can tackle as a DIYer. The key to professional-looking results lies not just in the application technique, but in choosing reliable guidance from sources that provide realistic expectations and proven methods.
The expert resources we've curated will walk you through every crucial detail, from selecting the right pen size to mastering the preparation process that makes or breaks the final result. These guides have been tested by real homeowners and provide the honest insights you need to avoid common pitfalls and achieve lasting results.
With the right guidance and a methodical approach, you'll be amazed at how dramatically this simple technique can transform your space. Take your time with preparation, follow the expert techniques in our recommended guides, and enjoy your refreshed, modern-looking grout that rivals professional restoration work.
Apparatus & Materials
| Item | Cost | |
|---|---|---|
| ◆ All Purpose Cleaner Detergent spray used to remove surface dirt and grime from tiled surfaces before grout pen application. | $3–$8 | Buy now |
| ◆ Clean Dry Cloth Used for wiping surfaces dry after cleaning and for cleaning up smudges during application. | $2–$10 | Buy now |
| ◆ Damp Cloth Kept on hand to clean up any smudges or excess pen marks on tiles as you work. | $2–$8 | Buy now |
| ◆ Grout Pens Paint pens with paint specifically formatted to color grout, used to refresh stained or discolored grout or change grout color. | $8–$20 | Buy now |
| ◆ Paper Towels or Cardboard Used to prime the grout pen tip and test application before working on actual grout lines. | $2–$6 | Buy now |
| ◆ Small Brush or Old Toothbrush Used to scrub tile cleaner into the grout lines during deep cleaning preparation. | $1–$5 | Buy now |
| ◆ Sponge Used with detergent spray to remove surface dirt and grime from tiled surfaces during preparation. | $1–$4 | Buy now |
| Gloves Optional protective wear since grout pen will come off hands with soap and water. | $2–$8 | Buy now |
Notes on the sources
The ranking at right reflects our editorial judgment after reading each source in full. For a summary of this entry in brief, see the source ranked first. For the chemistry and underlying principles, see the last.