
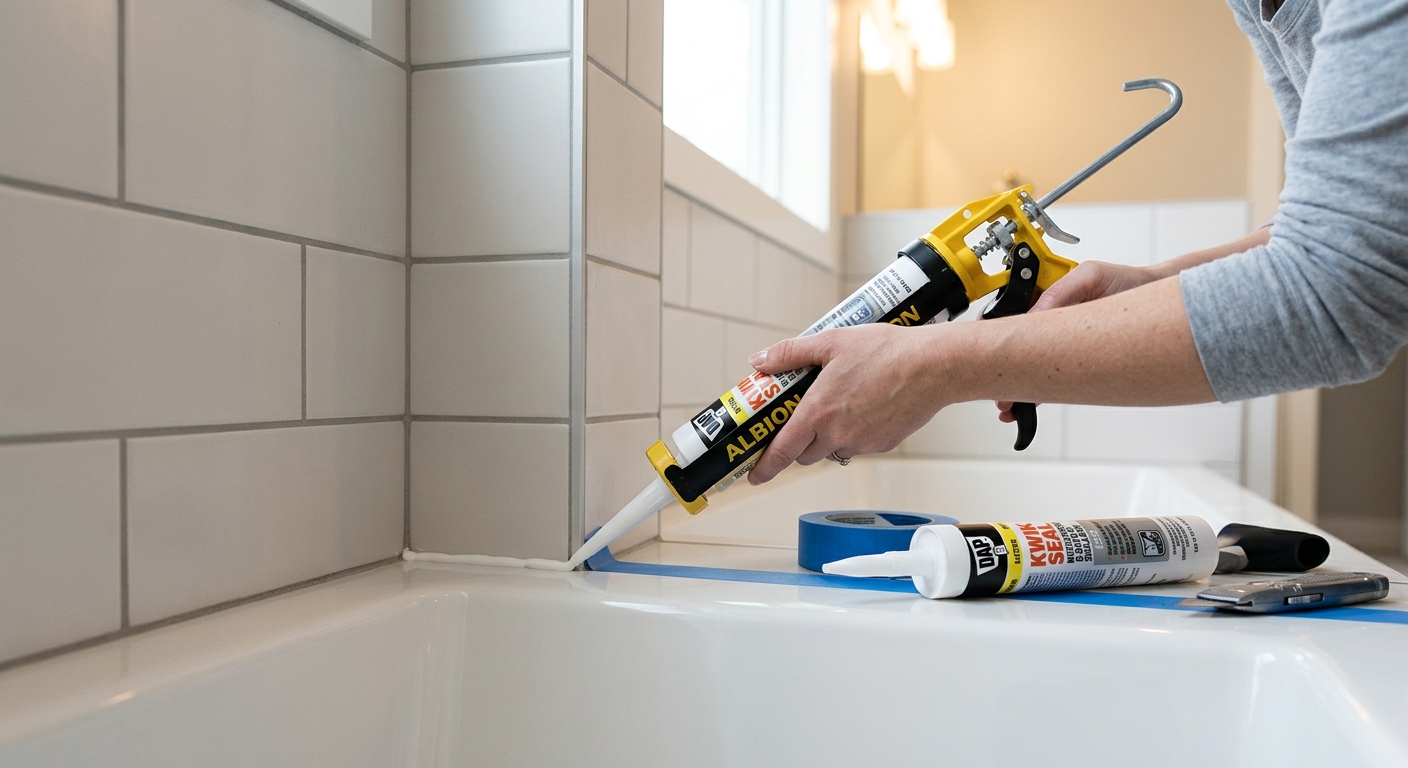
Strip out old silicone, prep the joint, and lay a clean new bead that seals tub-to-tile seams against water and mildew.
A better caulk line starts with full removal
A cracked or moldy bathtub or shower caulk joint is more than a cosmetic issue. Once the bead starts splitting or pulling away, water can slip behind the tile edge or tub flange and keep the area damp long after the shower is off. That is how mildew returns so quickly.
The fix is straightforward, but the details matter. Silicone sticks to clean, dry surfaces; it does not bond well to leftover silicone, soap film, or moisture. If you remove the old bead completely and lay the new one carefully, the repair can look crisp and last for years.
Step 1: Confirm the joint needs caulk, not grout
Use this method on tub-to-tile seams, shower corners, and other joints where two different surfaces meet. Those locations move a little as the house settles or the tub flexes, so they need a flexible sealant rather than rigid grout.
If you see cracked grout in a flat wall field, that is a different repair. The goal here is to replace a flexible perimeter seal, not patch tile. If the backing material feels soft, swollen, or mushy, stop and inspect the substrate before sealing over it.
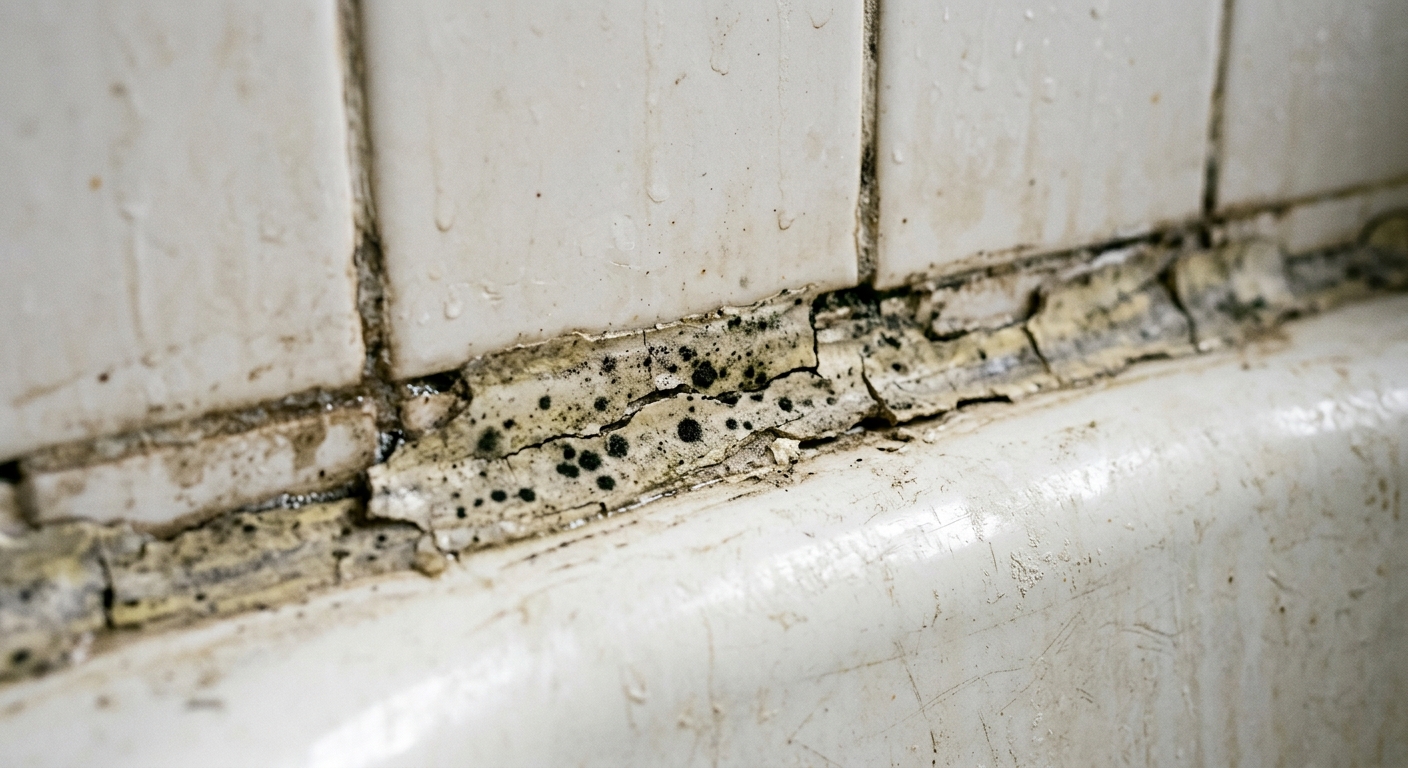
Step 2: Remove every bit of the old silicone bead
Score both edges of the bead with a sharp utility knife or caulk-removal blade, then peel and scrape it away. Work slowly so you do not gouge the tub or chip the tile glaze. The point is to expose a clean, solid surface for the new sealant to grab.
Do not leave a thin shiny film behind. New silicone often fails when it is applied over old silicone residue, even if the joint looks clean from a distance. If you hit stubborn sections, use a plastic scraper or a dedicated remover tool rather than forcing the blade deeper into the seam.
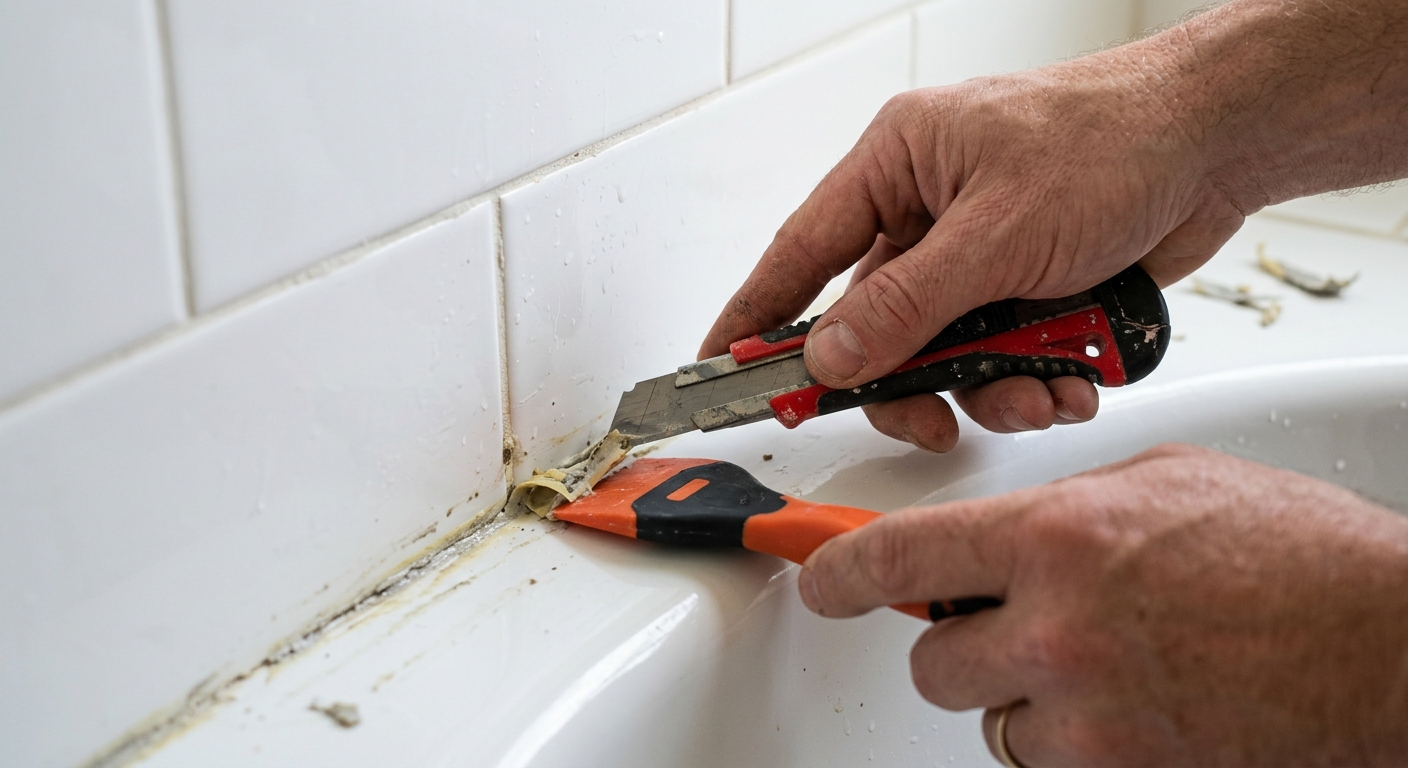
Step 3: Clean, dry, and mask the seam
Wash away soap scum, dust, and oily residue with a bathroom-safe cleaner, then wipe the joint completely dry. Drying is not a throwaway step: silicone bonds poorly to damp surfaces, and trapped moisture can encourage mildew under the new bead. Give the area extra time if the room stays humid.
Once the surface is clean, apply painter’s tape along both sides of the seam if you want a sharper line. Leave a narrow gap where the bead will go. Tape is optional, but it helps beginners keep the line consistent and makes cleanup easier as long as you remove it right after tooling.
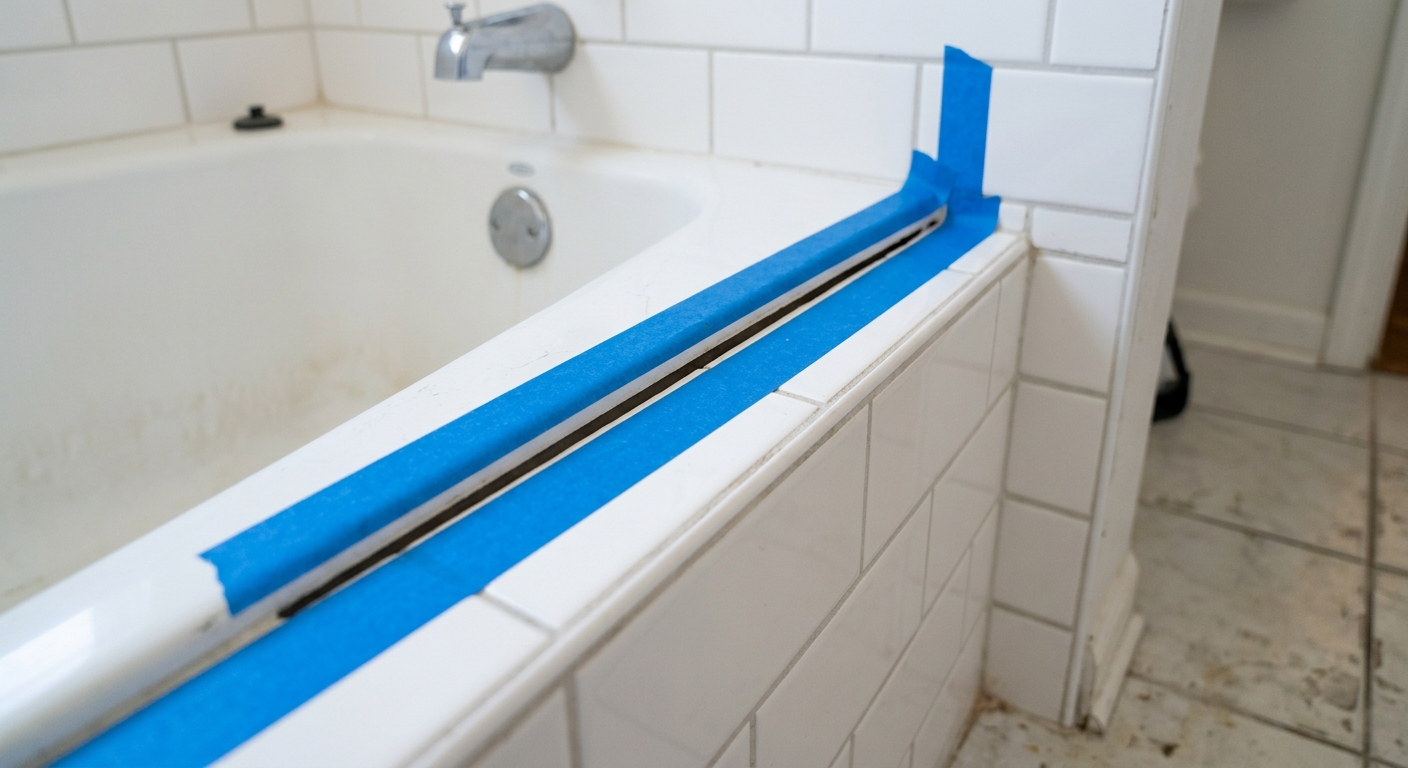
Step 4: Cut the nozzle small and lay one steady bead
Load a tube of 100% silicone Kitchen & Bath caulk into a caulk gun, puncture the inner seal, and cut the nozzle opening smaller than you think you need. A narrow opening gives you better control and reduces the odds of overfilling the seam.
Hold the gun at a steady angle and keep the tip moving in one continuous pass. Aim to fill the gap, not bury the whole joint in excess material. If the bead breaks, stop, wipe the end, and restart from the last clean overlap instead of trying to stretch a thin string across the gap.
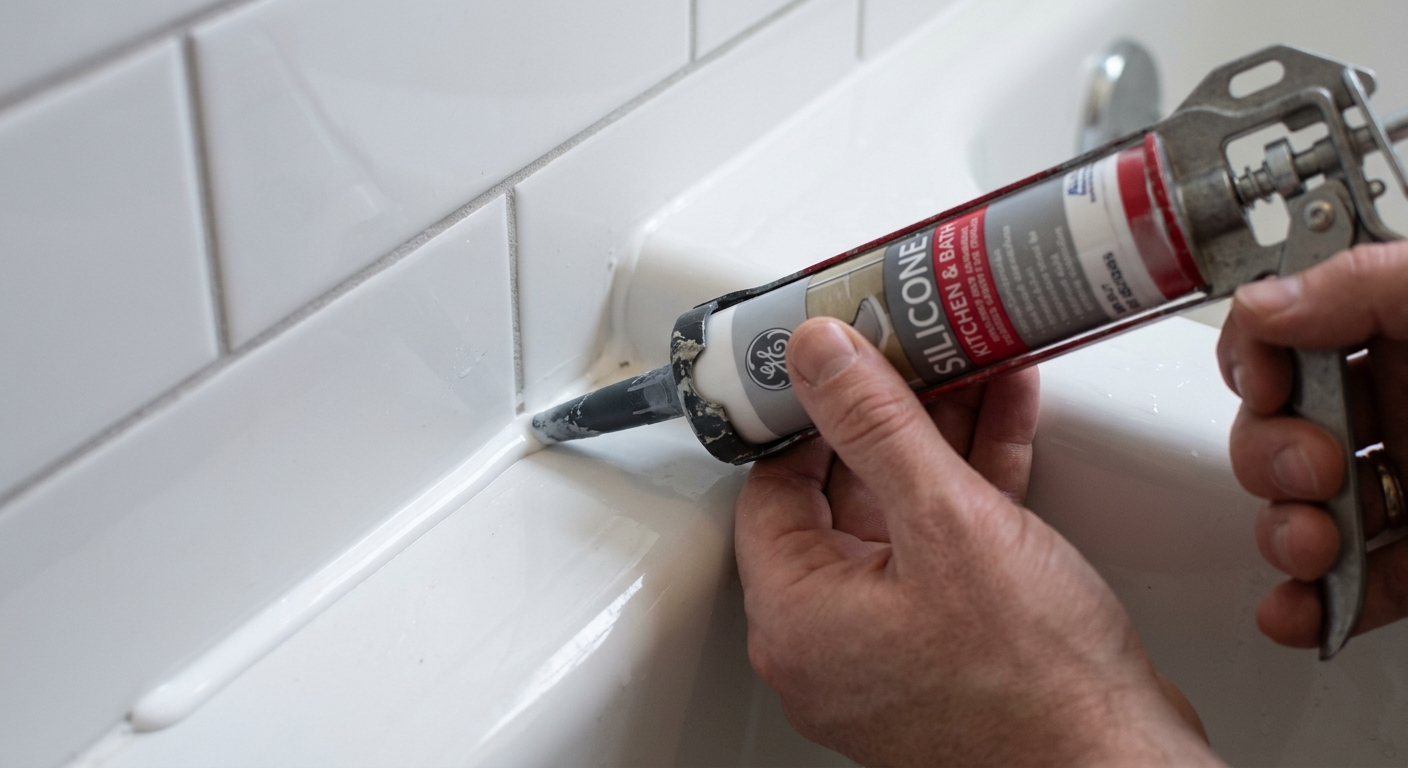
Step 5: Tool the bead once, then leave it alone
Smooth the bead with a caulk tool or a gloved finger using only the light pressure needed to shape the line. One pass is usually enough. Too much reworking can drag material out of the joint, leave ripples, or create thin spots that fail early.
Pull the tape immediately while the silicone is still wet. Then let the bead cure exactly as the label says before exposing it to water. A repair that looks dry on the surface may still be soft underneath, so a too-soon shower is one of the most common reasons the seal fails.
Apparatus & Materials
| Item | Cost | |
|---|---|---|
| ◆ 100% silicone kitchen and bath caulk Creates the flexible waterproof seal at the tub-to-tile joint. | $8–$14 | Buy now |
| ◆ Caulk gun Applies controlled pressure to the sealant tube. | $8–$20 | Buy now |
| ◆ Utility knife Cuts and scores the old bead so it can be removed cleanly. | $6–$15 | Buy now |
| Nitrile gloves Keeps silicone off your hands during removal and tooling. | $8–$15 | Buy now |
| Painter’s tape Masks the seam so the finished bead has crisp edges. | $4–$9 | Buy now |
| Plastic caulk remover tool Helps lift old silicone without gouging tile or acrylic. | $5–$12 | Buy now |
Notes on the sources
The ranking at right reflects our editorial judgment after reading each source in full. For a summary of this entry in brief, see the source ranked first. For the chemistry and underlying principles, see the last.


