
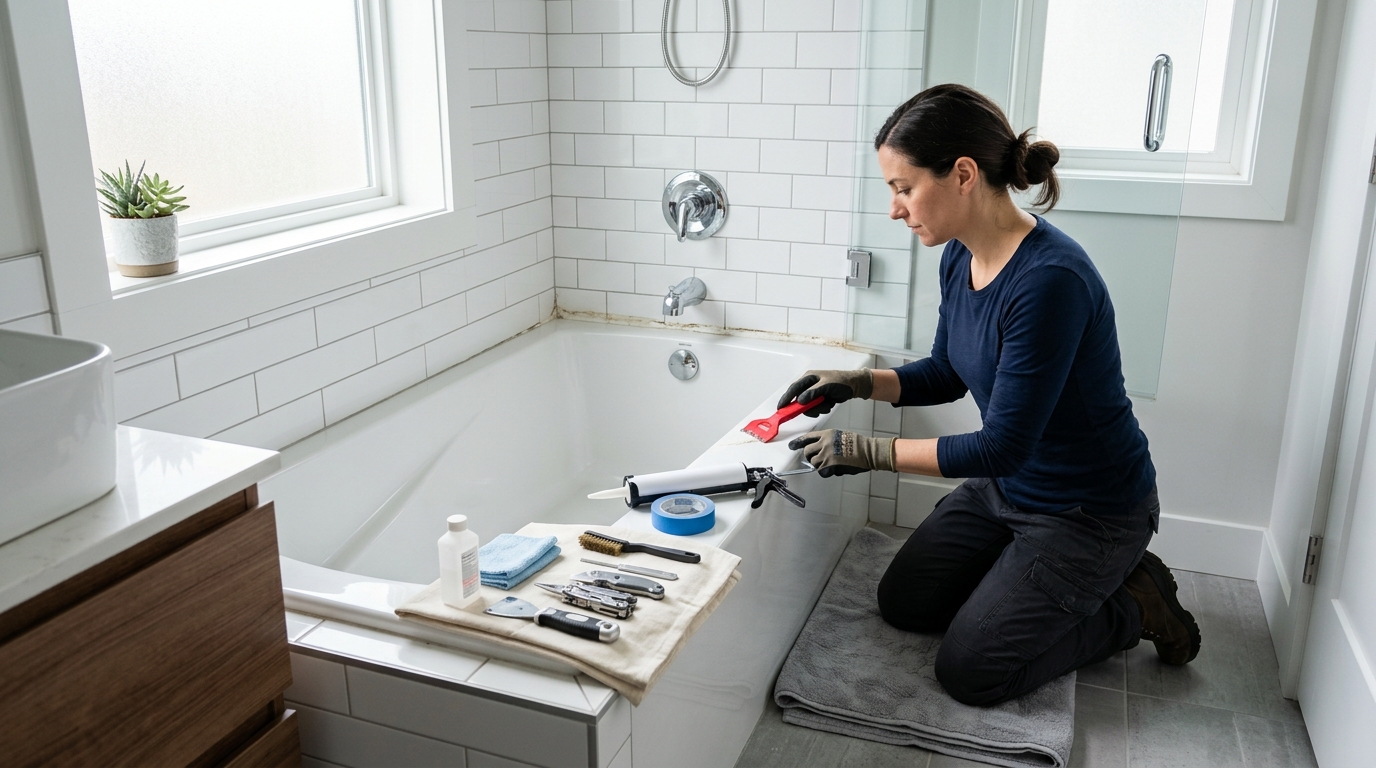
Remove the old bead, clean the joint, and lay a fresh silicone line that seals the tub or shower without trapping mildew or ruining the finish.
A fresh caulk line is the difference between tidy and musty
Old tub and shower caulk fails in predictable ways: it turns brittle, pulls away from the edge, traps grime, and lets water sneak behind the seam. That small gap is enough to feed mildew, stain the surround, and make a bathroom smell worse than it should.
The fix sounds simple, but the result depends on prep. Silicone only sticks well to clean, dry surfaces, and it hates being asked to bond over the ghost of old silicone or a joint that is still damp from cleaning.
This guide walks through the full reset: remove the old bead cleanly, prep the joint so the new seal can actually grip, apply a controlled bead, and respect cure time so you do not wash the repair away on day one.
Step 1: Remove the old caulk completely
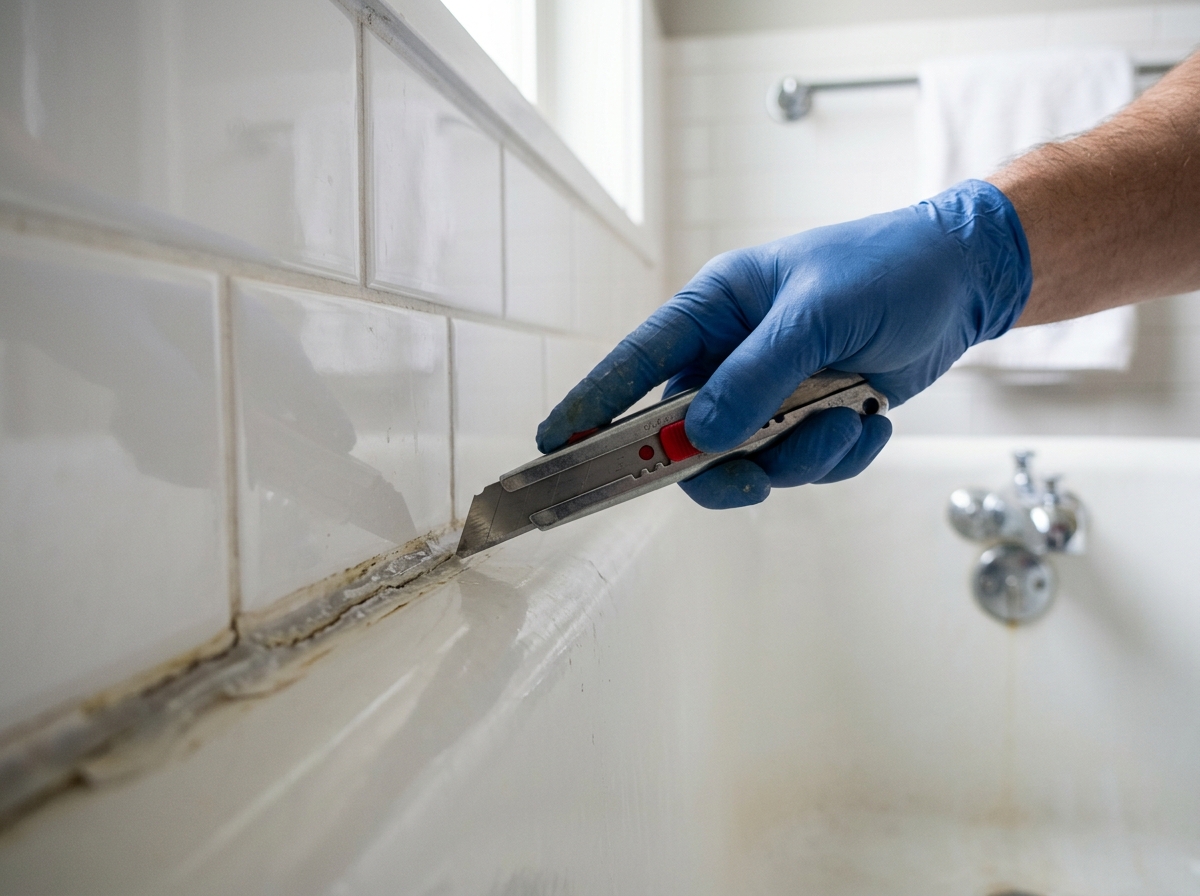
Start by scoring both edges of the old bead with a sharp utility knife or razor scraper. Keep the blade nearly flat so you cut the seal without digging into tile, acrylic, or fiberglass. The goal is to free the caulk as a strip, not shred it into tiny sticky fragments.
Once the edges are cut, use a plastic caulk removal tool or plastic putty knife to lift the bead and pull it away. Silicone often comes off in long strips when the cut is clean. If a thin film remains, work it gently with a plastic edge and a silicone-safe remover if needed.
Take your time here. Any shiny residue you leave behind can prevent the new bead from bonding properly. If mildew staining is hiding under the old line, that is another sign to clean thoroughly before moving on.
Step 2: Clean, dry, and inspect the seam
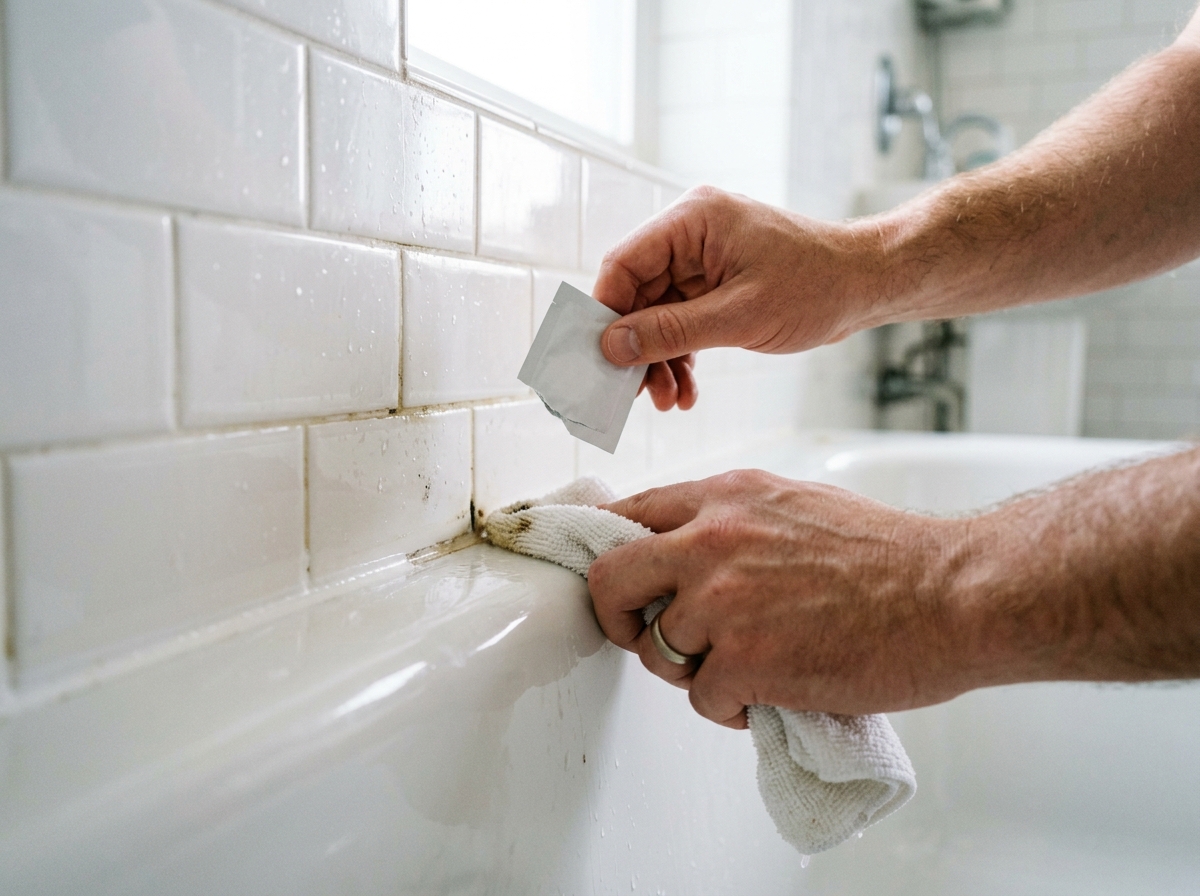
After the bulk of the caulk is gone, scrub the joint with a mild bathroom cleaner and rinse it well. Then wipe the surfaces with isopropyl alcohol to remove soap film, body oils, and dust. Silicone is unforgiving here: a joint that still feels slippery or looks shiny is not ready.
Let the seam dry completely. In practice, that means waiting several hours or overnight if possible, especially in a humid bathroom. A fan or open window helps, but do not rush the job just because the surface looks dry. Trapped moisture under a fresh bead shortens the life of the repair and can feed mildew under the seal.
Inspect the tub edge and tile line as you go. If grout is cracked, the wall feels soft, or the tub surround moves when pressed, recaulk alone will not solve the underlying problem.
Step 3: Mask the joint for a cleaner bead
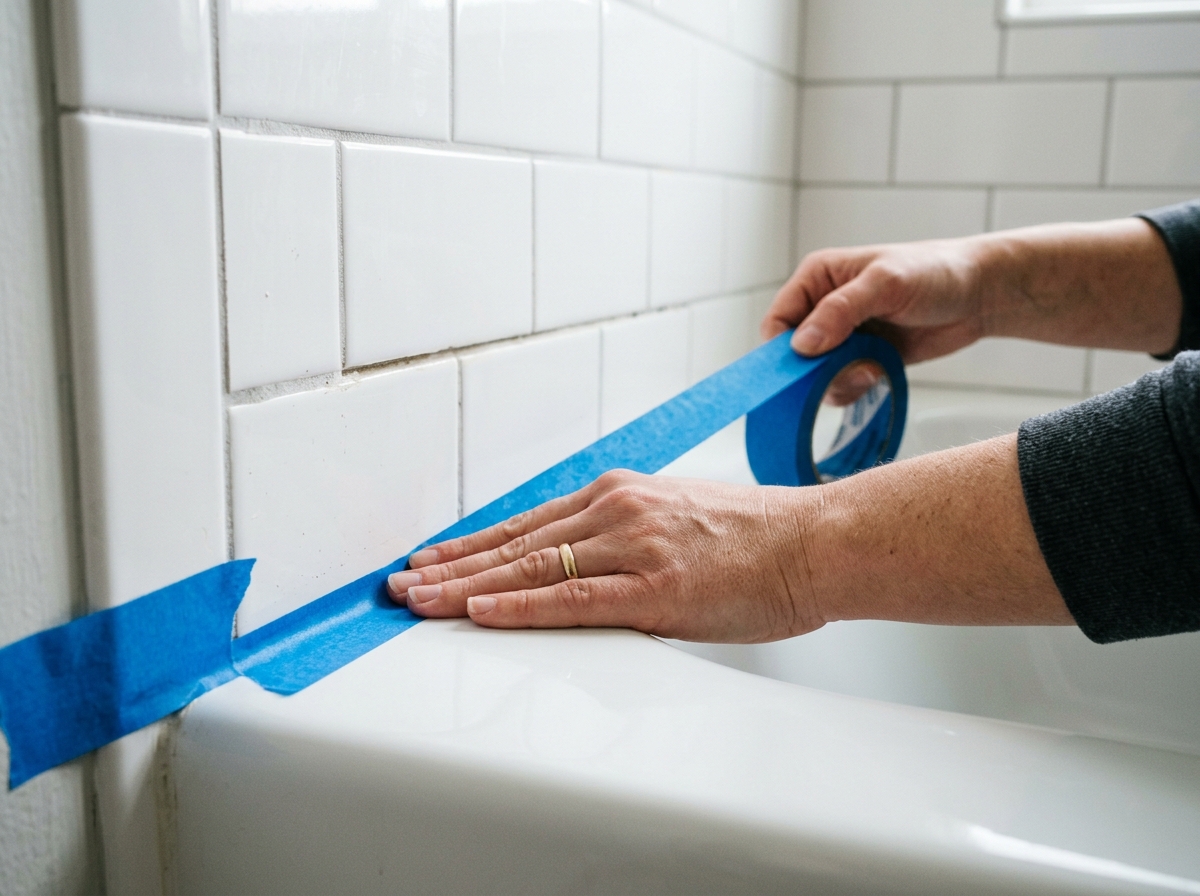
Painter’s tape is optional for experienced caulkers, but it is a strong shortcut for beginners. Run one strip along the tub or shower base and a second along the wall or tile, leaving a gap equal to the bead width you want. For most bathroom seams, a narrow bead looks better and performs just as well as a thick one.
Masking gives you a visible edge to follow and reduces cleanup. It also helps you avoid the common mistake of spreading the caulk too wide, which can make the joint look messy and harder to maintain later.
Press the tape down firmly so caulk does not seep under the edge. Plan to pull it before the caulk skins over.
Step 4: Apply the silicone in one steady pass
Cut the caulk nozzle at a small 45-degree angle and puncture the inner seal if the tube has one. Start small; a tiny opening gives you more control and keeps you from flooding the joint with too much material. Load the tube into a caulking gun, hold it at a steady angle, and pull the bead along the seam in one continuous motion.
The trick is to keep even pressure and let the bead land where the two surfaces meet. You are aiming to fill the joint, not coat the bathroom. If you stop and restart repeatedly, you create lumps and weak spots that are harder to smooth out later.
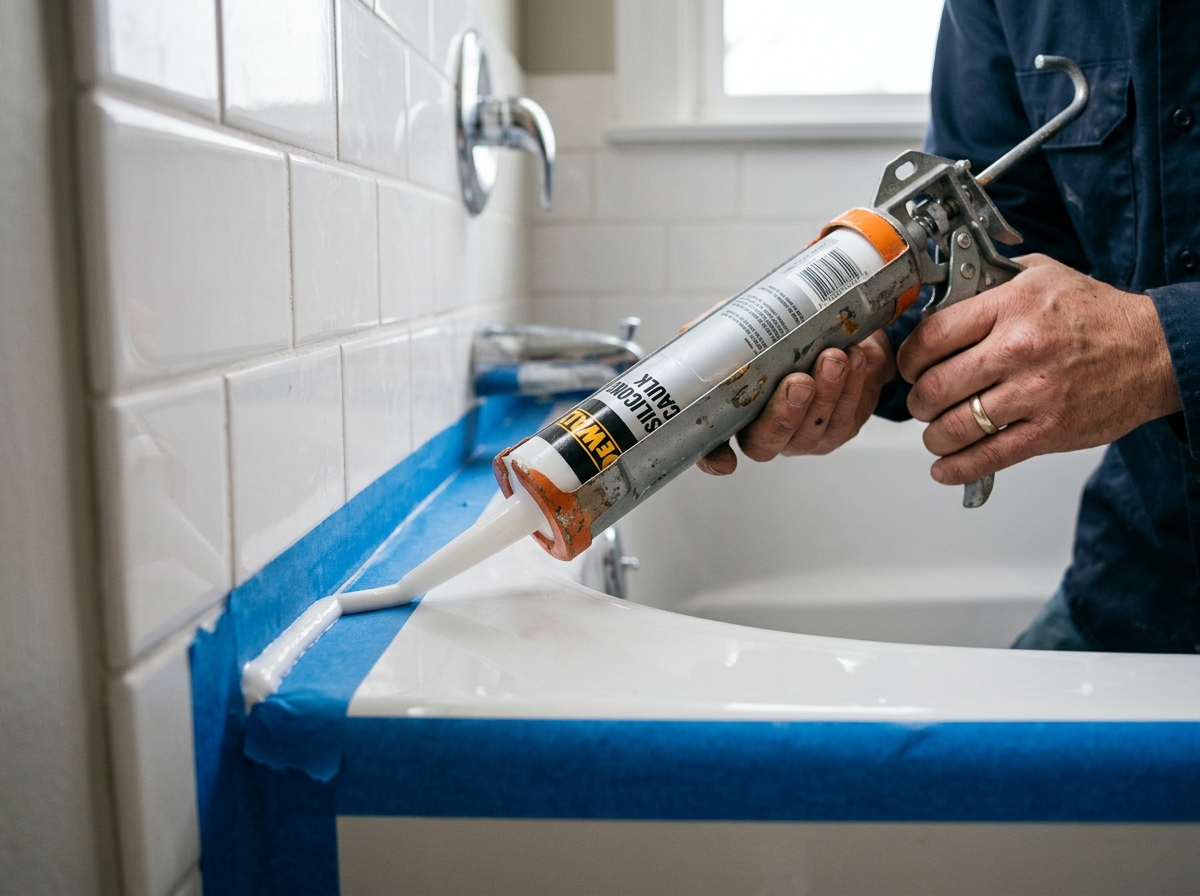
Step 5: Tool the bead, then remove the tape
Smooth the bead within a minute or two, before a skin forms. A caulk tool works well, but a gloved finger lightly dampened with water can also shape the line. Use just enough pressure to push the silicone into the corner and leave a slightly concave finish.
Do not overwork it. Too many passes thin the bead and can leave streaks or gaps that fail early. Once the line looks even, peel the painter’s tape away at a sharp angle while the silicone is still wet. That step keeps the edges crisp instead of dragging strings of caulk across the tile.
Wipe any excess from the tub or tile immediately with a clean rag.
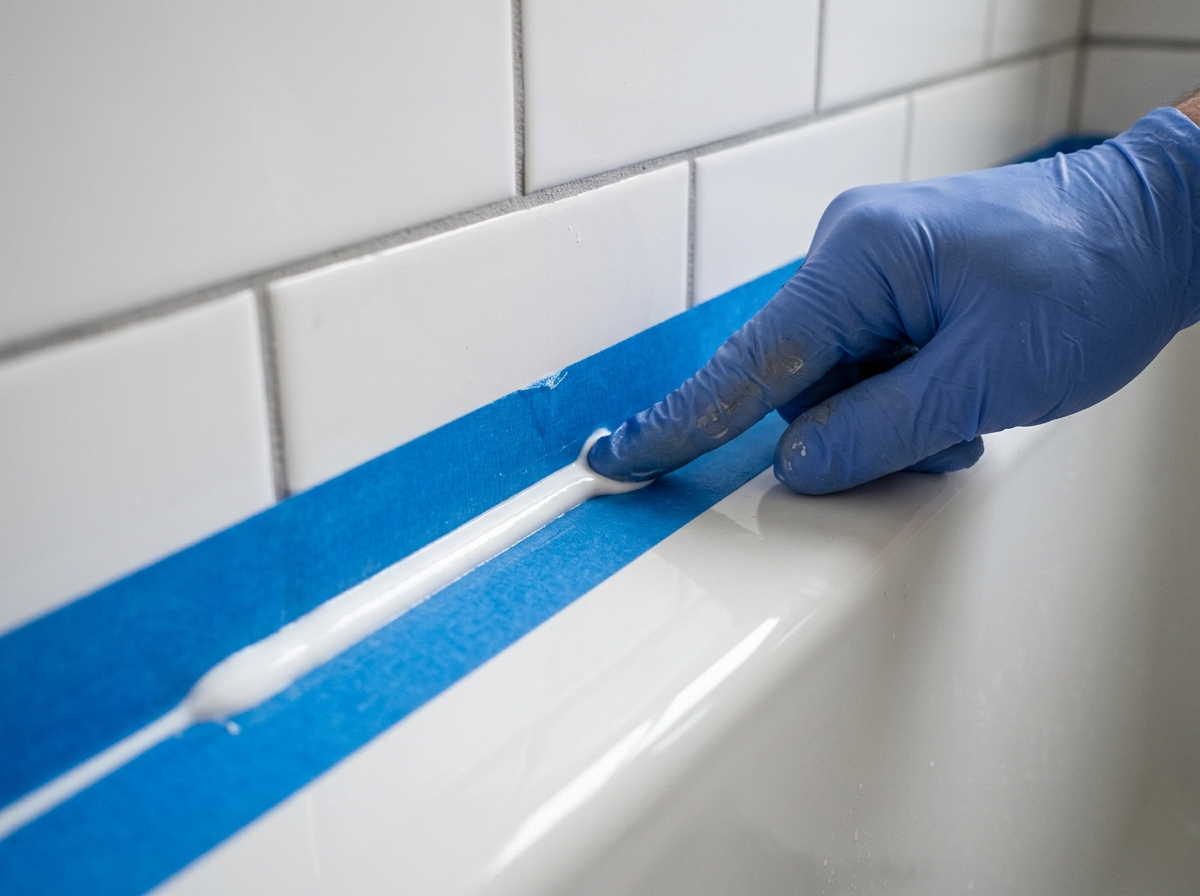
Step 6: Let it cure before the first shower
Bathroom silicone can feel dry fast, but that does not mean it is ready for water. Follow the label on the tube, because cure times vary by brand and humidity. As a general rule, many bath silicones need about 24 hours before water exposure, and some need longer for full strength.
Keep the area dry and undisturbed while it cures. Do not test the seal with a quick rinse, and do not close shower doors against a fresh bead. If the line was tooled well and the prep was clean, patience here is what makes the repair last.
Once cured, the joint should look continuous, feel firmly bonded, and shed water cleanly without gaps.
Apparatus & Materials
| Item | Cost | |
|---|---|---|
| ◆ 100% silicone bath caulk Creates the new waterproof seal at the tub or shower seam. | $7–$15 | Buy now |
| ◆ Caulking gun Dispenses the silicone in a controlled, steady bead. | $8–$18 | Buy now |
| ◆ Isopropyl alcohol Removes soap film and oily residue before the new bead goes on. | $3–$8 | Buy now |
| ◆ Plastic caulk removal tool Lifts remaining silicone without gouging tile or fiberglass. | $6–$14 | Buy now |
| ◆ Utility knife Scores the old bead so it can be removed cleanly. | $5–$12 | Buy now |
| Nitrile gloves Keeps caulk and cleaner off your hands while you tool the bead. | $8–$15 | Buy now |
| Painter's tape Masks the seam so the finished bead stays straight and clean. | $5–$10 | Buy now |
| Safety glasses Protects your eyes from scraper slips and splashback during cleanup. | $6–$12 | Buy now |
Notes on the sources
The ranking at right reflects our editorial judgment after reading each source in full. For a summary of this entry in brief, see the source ranked first. For the chemistry and underlying principles, see the last.


