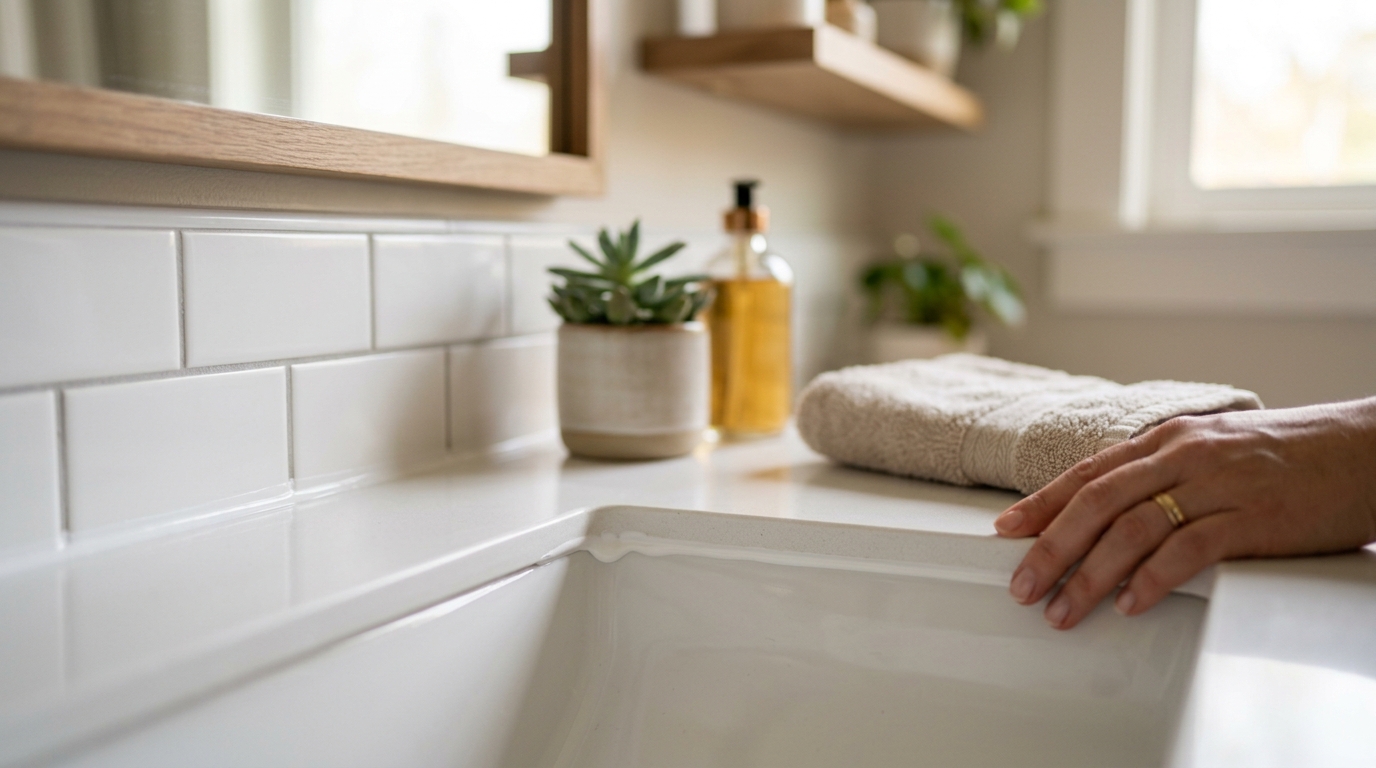
Remove cracked caulk, clean the joint, and lay a smooth new silicone bead that seals the edge and keeps moisture out.
A fresh caulk line is a small repair with a big payoff
When the seal around a sink or tub starts cracking, the damage is usually quiet at first. Water sneaks into the joint, soap scum collects in the gaps, and the old bead starts to look gray, shriveled, or mold-specked. A simple recaulk can clean up the look and protect the edge before the problem grows into damaged drywall or swollen cabinetry.
The key is not speed — it is surface prep. New silicone only holds when the old material is out, the seam is dry, and the joint is clean enough for the caulk to bond. If you rush those parts, the bead may look fine for a day and fail the next time the area gets wet.
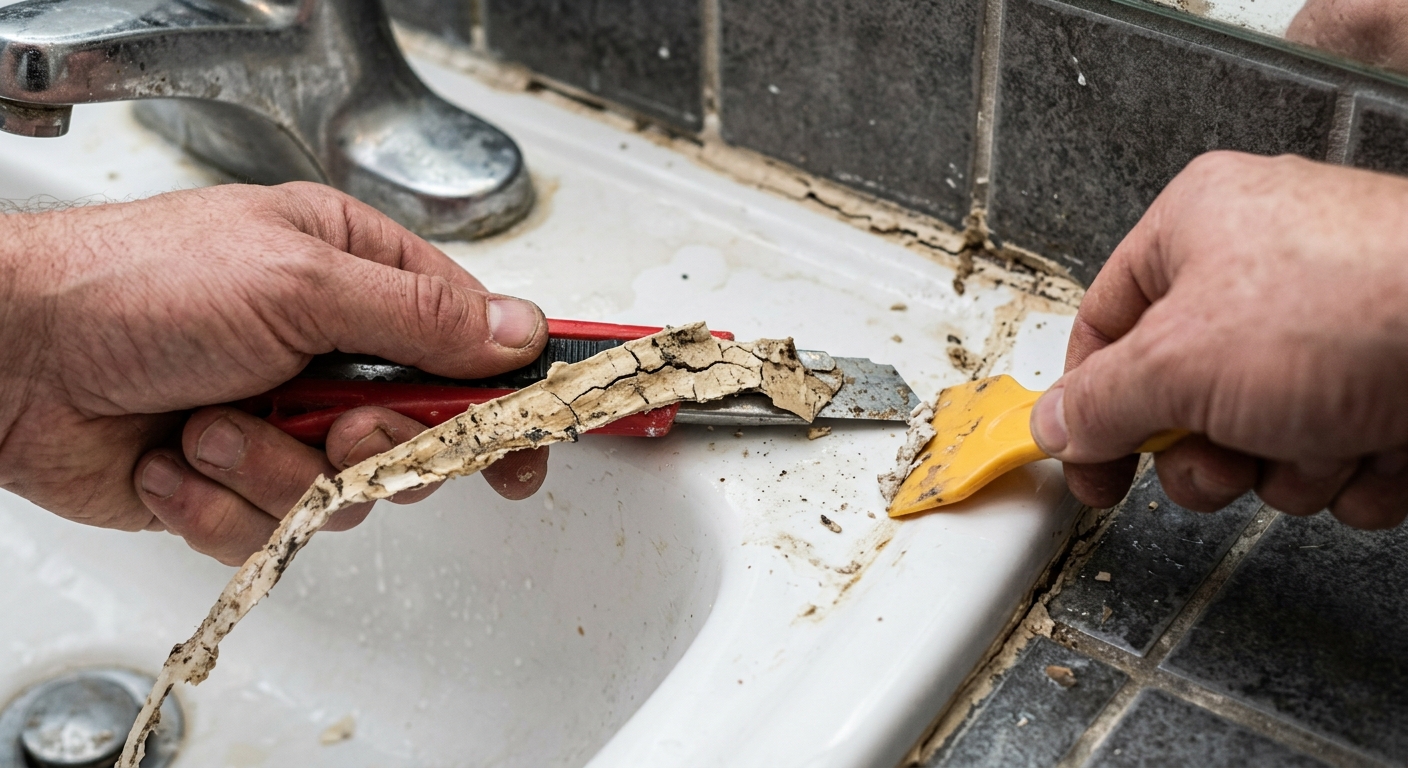
Step 1: Strip the failed caulk and clear the seam
Start by cutting along both edges of the old bead with a sharp utility knife or a plastic scraper. The goal is to break the seal without gouging the tub, sink, or tile. Once you have an opening, peel away the loose strip and keep working until the visible caulk is gone.
If residue stays behind, use a caulk remover gel or a scraper rated for the surface. Silicone often clings in thin films that are easy to miss, and that leftover film is one of the main reasons a new bead fails. Work slowly around corners and fixture joints so you do not nick the finish.
Step 2: Clean, dry, and protect the joint
Wipe the seam with a residue-free cleaner or rubbing alcohol, then let it dry completely. This step matters more than the bead itself: silicone wants a clean, bone-dry surface, not soap film, dust, or moisture trapped in the corner. If the area is still damp from scrubbing, wait.
If you want a cleaner line, add painter's tape along both sides of the joint before caulking. Leave a narrow gap where the new bead will sit. Tape is optional, but it helps beginners keep the finish straight and reduces cleanup on textured tile or shiny fixtures.
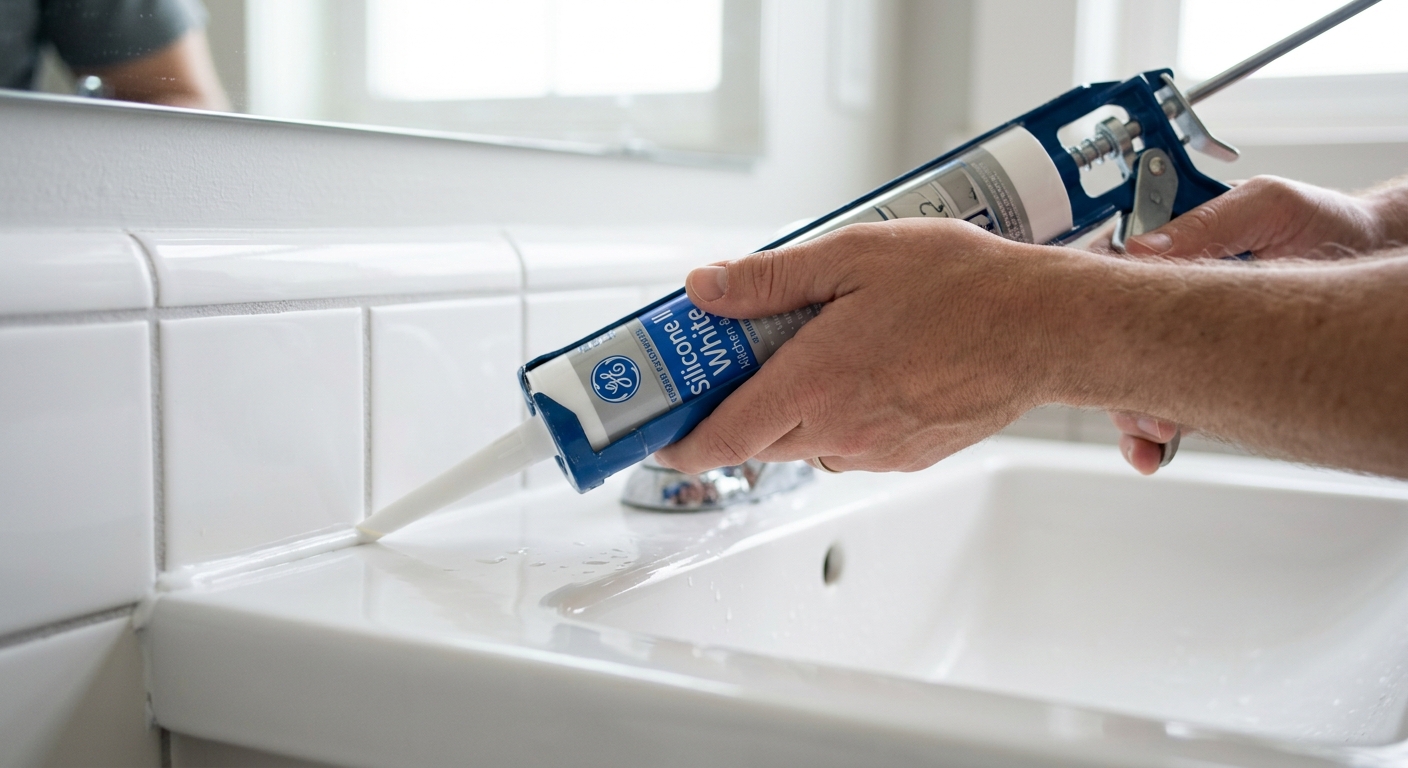
Step 3: Cut the nozzle small and run a steady bead
Cut the caulk nozzle at a shallow angle and start with a small opening. You can always widen it later, but a nozzle that is too large dumps out too much material and makes cleanup harder. Puncture the inner seal, load the tube into the gun if needed, and test the flow on cardboard first.
Hold the nozzle near the seam and move in one continuous pass with even pressure. The bead should fill the joint without floating high above it. Try not to stop and start repeatedly, because each pause creates a lump that is harder to smooth and more likely to collect moisture later.
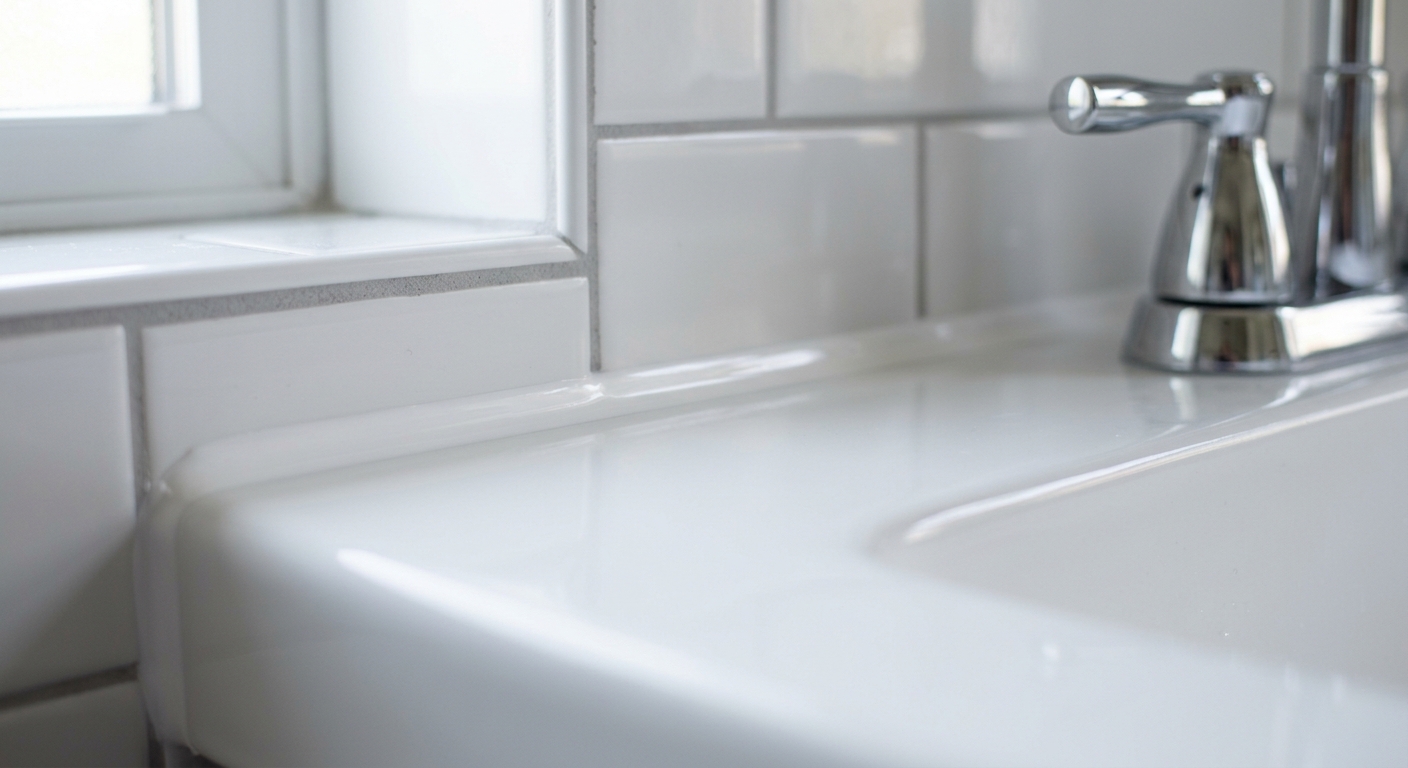
Step 4: Tool the bead once, then let it cure
Immediately smooth the bead with a caulk tool or a gloved finger dipped lightly in water if the product allows it. The aim is to press the sealant into the corner and leave a thin, even profile — not to keep rubbing until it disappears. One clean pass is usually enough.
If you used tape, pull it away right after tooling so the edge stays crisp. Then leave the joint alone for the full cure time on the label. The seam may feel dry sooner, but water exposure too early can weaken the bond and open the edge back up.
Step 5: Watch for signs the repair is too big for caulk
A recaulk handles surface-level failure, not structural damage. If the backing board is soft, the tile is loose, or mold keeps returning after the seam is replaced, the leak may be behind the visible joint. That is the point to stop and investigate the moisture source before sealing over the symptom.
For small, ordinary cracks and gaps, though, a careful recaulk is one of the fastest ways to make a sink or tub edge look cleaner and last longer. The repair is simple, but only if you respect the prep, the bead size, and the cure time.
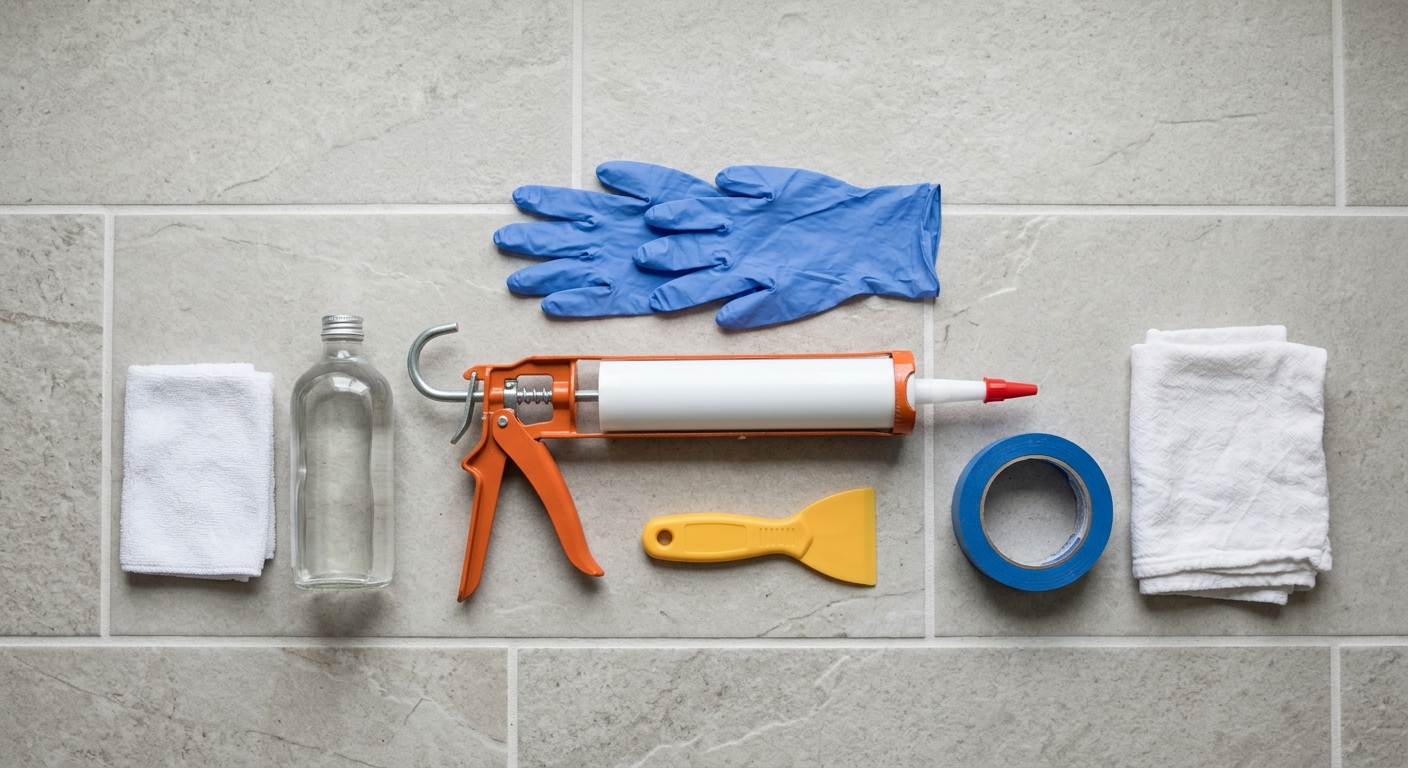
Apparatus & Materials
| Item | Cost | |
|---|---|---|
| ◆ 100% silicone kitchen and bath caulk Creates the waterproof seal along the sink or tub edge. | $7–$12 | Buy now |
| ◆ Rubbing alcohol Removes residue from the seam before new caulk is applied. | $3–$8 | Buy now |
| ◆ Utility knife Cuts and lifts the old bead so the joint can be cleaned out. | $5–$15 | Buy now |
| Caulk gun Helps control pressure if you are using a standard cartridge. | $8–$18 | Buy now |
| Nitrile gloves Protects your hands while smoothing sealant and handling old grime. | $8–$15 | Buy now |
| Painter's tape Masks the edges so the finished bead stays straight and neat. | $5–$10 | Buy now |
| Plastic scraper Helps remove residue without gouging delicate surfaces. | $4–$10 | Buy now |
Notes on the sources
The ranking at right reflects our editorial judgment after reading each source in full. For a summary of this entry in brief, see the source ranked first. For the chemistry and underlying principles, see the last.