
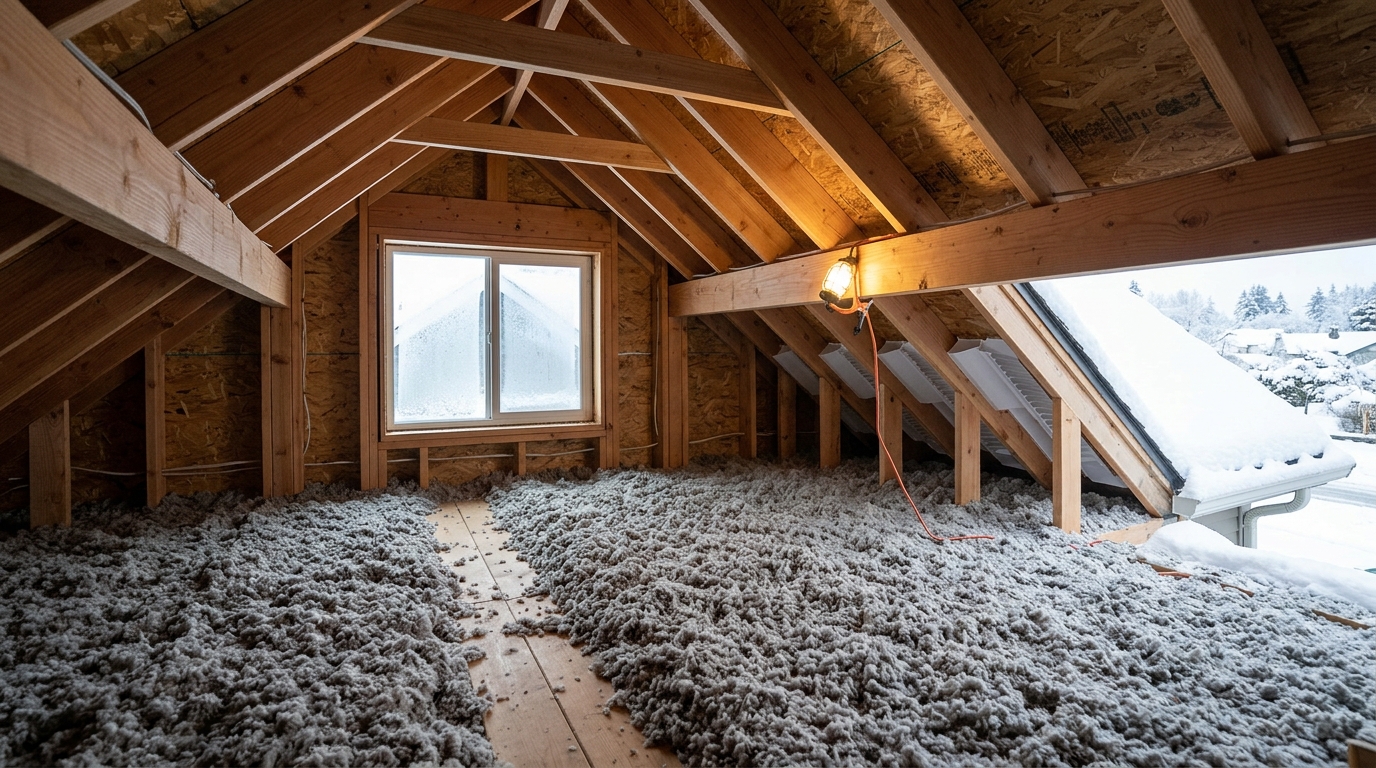
Stop heat from escaping through the attic floor, keep soffit ventilation open, and level insulation before snow turns a warm roof into an ice-dam factory.
Ice dams begin with uneven roof temperatures, but the fix does not start on a snowy roof. Start at the attic floor, where warm household air can slip through small openings, warm the roof deck, and melt snow above the heated part of the house. When that water reaches a colder eave, it freezes and builds the ridge that traps the next runoff. We read the building-science guidance and kept the three checks that matter: seal the ceiling plane, protect the ventilation path, then make insulation continuous.
Short version
- On a dry, well-lit day, inspect the attic for openings between the living space and attic; seal only accessible gaps that are away from hot fixtures and vents.
- At the eaves, confirm every soffit intake has an open chute above it. Add or repair baffles before moving insulation.
- Measure insulation in several places, level sparse areas without covering vents, and call a professional for wiring, combustion vents, roof leaks, or a major insulation upgrade.
This is prevention, not an invitation to chip an active ice dam or climb onto an icy roof. If water is already entering the house, protect the interior, document the damage, and bring in a qualified roofing or ice-dam professional. University of Minnesota Extension notes that channels cut through an existing dam are temporary; the durable work is reducing heat loss to the roof.
Step 1: Inspect the attic floor for heat leaks
Choose a cool, dry day before persistent snow. Put on stable shoes, use a work light, and step only on framing or a properly decked walkway. You are looking for the boundary between the heated house and the unheated attic: the ceiling plane. Air leakage here carries both heat and moisture upward, which is why adding insulation alone often disappoints.
Start with the big, visible bypasses. Check around plumbing stacks, electrical penetrations, duct chases, dropped soffits, open wall tops, and the attic hatch. Look for dirty insulation, frosty wood in winter, or a clear gap around a penetration; each can indicate air moving from the house. Do not pull insulation away wholesale. Rake back a small area, inspect, then put it back after the work.
For ordinary, accessible gaps in wood framing, sheathing, or around a pipe penetration, use the sealant specified for that location and follow its label. Our pick is Great Stuff Gaps & Cracks Insulating Foam Sealant because its straw applicator makes it useful for small, accessible non-fire-rated gaps. Apply sparingly: expanding foam is hard to remove, and it is not a substitute for a listed firestop or a repair to damaged framing.
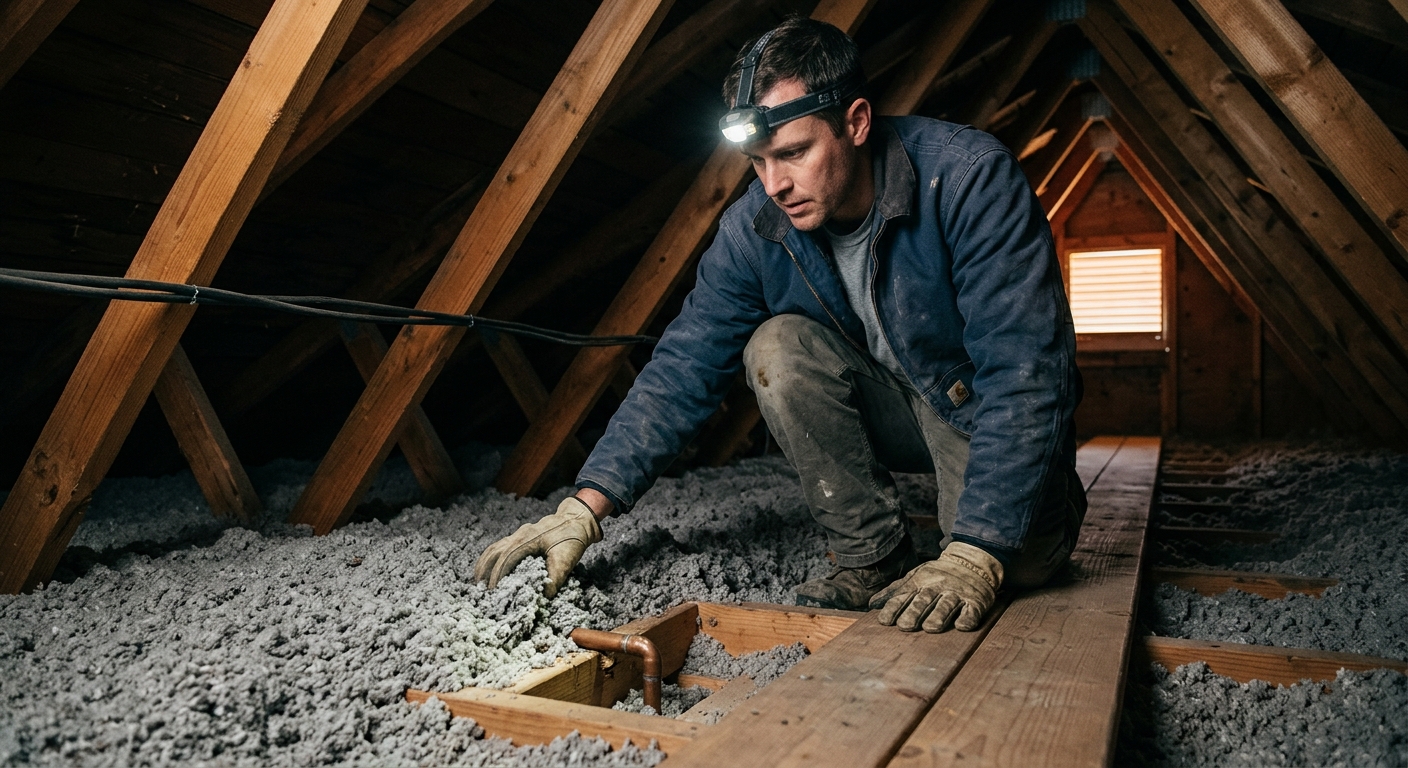
Keep foam, caulk, and insulation away from a chimney, flue, or other heat-producing vent unless the assembly and required clearance are known. Do not cover exposed knob-and-tube wiring, alter electrical boxes, or seal around recessed lights unless you have confirmed their rating and clearance requirements. Building America guidance specifically distinguishes insulated-ceiling, airtight fixtures from older fixtures that need clear air space. Those conditions are a job for an electrician, insulation contractor, or energy auditor.
The attic hatch deserves its own check. A loose panel leaks like a small open window. Confirm that it closes flat, is weatherstripped at the contact edge, and carries insulation on its attic side. If the hatch is warped, lacks a stop, or shares a chase with wiring that you cannot safely identify, repair the assembly before piling more insulation around it.
Step 2: Keep the soffit-to-roof ventilation path open
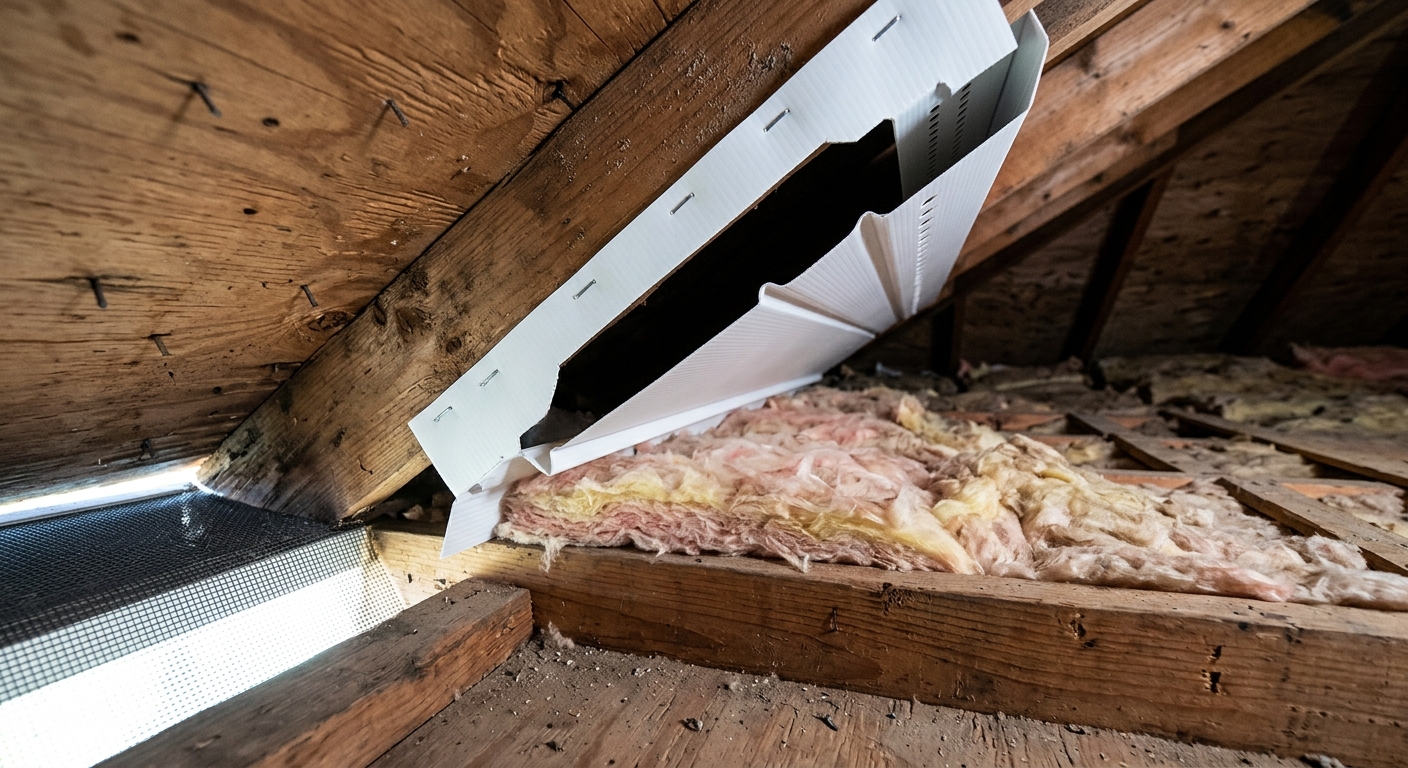
Ventilation is not a shortcut around air sealing. It works after you have limited house heat entering the attic, helping keep the roof deck closer to outdoor temperature. At each accessible eave, find the soffit intake and look for a clear air channel leading upward along the underside of the roof sheathing. Loose-fill insulation should not be packed directly against the sheathing or stuffed into the soffit.
Baffles, sometimes called rafter vents, create that channel and hold insulation back from the eaves. Install them from the soffit area upward according to the product instructions, leaving the intake open. AccuVent Vinyl Soffit Baffles are our pick for this job because they are purpose-made to preserve a chute while insulation is brought to the exterior wall line. Count accessible rafter bays first so you buy enough; do not assume that one package fits every roof geometry.
Check the upper exhaust route too, but do not improvise a new roof opening from inside the attic. Ridge, gable, and roof vents are part of a roof system, and their adequacy depends on the roof design. If soffits are blocked, upper vents are missing, or the attic feels unusually hot despite obvious air sealing, ask a qualified contractor to assess the whole ventilation layout. A powered attic fan is not a default cure: it can create pressure effects that draw more conditioned air through ceiling leaks.
Do not use cardboard, trash bags, or random scraps as permanent baffles. They can shift, hold moisture, or fail to maintain a continuous channel. Also do not compress insulation at the eaves to make it fit. The goal is continuous thermal coverage while preserving the air path; a constrained eave may need a contractor’s design rather than a thicker pile of insulation.
Step 3: Measure, level, and protect attic insulation
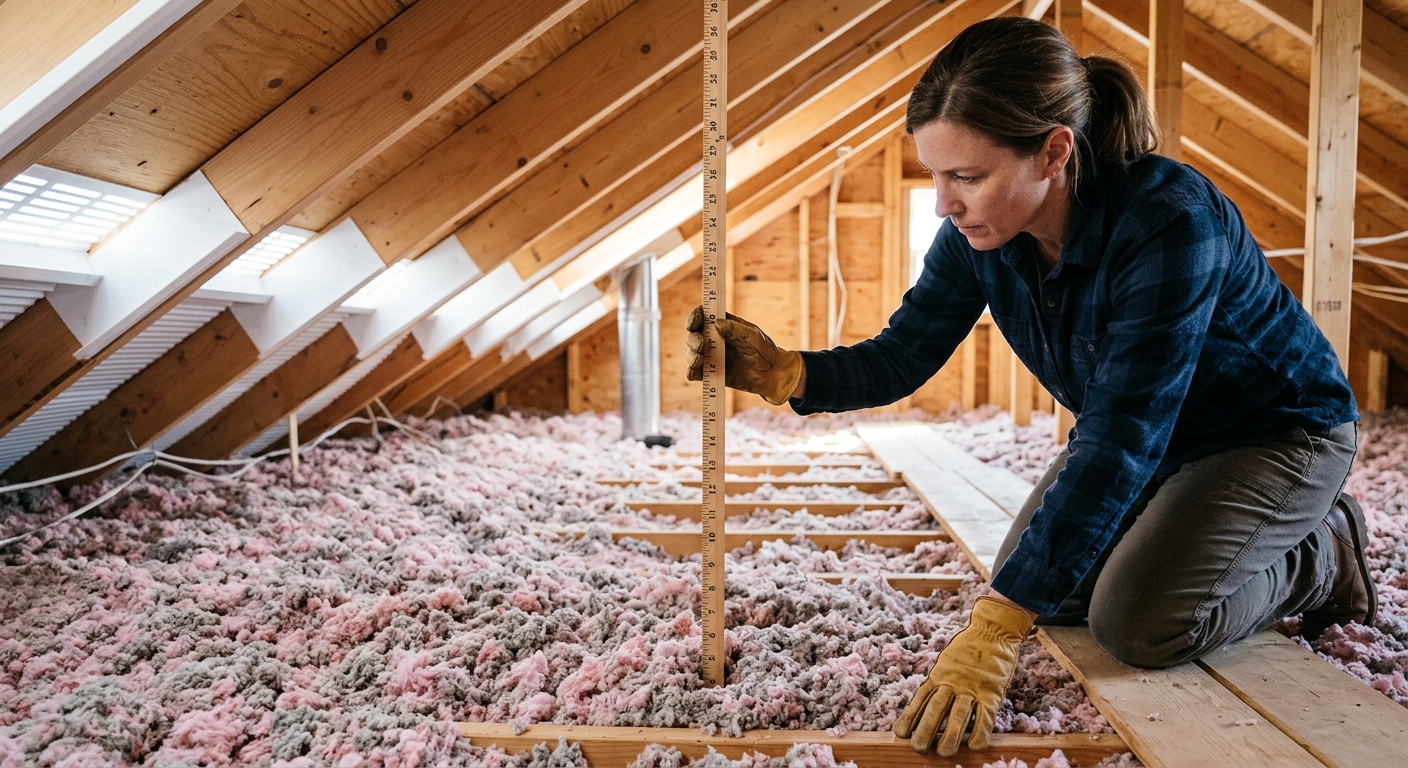
After accessible leaks are sealed and baffles are in place, assess insulation coverage. Use a ruler or marked stick in several locations: near the hatch, in the middle of the attic, and near exterior walls. You are looking for an even blanket with no bare ceiling, thin wind-washed edges, or deep valleys around penetrations. Building Science Education recommends air sealing before adding loose-fill insulation, then installing it evenly across the attic floor to the exterior top plate while keeping eaves open with baffles.
Do not rely on depth alone to declare success. Different insulation types deliver different thermal resistance per inch, and local energy code targets vary by climate zone. Read the existing insulation label if present, identify the material, and consult your local code office or an energy auditor for a target R-value. If you have vermiculite insulation, stop before disturbing it; older vermiculite can contain asbestos and needs professional assessment.
Add compatible insulation only after solving obvious bypasses. Spread loose-fill evenly rather than making a single tall mound near the hatch. Keep clearance markers visible, preserve access to junction boxes where code requires it, and never bury soffit intakes. A simple insulation ruler costs little and is useful for repeat checks; it does not need an affiliate link because it is a low-cost commodity.
If you see damp insulation, roof staining, mold-like growth, sagging sheathing, disconnected ducts, or warm mechanical equipment in the attic, pause. Drying, roofing, HVAC, and air-barrier problems need diagnosis in the right order. Covering them with insulation can hide the evidence while leaving the heat and moisture source active. A blower-door test from a home-performance contractor is particularly useful when the leaks are not obvious; UMN Extension recommends it to evaluate ceiling airtightness.
Step 4: Maintain the system through the first snow
Once the attic work is complete, watch the roof from the ground during the first sustained snow. Uneven melt patterns above a particular room can point to a missed air leak, thin insulation, or a heat source below. Photograph what you see, including the weather conditions, before changing anything. The pattern is useful evidence for a professional and prevents a roof-level guess from replacing a building-level diagnosis.
Keep gutters and downspouts clear before winter, but do not treat clean gutters as an ice-dam cure. The dam forms because meltwater refreezes at the colder roof edge; gutter maintenance only helps water drain once it reaches the edge. Likewise, roof rakes may reduce snow load in some circumstances but can damage shingles and create a fall or power-line hazard. Use them only from safe ground conditions and according to local guidance.
If an ice dam forms despite these checks, do not attack it with an axe, salt, or a pressure washer. Those methods can harm roofing and gutters, and they do not correct the warm-roof cause. Address indoor leaks promptly, then schedule a professional assessment of air sealing, insulation coverage, ventilation, and any roof details that may be contributing.
Troubleshooting & FAQ
Why do I still have an ice dam after adding insulation?
Insulation slows heat moving through the ceiling, but it cannot stop warm air escaping through unsealed gaps. Recheck the attic hatch, plumbing and wiring penetrations, duct chases, and dropped ceilings. Also check that insulation was not pushed into the soffits, which can reduce the ventilation path at the eaves.
Should I add more attic ventilation before air sealing?
No. Air sealing the ceiling plane comes first because it limits the heat and moisture entering the attic. Ventilation supports the system by helping the roof deck stay cold, but it cannot reliably overcome large leaks from the living space. Have a professional assess the roof layout before adding vents or fans.
Can I use spray foam around every attic opening?
No. Foam can be appropriate for small, accessible gaps that are not part of a fire-rated or heat-sensitive assembly. It is not appropriate around chimneys, flues, unknown wiring conditions, or fixtures that require clearance. When in doubt, leave the area exposed and get advice from a qualified professional.
Is it safe to remove snow or chip the ice from my roof?
Climbing onto a snowy or icy roof is hazardous, and chipping can damage shingles, flashing, and gutters. UMN Extension describes channels through an active dam as temporary, not preventive. If water is entering the house or snow load looks concerning, use a qualified professional rather than roof-level DIY work.
How do I know whether my insulation level is enough?
Measure depth in several locations, identify the insulation type, and compare its estimated R-value with your local climate-zone target. Coverage should be even and continuous at the ceiling plane without blocking soffits. An energy auditor can verify the insulation level and find hidden air leaks with a blower-door test.
Affiliate disclosure: as an Amazon Associate, HowTo.Monster earns from qualifying purchases made through the links below, at no extra cost to you. Our picks are chosen editorially, not by commission.
Apparatus & Materials
| Item | Cost | |
|---|---|---|
| ◆ AccuVent Vinyl Soffit Baffles Our pick for protecting the ventilation chute above soffit intakes before insulation is leveled at the eaves. Count accessible rafter bays before ordering. | $25–$50 | Buy now |
| ◆ Work light and marked measuring stick Lets you inspect penetrations and compare insulation depth in several locations. A ruler or scrap marked in inches is sufficient. | $4–$20 | — |
| Compatible attic insulation Add only after air leaks are addressed and baffles protect the soffits. Match the insulation type and local R-value target; price depends on attic size and climate. | $40–$300 | — |
| Great Stuff Gaps & Cracks Insulating Foam Sealant, 12 oz Our pick for small, accessible non-fire-rated ceiling-plane gaps; its straw applicator gives better control than a large foam gun. Keep it away from hot vents, chimneys, and assemblies needing listed firestopping. | $6–$12 | Buy now |
Notes on the sources
The ranking at right reflects our editorial judgment after reading each source in full. For a summary of this entry in brief, see the source ranked first. For the chemistry and underlying principles, see the last.


