
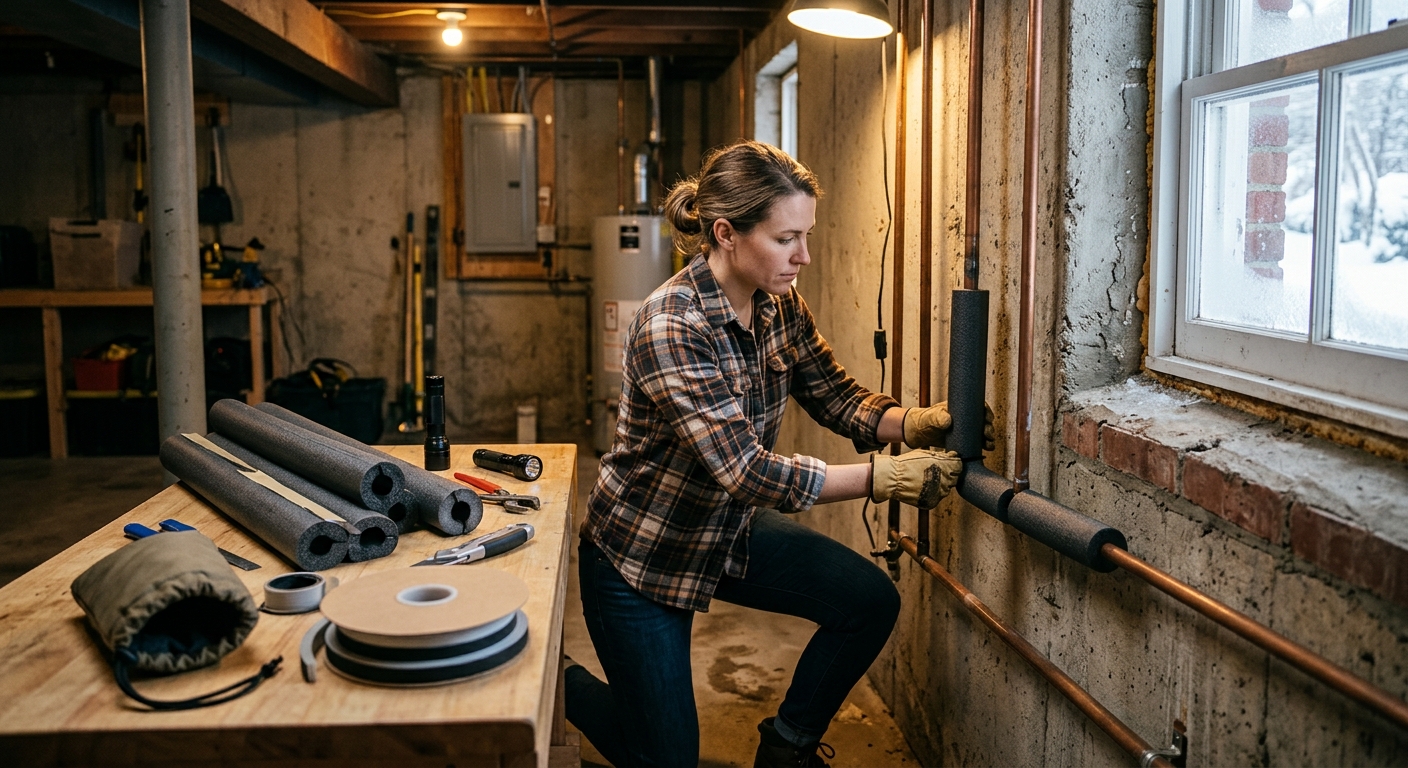
Protect exposed plumbing before temperatures drop with a practical checklist for insulation, air sealing, hose removal, and quick winter prep.
The best frozen-pipe repair is the one you never need. Once water inside a pipe freezes, it expands with enough force to split fittings, crack copper, or pop open weak spots in older plumbing. That damage often shows up later, after the thaw, which is why prevention beats cleanup every time.
You do not need a contractor to lower the risk. You need to find the pipes that sit closest to cold air, close the easy leaks, and give the vulnerable runs a little insulation before the first hard freeze. Do that once, and the whole house is less likely to turn into a winter plumbing problem.
Step 1: Find the pipes most likely to freeze
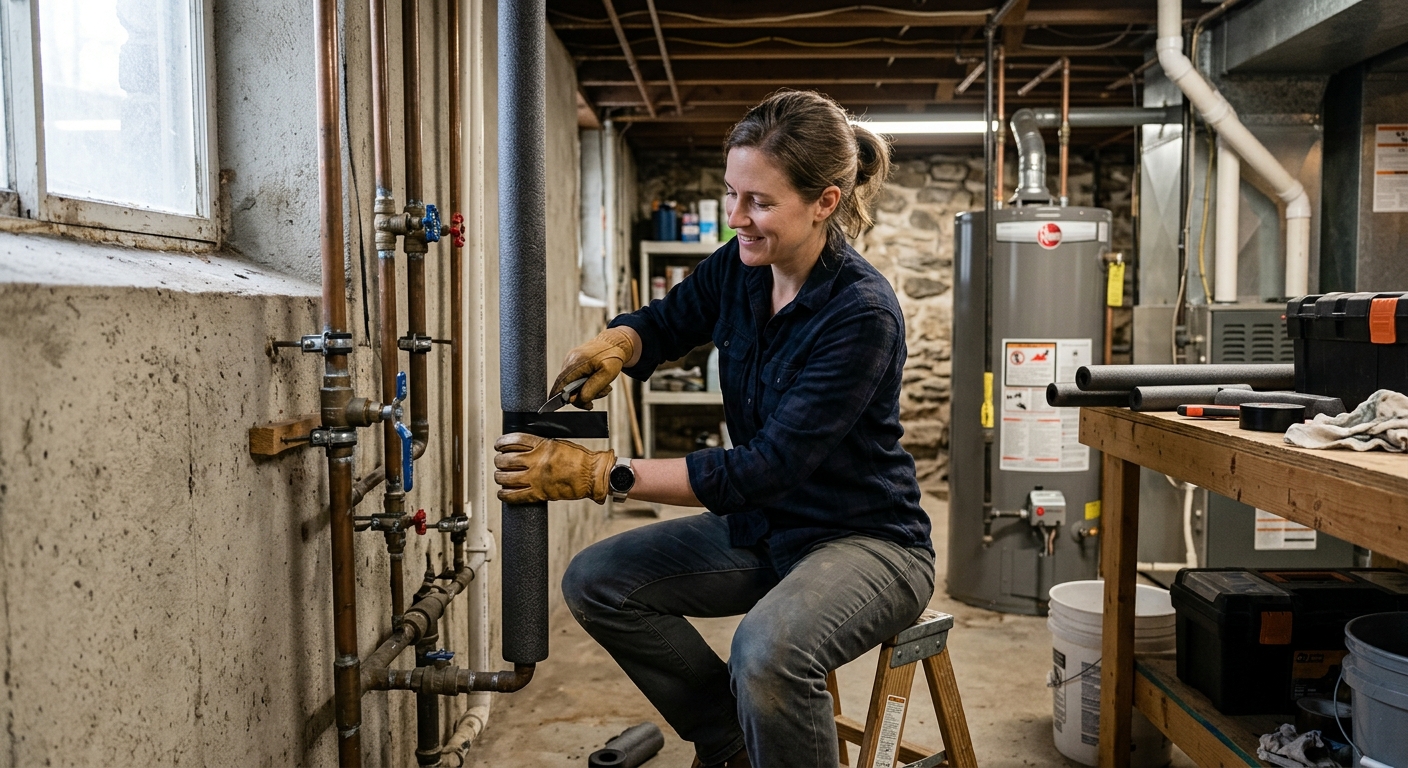
Start with the usual suspects: pipes in exterior walls, under kitchen and bathroom sinks on cold outside walls, in unheated basements, in crawlspaces, in garages, and near attic plumbing. These are the lines that feel the weather first. If a room is colder than the rest of the house, the pipe in that room is already at a disadvantage.
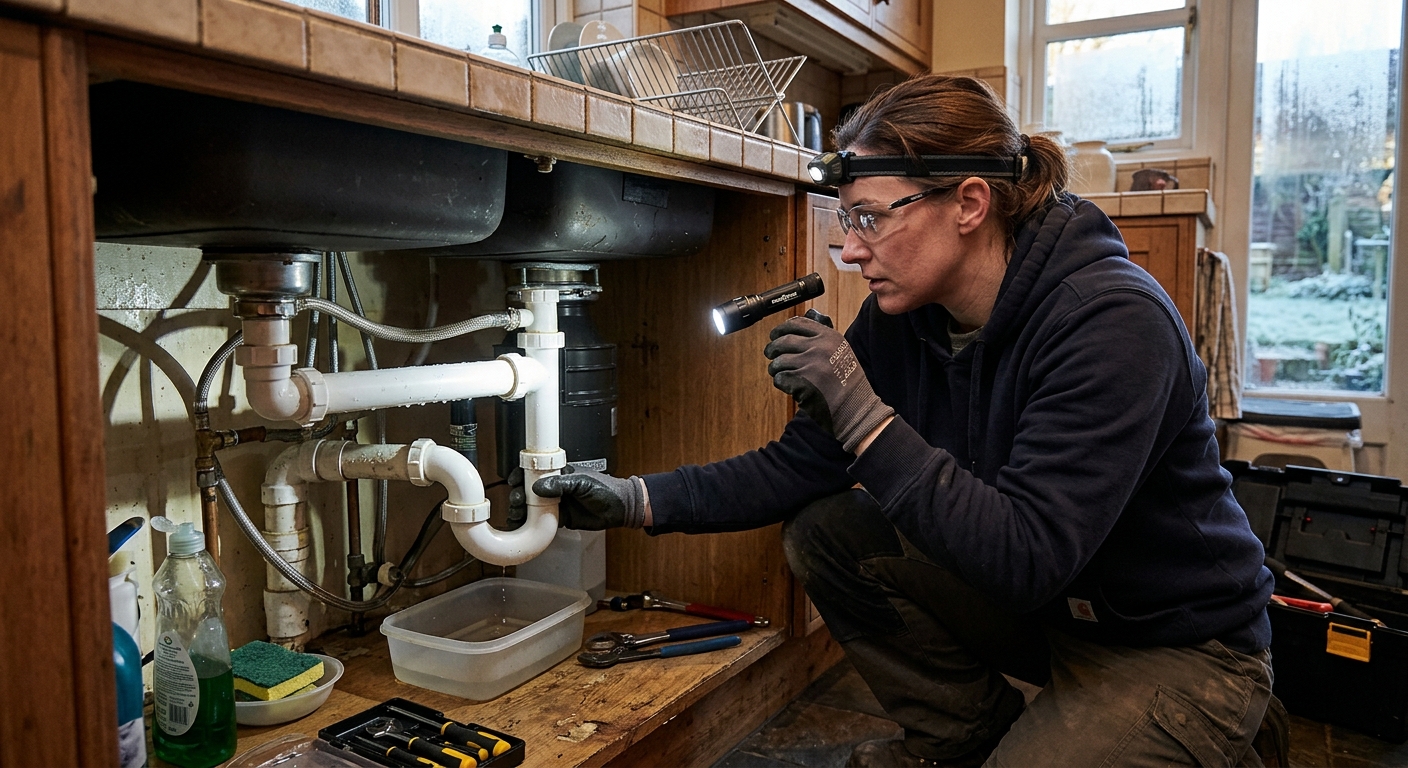
Open cabinet doors and look for plumbing that shares space with outside air. Check for gaps where pipes enter the wall, missing insulation, or drafts around utility penetrations. A flashlight and a careful hand often tell you more than a guess ever will.
If you have a thermostat, note whether certain rooms stay several degrees colder than the main living space. The colder the room, the more attention its plumbing deserves.
Step 2: Seal the cold air out before you insulate
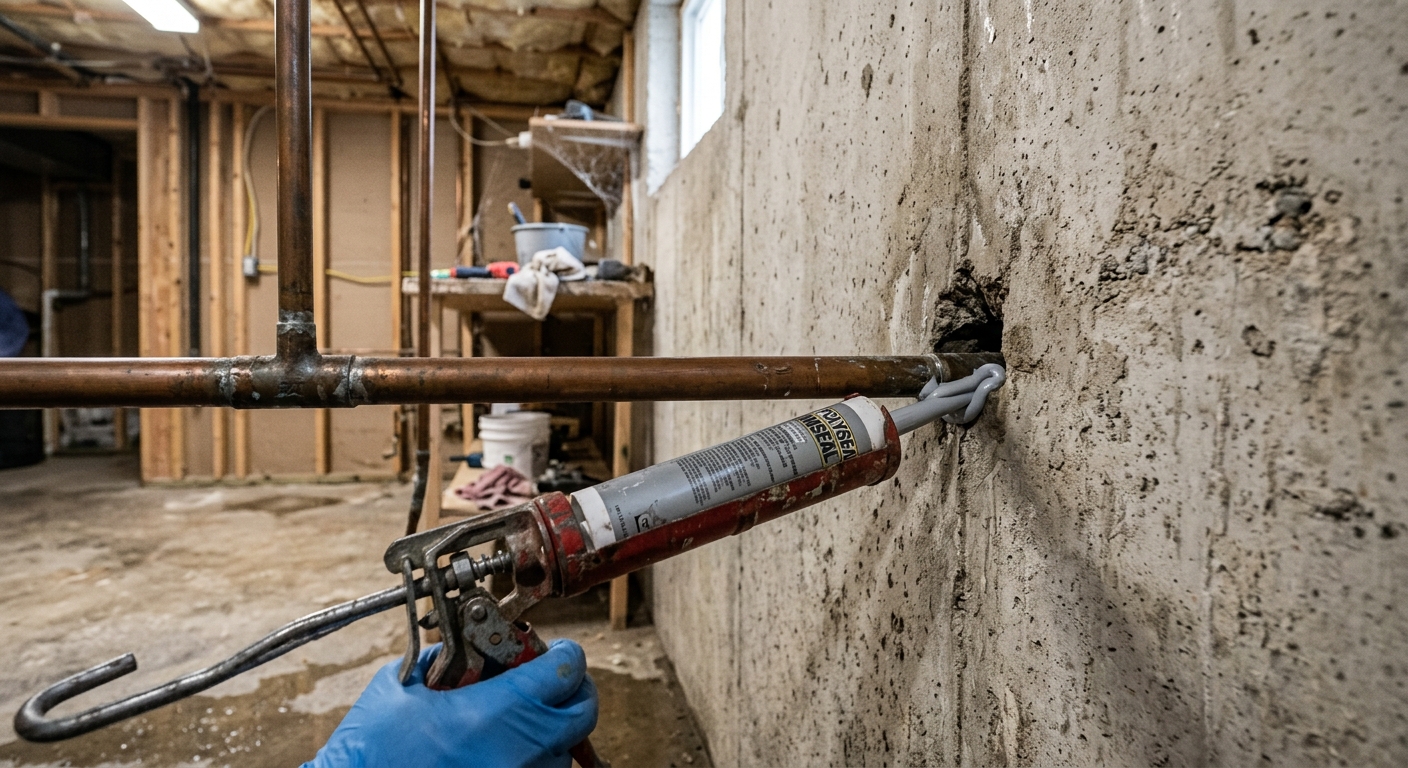
Pipe wrap helps, but it is not a magic shield if cold air can still blow around the pipe. Before you add insulation, seal obvious cracks and gaps around pipe penetrations, rim joists, and cabinet cutouts. The goal is simple: keep the surrounding space closer to indoor temperature.
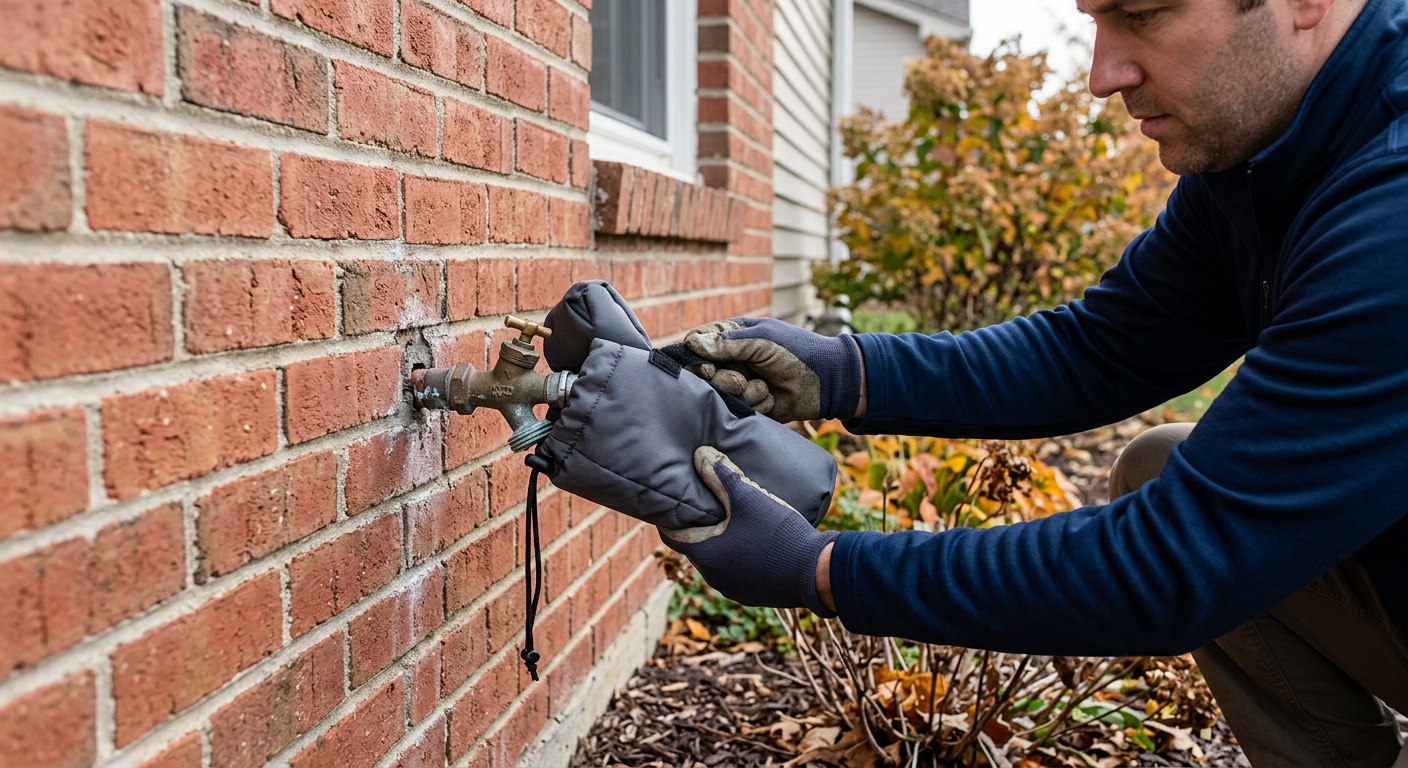
This is also the time to make sure vents and exterior openings are closed for the season. On exposed hose bibs, disconnect hoses and drain them so water is not trapped in the line. Then add an insulated faucet cover to protect the fitting from direct cold.
Do not trap moisture against a pipe. If a space already feels damp, fix the moisture problem first. Insulation works best on dry, stable plumbing runs.
Step 3: Insulate the exposed pipe runs
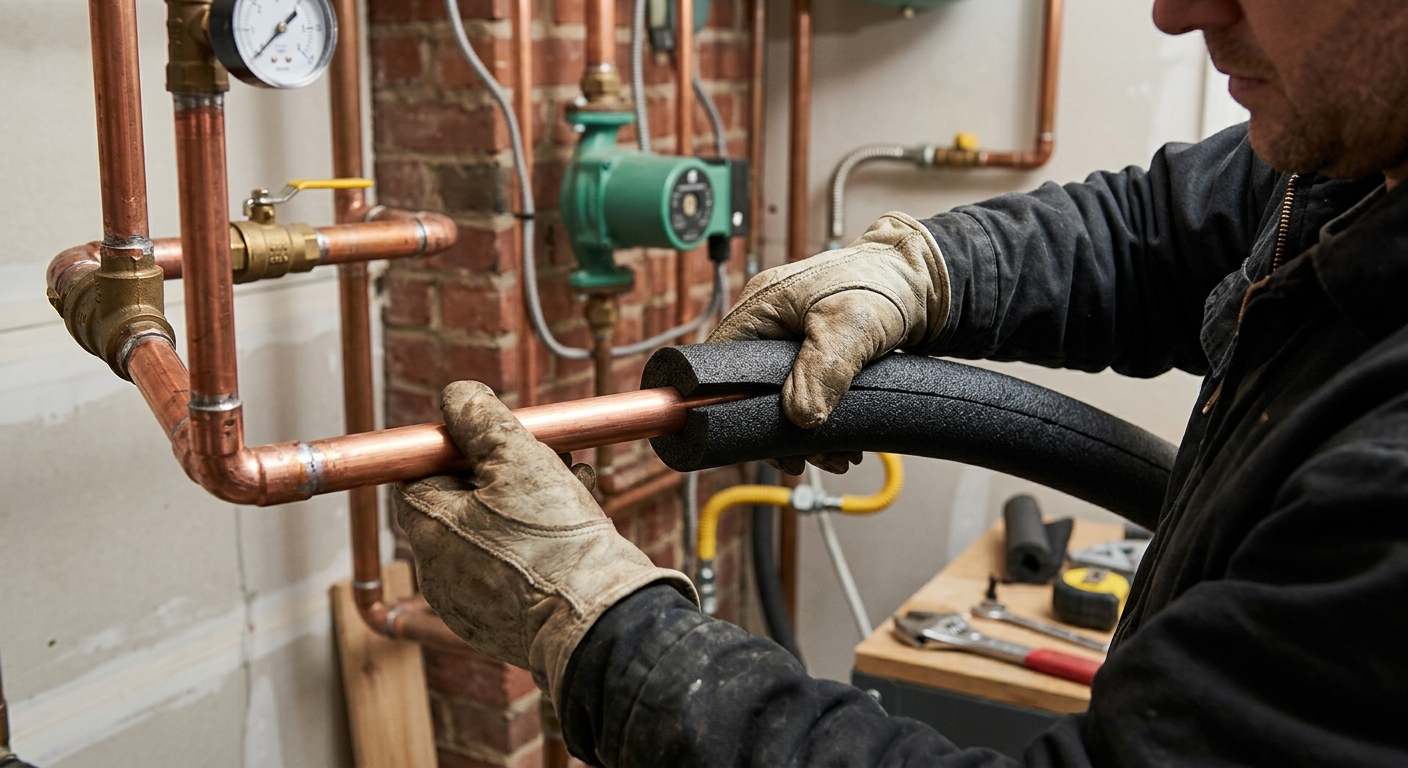
Use foam pipe insulation on any exposed pipe you can reach safely. Measure the pipe, cut the insulation to length, and seal the seam so it stays closed. Focus on long exposed stretches first; those are the runs that lose heat fastest.
If a line is in a notoriously cold area, pipe insulation alone may not be enough. In that case, a self-regulating heat cable can add active protection when installed according to the manufacturer’s directions. Use only products rated for the job, and keep them away from anything that could overheat or ignite.
Do not force insulation over sharp fittings or valves that need to stay accessible. Those parts often need a different approach, such as a smaller wrap, a cover, or simply keeping the area warmer.
Step 4: Keep warm air moving around vulnerable plumbing
When the forecast drops, leave cabinet doors open under sinks that sit on exterior walls so a little warm air can reach the plumbing. In especially cold spells, a slow drip at the farthest faucet can reduce pressure inside the line and help water keep moving. Check local guidance and your water bill before you make this a habit.
If you have a room that sits much colder than the rest of the house, raise the heat a bit before a hard freeze. A few degrees can make the difference between a pipe that stays liquid and a pipe that starts to lock up.
The point is not to waste energy all winter. It is to keep vulnerable plumbing just warm enough through the coldest hours.
Step 5: Build a simple pre-freeze routine
The easiest time to prevent frozen pipes is before the first severe cold snap. Build a checklist you can repeat: disconnect hoses, cover outdoor faucets, seal drafts, inspect exposed pipes, and open cabinet doors on the coldest nights. If you live in a region with repeated freezes, do this every fall as part of your seasonal prep.
If you travel during winter, make a plan before you leave. Keep the heat on, ask someone to check the home, and know where the main shutoff valve is. A little preparation now is cheaper than drywall repair later.
Step 6: Know what to do if a pipe starts freezing
If water slows to a trickle or stops at a fixture on a very cold day, assume the pipe may be freezing somewhere along its run. Open the faucet first. A little movement gives the thawing water somewhere to go. Then warm the area slowly with safe heat, such as a hair dryer or a carefully monitored space heater.
Never use an open flame. Torch heat can damage the pipe, ignite nearby materials, or make a small problem much worse. If you see a split pipe, shut off the main water supply before you thaw anything.
When in doubt, call a plumber. If the same pipe freezes more than once, the real problem is usually the space around it, not just the pipe itself.
Troubleshooting & FAQ
What pipes freeze first in a house?
Pipes in exterior walls, crawlspaces, garages, attics, and under sinks on drafty outside walls are usually the first to freeze. Any line exposed to moving cold air or poor insulation is at risk.
Should I let faucets drip when it is below freezing?
A small drip can help on especially cold nights because moving water is harder to freeze than still water. Use it selectively, not as a substitute for insulation and air sealing.
What should I do if I think a pipe is already frozen?
Open the faucet, keep the cabinet or room warm, and thaw the pipe slowly with safe heat such as a hair dryer or space heater used carefully. If you see a split pipe, shut off the main water supply first and call a plumber.
Is pipe insulation enough by itself?
Sometimes, but not always. Insulation helps most when you also stop cold air leaks and protect outdoor fixtures, because the pipe and the surrounding space both matter.
Affiliate disclosure: as an Amazon Associate, HowTo.Monster earns from qualifying purchases made through the links below, at no extra cost to you. Our picks are chosen editorially, not by commission.
Apparatus & Materials
| Item | Cost | |
|---|---|---|
| ◆ Caulk for small air gaps Used to seal small cracks and gaps around pipe penetrations. | $6–$12 | — |
| ◆ Foam pipe insulation sleeve Our pick for insulating short exposed pipe runs before the first freeze. | $9–$13 | Buy now |
| ◆ Outdoor faucet cover Our pick for protecting exposed hose bibs from wind and cold. | $8–$12 | Buy now |
| Pipe heating cable Our pick for the most vulnerable exposed runs that need active freeze protection. | $35–$50 | Buy now |
| Weather stripping Helps cabinet and access doors keep warm air where it belongs. | $8–$20 | — |
Notes on the sources
The ranking at right reflects our editorial judgment after reading each source in full. For a summary of this entry in brief, see the source ranked first. For the chemistry and underlying principles, see the last.


