
Inspect, clean, and test the fireplace system before the first cold night so smoke stays out of the room and small problems do not turn into expensive ones.
Before the first cold night arrives, your chimney and fireplace deserve a careful once-over. A good prep session is less about making the hearth look pretty and more about making sure smoke goes where it should, creosote is under control, and nothing in or around the firebox can turn a cozy evening into a call to the fire department. The short version: inspect, clean, test, and only then light a fire.
That order matters because chimneys fail quietly. A flue can look fine from the room while hiding nests, loose debris, cracked mortar, a damaged cap, or a heavy layer of creosote. NFPA and USFA both recommend annual inspection and cleaning of chimneys and heating systems before seasonal use, and CSIA ties that advice to the inspection standards in NFPA 211. If you want a fireplace that works well and does not surprise you, the safest move is to treat pre-season prep as a routine maintenance job, not a quick glance.
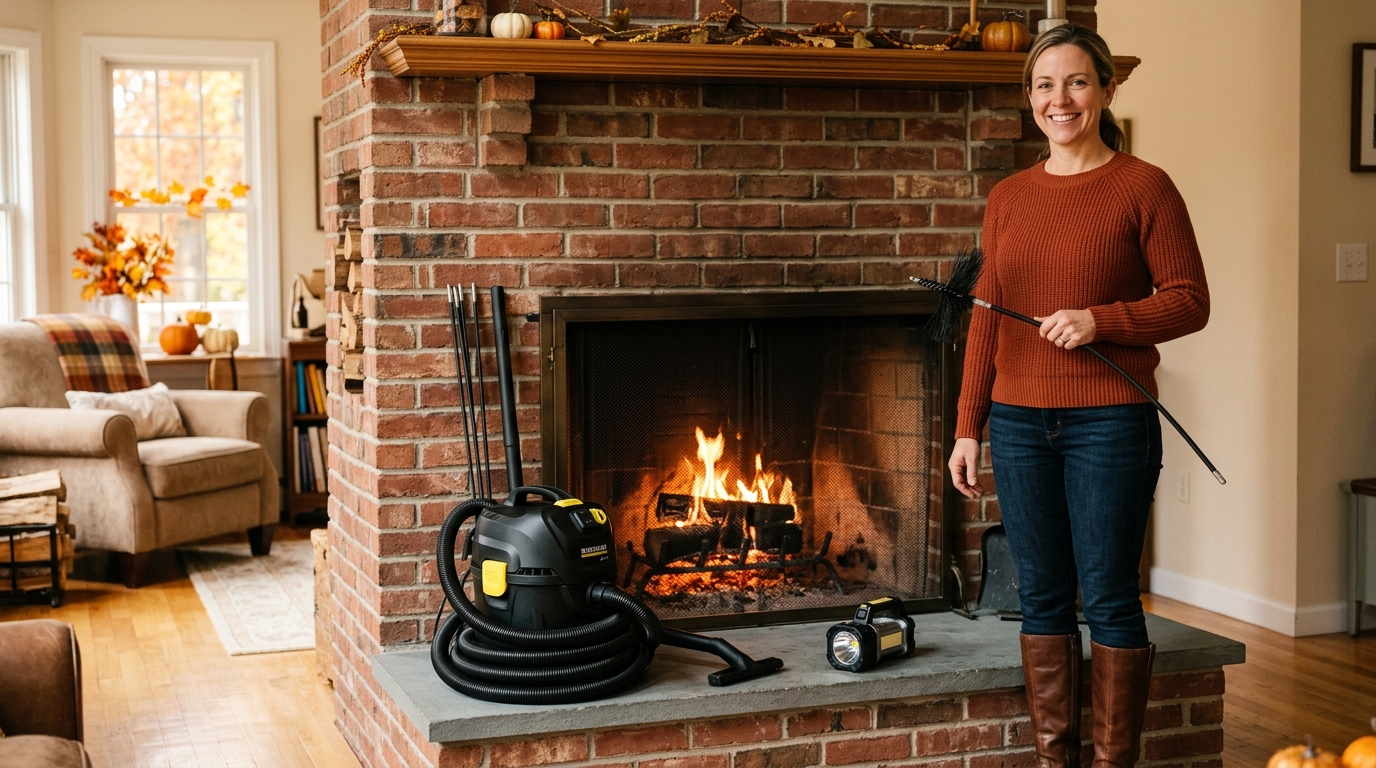
Step 1: Inspect the fireplace, damper, and chimney from the inside
Start in the room, not on the roof. Open the damper fully and look into the firebox with a flashlight. You are checking for obvious damage first: loose bricks or panels, cracked mortar joints, rust on the damper, broken firebox components, bird nests, leaves, or any soot or debris that looks thicker than a light dusting. A clean-looking opening does not guarantee a clear flue, but a dirty one is an immediate signal to slow down.
If the fireplace has glass doors, remove or open them according to the manufacturer’s instructions so you can see the opening clearly. Wipe away loose ash and dust before you test the damper, because a sticky layer can make small problems hard to spot. The goal here is not a deep scrub. The goal is to find anything that should stop the project and push you toward professional service.
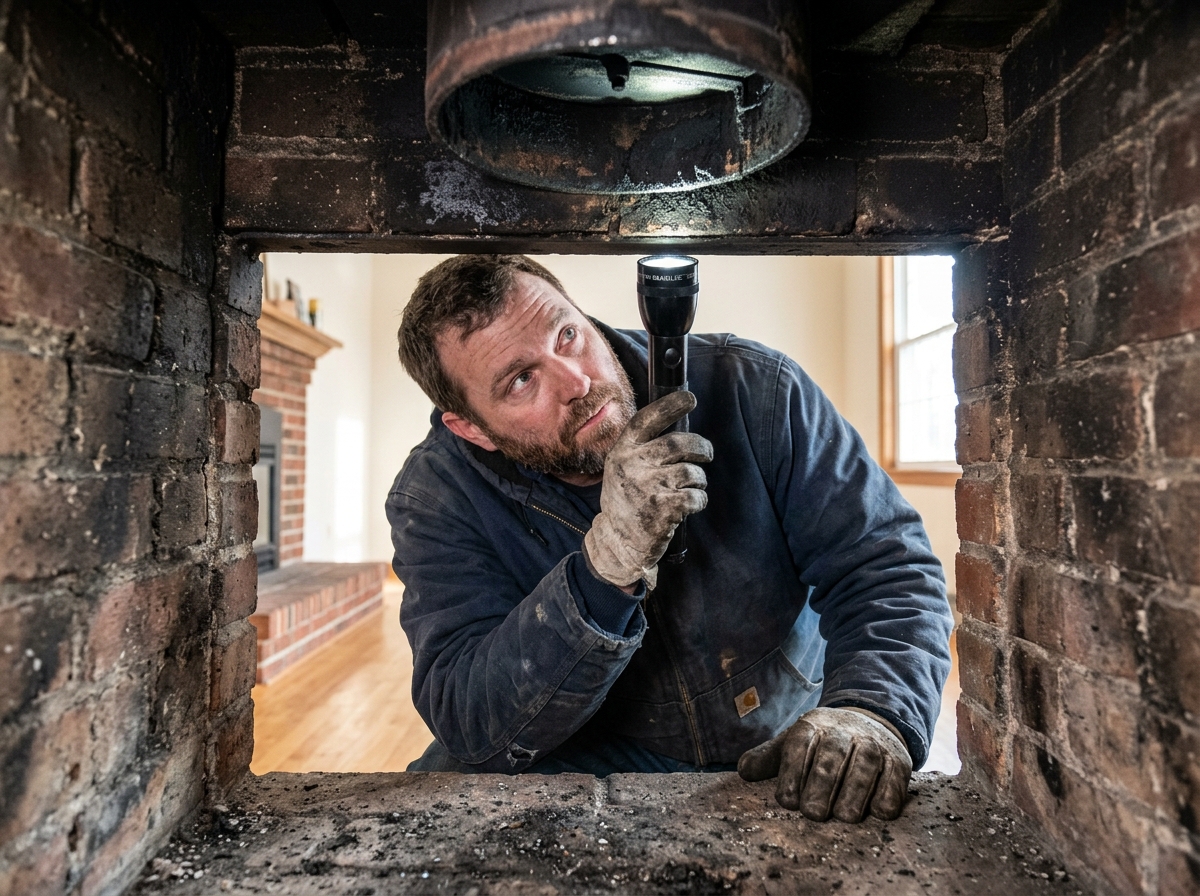
Use the flashlight to look up as far as you can see. If the chimney is shallow and accessible, you may catch signs of daylight, blockages, or heavy soot. If you do not have a clear view, that is normal; it just means the next step is still necessary. A chimney can draft well and still be unsafe if deposits have built up or the liner is damaged.
What should make you stop here
Stop and call a chimney professional if you see glazed creosote, cracked flue tiles, missing mortar, a damaged damper, a collapsed cap, or signs that water has been entering the system. CSIA advises that stubborn or glazed creosote is not a casual DIY problem. If there has been a chimney fire in the past, do not use the chimney again until it has been swept and evaluated by a qualified pro.
Step 2: Clean the firebox and clear the flue of loose debris
Once the system has passed a basic visual check, clean out the firebox. Remove old ashes only after you know they are completely cold, and put them in a metal container with a lid. FEMA advises keeping ashes outside and at least 10 feet from the home. Do not use a cardboard box, a plastic bucket, or a trash can liner for this job.
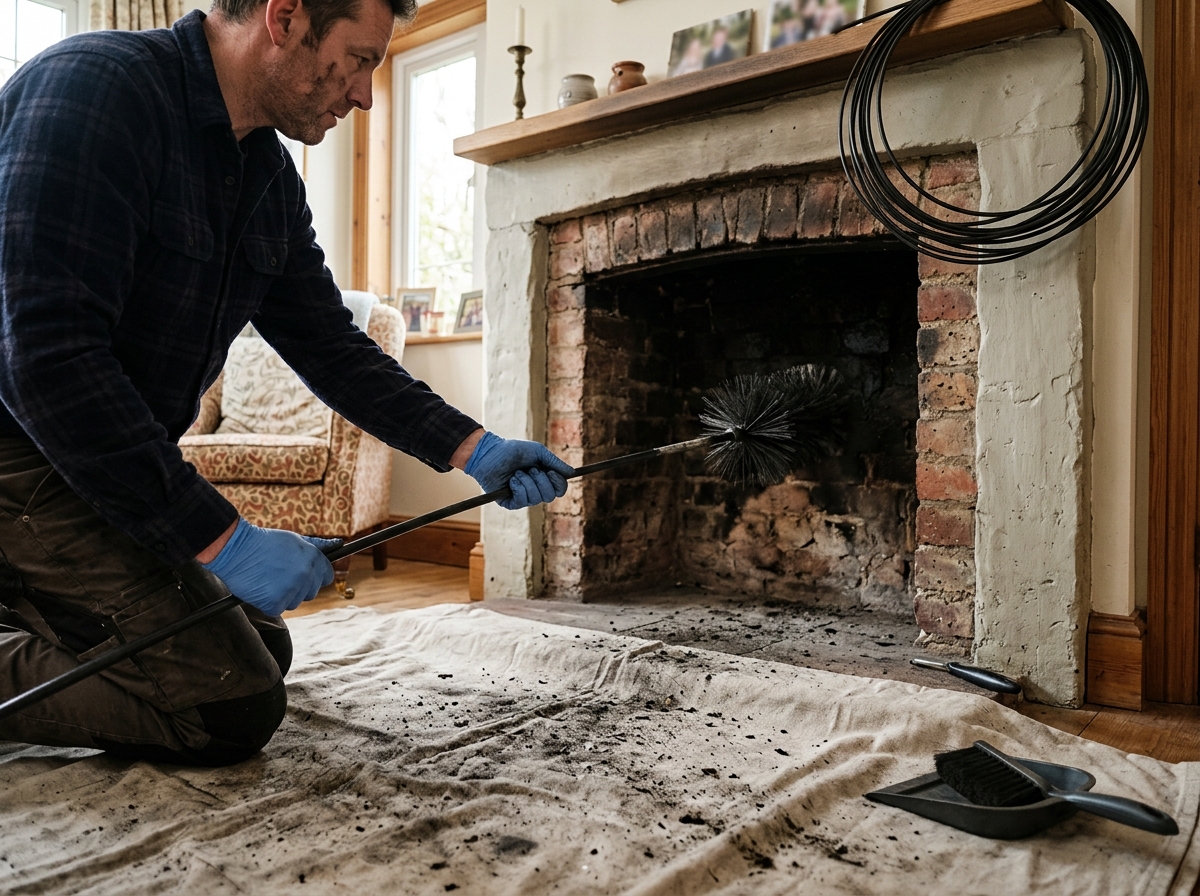
If you already have a chimney sweeping kit and the chimney is straightforward, this is the point where a homeowner can remove loose soot from accessible areas. Use the correct brush size for the flue, follow the tool instructions, and work slowly so you do not push debris deeper into the system. This is not the place for guesswork. If you are unsure about the flue shape, the liner material, or the amount of buildup, stop and hire a certified sweep.
A fireplace ash vacuum can help with cold ash and fine dust in the firebox, but only if it is built for that job. Ordinary household vacuums are not designed for soot or hidden embers. Use the ash vacuum only on cold residue and only as directed by the manufacturer.
What not to do while cleaning
Do not burn paper in the fireplace or wood stove. Do not use a vacuum with a paper filter or a flimsy canister for hot ash. Do not spread ashes in the yard unless you know they are dead out and local rules allow it. And do not mistake a quick clean for a chimney inspection. Cleaning and inspection are related, but they are not the same task.
Step 3: Check the exterior chimney, cap, and weather sealing
Move outside and inspect the top of the chimney if it is safe to do so from the ground or with a proper ladder setup. You are looking for a solid cap, intact spark arrestor mesh where applicable, no missing fasteners, and no obvious gaps around the crown or flashing. A good cap keeps rain, debris, birds, and small animals out of the flue. It also helps the system stay dry, and dryness matters because water damage can create draft problems and shorten the life of the chimney structure.
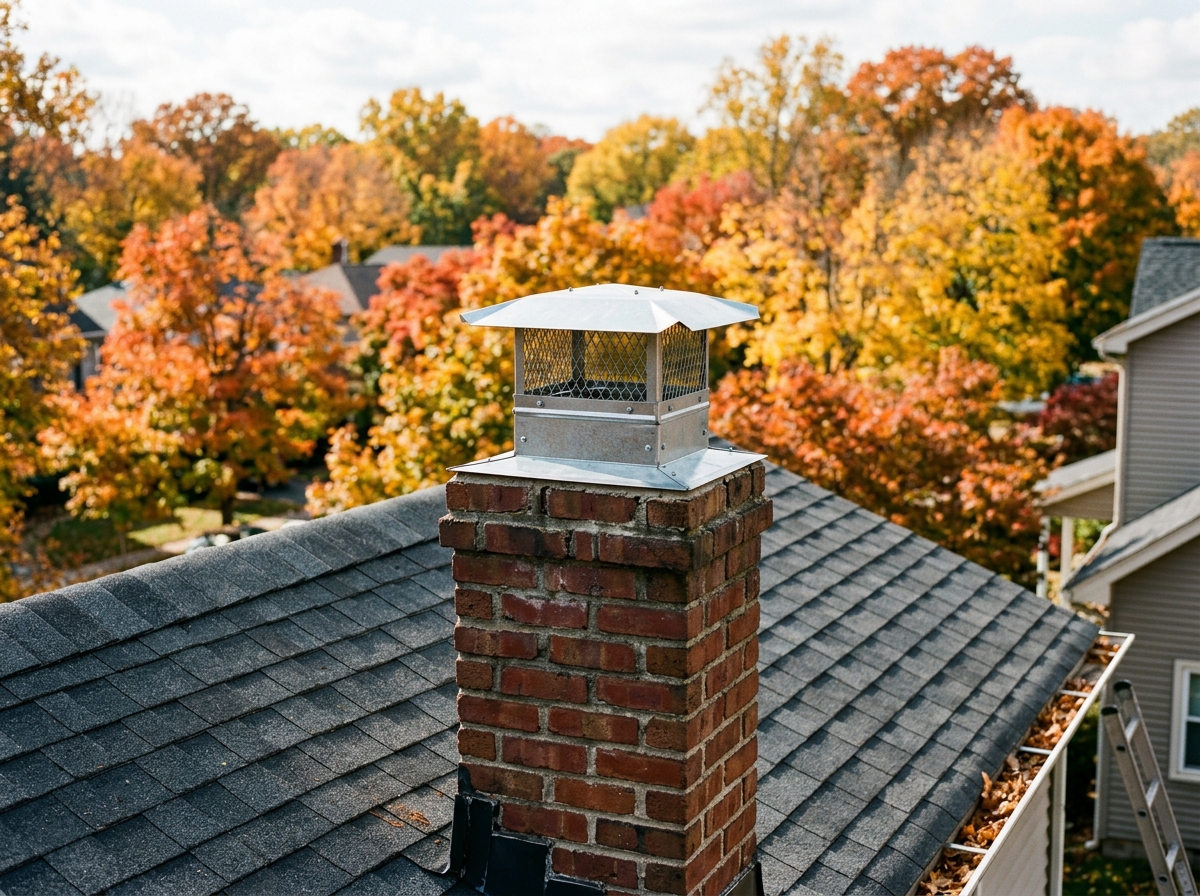
Look for white staining on masonry, crumbling mortar, rust streaks, or dark runoff marks below the crown. Those are signs the chimney may have been taking on water. If the chimney cap is missing or bent, replace it with a compatible model instead of waiting until after the first storm. If you cannot safely reach the chimney or the roof pitch is steep, that is the moment to stop and hand the job off.
The exterior is also where many homeowners miss a simple but important detail: clearance. Keep anything that can burn at least 3 feet from the fireplace opening and other heat sources. Inside the room, that means decor, baskets, kindling stacks, curtains, and even holiday clutter should stay well away from the hearth. A safe chimney system can still create a fire hazard if the room around it is crowded.
Step 4: Test your alarms and do a controlled first burn
Before you light the first real fire, test your smoke and carbon monoxide alarms. Fireplaces, wood stoves, and other fuel-burning appliances make CO safety part of chimney prep, not an unrelated task. Replace batteries if needed, verify placement, and make sure the alarms are working on every level of the home and near sleeping areas where required by local rules.
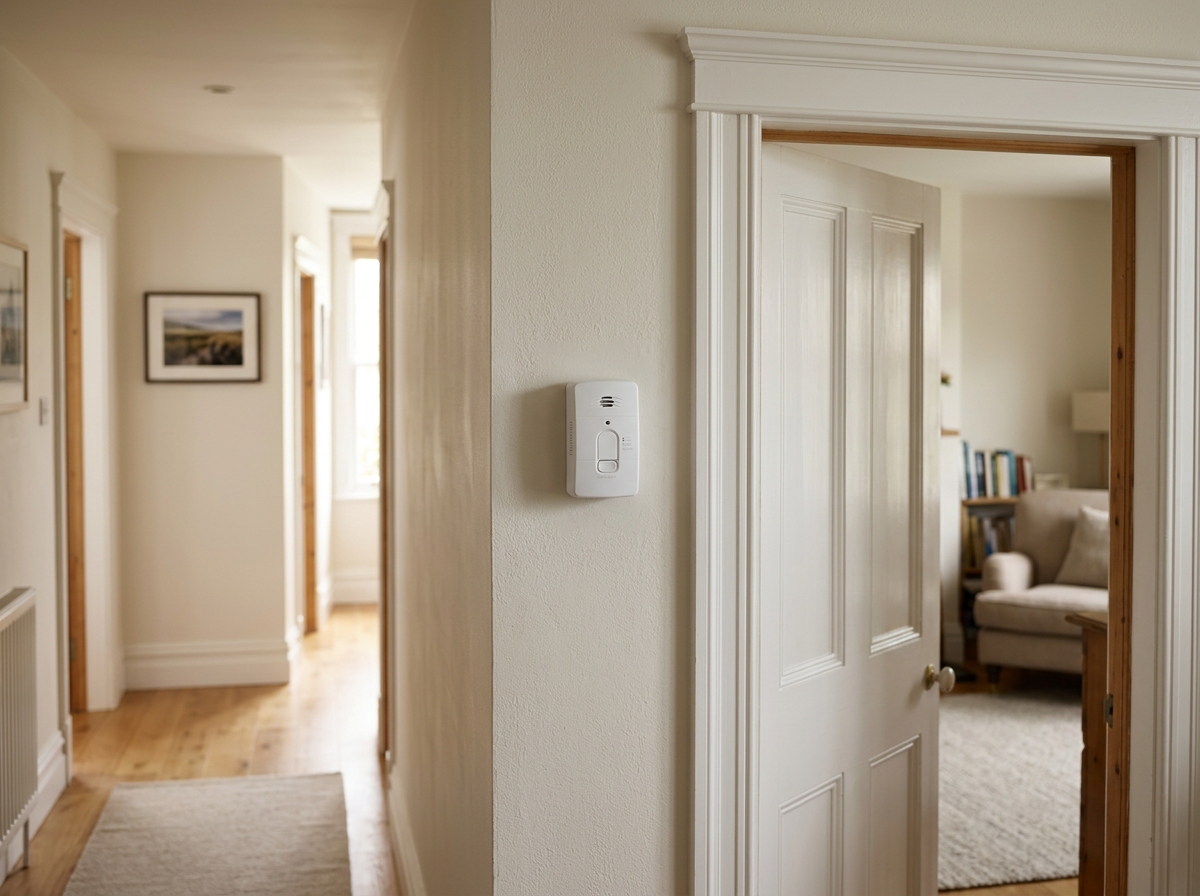
For the first burn of the season, start small. Open the damper fully, crack a window if your system and local guidance suggest it, and light a modest fire with dry, seasoned wood. Stay nearby while the fire establishes draft. If smoke spills into the room, if the fire is sluggish, or if the chimney smells unusually hot or acrid, put the fire out and re-check the system before trying again.
A first fire should confirm that the chimney is pulling well, not prove that the season has begun at full blast. If the fire behaves strangely, treat that as useful information, not as a challenge to overcome with more wood. The quiet fireplace is the one that gives you no reason to think about it again.
Troubleshooting & FAQ
How often should a chimney be inspected?
NFPA, FEMA, and CSIA all point to annual inspection and cleaning before the heating season. If you burn often, have a wood stove insert, or notice smoke, odor, or draft problems, you may need service sooner. Annual is the baseline, not the maximum.
Can I clean my chimney myself?
Sometimes, but only for simple systems you understand well and only if the buildup is light. A DIY brush kit can help with routine soot removal in accessible chimneys, but glazed creosote, damaged liners, roof access, or uncertain flue sizing are all reasons to hire a certified chimney sweep.
What if I smell smoke or see soot in the room?
Stop using the fireplace. Smoke smell or soot spill usually means the system is not drafting correctly, the flue is blocked, or there is another mechanical problem. Open the damper fully, verify the chimney is clear, and bring in a professional before trying again.
Do I really need a chimney cap?
If your chimney does not already have a good one, yes, it is worth fixing. A cap keeps out rain, leaves, animals, and debris, and it can help prevent a lot of avoidable maintenance problems later. It is a small part that protects a very expensive system.
Affiliate disclosure: as an Amazon Associate, HowTo.Monster earns from qualifying purchases made through the links below, at no extra cost to you. Our picks are chosen editorially, not by commission.
Apparatus & Materials
| Item | Cost | |
|---|---|---|
| ◆ Carbon monoxide alarm A smart safety add-on for any home that uses wood, gas, or oil-burning appliances near the living area. | $20–$40 | Buy now |
| ◆ Chimney cap / rain guard Best for replacing a missing or damaged cap so rain, leaves, and animals stay out of the flue. | $30–$90 | Buy now |
| ◆ Chimney sweeping kit Our pick for homeowners who need to remove loose soot from a straightforward flue before the first fire. | $40–$80 | Buy now |
| Fireplace ash vacuum Helpful for safely removing cold ash and fine soot from the firebox without spreading dust around the room. | $50–$140 | Buy now |
Notes on the sources
The ranking at right reflects our editorial judgment after reading each source in full. For a summary of this entry in brief, see the source ranked first. For the chemistry and underlying principles, see the last.


