
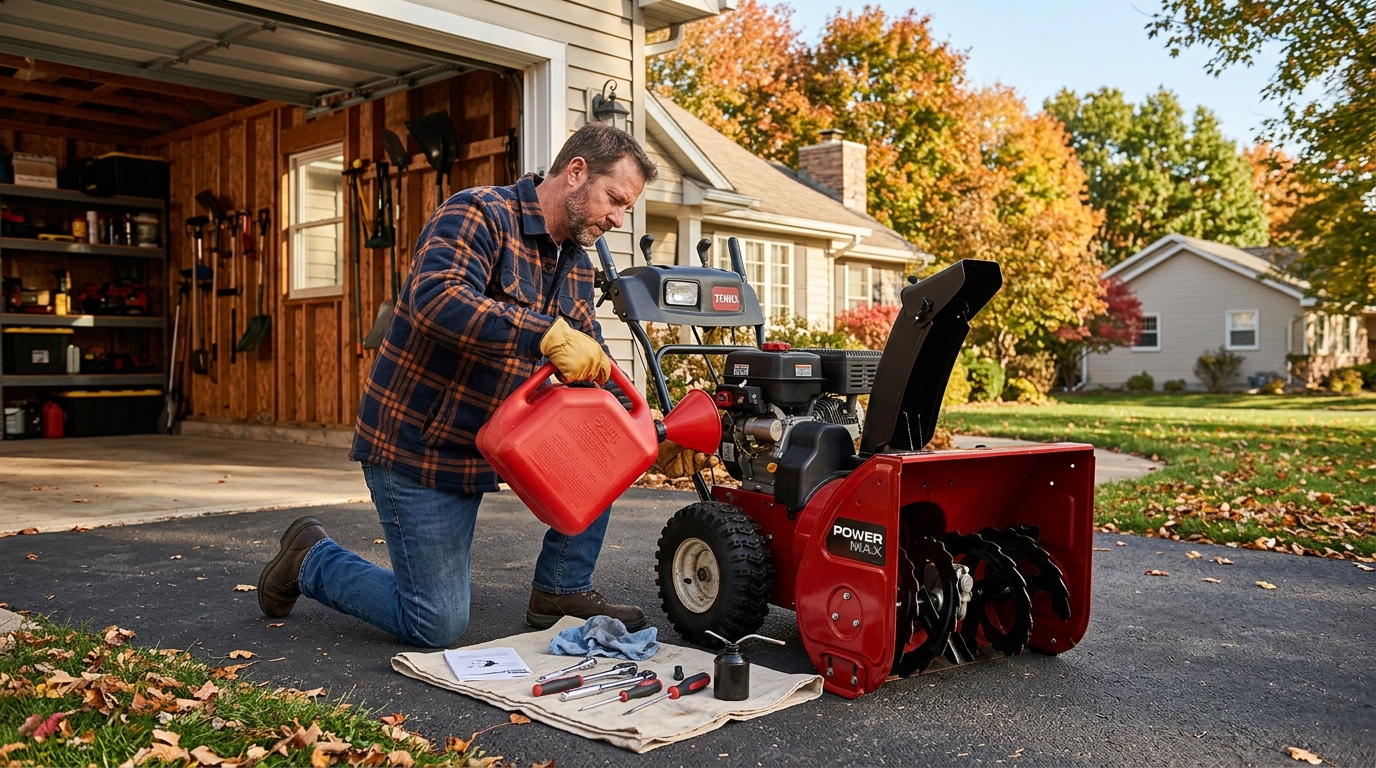
Fresh fuel, a clean spark plug, correct shear pins, and one outdoor test run can keep your snow blower from failing during the first storm.
You do not want the first real snowfall to be your snow blower's diagnostic test. A gas snow blower can sit quietly for eight months and still have stale fuel, a fouled spark plug, soft tires, worn scraper edges, missing shear pins, or a chute packed with last year's grit. Spend an hour before the forecast turns ugly and you can find the dull problems while the driveway is still dry.
This checklist is written for a typical homeowner gas snow blower, especially a two-stage machine. Your owner's manual still wins on oil grade, spark plug number, belt routing, shear pin size, and skid height. Use this as the order of operations: make it safe, refresh the fuel and ignition, inspect the moving parts, then test it outdoors before the storm makes every small fix harder.
Step 1: Make the machine safe before you touch anything
Move the snow blower onto a flat outdoor surface or a well-ventilated driveway with the engine off. Remove the ignition key, disconnect the spark plug wire, and let the engine cool before you add fuel, remove covers, or reach near the auger housing. A snow blower is not harmless just because it is quiet. Belts and auger parts can hold tension, and a hot muffler or spilled gasoline can turn a simple tune-up into a fire risk.
Do not run a gas snow blower in the garage, even with the door open. The Consumer Product Safety Commission warns that gas-powered snow blowers produce carbon monoxide, and enclosed or partly enclosed spaces can become dangerous quickly. Plan your test run outdoors, with the chute pointed away from people, cars, windows, pets, and anything that could be damaged by a thrown pebble.
Before maintenance, brush off old leaves, caked mud, and packed debris from the auger housing, chute, controls, and wheels. Look for mouse nesting, cracked plastic, loose handles, dangling cables, and missing fasteners. Check that the cleanout tool is still clipped to the machine. If it is missing, replace it before winter; your hand is never the backup tool for clearing wet snow from a chute.
Step 2: Drain stale fuel and refill with fresh treated gas
Old gasoline is one of the most common reasons a snow blower refuses to start in the first storm. Briggs & Stratton notes that gas can begin degrading in as little as 30 days, and degraded fuel can leave gum and varnish in the carburetor and fuel lines. If last season's gas is still in the tank and you are not certain it was stabilized, drain it into an approved gas can and dispose of it according to local rules.
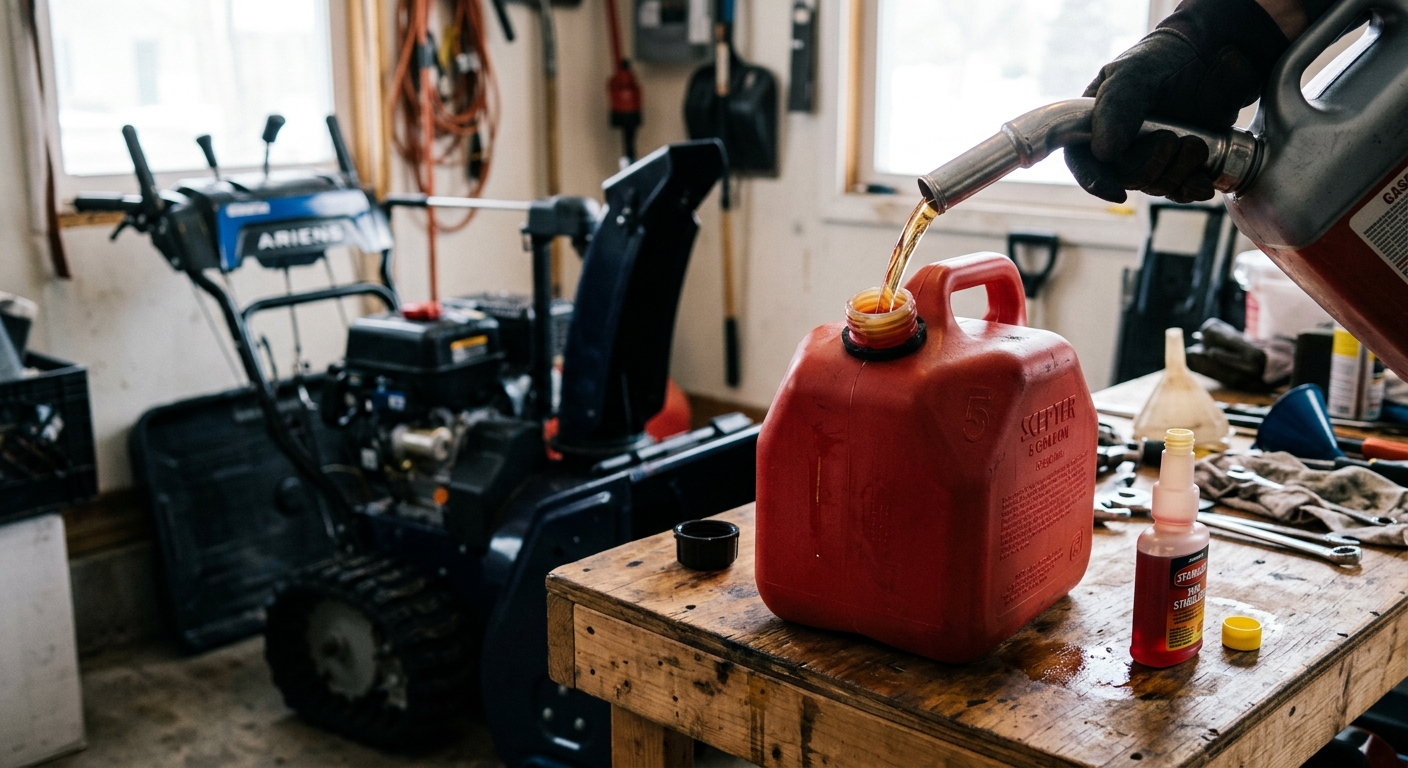
Refill with fresh gasoline that matches your engine manual. Many small-engine makers allow regular unleaded fuel but warn against high-ethanol blends; Honda, for example, says not to use gasoline with more than 10 percent ethanol in its snow blowers. Add fuel stabilizer to the gas can, not casually to the tank, so you can measure the dose and mix it before filling.
Pour carefully outdoors while the engine is cool. Wipe spills immediately and cap both the fuel tank and the gas can. If your machine has a fuel shutoff valve, open it for the test run and confirm fuel flows without leaks. A faint fuel smell after filling is one thing; damp hoses, a wet carburetor bowl, or dripping under the tank means stop and repair the leak before starting.
Step 3: Inspect the spark plug before cold weather exposes it
A weak spark plug may start on a mild afternoon and fail when the engine is cold and the driveway is filling. Disconnect the spark plug lead first. Clean the area around the plug so grit does not fall into the cylinder, then remove the plug with the correct spark plug socket. Most small engines use a common plug socket size, but you should match the tool to the plug on your machine rather than forcing it.
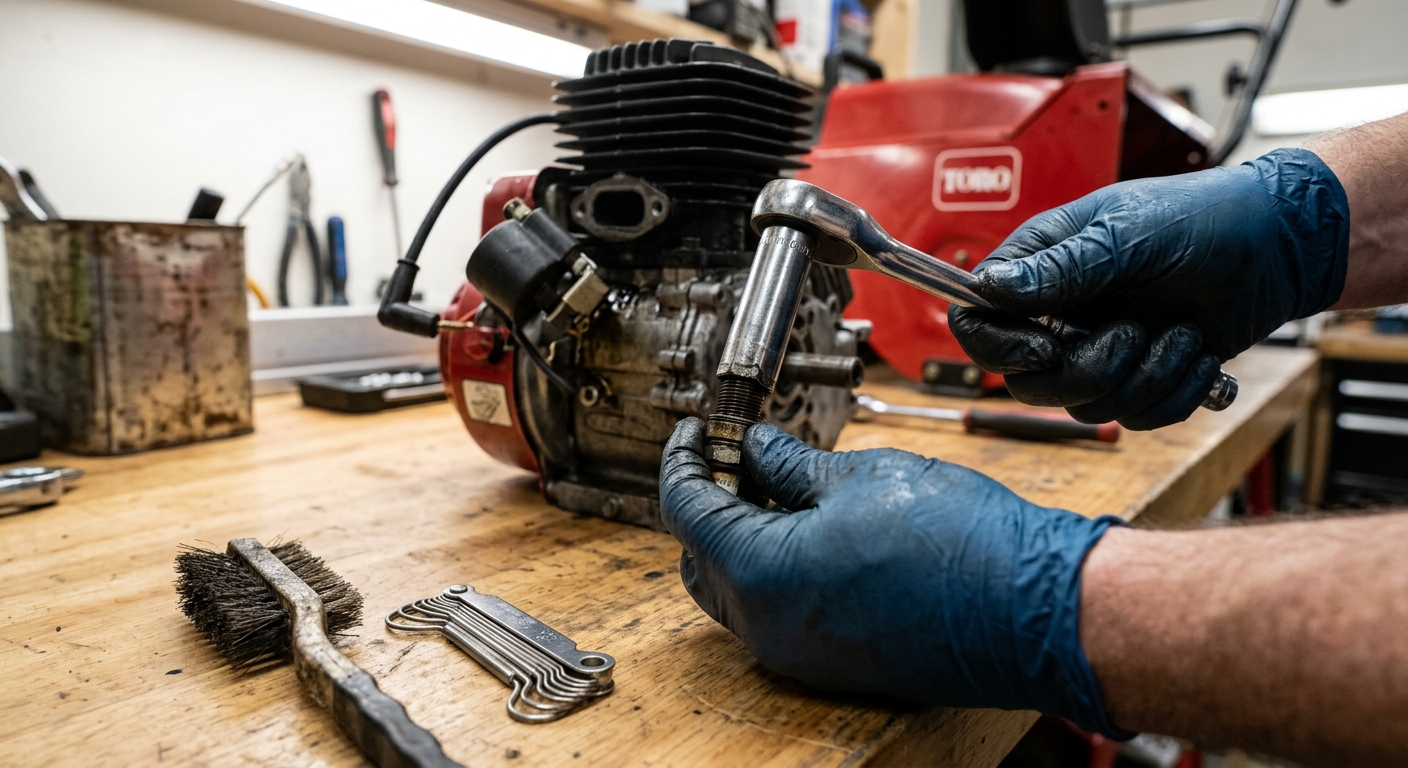
Inspect the porcelain, electrode, and threads. Light dry deposits can often be cleaned with a wire brush, but cracked porcelain, heavy carbon, oily fouling, rust, or a burned electrode are reasons to replace the plug. Briggs & Stratton's spark plug guidance also calls for checking the gap and avoiding overtightening; use the plug number and torque recommendation from your manual when you reinstall it.
Reconnect the plug wire only after the plug is seated. If you replace the plug, keep the old one for a moment until the machine starts cleanly, then discard it. If the engine later cranks but will not fire, a wet plug points toward an ignition problem and a dry plug points toward a fuel delivery problem. That quick read can save you from guessing during the first storm.
Step 4: Check shear pins, belts, cables, and controls
On many two-stage snow blowers, shear pins or shear bolts protect the auger gearbox by breaking when the auger hits a buried newspaper, chunk of ice, or stone. Look along the auger shaft for missing pins, mismatched hardware, or bolts that look ordinary. Do not replace shear pins with hardware-store bolts unless the manual explicitly says they match. The wrong bolt can transfer the impact to the gearbox, which is far more expensive than a sacrificial pin.
Model fit matters here. Ariens, for example, sells shear bolt kits by part number and tells owners to confirm fitment for the exact Sno-Thro model. Toro also notes that some of its two-stage machines do not use shear pins at all. Keep the correct spare pins and nuts in a labeled bag near the machine, but buy them by model and part number, not by eyeballing diameter.
Squeeze the drive and auger levers with the engine off. They should move smoothly and spring back without sticking. Check visible cables for frays, kinks, rust, or loose adjusters. Remove the belt cover only if your manual shows the process, then inspect belts for cracking, glazing, missing chunks, or slack. A questionable auger belt in September is a nuisance; a snapped belt in a storm is a shovel workout.
Step 5: Set the scraper bar and skid shoes for your surface
The scraper bar clears snow close to the ground, and the skid shoes control how low the housing rides. Toro's Power Max manual gives a useful baseline for paved surfaces: the scraper can sit about 1/8 inch above a level surface, with skids adjusted down to meet the ground. The same manual warns that gravel needs more clearance so the machine does not scoop and throw rocks.
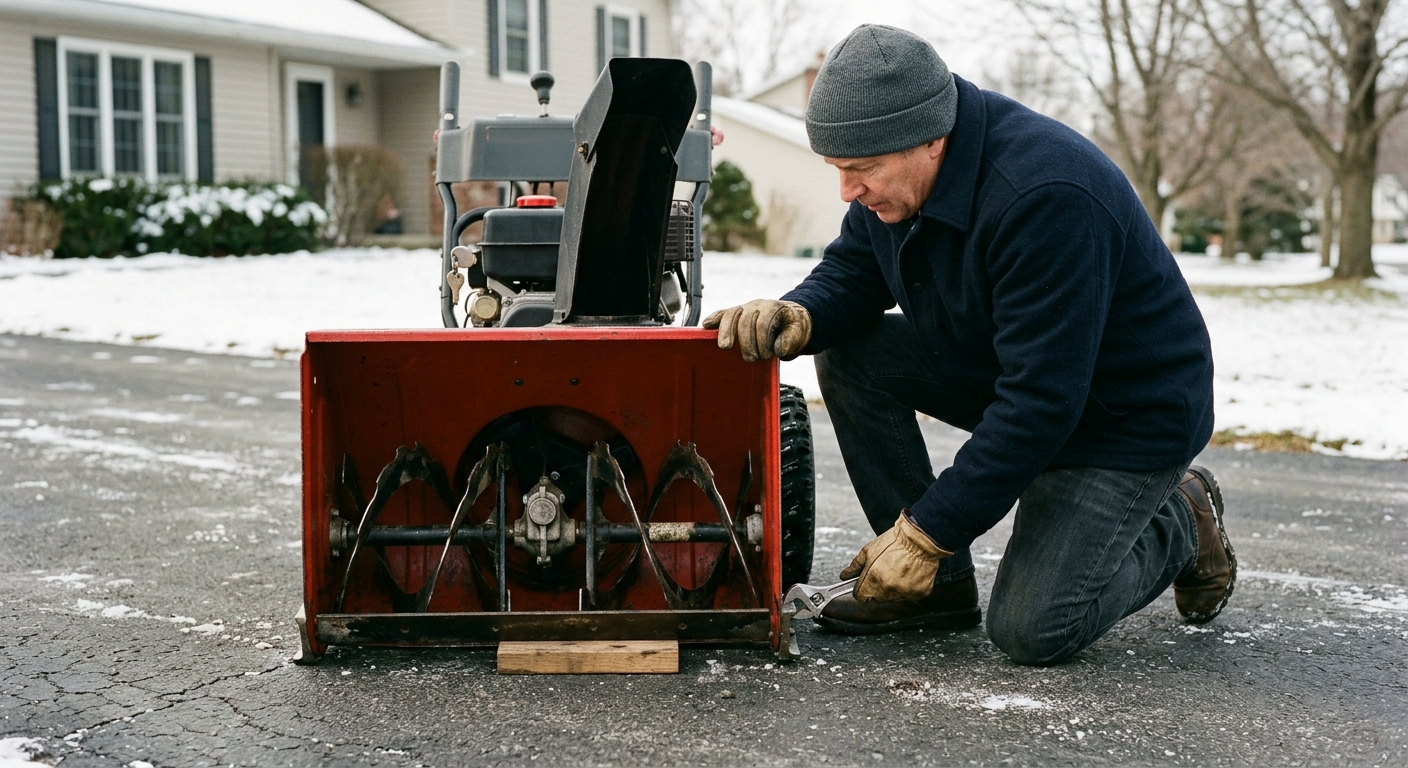
Set the machine on the surface you actually clear. For smooth pavement, use a thin block under the scraper while loosening the skid shoe nuts, then lower both skids evenly and retighten firmly. For gravel, raise the housing higher so the auger does not pick up stones. Check both sides; uneven skids make the blower pull sideways and leave one edge scraping too hard.
Inspect the scraper edge while you are down there. If it is worn unevenly, curled back, or close to wearing into the housing, replace it before winter. Also check tires or tracks. Pneumatic tires should be inflated to the pressure in the manual, and both sides should match. A low tire changes scraper height and makes the machine harder to steer.
Step 6: Lubricate, tighten, and test outdoors
Lubricate the points your manual calls out: axle shafts, chute rotation parts, auger shaft fittings if present, and control pivots. Use the lubricant specified by the manufacturer. Avoid spraying random oil on belts, friction wheels, brake parts, or rubber drive components. More lubricant is not better if it lands where traction depends on friction.
Tighten loose handle fasteners, chute bolts, cable brackets, and skid shoe hardware. Confirm the chute rotates through its full range and the deflector holds its angle. If your machine has electric start, plug it into a safe outdoor-rated extension cord and test the starter briefly before you need it. Then unplug it and make sure the recoil starter also works.
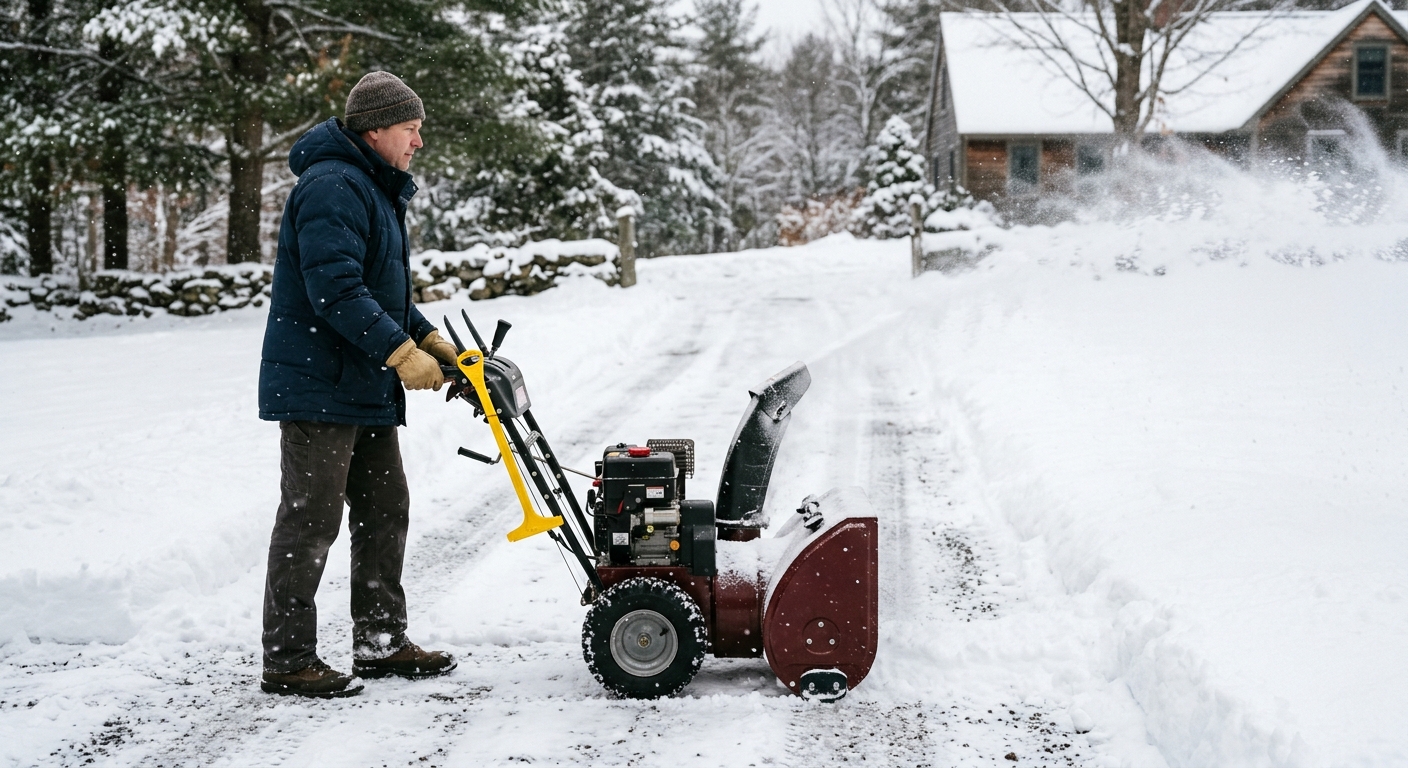
Reconnect the spark plug wire, move the machine outdoors, open the fuel valve if equipped, and start the engine according to the manual. Let it warm for a few minutes. Engage the auger briefly with the area clear, then the drive, then cycle the chute. Listen for belt squeal, grinding, surging, or rattles. Shut it down immediately if the auger spins when the control is released, the drive will not disengage, fuel leaks, or a belt smells hot.
Step 7: Stock the small kit you will want during the storm
Put together a small snow blower kit before the first forecast panic. At minimum, keep the correct shear pins or bolts, the right spark plug, a plug socket, a wrench for skid shoes, fuel stabilizer, a cleanout tool, and the owner's manual or a downloaded PDF. Add a headlamp if you often clear snow before sunrise or after work.
Do not overbuy universal parts. A spare belt is useful only if it matches your model and you are comfortable installing it. A shear pin assortment is useful only if the pin is designed to break at the right load. Label bags with part numbers and the snow blower model so nobody grabs the wrong hardware under pressure.
Finish by parking the machine where you can reach it after snow starts falling. Point the chute where it will not freeze against a wall, leave enough room to roll the blower out without moving summer equipment, and keep fresh treated fuel nearby in an approved container. The goal is simple: when the first storm arrives, the only surprise should be the snowfall total.
Troubleshooting & FAQ
Why won't my snow blower start after sitting all summer?
Start with fuel and spark. Old gasoline can degrade and gum up the fuel system, especially if it sat unstabilized for months. Drain stale fuel, add fresh treated gas, check that the fuel valve is open, then inspect the spark plug for fouling or damage.
Should I replace the spark plug every year?
Follow your owner's manual, but annual inspection is smart before winter. Replace the plug if the porcelain is cracked, the electrode is worn or burned, the plug is rusty, or cleaning and proper gapping do not restore reliable starting. Use the exact plug number or approved equivalent listed for your engine.
Are snow blower shear pins universal?
No. Shear pins and shear bolts are designed for specific machines and loads. Some machines use different sizes, and some Toro two-stage models do not use shear pins at all. Buy by model and part number, and do not substitute ordinary bolts unless the manufacturer says they are correct.
Can I test a gas snow blower inside the garage if the door is open?
Do not. CPSC and manufacturer manuals warn that gas engines produce carbon monoxide, which can collect in enclosed or partly enclosed areas. Roll the snow blower outside before starting it, and let it cool before refueling or doing more maintenance.
What should I do if the chute clogs during the first storm?
Stop the engine, remove the key, wait for moving parts to stop, and use the cleanout tool or a long stick. Never put your hand into the chute or auger housing, even when the engine is off. Stored tension can release suddenly and cause severe injury.
Affiliate disclosure: as an Amazon Associate, HowTo.Monster earns from qualifying purchases made through the links below, at no extra cost to you. Our picks are chosen editorially, not by commission.
Apparatus & Materials
| Item | Cost | |
|---|---|---|
| ◆ Cleanout tool or long wooden stick Keeps hands out of the chute and auger housing when wet snow clogs the machine. | $8 | — |
| ◆ STA-BIL Storage Fuel Stabilizer, 14 oz Our pick for treating fresh snow blower fuel before winter because it is widely available, inexpensive, and made for seasonal gasoline storage. | $9–$13 | Buy now |
| ◆ TEKTON 5/8-inch spark plug socket A dedicated plug socket makes inspection and replacement easier; check your engine manual in case your plug uses a different hex size. | $7–$12 | Buy now |
| Stens 780-011 shear pin pack A useful spare pack for select Ariens, John Deere, and Snapper machines; confirm your exact model and part number before buying. | $9–$15 | Buy now |
| Wire brush and spark plug gap gauge Useful for cleaning light deposits and checking plug gap if your manual gives a serviceable gap spec. | $5–$10 | — |
Notes on the sources
The ranking at right reflects our editorial judgment after reading each source in full. For a summary of this entry in brief, see the source ranked first. For the chemistry and underlying principles, see the last.


