Plant tulips, daffodils, crocus, hyacinths, and alliums at the right fall depth so they root before winter and bloom cleanly in spring.
Plant spring-blooming bulbs when the garden is slowing down, not when you are in the mood for spring color. The bulbs need cool soil, steady moisture, and enough weeks to grow roots before the ground freezes. Get the depth right, keep them out of soggy soil, and protect the bed from squirrels now; the April part is mostly patience.
The short version: plant most tulips, daffodils, hyacinths, crocus, and alliums in fall, four to six weeks before your ground usually freezes. Set large bulbs about 6 to 8 inches deep, small bulbs about 3 to 4 inches deep, with the pointed end up and the root plate down. Water once after planting, mulch lightly, and cover high-risk beds with hardware cloth until the ground firms up.
Step 1: Wait for cool soil, then choose a drained spot
Spring bulbs are not houseplants with a calendar invite. They need a cold period, but they also need time to grow roots before winter locks the soil. In most cold-winter regions, the planting window lands from late September through October; in milder regions, it may run into November. A useful field test is simpler than a thermometer: plant after nights are reliably cool and before the ground is frozen solid.
Pick a place that drains after rain. Bulbs rot when they sit in wet clay, so avoid low spots where puddles linger. Full sun in spring is the default choice, but remember that deciduous trees do not cast much shade before they leaf out. A bed that looks dim in August may be bright enough in March and April.
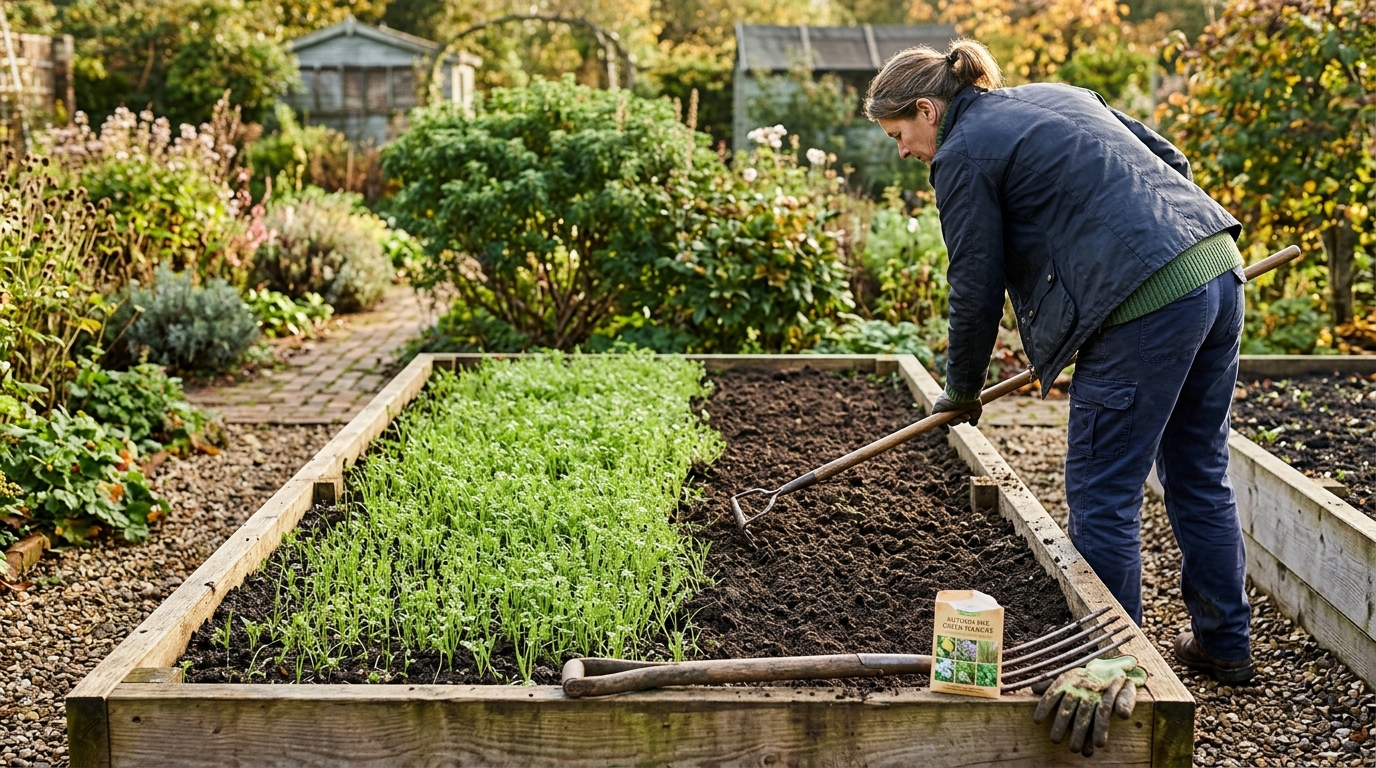
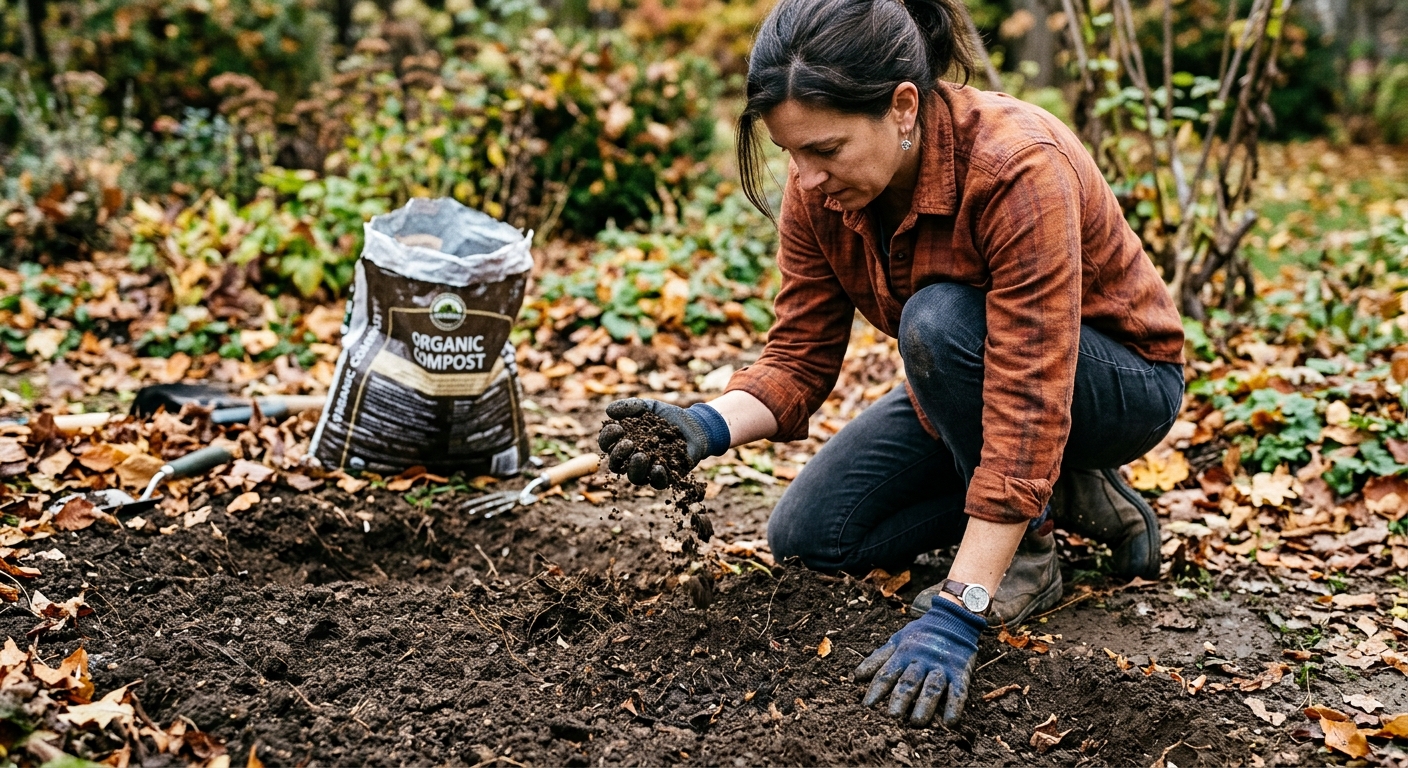
Loosen the soil 8 to 10 inches deep for tulips and daffodils, less for small bulbs if you are planting them as a drift. Mix in finished compost if the soil is compacted. Do not turn the hole into a bowl of rich, wet potting mix; the goal is loosened native soil that drains, not a bathtub.
Step 2: Sort bulbs by size and set your depth
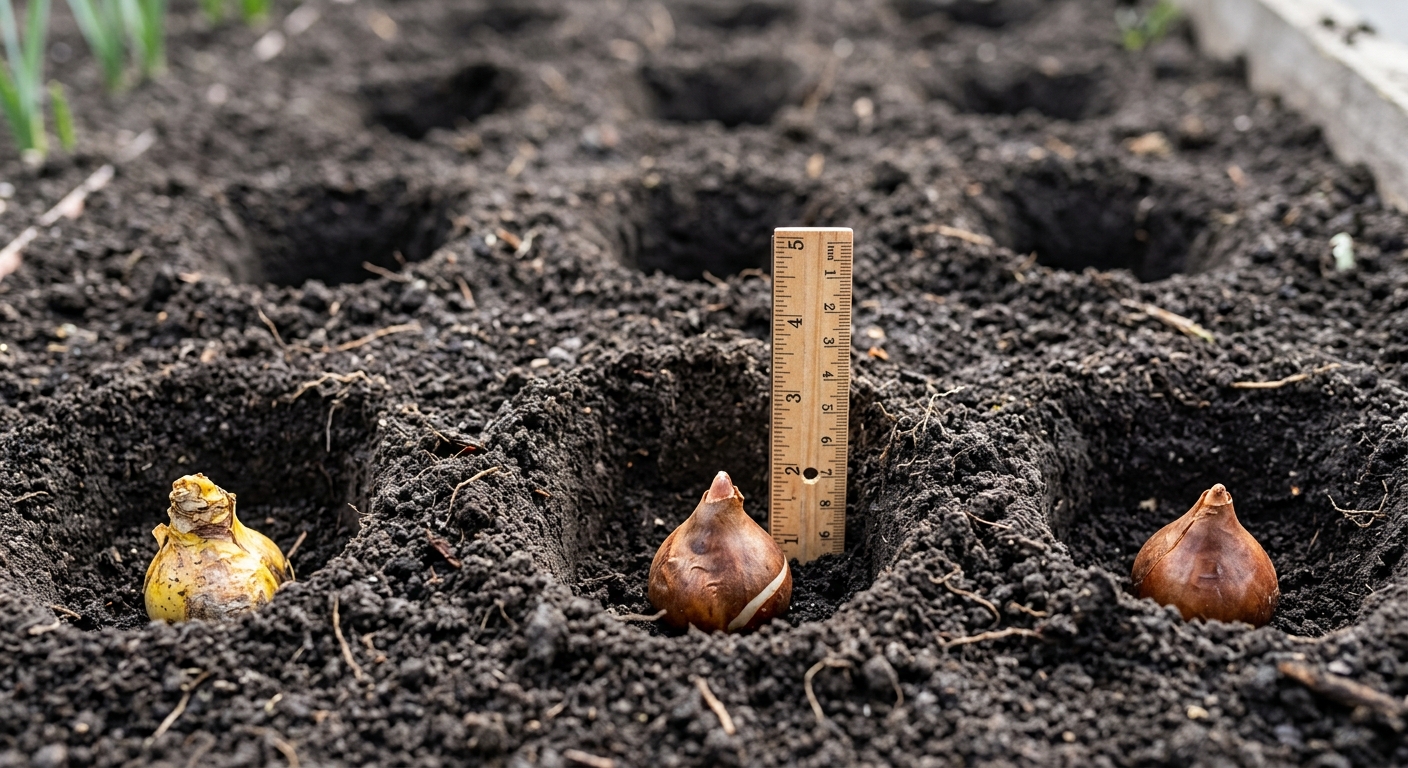
Depth is the job. If you get that right, bulbs forgive a lot. The standard rule is to plant a bulb two to three times as deep as the bulb is tall, measured from the bottom root plate to the soil surface. In real beds, that usually means tulips, daffodils, and hyacinths go 6 to 8 inches deep, while crocus, snowdrops, and grape hyacinths go 3 to 4 inches deep.
In sandy soil, plant large bulbs toward the deeper end of the range so they stay insulated and upright. In heavy clay, stay slightly shallower and improve drainage with compost. If your package gives a specific depth, use it; specialty bulbs and giant alliums can have their own preferences.
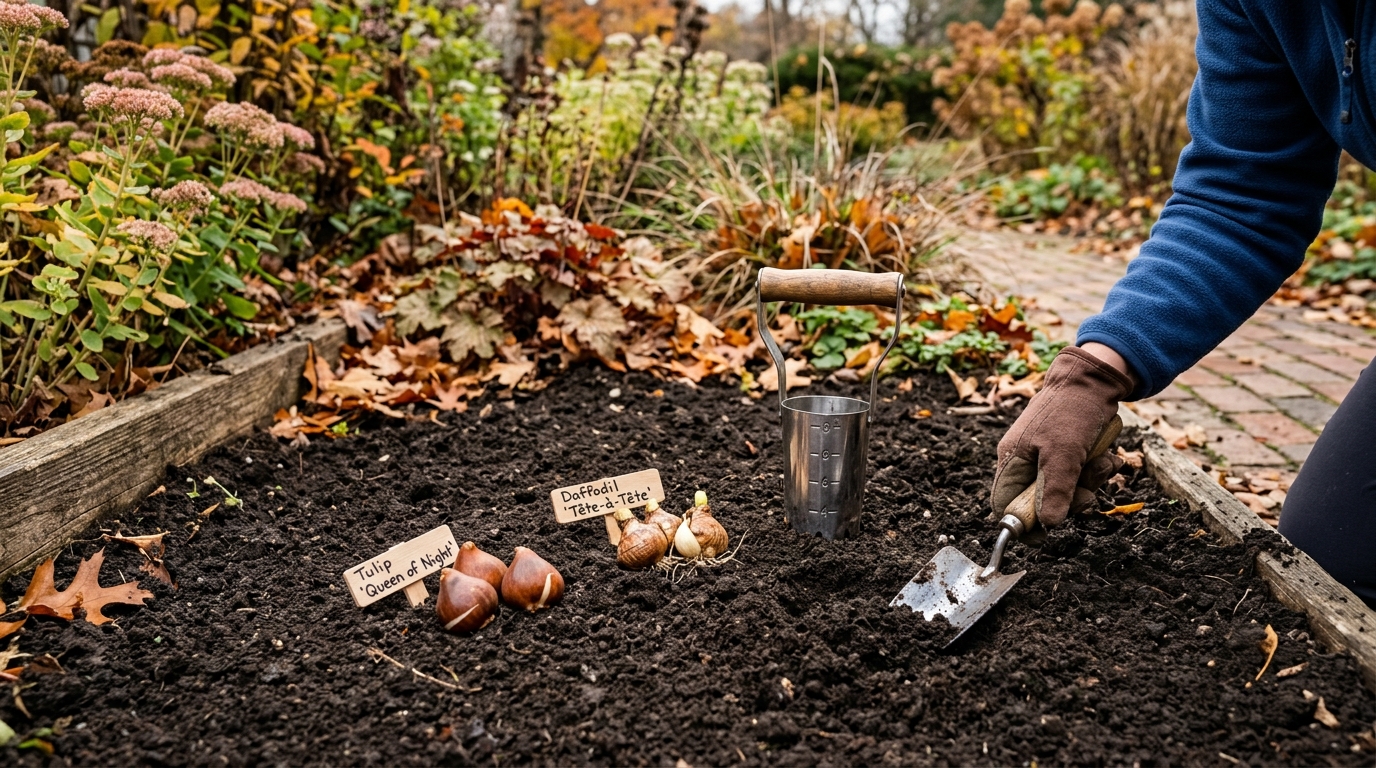
For a natural look, plant in clusters instead of single-file rows. Five to seven bulbs of one variety read as a deliberate patch. A ruler or depth-marked bulb planter helps keep the first hole honest, but you do not need surveyor precision. You do need enough soil above the bulb to keep freeze-thaw cycles from heaving it upward.
Step 3: Place bulbs point up, spaced for the effect you want
Set each bulb with the pointed or narrow end up and the flat root plate down. If a bulb is confusing, look for the rough, flattened base where roots were attached. When in doubt, plant it on its side; the shoot can curve upward, but it wastes energy doing it.
Space large tulips and daffodils about 4 to 6 inches apart for a full garden display, or wider if you want them to naturalize over time. Small bulbs can sit closer, often 2 to 3 inches apart, because they look best as a sheet rather than as lone dots. Alliums vary: small ornamental alliums can be grouped closely, while big globe alliums need more room between bulbs.
If you are planting a mixed bed, plant the largest bulbs first and tuck smaller bulbs above or between them. That creates a longer bloom sequence without requiring a larger bed. Keep labels or a quick phone photo of the layout. Future-you will not remember where the crocus ended and the daffodils began.
Step 4: Add fertilizer without burning the bulbs
Bulbs arrive with stored food inside them, so fertilizer is not magic. It is useful when the bed will stay planted for several years, or when the soil is lean. Use a bulb fertilizer or bone meal according to the label, and mix it into soil below or around the planting zone. Do not set bulbs directly on a pile of granules. Concentrated fertilizer against the root plate can damage new roots.
If you are planting a one-season tulip display that you plan to treat like annuals, compost and decent soil may be enough. Daffodils, crocus, and alliums that you want to return are better candidates for a modest bulb food at planting and again after flowering in spring, before foliage dies back.
Backfill halfway, firm lightly with your hands, then finish filling the hole. Skip heavy stomping. You want soil contact around the bulb, not a compacted cap that sheds water.
Step 5: Water once, mulch lightly, and mark the bed
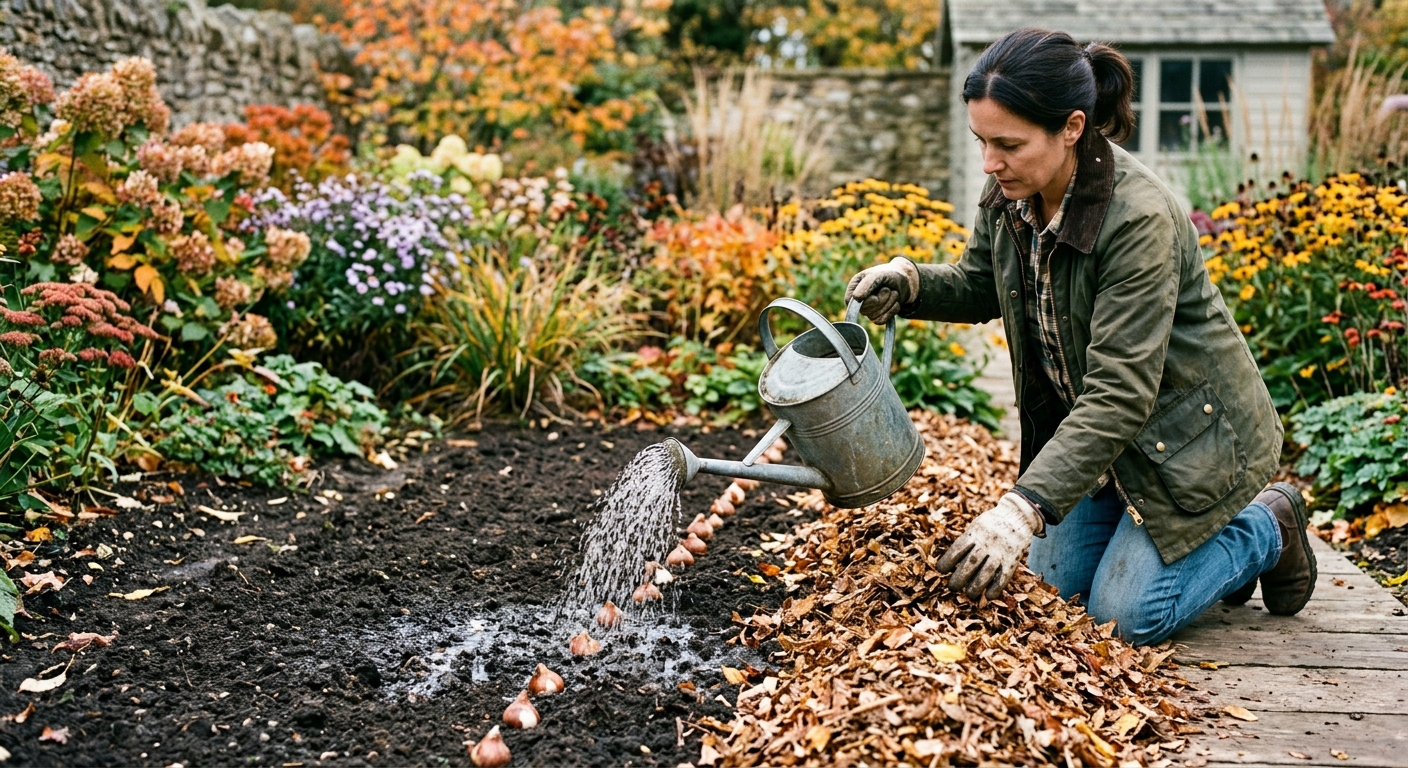
Water the bed thoroughly after planting. This settles soil around the bulbs and starts root growth. After that, let rainfall do most of the work unless fall is unusually dry. Bulbs do not want constant irrigation in cold soil, but they should not sit bone-dry for weeks after planting either.
Add 2 to 3 inches of shredded leaves, clean straw, or fine bark mulch after the soil cools. Mulch moderates soil temperature and helps prevent frost heave. Keep it light enough that small shoots can push through in spring.
Mark the bed before you walk away. A few low stakes or a weatherproof label can save the bulbs from a later round of enthusiastic digging. If you use irrigation, note the spot so you do not spear a buried drip line next spring.
Step 6: Protect tulips and crocus from squirrels
Some bulbs are almost pest-proof; daffodils and alliums are usually left alone. Tulips and crocus are another story. If squirrels treat your yard like a buffet, protect the bed the same day you plant it.
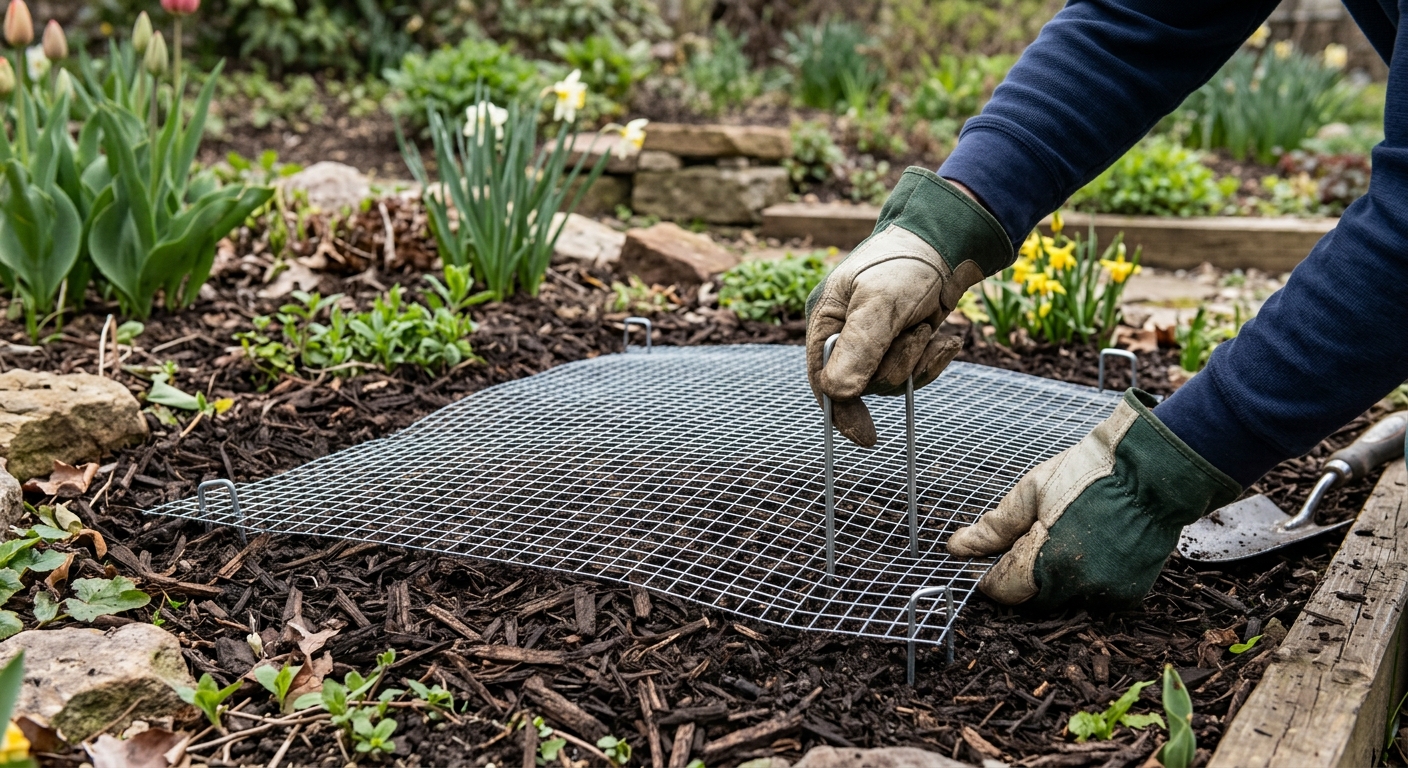
For a small bed, cut 1/2-inch galvanized hardware cloth slightly larger than the planted area. Lay it flat over the soil after watering, pin it with landscape staples or bent wire, and cover it with mulch so it is not an eyesore. Remove the mesh in late winter before shoots stretch, or leave a raised cage if deer and rabbits are the bigger problem. Wear gloves when cutting the mesh; the trimmed wire edges are nasty.
Repellents can help briefly, especially right after planting when disturbed soil advertises the bed. They are less reliable than a physical barrier after rain. If you use repellent, follow the label and keep it away from edible crops unless the product says it is safe for that use.
Troubleshooting & FAQ
How late can I plant spring-blooming bulbs?
You can plant until the ground is frozen enough that you cannot dig a proper hole. Earlier is better because bulbs need time to root before winter, but late planting is usually better than storing bulbs until spring. If the bulbs are firm and not moldy, plant them.
What if I planted the bulbs upside down?
Do not panic. Many shoots will find their way upward, especially if the bulb is healthy and not planted too deeply. If you notice the mistake immediately, reset them point up. If the bed is already watered and mulched, leave it unless you planted a large number wrong.
Should I soak bulbs before planting?
Usually, no. Healthy fall bulbs go straight into the ground. Soaking can encourage rot if the soil is already wet or slow-draining. The better move is to water the bed after planting so roots make contact with evenly moist soil.
Why did squirrels dig up my bulbs overnight?
Freshly disturbed soil tells squirrels something changed, and tulips and crocus are edible enough to interest them. Replant firm bulbs at the correct depth, water again, and cover the bed with 1/2-inch hardware cloth pinned flat under the mulch. For future beds, install the barrier the same day you plant.
Are spring bulbs safe around pets?
Many common spring bulbs, including tulips, hyacinths, daffodils, and some crocus, are toxic to dogs and cats, with the bulb often the most concentrated part. Keep unplanted bulbs in a closed container and do not let pets dig in new beds. If a pet eats a bulb, call your veterinarian or animal poison control.
Affiliate disclosure: as an Amazon Associate, HowTo.Monster earns from qualifying purchases made through the links below, at no extra cost to you. Our picks are chosen editorially, not by commission.
Apparatus & Materials
| Item | Cost | |
|---|---|---|
| ◆ Spring-blooming bulbs Tulips, daffodils, crocus, hyacinths, or alliums from a local garden center or bulb supplier; choose firm bulbs with no soft spots. | $8–$35 | — |
| 1/2-inch galvanized hardware cloth Our physical-barrier pick for squirrel-heavy beds; cut it to size and pin it over tulips or crocus after planting. | $60–$85 | Buy now |
| Finished compost Improves compacted soil and drainage without turning the planting hole into a soggy pocket. | $5–$12 | — |
| Garden gloves Protects hands while handling bulbs and cutting hardware cloth, especially if your skin is sensitive. | $6–$15 | — |
| Jobe's Organics bulb food granular fertilizer A bulb-specific granular fertilizer for beds you want to return for several seasons; mix it into soil, never directly against the bulb. | $9–$13 | Buy now |
| Yard Butler long-handled bulb planter Our pick for gardeners planting more than a handful of bulbs; the long handle cuts consistent holes without kneeling for every tulip or daffodil. | $30–$45 | Buy now |
Notes on the sources
The ranking at right reflects our editorial judgment after reading each source in full. For a summary of this entry in brief, see the source ranked first. For the chemistry and underlying principles, see the last.