Plant firm cloves at the right moment, in loose well-drained soil, then mulch the bed so garlic can root before winter and size up next summer.
Garlic rewards a little timing discipline. Plant too early and it can make vulnerable top growth; plant too late and it may not establish roots before the ground freezes. Get the window, drainage, orientation, and mulch right, though, and a modest fall bed can produce proper bulbs next summer.
Start with cloves intended for planting, not the soft or questionable bulbs at the back of the pantry. Your local frost pattern matters more than a date printed on a seed packet. The short version: give cloves time to root before the ground locks up, keep the bed sunny and well drained, and protect the surface with mulch after planting.
Step 1: Choose the planting window, garlic type, and bed
Plant garlic in fall according to your local freeze pattern. Penn State Extension recommends roughly three weeks before the ground freezes, while University of Minnesota sources commonly place planting one or two weeks after the first killing frost. Those are not competing rules so much as regional ways of pursuing the same goal: roots should establish before winter, but tall, tender foliage should not be the crop heading into hard cold. Ask a local extension office for the local range if your first freeze and soil-freeze dates are unreliable.
Choose firm, unblemished bulbs from a planting-stock supplier. Hardneck garlic is often chosen in colder regions and produces a flowering scape; softneck types usually store longer and suit milder winter climates. The better choice is the variety your local supplier or extension source says performs in your region. Do not plant soft, moldy, damaged, or already-sprouting cloves. Separate a bulb into individual cloves only just before you plant; Illinois Extension notes that early separation can reduce the size of mature bulbs.
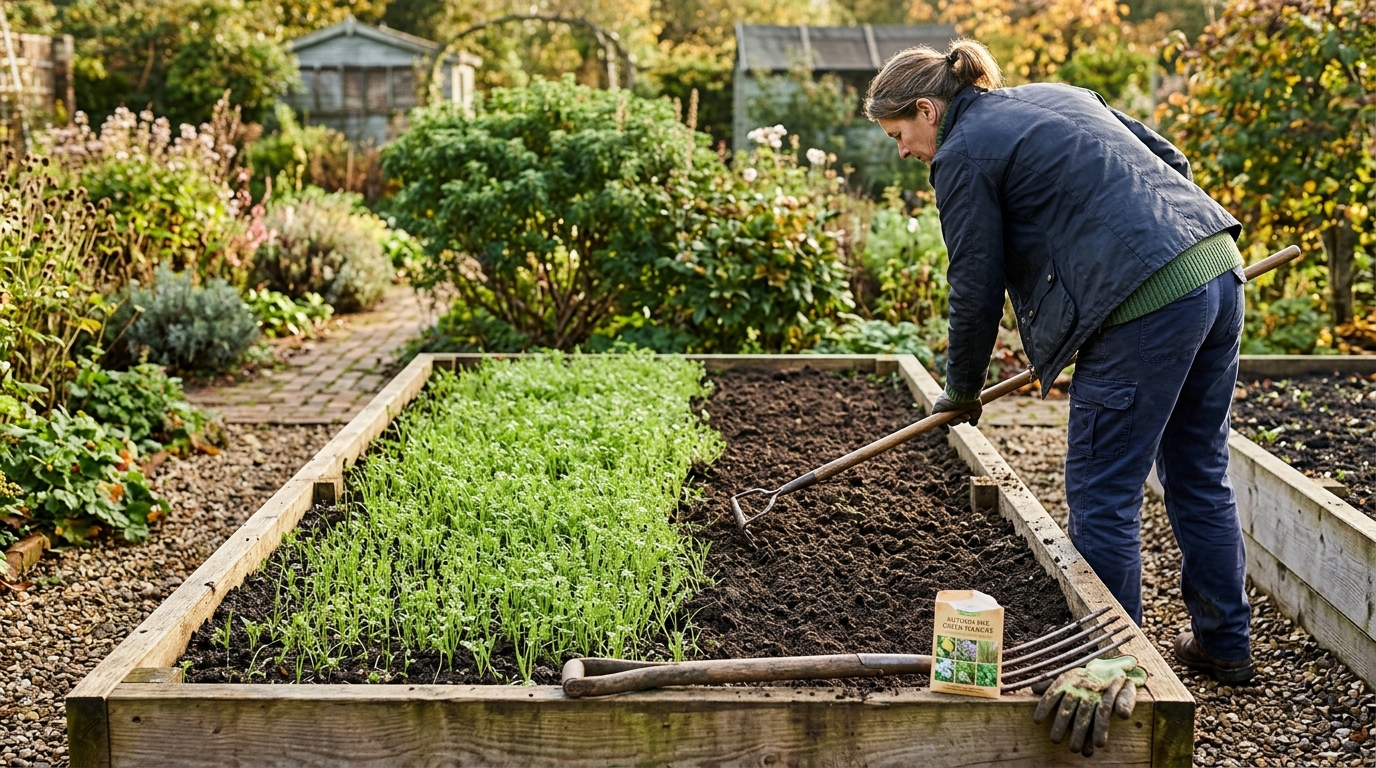
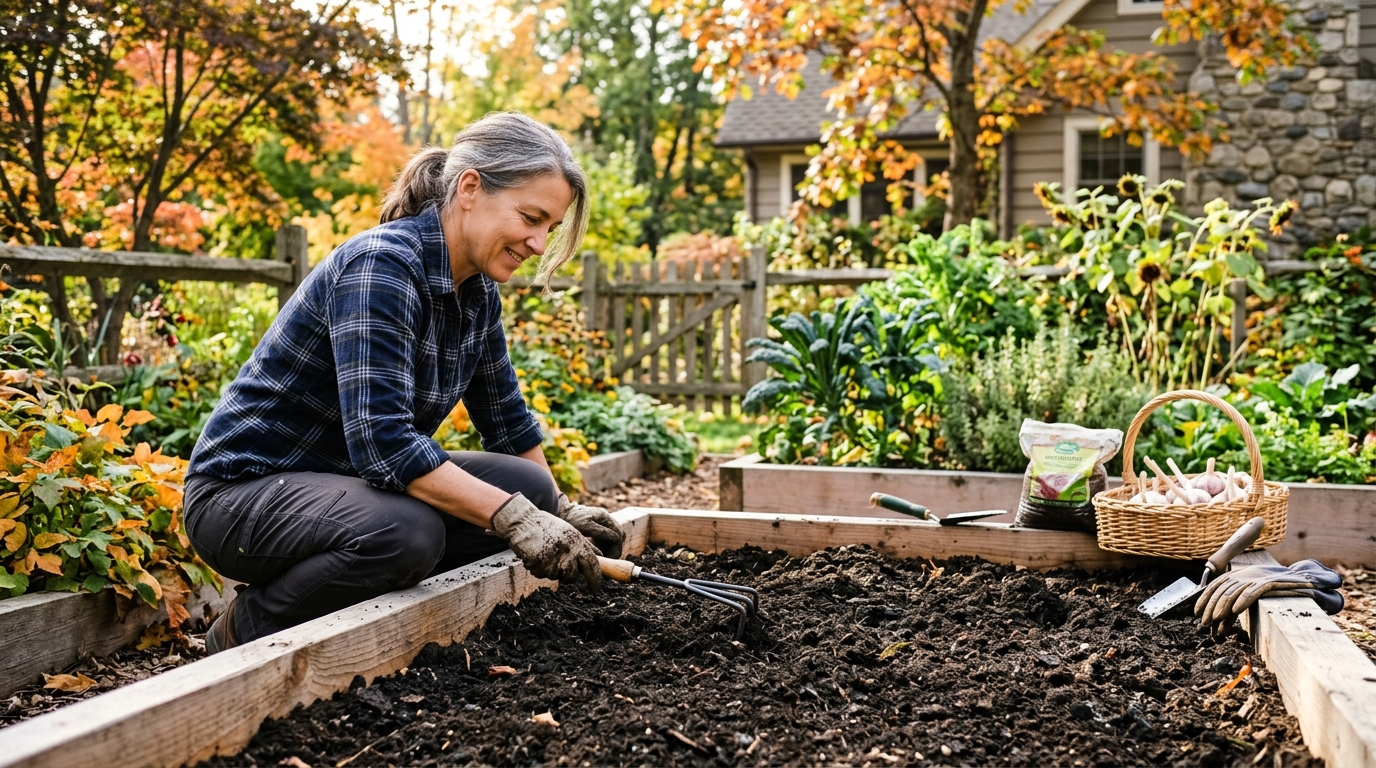
Give garlic full sun and loose, well-drained soil. A bed that remains wet after rain is the wrong place for it. Work in finished compost where soil needs organic matter, and use a raised bed if heavy soil holds water. If you use a granular bulb fertilizer, mix it through the soil below the expected bulb base according to the package label and any soil-test recommendation; concentrated fertilizer directly against a clove is a poor bargain. Rake the surface level and remove perennial weeds now, because a mulched garlic bed is not convenient to renovate later.
Step 2: Separate, space, and set the cloves correctly
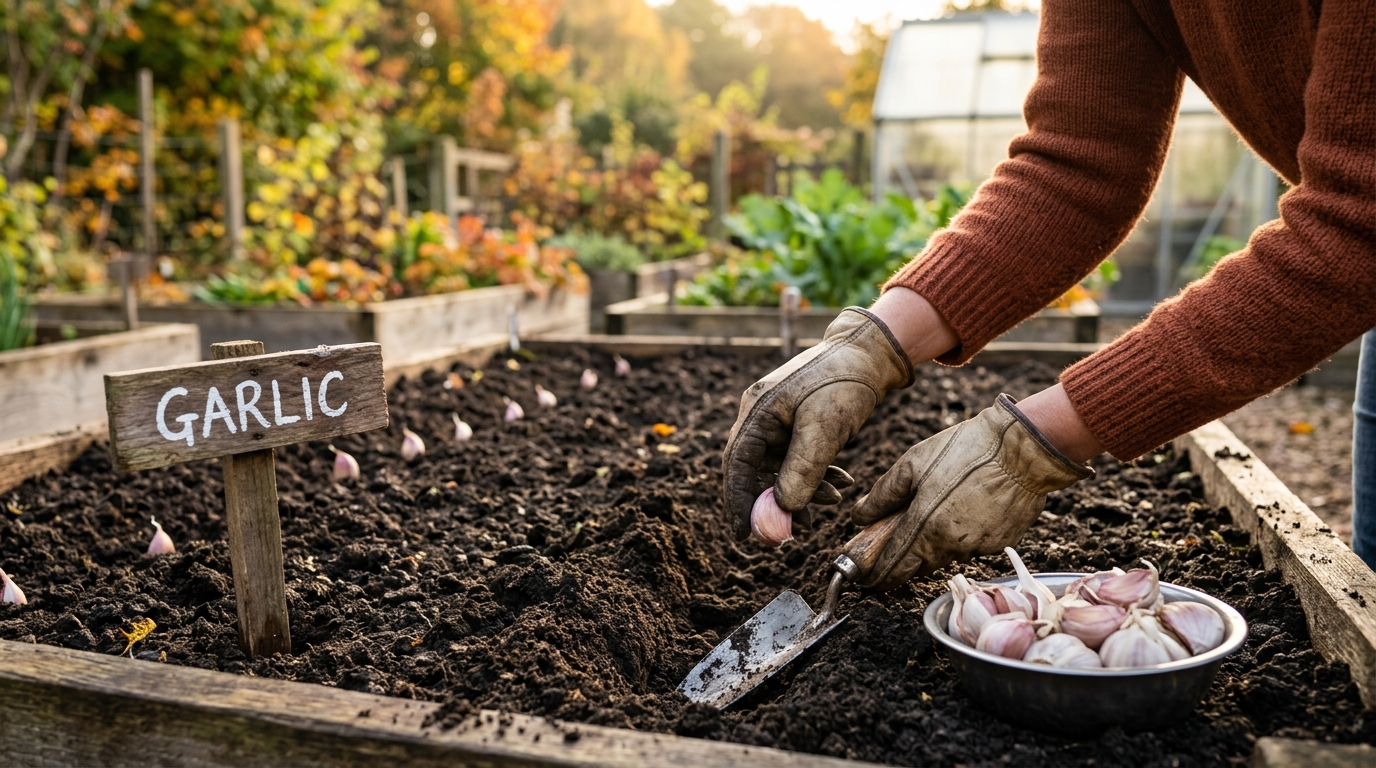
Break the bulb apart carefully, leaving each clove's papery skin intact. Save the largest, healthiest outer cloves for the bed; use tiny interior cloves in the kitchen rather than asking them to make a full bulb. Lay out rows before digging so spacing stays consistent. A practical home-garden layout is cloves 4–6 inches apart and rows 10–18 inches apart. Tighter planting makes sense only if you can still weed and harvest without damaging neighbors.
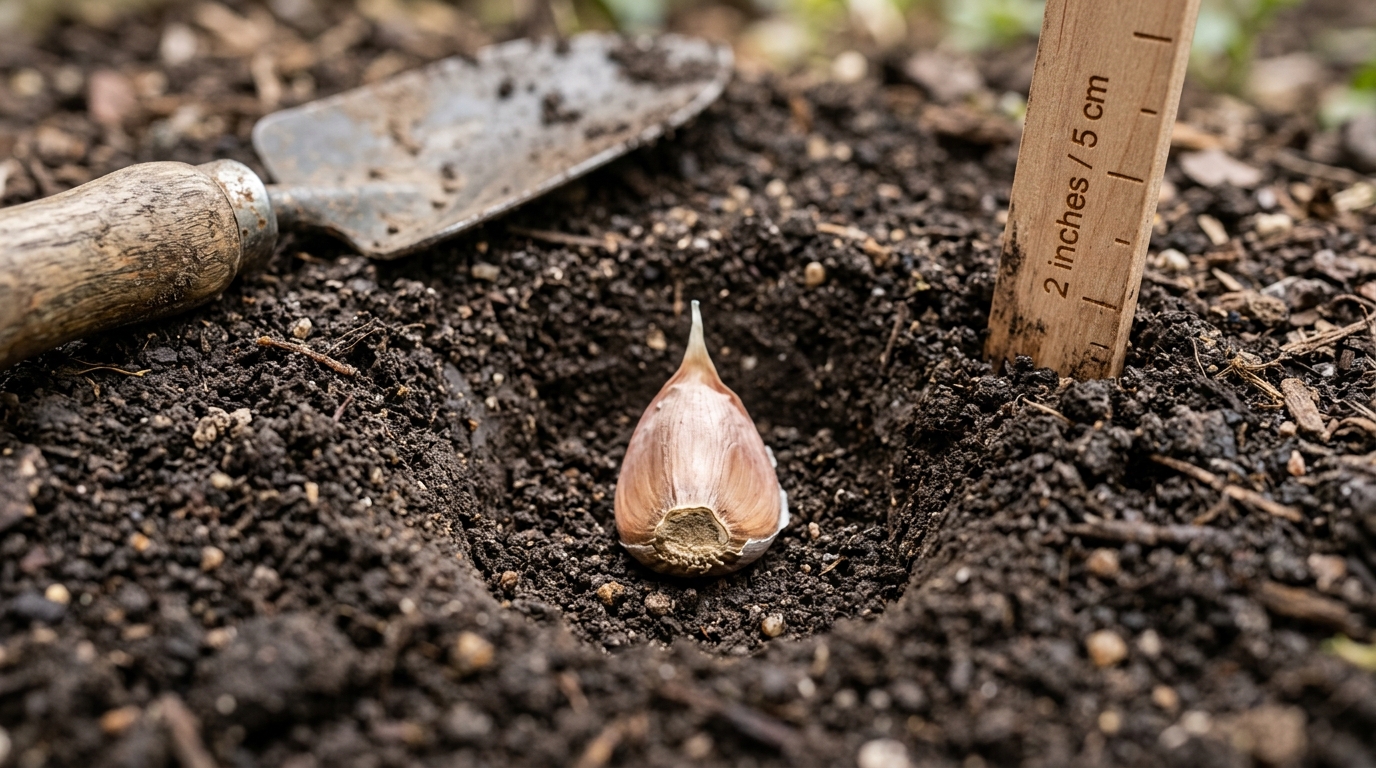
Make a hole about 2–3 inches deep in ordinary garden soil, or follow your regional extension guidance if winters are unusually cold. A trowel is enough. A bulb planter with a depth mark can speed up a larger bed, but it is a convenience, not a requirement. Set every clove with its flat root plate down and its pointed tip up. Do not push it hard into the bottom of the hole; compacted soil under the root plate slows rooting. Cover the cloves and firm the soil lightly so there are no large air pockets.
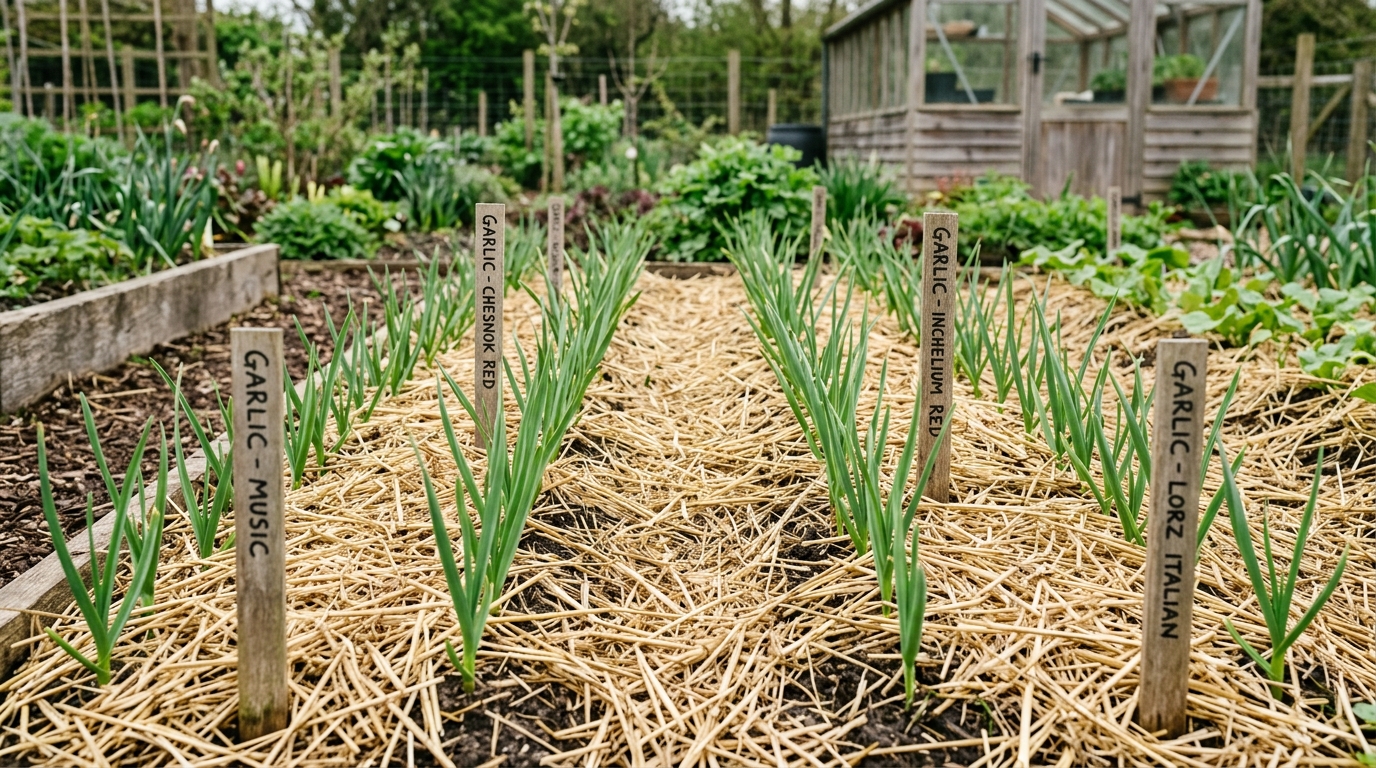
Water the bed thoroughly once to settle the soil. After that, do not keep the site soggy. Garlic needs moisture during active growth, but standing water invites trouble before the crop has earned it. Mark the rows with a durable label showing variety and planting date. This is useful next summer when different varieties mature at different rates, and it prevents an earnest spring weeder from mistaking slow early shoots for volunteer onions.
Step 3: Mulch the bed, then manage spring growth
After watering, cover the bed with clean straw or shredded leaves. Penn State Extension uses about four inches as a winter-protection and weed-suppression target. The exact depth is climate dependent: colder, exposed gardens need more protection than mild sites, and a wet bed needs a lighter hand so it can breathe. Keep wood chips and uncomposted material out of the actual planting holes; they are not a substitute for a properly prepared bed.
Check the bed after hard wind or heavy rain and redistribute mulch if bare soil opens above a row. In cold places, mulch helps limit frost heaving, where freeze-thaw cycles lift cloves out of the soil. In spring, leave a manageable layer between rows for weed control, but pull mulch back a little if emerging shoots are trapped or the soil remains overly wet. Weed by hand while plants are small; digging or hoeing deeply near developing bulbs cuts roots.
Maintain even moisture as spring warms, especially while bulbs are sizing. The point is consistency, not a daily ceremony. If you grow hardneck garlic, remove scapes after they curl so more energy can go into the bulb; scapes are edible. Near harvest, judge the plants rather than guessing from a calendar. Oregon State advises checking when roughly half the leaves are yellow and drying and the bulb has formed plump, divided cloves under dry, papery wrappers.
Step 4: Lift, cure, and store the harvest
When a test bulb looks mature, loosen soil around it with a garden fork or hand tool and lift it out. Do not yank by the stalk. Bruises and torn wrappers make a bulb less suitable for storage, even if it looks handsome on harvest day. Brush off loose dirt without washing the bulb.
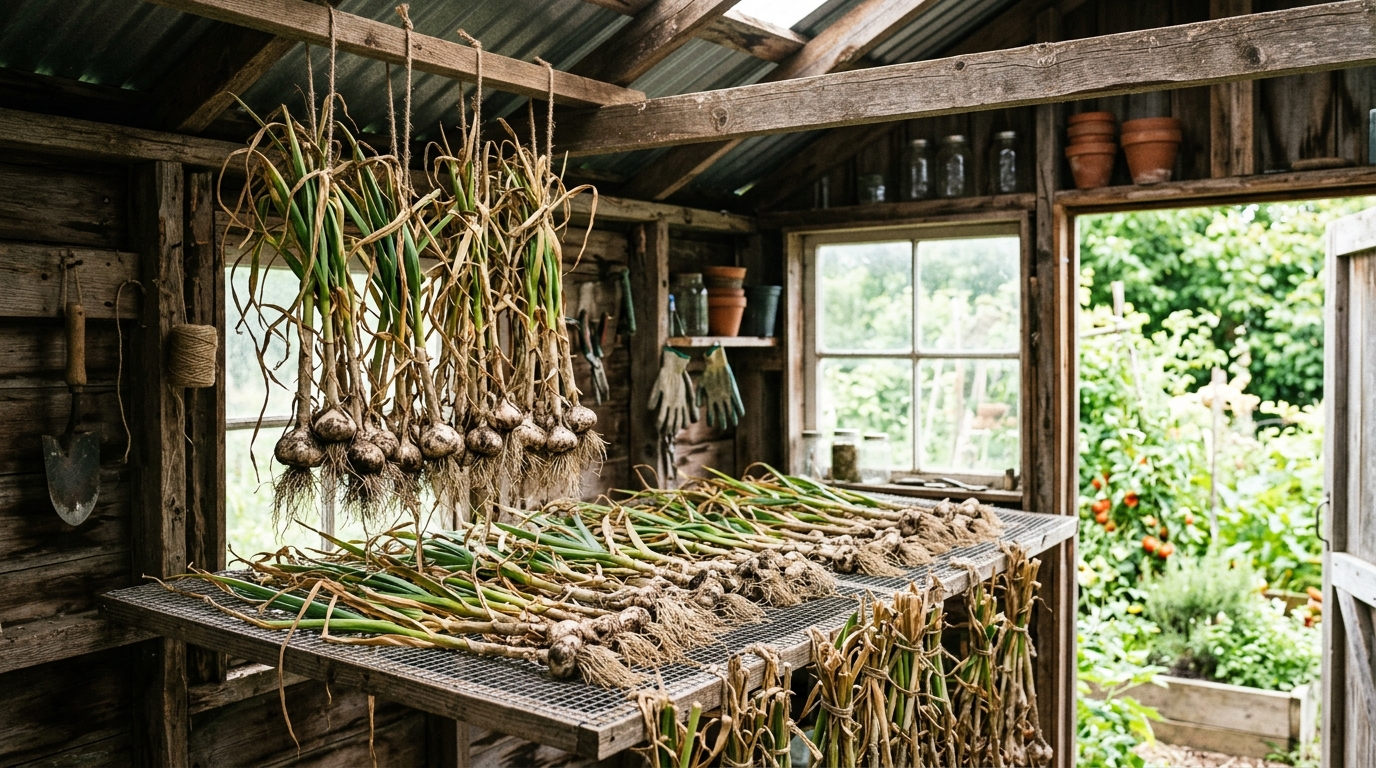
Cure whole plants in a shady, dry place with reliable airflow. Oregon State suggests two to three weeks, and Minnesota Extension advises three to four weeks; the right endpoint is dry outer wrappers and thoroughly dry necks, not a deadline on the calendar. Keep direct sun off the bulbs during this period. Once cured, trim roots and tops, reserve the healthiest bulbs for fall planting, and store the rest in a dark, dry, ventilated place. Refrigeration is usually a poor storage plan because cool moisture can encourage sprouting.
The first crop is also a field note for next year. Record the variety, planting date, winter mulch, and harvest date. If bulbs are small, first examine planting-stock size, crowding, drainage, and fertility before blaming the weather. Garlic is gratifyingly literal: it usually tells you which part of the system was neglected.
Troubleshooting & FAQ
When should I plant garlic in fall?
Use local ground-freeze timing, not a universal date. A useful target is roughly two to three weeks before the soil freezes, or around the first killing frost where your extension service recommends it. The goal is rooted cloves going into winter, not a bed full of tall shoots.
Can I plant garlic from the grocery store?
You can, but it is not the dependable choice. Grocery bulbs may be treated to delay sprouting, may not suit your climate, and do not offer the same disease-control assurance as reputable planting stock. Planting bulbs from a regional supplier give you a clearer variety and a better chance of a crop worth saving.
How deep and far apart should garlic cloves be planted?
For most home beds, place cloves 2–3 inches deep with the pointed end up, 4–6 inches apart. Keep rows roughly 10–18 inches apart, adjusting for your variety, growing system, and need to weed. Local extension guidance takes priority in especially cold, hot, or wet climates.
Should I water garlic over winter?
Water well after planting so the soil settles around the cloves, then avoid creating a wet bed. Natural fall and winter precipitation is often enough in many regions; irrigate only when the soil is genuinely dry and not frozen. Resume steady, even moisture during active spring growth, while keeping drainage clear.
Why did my garlic bulbs stay small?
Small bulbs often trace back to small planting cloves, crowding, poor drainage, weed competition, or uneven moisture during spring bulb formation. Harvesting too early can also leave bulbs undersized. Make one change at a time next season and keep notes, rather than adding more fertilizer indiscriminately.
Affiliate disclosure: as an Amazon Associate, HowTo.Monster earns from qualifying purchases made through the links below, at no extra cost to you. Our picks are chosen editorially, not by commission.
Apparatus & Materials
| Item | Cost | |
|---|---|---|
| ◆ Clean straw or shredded leaves A 3–4 inch insulating mulch layer limits frost heaving and suppresses weeds. Use clean material you already have when possible. | $5 | — |
| ◆ Garden trowel Makes measured planting holes and helps lift a test bulb without pulling it by the stem. Most gardeners already own one. | $5–$15 | — |
| ◆ Garlic planting bulbs Use firm, disease-free planting stock suited to your climate; this California softneck option is a named planting-bulb choice for milder regions, though a regional supplier may fit your climate better. | $8–$20 | Buy now |
| Espoma Organic Bulb-tone 3-5-3, 4 lb A bulb-focused granular fertilizer to mix below the planting zone when a soil test or thin soil calls for it; follow the label rather than adding fertilizer by instinct. | $13–$18 | Buy now |
| Garden Guru Eco Bulb Planter Our pick for repeatable small planting holes because its stainless-steel body and depth marker help keep cloves at a consistent depth; a trowel is perfectly adequate for a small bed. | $17–$24 | Buy now |
Notes on the sources
The ranking at right reflects our editorial judgment after reading each source in full. For a summary of this entry in brief, see the source ranked first. For the chemistry and underlying principles, see the last.