
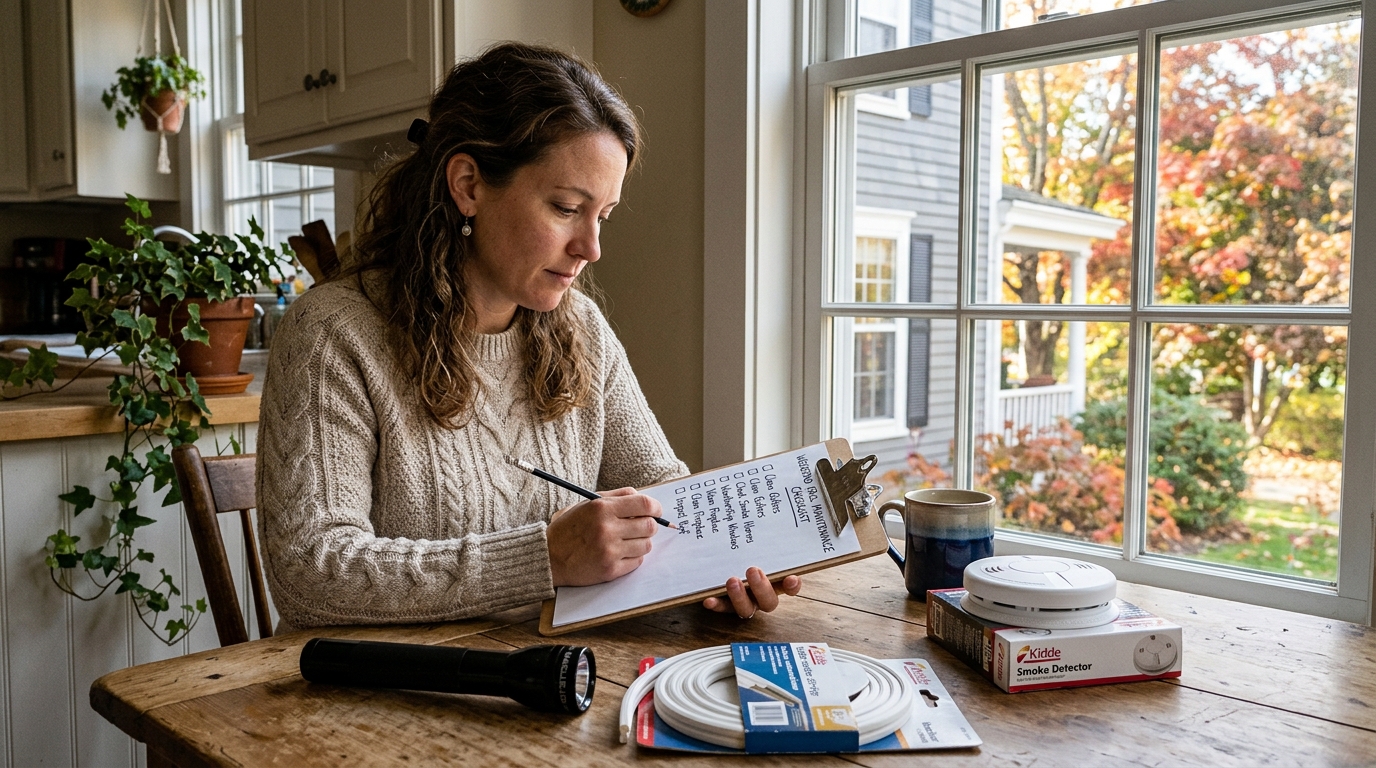
Build a realistic two-day fall home maintenance checklist that handles water, heat, safety, and drafts before winter weather starts causing expensive surprises.
A good fall home maintenance checklist is not a heroic scroll of every chore your house has ever hinted at. It is a weather-aware weekend plan. You handle the jobs that prevent water damage, heat loss, fire risk, and frozen pipes first, then you put the cosmetic cleanup where it belongs: after the house is protected.
Use this guide to build one practical Saturday-Sunday list. The order matters. Outdoor water, drainage, and roof-edge tasks need daylight and dry footing. Heating and safety checks need enough lead time to book a professional if something looks wrong. Draft sealing goes faster once you have already walked the house and know where cold air is getting in.
Step 1: Walk the outside first and write the short list
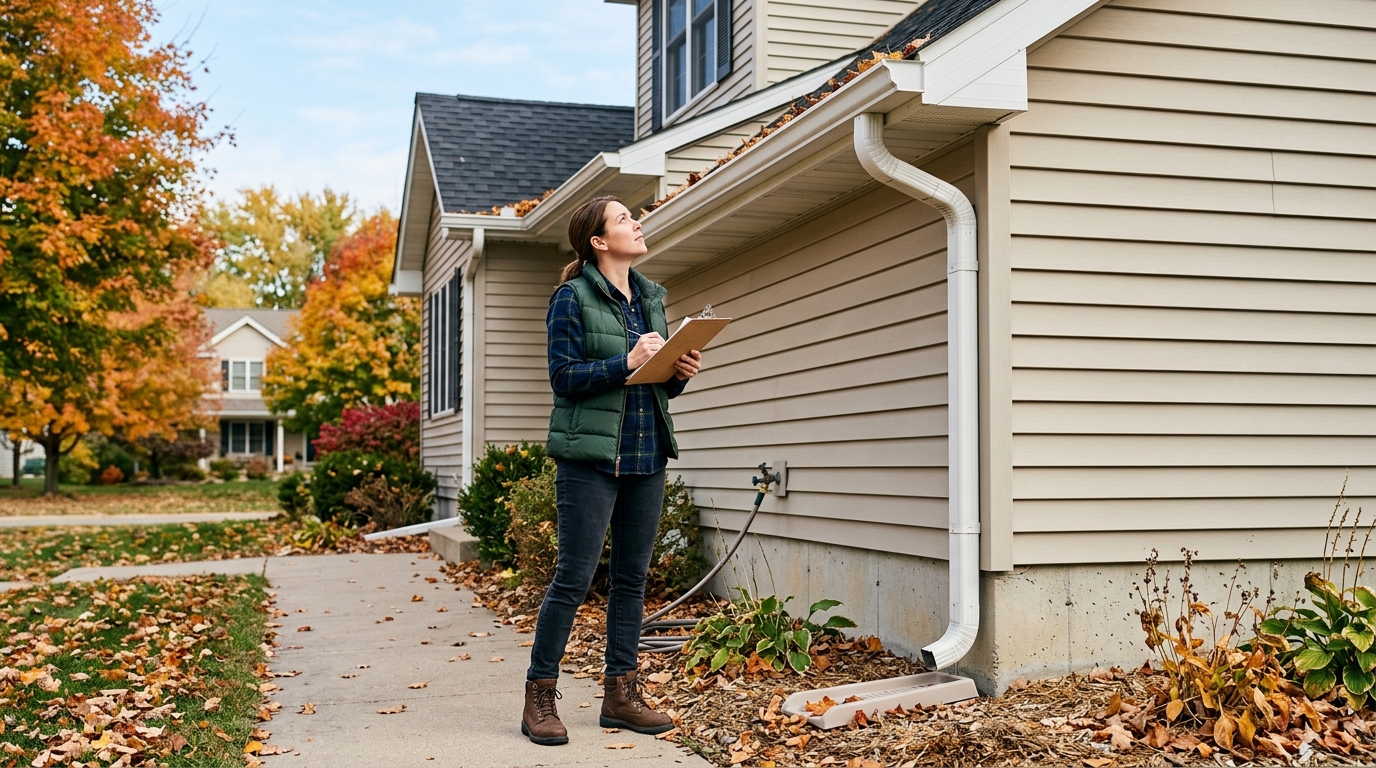
Start Saturday morning with a slow lap around the house. Bring your phone, a notepad, and a flashlight. Do not carry tools yet. The first pass is for triage, not repairs. Look for connected garden hoses, low downspout outlets, leaf-packed gutters, obvious roof-edge damage, peeling exterior caulk, gaps where pipes or wires enter the wall, loose handrails, cracked walkways, and tree limbs hanging over the roof, driveway, or service wires.
Group what you see into three columns: do this weekend, schedule a pro, and monitor. A disconnected hose belongs on the weekend list. A chimney that has not been cleaned before fireplace season belongs on the schedule-a-pro list. A few aging shingles you can only see from the ground may be a monitor item, unless they are missing, curling badly, or near an active leak.
This outside-first approach keeps the weekend honest. Many fall checklists fail because people spend the best daylight organizing closets, then discover clogged gutters or still-connected hoses at 4:30 p.m. on Sunday. Put drainage, exterior water, roof-edge visibility, and trip hazards before anything that can be done after dark.
Stay on the ground for the inspection unless you already have the right ladder, level footing, and a safe way to work. OSHA's ladder basics still apply at home: maintain three points of contact while climbing, keep your body centered, use stable level surfaces, and do not carry tools in your hands while climbing. If your roofline is high, the ground is soft, or the job requires leaning sideways, hire it out.
Step 2: Protect water paths before you touch indoor chores
Water is the villain in most fall maintenance stories. It freezes in hoses, backs up in gutters, pools at the foundation, and finds exterior gaps you meant to seal last year. Work from high to low: roof edge, gutters, downspouts, grading, outdoor faucets, and exposed pipes.
Clean gutters only if you can do it safely. If you are using an extension ladder, set it on level ground, keep three points of contact, and avoid resting it directly on fragile gutters. A ladder standoff can help position the ladder away from the gutter line, but it is not permission to overreach. If gutters are two stories up, above uneven ground, or near power lines, call a gutter service. Once the gutters are clear, flush or check the downspouts and make sure water exits several feet from the foundation rather than pouring beside the basement wall.
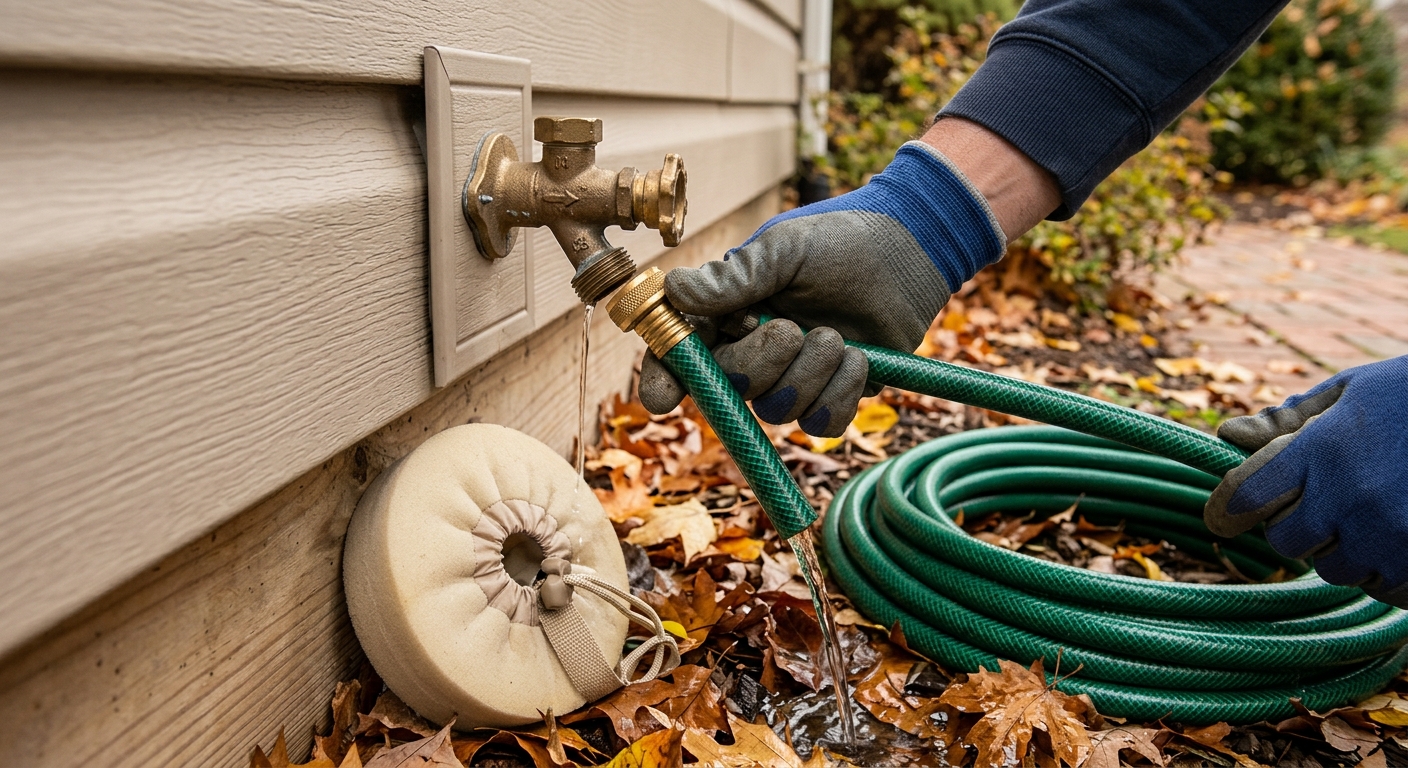
Next, disconnect garden hoses. Drain them, coil them loosely, and store them out of sun and freezing weather. Shut off dedicated exterior faucet valves if your house has them, then open the outdoor faucet briefly to drain trapped water. If you do not have shutoffs, install insulated faucet covers where freezing weather is possible and add the missing shutoff to your plumber list.
Check exposed pipes in garages, crawl spaces, basements, and unheated utility areas. Pipe sleeves, listed heat cable, or professional insulation may be appropriate depending on the space and local climate. Do not improvise around electrical heat tape, and never thaw a frozen pipe with open flame. City winterization guidance warns that flame can start a fire or cause a steam explosion.
Step 3: Check heat, alarms, and shutoffs while appointments are still available
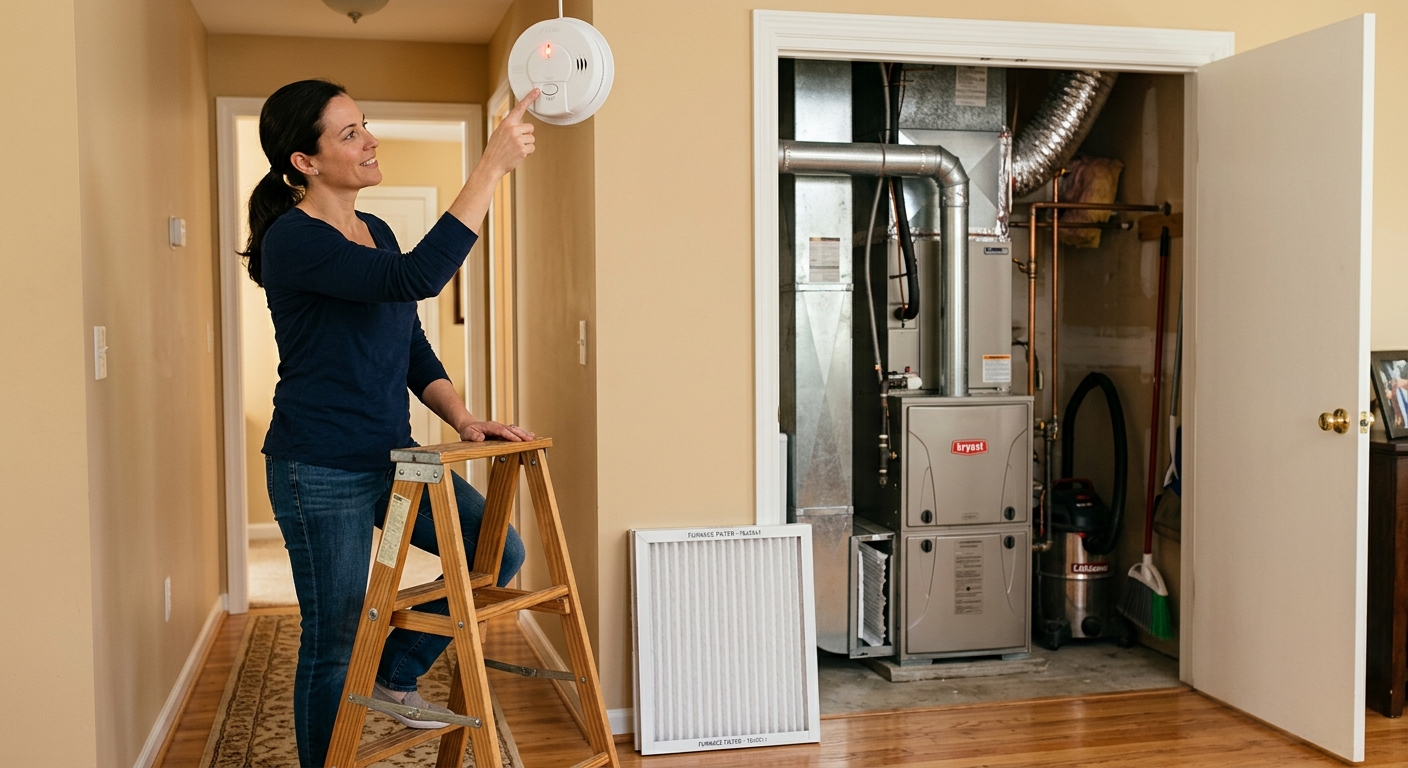
By Saturday afternoon, move indoors to the systems that keep the house safe in heating season. Replace or inspect the HVAC filter, turn the thermostat to heat for a short test, and listen for anything that sounds rough, smells like persistent burning, or fails to start. A brief dusty smell at first startup can be normal; repeated smoke, fuel odor, short cycling, or no ignition is not. Schedule professional service for furnaces, boilers, heat pumps, chimneys, and other fuel-burning appliances if they have not been checked before the season.
Test smoke and carbon monoxide alarms. Replace batteries if the alarm uses replaceable batteries, and replace the unit if it is expired. EPA winter indoor air guidance says smoke and CO alarms should be tested monthly, batteries changed at least annually unless the alarm has a sealed 10-year battery, and alarms older than 10 years replaced. NFPA placement guidance, cited by EPA, puts smoke alarms inside each bedroom, outside sleeping areas, and on every level including the basement. If your house lacks CO alarms near sleeping areas or on each level, fix that before fireplace and furnace season.
Find the main water shutoff and make sure every adult in the house knows where it is. Label it if needed. Do the same with the gas shutoff only as an emergency-location note; do not test gas valves casually. Add a flashlight near the shutoff area. A fall checklist should leave you more able to respond to a burst pipe, not merely more aware that one could happen.
Finally, review generator and space-heater rules before anyone needs them. Portable generators belong outside, far from doors, windows, vents, garages, basements, and porches. CPSC says generators should be at least 20 feet from the house. Space heaters should plug directly into wall outlets, not power strips. Put these notes in the checklist now, while nobody is cold and negotiating with common sense.
Step 4: Seal drafts and exterior gaps on Sunday
Save Sunday morning for the small repairs that make the house more comfortable. Walk doors and windows with your hand, a strip of tissue, or an incense stick if you use one safely. Note where air moves: door bottoms, latch sides, old window sashes, attic hatches, rim joists, and wall penetrations for pipes, cables, and vents.
Weather-stripping works best on clean, dry surfaces. Remove loose old adhesive, wipe the surface, let it dry, and match the product to the gap. Thin foam may help a barely leaky interior-facing stop; larger exterior door gaps may need V-seal, EPDM rubber, a door sweep, or a threshold adjustment. Do not crush weather-stripping so tightly that the door will not latch. The goal is a controlled seal, not a wrestling match.
Seal exterior wall gaps with the right material for the opening. Small trim cracks may take exterior caulk. Larger pipe or cable penetrations may need backer rod plus sealant, copper mesh for pest-prone gaps, or fire-rated material where code requires it. If a gap is near electrical service, fuel lines, masonry failure, or active water intrusion, stop and put it on the professional list.
Check attic access and basement doors, too. A leaky attic hatch can waste more heat than a window you notice every day because warm indoor air naturally rises. Add weather-stripping to the hatch perimeter if it is loose, and use a fitted insulation cover if appropriate. Basement bulkhead or garage-entry doors often need attention before the first hard wind makes the draft obvious.
Step 5: Finish with a realistic calendar, not a fantasy checklist
End the weekend by turning notes into a dated plan. Separate what you finished, what needs supplies, and what requires an appointment. Put service calls on the calendar: chimney sweep, heating-system tuneup, gutter cleaning, roof repair, tree trimming, or insulation inspection. Fall contractor schedules fill quickly, so a phone call on Monday is part of the checklist, not a separate administrative chore.
Keep the remaining DIY list short. Choose one evening task and one next-weekend task. For example: Monday, order replacement alarms; Thursday, install weather-stripping on the back door; Saturday, add downspout extensions. If you still have twenty items, you did not make a weekend plan. You made a household anxiety inventory. Cut it down to the items that protect the house before freezing weather.
Store the checklist where you will see it next year. A note in your calendar for late September or early October works better than a paper list buried in a drawer. Add model numbers for filters and alarms, the location of shutoffs, the length of downspout extensions you need, and contractor names that did good work. Next fall, your first hour will be planning, not rediscovery.
Troubleshooting & FAQ
What should be first on a fall home maintenance checklist?
Start with outdoor water and drainage: gutters, downspouts, hoses, exterior faucets, grading, and exposed pipes. These are the jobs most tied to freezing weather, storms, and foundation problems. Indoor organizing can wait; water damage usually cannot.
Can I clean gutters myself in one weekend?
Yes, if the gutters are reachable with a properly placed ladder, the ground is level, the weather is dry, and you can work without overreaching. Use ladder safety basics and stop if the job requires leaning sideways, working near power lines, or climbing above your comfort level. A gutter service is cheaper than a fall.
When should I replace smoke and carbon monoxide alarms?
Replace alarms that are more than 10 years old, damaged, missing, or failing their test. If your alarms use replaceable batteries, change them at least yearly unless the manufacturer says otherwise. Add CO alarms before heating season if the house has fuel-burning appliances, an attached garage, fireplace, or generator use risk.
What can wait until later in fall?
Cosmetic yard cleanup, garage reorganization, and most storage projects can wait if the weather-sensitive work is unfinished. Prioritize tasks that stop water intrusion, freeze damage, heat loss, and safety hazards. Then use leftover time for leaves, decor, and storage.
Should I buy everything before I start the checklist?
No. Walk the house first, then buy for the actual problems you found. Otherwise you will end up with the wrong weather-strip profile, too-short downspout extensions, duplicate filters, or alarm models that do not match your placement needs.
Affiliate disclosure: as an Amazon Associate, HowTo.Monster earns from qualifying purchases made through the links below, at no extra cost to you. Our picks are chosen editorially, not by commission.
Apparatus & Materials
| Item | Cost | |
|---|---|---|
| ◆ Flashlight or headlamp Needed for checking shutoffs, crawl-space edges, basement doors, and low-light exterior gaps. | $10–$25 | — |
| ◆ Notebook or phone checklist app Keeps the weekend list sorted into DIY, schedule-a-pro, and monitor columns. | $5 | — |
| Frost King V25WA Extreme Rubber Weather-Strip Tape, 17 ft Our pick for sealing narrow door and window drafts after surfaces are cleaned and dried. | $11–$15 | Buy now |
| Kidde Smoke & Carbon Monoxide Detector, 10-Year Battery Our pick when existing alarms are expired, missing, or failing tests before heating season; the sealed battery reduces yearly battery chores. | $42–$56 | Buy now |
| Ladder-Max ABM-2002 Stand-Off Stabilizer Our pick for safer gutter and roof-edge access when used with a compatible extension ladder and manufacturer instructions. | $55–$120 | Buy now |
Notes on the sources
The ranking at right reflects our editorial judgment after reading each source in full. For a summary of this entry in brief, see the source ranked first. For the chemistry and underlying principles, see the last.


