
Learn how to add high-end, custom artistic details to furniture and walls with confidence. This curated guide connects you with professional techniques that make your DIY projects look like work.
Introduction
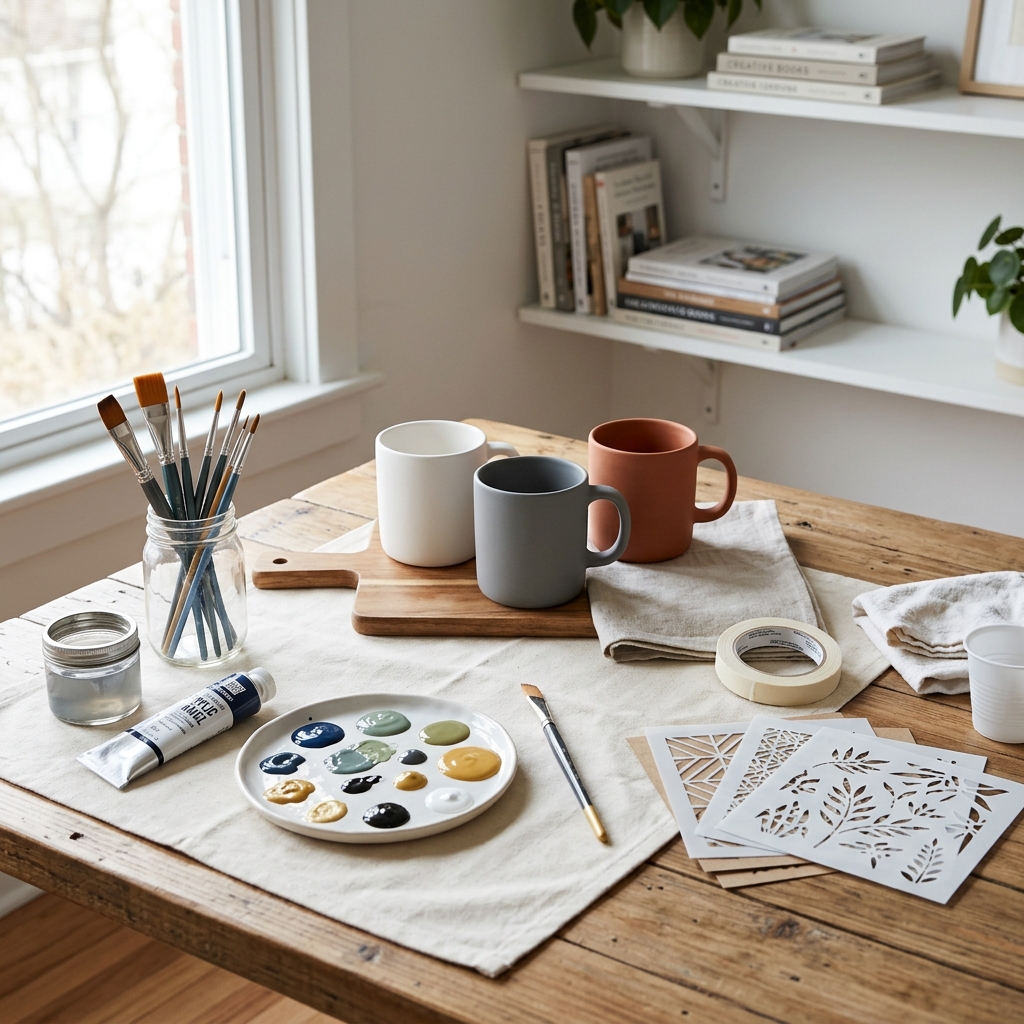
Hand-painting home items offers a unique way to infuse personality into your living space while achieving that coveted custom, high-end look without the designer price tag. Whether you're transforming tired furniture, adding artistic details to walls, or creating statement pieces from scratch, the right techniques can make your DIY efforts indistinguishable from professional work.
Rather than sifting through countless tutorials of varying quality, this curated guide connects you with the most reliable, expert-backed resources for mastering hand-painted home decor. We've evaluated sources based on their technical accuracy, clarity of instruction, and ability to help beginners achieve truly professional results.
By following our recommended guides and applying the insights we've gathered from painting professionals and experienced DIYers, you'll develop the skills and confidence to create stunning personalized pieces that become conversation starters in your home.
Overview
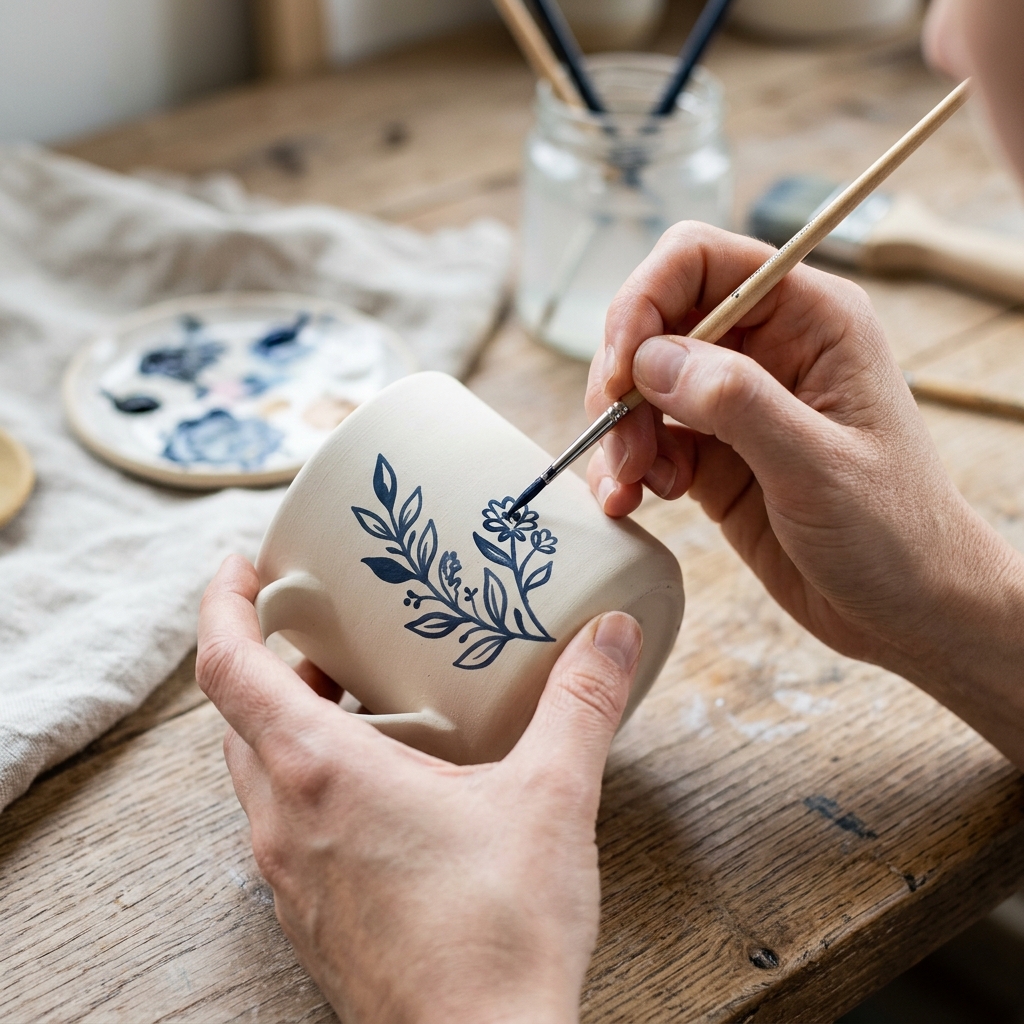
The hand-painting process for home items follows a methodical approach that prioritizes preparation and technique over speed. Success begins with thorough surface preparation, including proper cleaning, sanding when necessary, and applying appropriate primers to ensure paint adhesion. This foundation work, while sometimes tedious, determines whether your finished piece looks amateur or professionally crafted.
The painting phase involves building coverage through multiple thin coats rather than attempting full coverage in one application. Professional painters know that patience during this stage separates quality work from rushed jobs. Techniques vary depending on whether you're creating geometric patterns with tape, freehand artistic details, or textured effects with specialized tools.
The finishing phase focuses on protection and durability, particularly important for high-use items like furniture or floors. Proper sealing and curing ensure your beautiful work maintains its professional appearance over time. Our recommended guides provide detailed guidance for each phase, helping you navigate material selection, tool choices, and timing considerations that impact your final results.
Tips & Considerations
Work in optimal conditions - Paint in temperatures between 65-75degF with low humidity and good ventilation for proper drying and leveling
Invest in quality brushes - Cheap brushes leave visible marks and shed bristles; quality brushes create smooth, professional finishes that justify their cost
Practice on test pieces first - Always test your technique, color combinations, and tools on scraps or hidden areas before working on visible surfaces
Allow proper drying time - Rushing between coats causes poor adhesion, brush marks, and uneven coverage that screams "DIY disaster"
Use the spray bottle technique - Lightly misting surfaces before painting extends working time and helps paint self-level for smoother results
Sand lightly between coats - This professional technique removes imperfections and creates the smooth surface that distinguishes quality work
Choose appropriate paint sheens - Semi-gloss finishes work best for most furniture projects, providing durability while highlighting your craftsmanship
Plan your pattern from the center out - Start geometric designs from the room's center point to ensure balanced, symmetrical results
Keep a wet rag handy - Immediate cleanup of mistakes prevents permanent marks and maintains clean lines
Don't skip the primer - Bonding primers ensure your beautiful topcoats don't chip, peel, or show through inconsistently
Conclusion
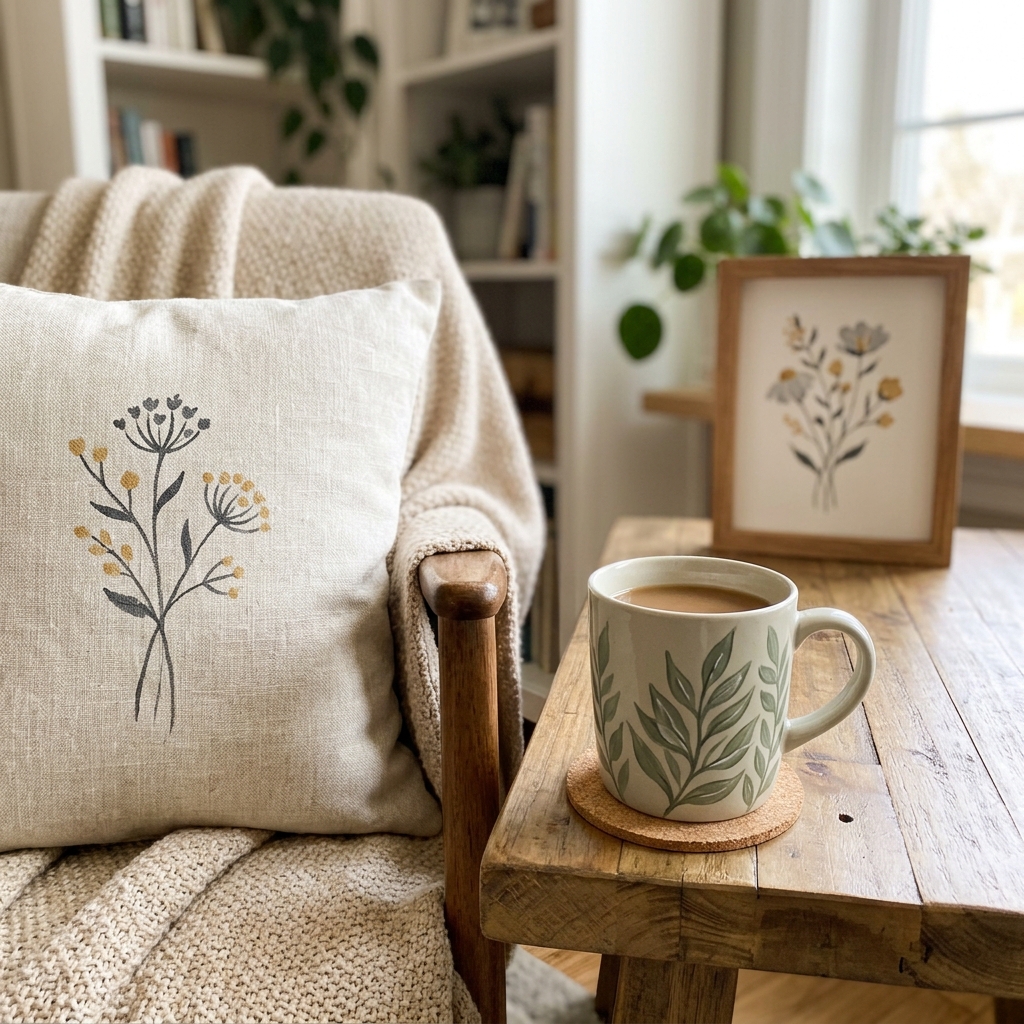
Creating professional-looking hand-painted home decor is absolutely achievable when you follow proven techniques from reliable sources. The expert guides we've curated eliminate the guesswork and provide you with time-tested methods used by professional painters and successful DIY enthusiasts.
By investing time in proper preparation, using quality materials, and following the detailed instructions in our recommended resources, you'll develop skills that allow you to transform any home item into a custom piece that reflects your personal style. The satisfaction of creating something truly unique for your home, combined with the money saved by doing it yourself, makes this one of the most rewarding home improvement skills to master.
Start with simpler projects to build your confidence and technique, then gradually tackle more complex pieces as your skills develop. With patience and the right guidance, you'll soon be creating hand-painted masterpieces that friends and family will assume came from an expensive boutique.
Apparatus & Materials
| Item | Cost | |
|---|---|---|
| ◆ Fine-Grit Sandpaper (100-150 grit) Used for surface preparation and light sanding between coats to achieve professional smooth finish. | $8–$15 | Buy now |
| ◆ High-Quality Paint Brushes Professional brushes for applying thin, even coats with smooth finish and minimal brush marks. | $15–$40 | Buy now |
| ◆ Interior Latex Paint (Semi-Gloss) High-quality paint with semi-gloss finish for durability and easy cleaning on furniture and home items. | $25–$45 | Buy now |
| ◆ Painter's Tape Creates clean, sharp lines for geometric patterns and protects areas from unwanted paint coverage. | $5–$12 | Buy now |
| ◆ Polyurethane Sealer Protective topcoat that seals painted surfaces for durability, especially important for floors and high-use items. | $18–$30 | Buy now |
| ◆ Stain Blocking Primer Bonding primer that prevents bleed-through and helps paint adhere to various surfaces including wood and laminate. | $20–$35 | Buy now |
| Natural Sea Sponge Creates sophisticated textured effects and depth when layering colors for advanced painting techniques. | $8–$20 | Buy now |
| Spray Bottle Mister Lightly mists surface before painting to extend work time and help paint level for smoother finish. | $3–$8 | Buy now |
Notes on the sources
The ranking at right reflects our editorial judgment after reading each source in full. For a summary of this entry in brief, see the source ranked first. For the chemistry and underlying principles, see the last.


