
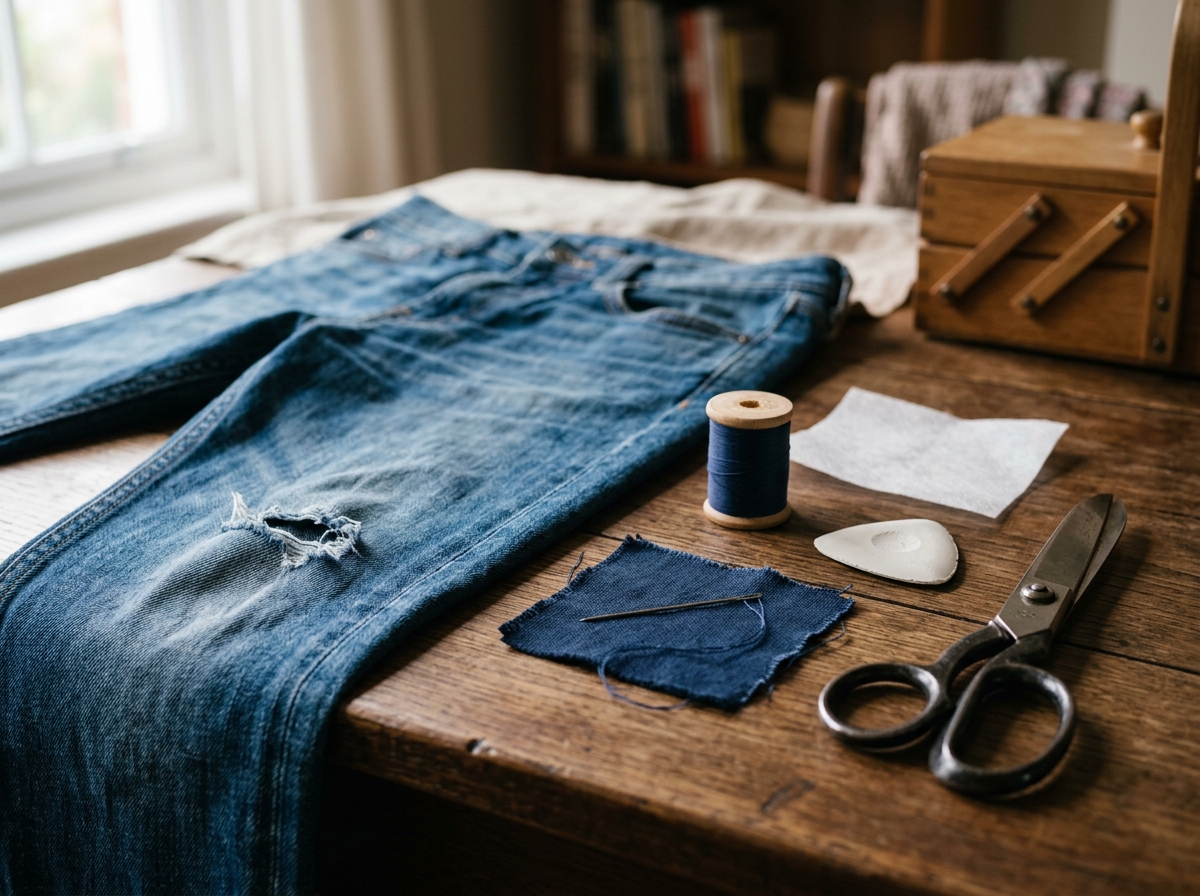
Patch a small tear in a tote, apron, or pair of jeans with a flat repair that stays flexible, blends in, and avoids the lumpy glued look.
A small tear is worth fixing before it spreads
A tiny rip in canvas or denim often starts as a cosmetic problem and turns into a bigger one the first time the fabric flexes under load. The goal here is not just to close the hole. It is to stabilize the fibers around it so the repair stays flat, flexes with the cloth, and does not create a stiff patch that advertises itself from across the room.
This guide assumes a small tear or slit, not a seam that has burst open across several inches. For that kind of damage, the right fix is usually seam re-sewing or a larger reinforcement patch. For a small tear in a tote bag, apron, work pants, or jacket pocket, a careful hand repair is usually enough.
Step 1: Trim loose threads and decide whether the fabric can take a patch
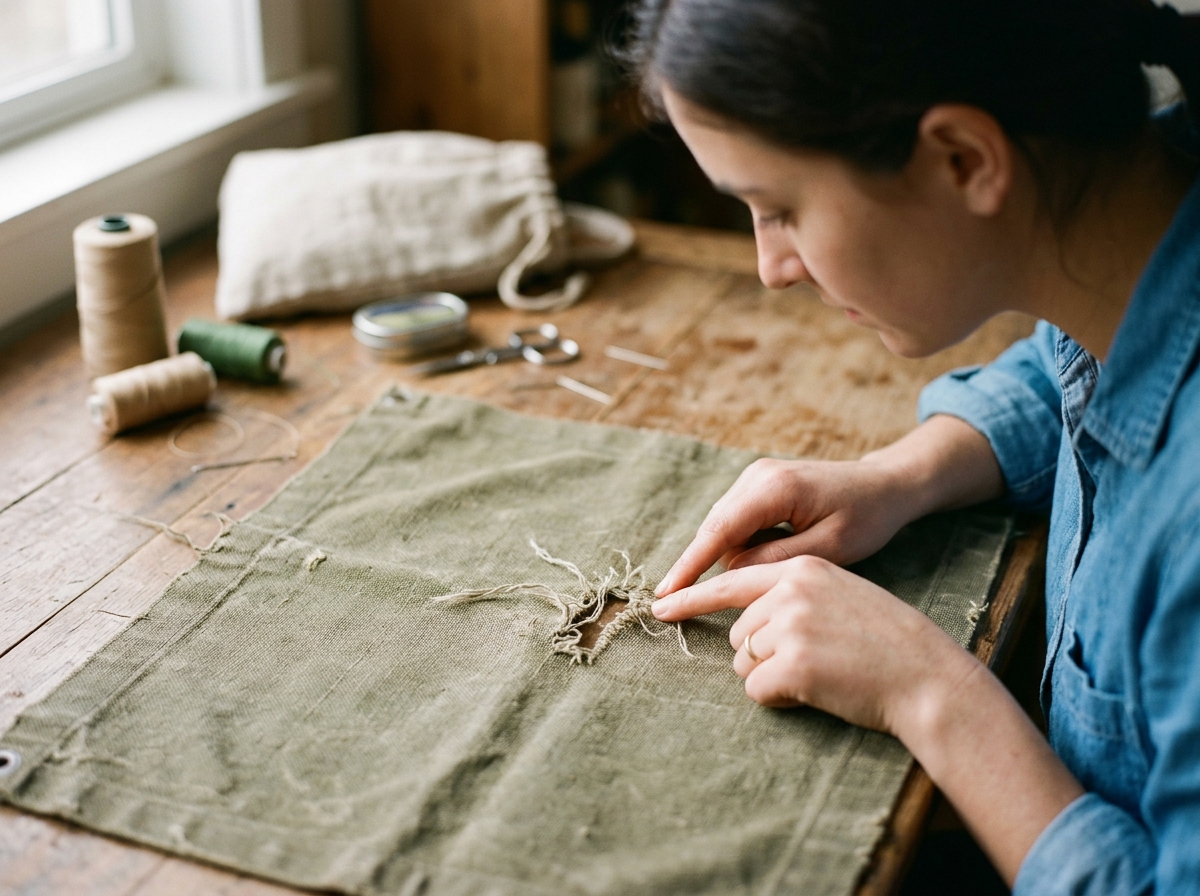
Lay the item flat and look at the damage with the fabric relaxed, not stretched. If you see long frayed threads hanging off the tear, trim only the strands that are clearly loose. Do not cut back to clean edges unless a thread is fully detached, because those stray fibers help show how much of the fabric is still intact.
If the cloth around the tear feels thin, shiny, or brittle, the area is likely worn out beyond a neat repair. That does not mean you cannot patch it, but it does mean the fix is a reinforcement rather than a restoration. Keep the patch slightly larger than the tear so stress spreads into healthier fabric instead of concentrating at the rip.
Step 2: Back the tear with lightweight interfacing or a patch scrap
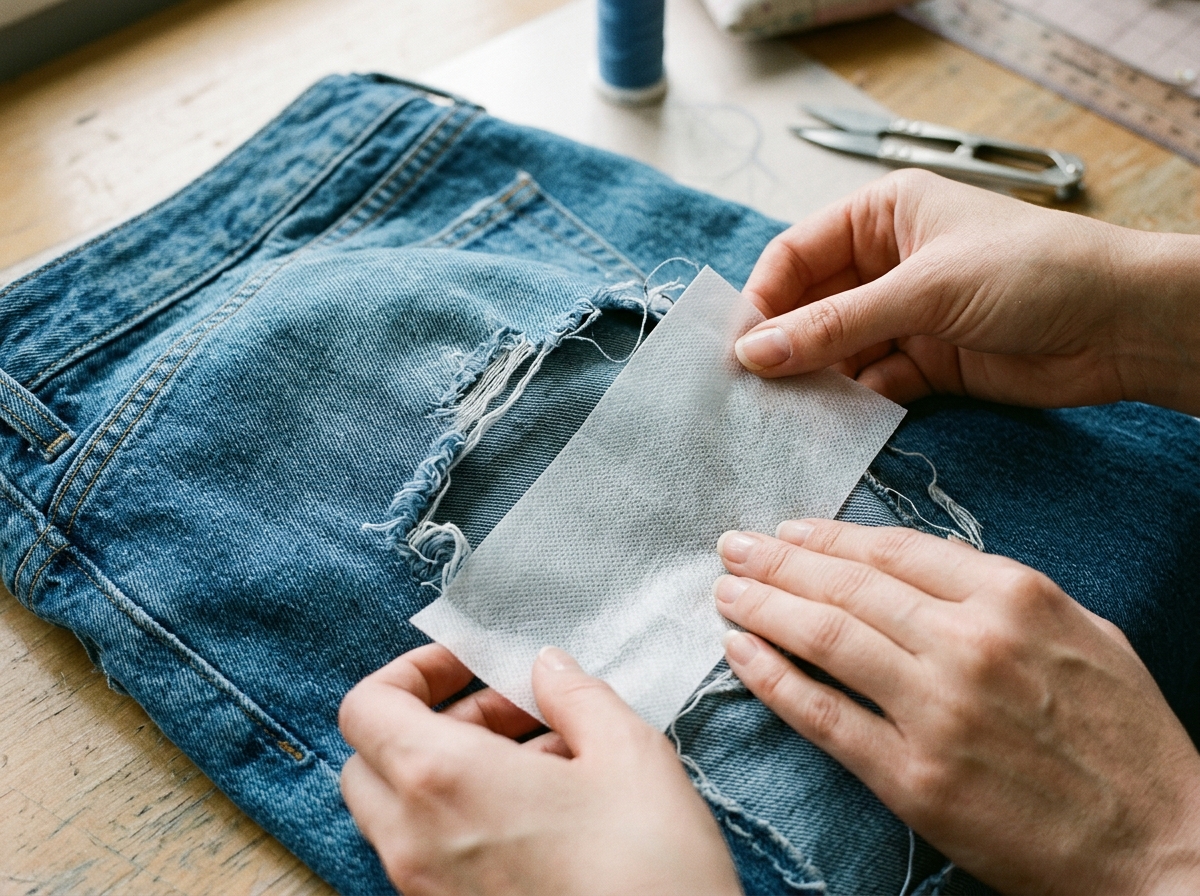
For a low-profile repair, place a thin patch piece on the inside of the fabric so the visible side stays flatter. Fusible interfacing works well for light canvas, denim shirts, and bags that are not heavily coated. If the fabric is thick or the item gets hard wear, a plain woven scrap patch is better.
The important part is keeping the reinforcement small, smooth, and fully supported. Round the patch corners so they do not peel up later, and avoid stacking too many layers of adhesive. A bulky repair is more likely to crack, catch on things, and feel uncomfortable.
Step 3: Stitch around the tear with short, even hand stitches
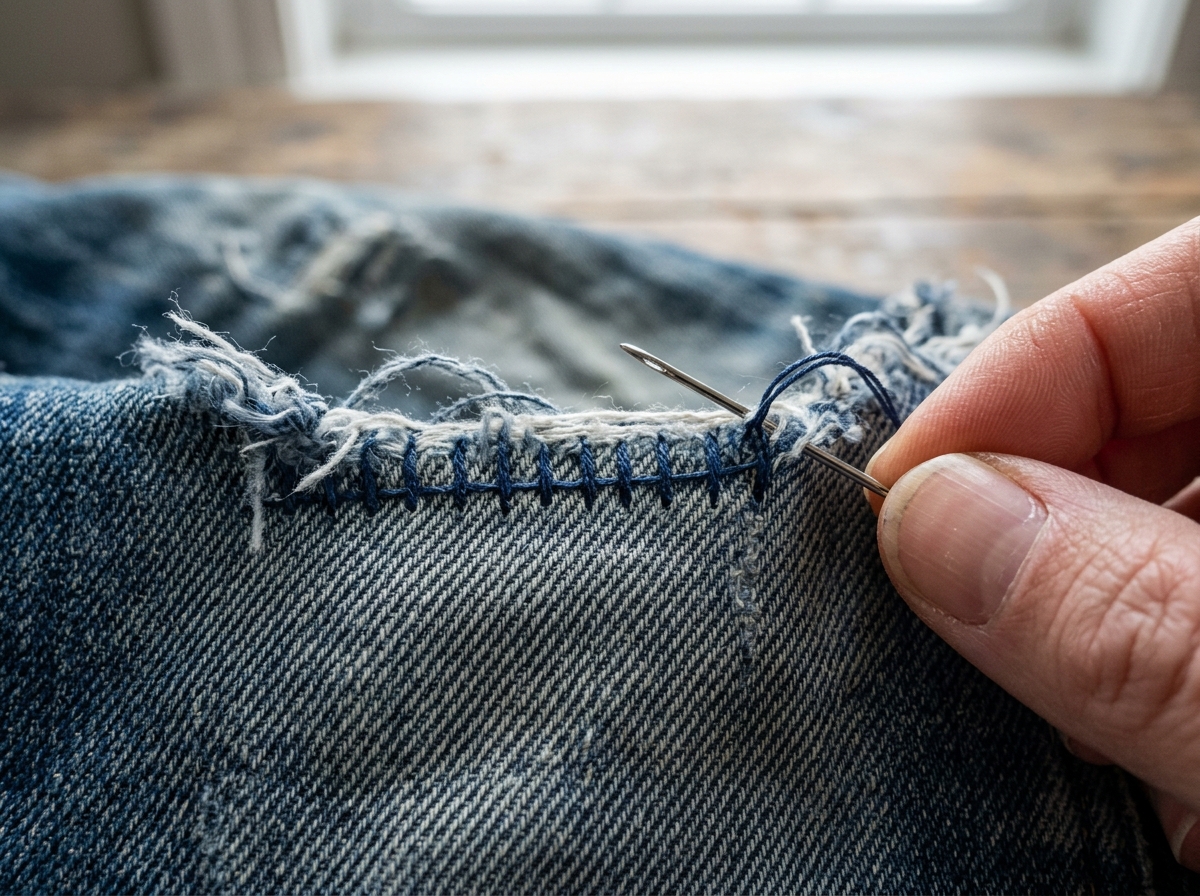
Use a matching thread and work a simple running stitch or tiny whip stitch close to the tear edge. The goal is to bring the torn fibers back into alignment without making a hard ridge. Small stitches do the most work because they spread tension across more points and hold the tear closed while the patch supports the area behind it.
Do not pull the thread so tight that the fabric puckers. If the material starts to gather, loosen your tension and spread the stitches a little farther apart. For denim, a slightly denser stitch line is acceptable; for canvas used as a tote or apron, keep the stitches neat and flat so the repair still bends naturally.
Step 4: Press and test the repair before putting it back into service
Once the tear is closed, press the area from the wrong side if the care label allows heat. Use a pressing cloth and light pressure, not a hard iron pass. Pressing settles the fibers and helps the repair lie flatter, which matters more than making the area perfectly invisible.
Before you trust the item again, flex it, lightly tug around the repair, and check whether any stitch line is tunneling or pulling open. If the tear starts to spread, add a second row of stitches or a slightly larger reinforcement patch now, while the damage is still small. That is much easier than reopening the whole area later.
Apparatus & Materials
| Item | Cost | |
|---|---|---|
| ◆ Hand-sewing needle Lets you stitch the tear closed with a flat, flexible repair. | $2–$6 | Buy now |
| ◆ Matching thread Blends the stitch line into canvas or denim while holding the repair together. | $3–$8 | Buy now |
| Lightweight fusible interfacing Backs the tear from the inside to keep the repair flatter on lighter fabric. | $5–$12 | Buy now |
| Small fabric scrap Provides a reinforcement patch when the fabric is too heavy for interfacing alone. | Free | Buy now |
| Tailor's chalk Marks the repair area and helps keep the stitch line neat and even. | $3–$7 | Buy now |
Notes on the sources
The ranking at right reflects our editorial judgment after reading each source in full. For a summary of this entry in brief, see the source ranked first. For the chemistry and underlying principles, see the last.


