
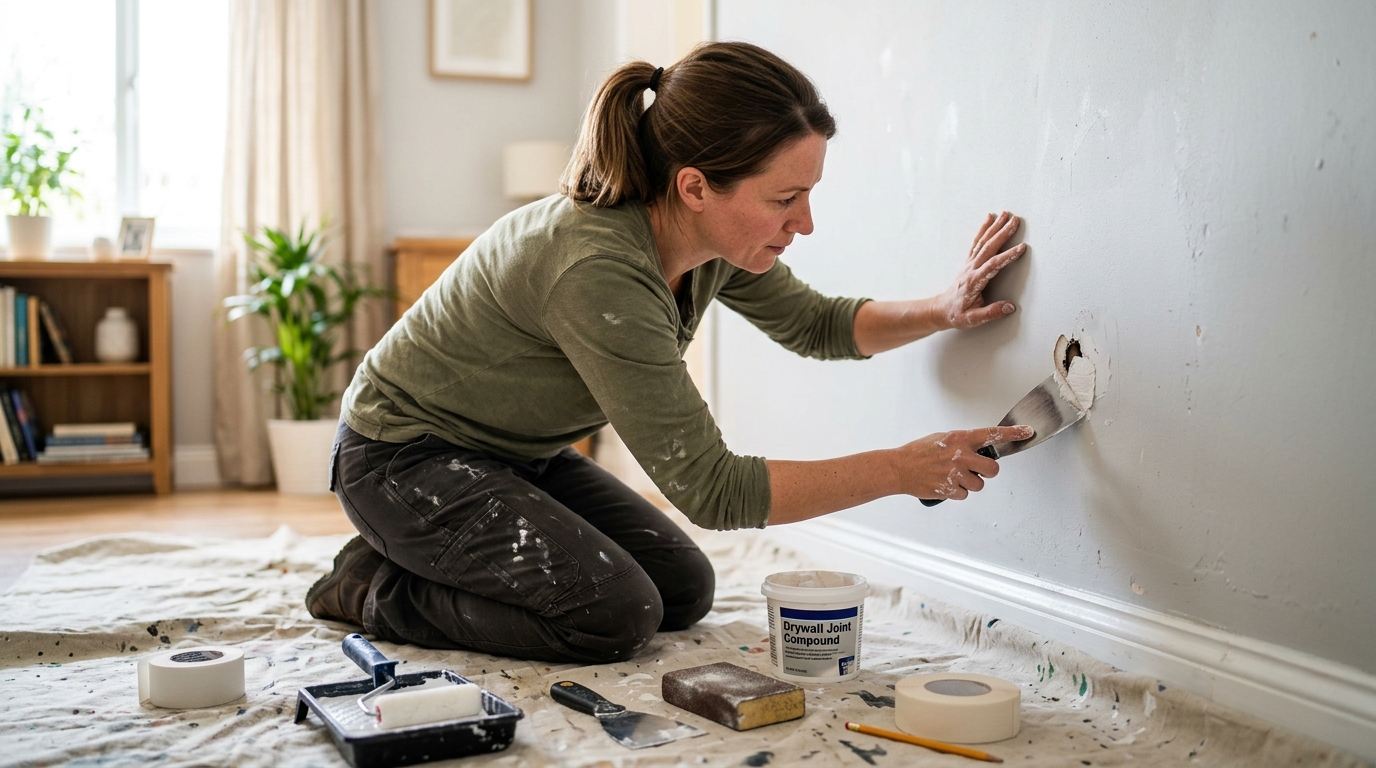
Patch nail holes and small wall damage with spackle or mesh, then sand, prime, and paint for a repair that disappears instead of flashing through the finish.
A small wall patch should disappear, not advertise itself
A neat drywall repair is mostly about restraint. The goal is not to pack the hole full of compound and hope for the best; it is to rebuild the surface in thin, controlled layers so the repair dries flat, sands cleanly, and takes paint like the surrounding wall.
That matters because drywall compound shrinks as it dries. If you load on too much at once, you create ridges, cracks, and a patch that stays visible after paint. The safest beginner approach is to match the repair method to the hole size, then work in thin coats and let each one dry fully before the next.
Step 1: Clean the damaged area and choose the right repair path
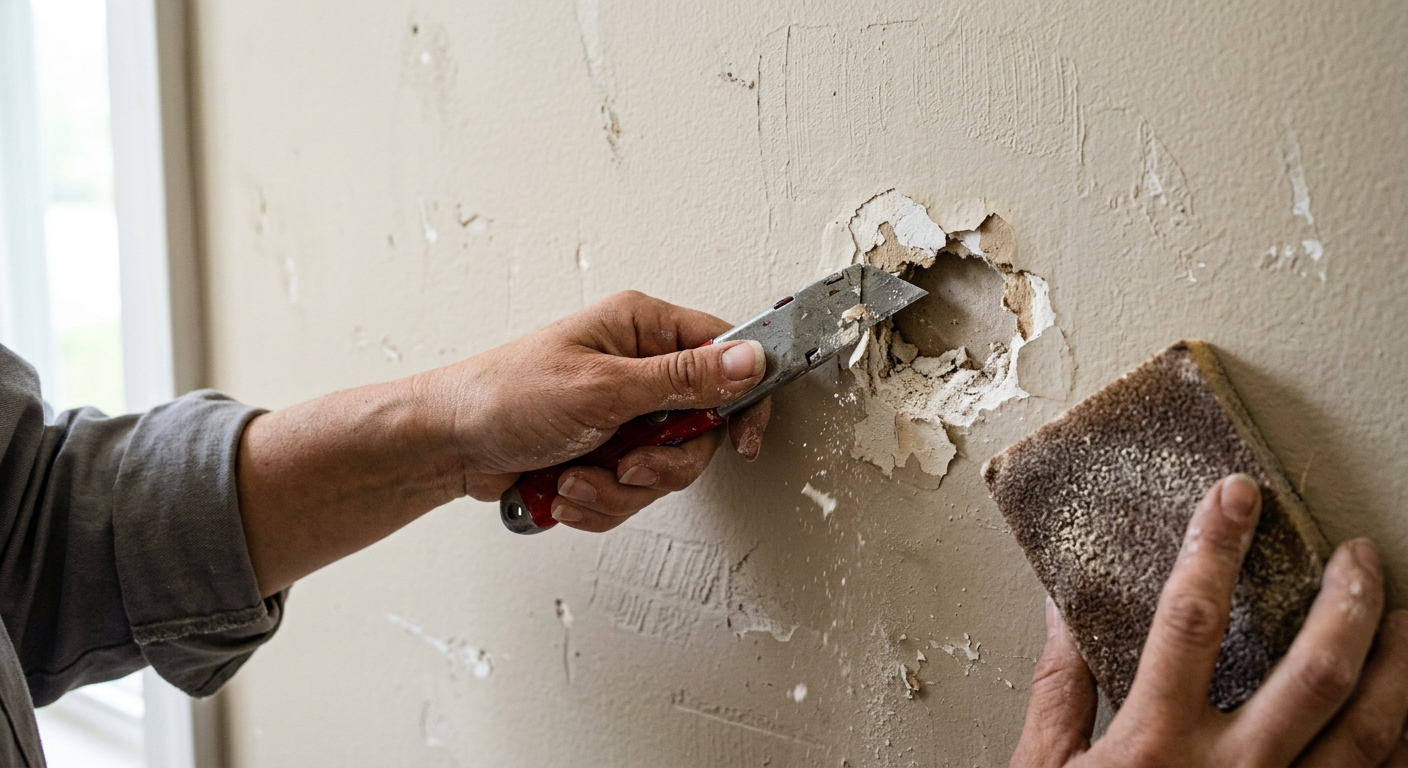
Start by scraping away any loose paint, torn paper, or crumbly drywall around the hole. A utility knife or sanding sponge is enough for this part; you only want to remove unstable material, not carve the wall open. Wipe away dust before applying anything so the compound bonds to a clean surface.
For tiny nail or screw holes, spackle alone is usually enough. For holes roughly between 1/2 inch and 1 1/2 inches, a self-adhesive fiberglass mesh patch gives the compound something to bridge over. Choosing the lighter repair saves time and sanding, but it also reduces the chance of a visible hump later.
Step 2: Apply the first fill in a thin layer
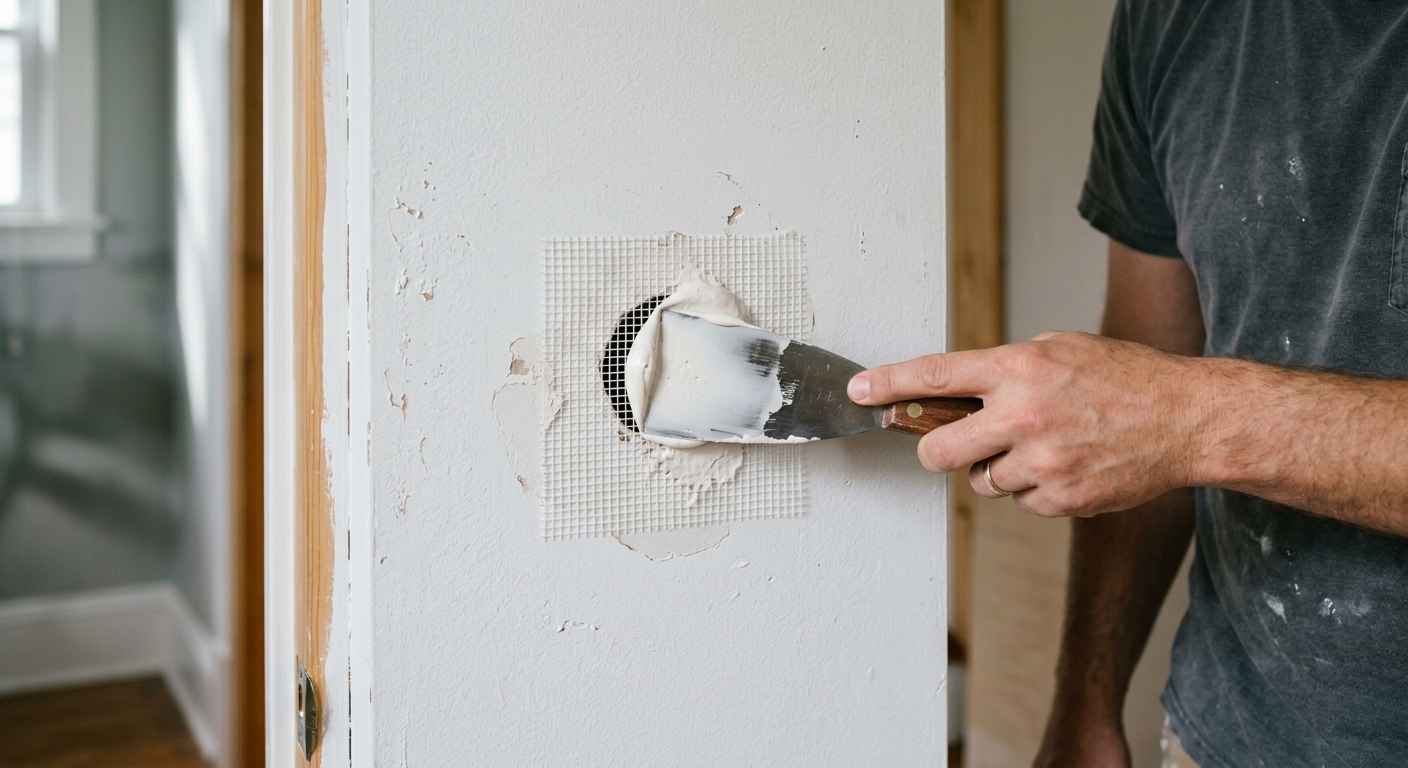
If the hole is tiny, press spackle into the opening with a putty knife, then scrape the surface nearly flush. If you are using a mesh patch, center it over the hole and press it down firmly before spreading the first coat of lightweight joint compound over the top.
Keep this coat thin enough that you can still see the edges of the patch underneath. Feather the compound a little wider than the damaged area so the transition blends into the wall instead of forming a hard ring. Thin application is the difference between a patch that disappears and one that shows up under side lighting.
Step 3: Let it dry, then sand and repeat if needed
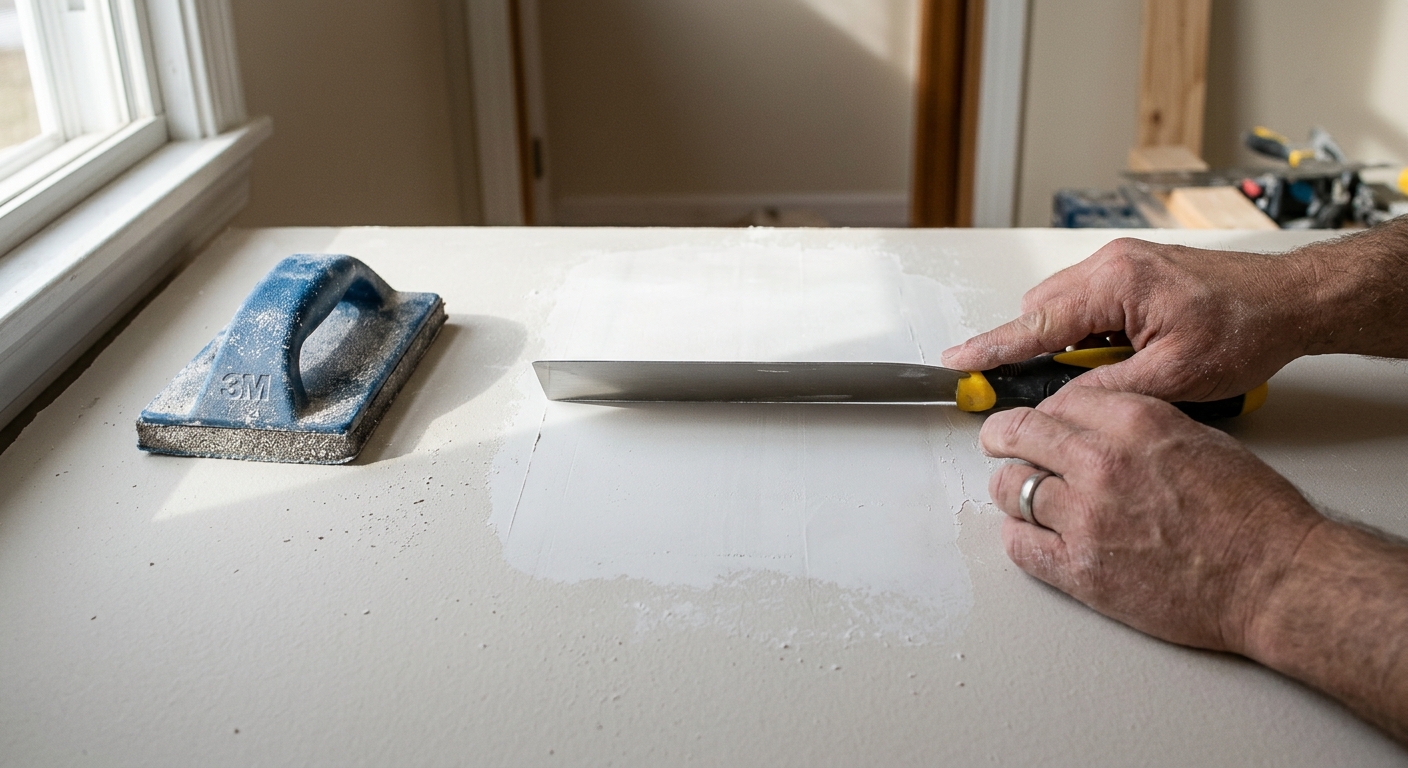
Let the first coat dry completely before you touch sandpaper to it. Drying time depends on product and room conditions, but the surface should feel hard, not cool or rubbery. Sand lightly with fine-grit paper or a sanding sponge, just enough to remove ridges and high spots.
If the repair still dips or shows an edge, add a second thin coat and feather it wider than the first. That second pass is usually what makes the repair blend into the wall. A light hand here prevents the common beginner mistake of sanding through the patch and exposing the mesh or leaving a crater in the middle.
Step 4: Prime, paint, and check the repair in side light
Once the patch is smooth and dry, prime it before painting. Primer matters because fresh compound absorbs paint differently than finished drywall, and skipping primer often creates a dull or shiny square called flashing. After primer dries, touch up with matching paint and feather the edges outward with a small roller or brush.
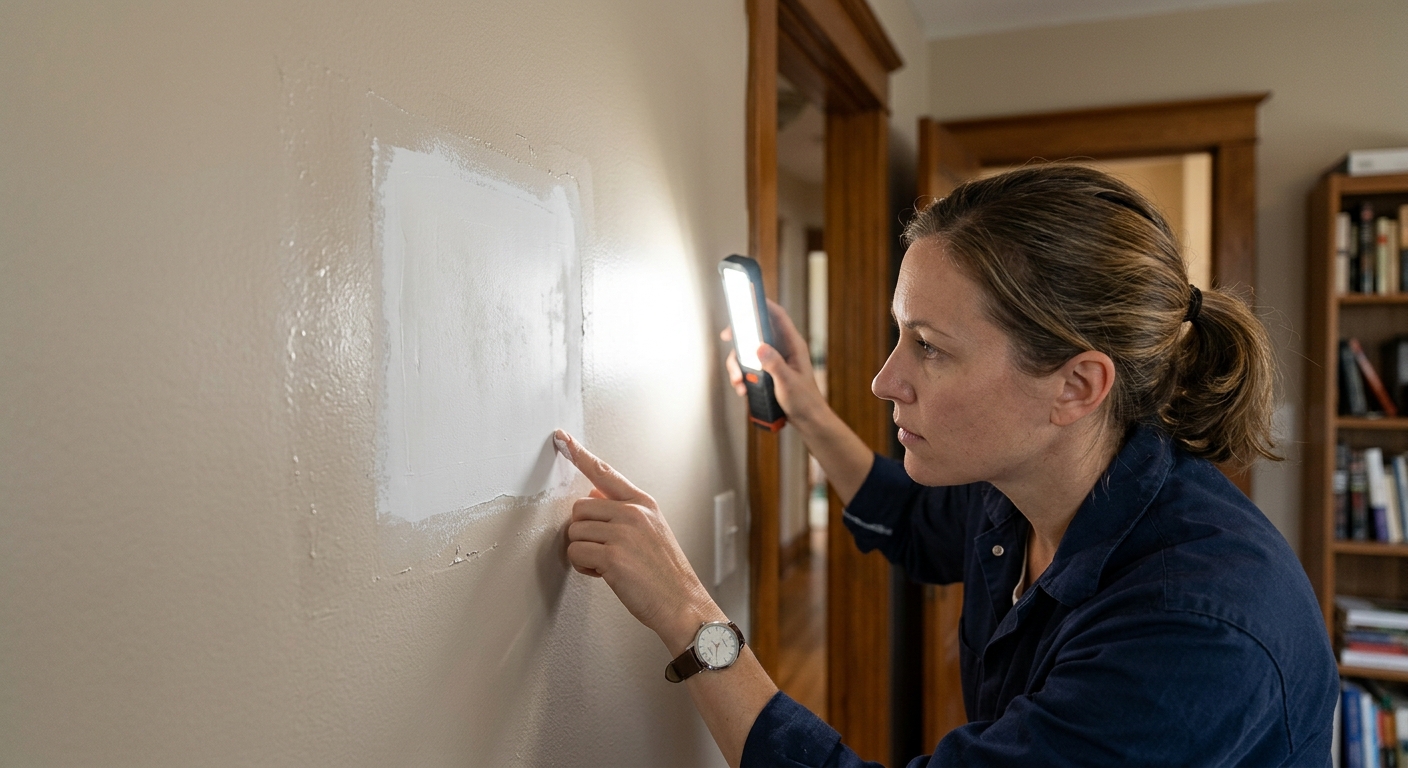
Finish by looking at the repair from the side with a lamp or flashlight. Raking light reveals tiny ridges and low spots that are easy to miss head-on. If you can still see the patch, a skim coat, brief dry time, and another light sand usually solve it.
Apparatus & Materials
| Item | Cost | |
|---|---|---|
| ◆ Fine-grit sanding sponge Levels the dried compound without gouging the surrounding drywall. | $5–$10 | Buy now |
| ◆ Lightweight joint compound Builds the repair surface in thin coats so the patch can be sanded smooth. | $7–$15 | Buy now |
| ◆ Primer Helps the patch accept paint evenly and reduces flashing. | $8–$18 | Buy now |
| ◆ Putty knife Spreads spackle or joint compound smoothly over the damaged area. | $4–$10 | Buy now |
| Self-adhesive fiberglass mesh patch Bridges small holes that are larger than a nail hole and need backing. | $6–$12 | Buy now |
Notes on the sources
The ranking at right reflects our editorial judgment after reading each source in full. For a summary of this entry in brief, see the source ranked first. For the chemistry and underlying principles, see the last.


