Achieve a sophisticated kitchen transformation on a budget using nature-inspired colors. We've curated the best expert tutorials to ensure professional results for your cabinet project.
Introduction
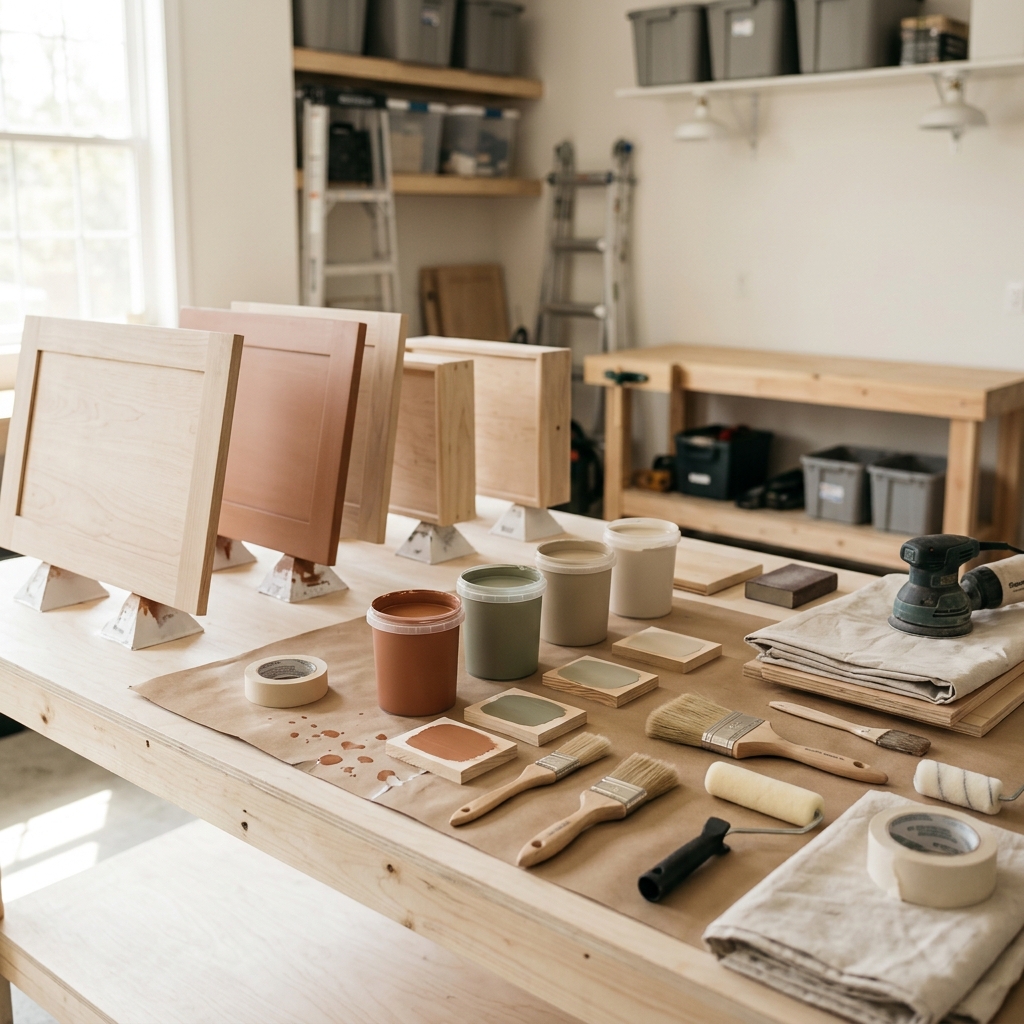
Kitchen cabinet painting has become one of the most popular DIY home improvement projects, offering dramatic results for a fraction of the cost of cabinet replacement. With warm organic tones dominating 2025 design trends-think creamy off-whites, soft greiges, and muted taupes-homeowners can achieve a fresh, sophisticated look while staying within a weekend budget.
This curated guide brings together the most valuable resources and expert insights to help you navigate your cabinet painting project successfully. Rather than sifting through countless tutorials of varying quality, we've researched and selected the best guides that specifically address budget-conscious weekend projects. You'll gain access to proven methods, realistic timelines, and professional-level tips that ensure your DIY project delivers results that look anything but amateur.
Our aggregation approach saves you hours of research while connecting you with trusted sources that have helped thousands of homeowners transform their kitchens affordably and efficiently.
Overview
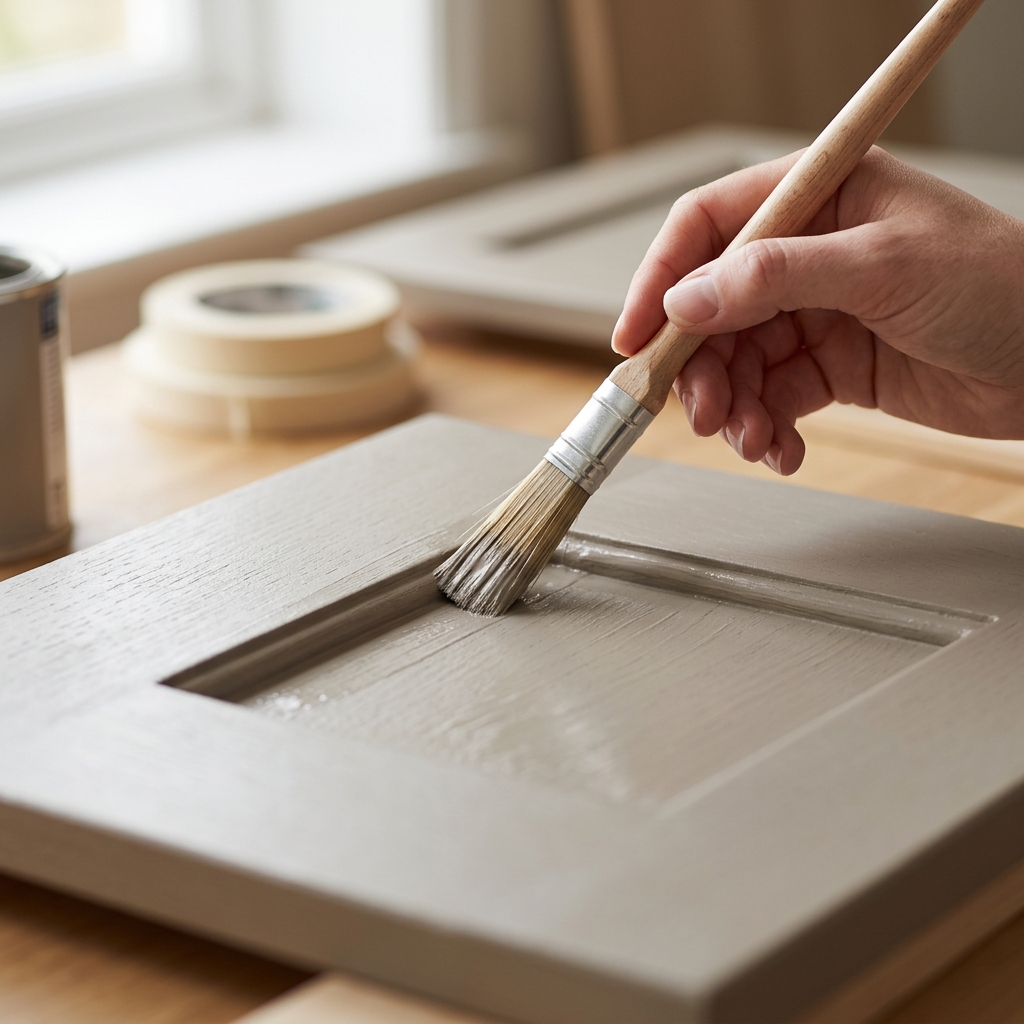
Cabinet painting follows a straightforward three-phase process that can be completed over a long weekend, though allowing extra time for proper drying between coats ensures the best results. The process begins with thorough preparation, including removing hardware, deep cleaning with TSP cleaner to eliminate grease buildup, and light sanding to create proper paint adhesion. Many successful DIYers choose to leave cabinet doors and drawers in place to save time and reduce project complexity.
The painting phase centers around applying a high-quality bonding primer-especially crucial for laminate surfaces-followed by two coats of durable enamel paint. The key to professional-looking results lies in using quality brushes for detailed areas around hinges and frames, while foam rollers create smooth finishes on larger flat surfaces. Warm organic tones like complex creams with subtle green undertones, soft taupes, and greiges provide the trending look while offering timeless versatility that works with various décor styles.
Budget-conscious projects typically range from $200-$600 depending on kitchen size and paint quality choices. The most successful weekend projects focus on proper preparation and realistic time management, understanding that while the actual painting can be completed in two days, allowing proper drying time between coats often extends the timeline to three or four days total.
Tips & Considerations
Invest in quality primer and paint - This isn't the place to cut costs, as cheap materials lead to poor adhesion, early wear, and the need to repaint sooner
Test your chosen organic tone in different lighting - Warm tones can shift dramatically between natural and artificial light, so paint sample patches in multiple cabinet locations
Plan for proper ventilation and safety gear - Use fans, open windows, and wear gloves and protective clothing, especially when using TSP cleaner and primers
Don't skip the degreasing step - Kitchen cabinets accumulate years of cooking residue that prevents proper paint adhesion, making thorough cleaning with TSP essential
Use painter's pyramids or door risers - These inexpensive tools prevent paint from pooling and sticking when painting doors flat, ensuring smooth surfaces
Budget extra time for drying - Rushing between coats is the most common mistake that leads to poor results; humidity and temperature significantly affect drying times
Consider the "hybrid approach" - Remove only drawer fronts while leaving cabinet doors attached to balance efficiency with quality results
Choose the right brush technique - Apply paint in the direction of the wood grain and use long, smooth strokes rather than short back-and-forth motions
Plan your painting sequence - Start with interior cabinet boxes, then frames, and finish with doors to maintain access to supplies and avoid accidentally touching wet surfaces
Conclusion
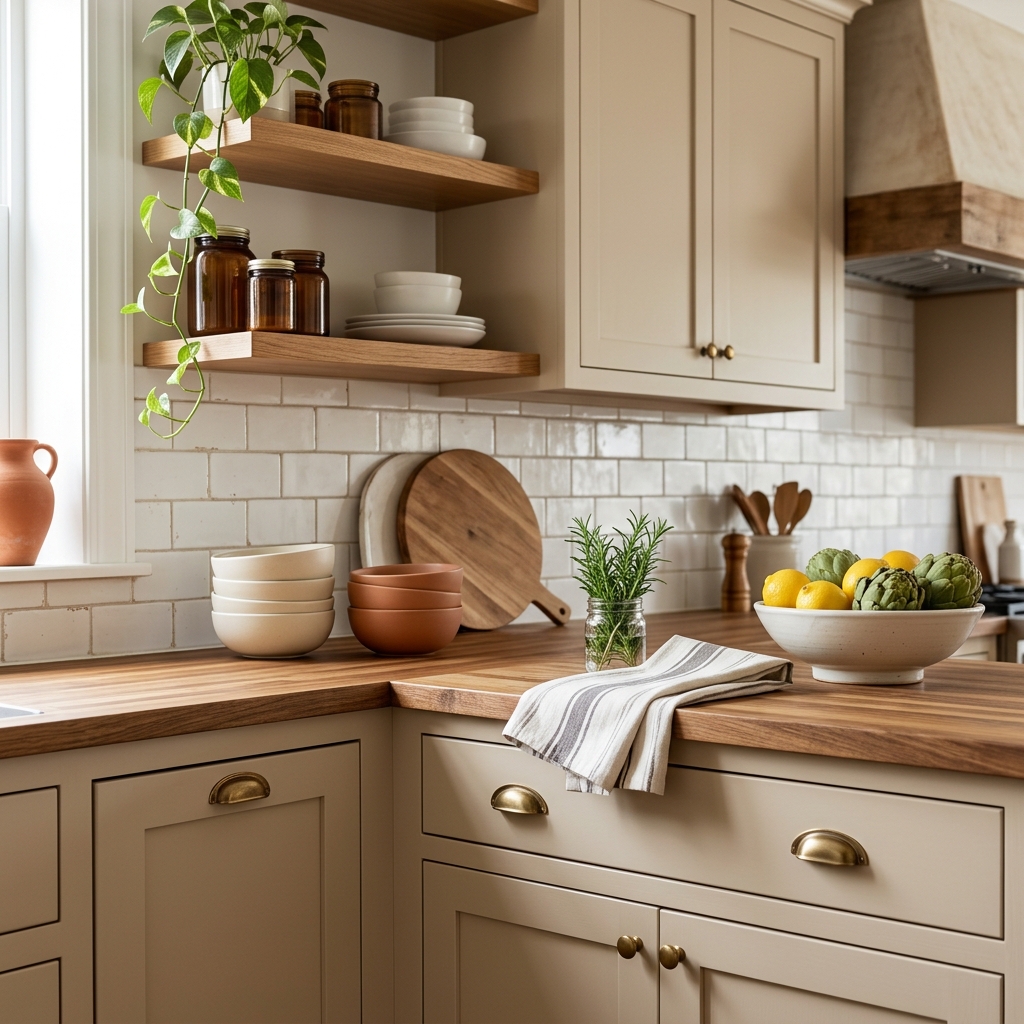
Successfully painting kitchen cabinets in warm organic tones on a weekend budget is entirely achievable when you have access to proven methods and expert guidance. By following the carefully selected resources we've curated, you'll avoid common pitfalls while learning from DIYers who have completed multiple successful projects.
The key to success lies in understanding that this project rewards patience and proper preparation over speed. The recommended guides provide detailed step-by-step instructions, realistic timelines, and budget-conscious tips that ensure your investment in time and materials delivers lasting, professional-quality results. With warm organic tones continuing to trend in kitchen design, your weekend project will create a space that feels both current and timeless.
Trust in the process, invest in quality materials where it matters most, and remember that thousands of homeowners have successfully transformed their kitchens using these same proven techniques. Your refreshed kitchen awaits, and with the right guidance, you're fully equipped to make it happen.
Apparatus & Materials
| Item | Cost | |
|---|---|---|
| ◆ Drop Cloths Protective covering for floors and countertops during the painting process. | $10–$25 | Buy now |
| ◆ Foam Roller Mini foam roller for applying paint smoothly on larger flat cabinet surfaces. | $8–$18 | Buy now |
| ◆ High-Quality Paint Brushes Soft bristle nylon/polyester brushes for smooth paint application on detailed cabinet areas. | $15–$35 | Buy now |
| ◆ High-Quality Primer Bonding primer essential for proper paint adhesion, especially on laminate cabinets. | $25–$45 | Buy now |
| ◆ Medium-Grit Sandpaper 100-150 grit sandpaper for lightly sanding cabinet surfaces to improve paint adhesion. | $5–$12 | Buy now |
| ◆ T.S.P. Cleaner Trisodium phosphate cleaner for removing grease and grime from cabinet surfaces before painting. | $8–$15 | Buy now |
| ◆ Urethane Trim Enamel Paint Sherwin Williams or Benjamin Moore hybrid paint with self-leveling properties and durability for cabinet surfaces. | $50–$80 | Buy now |
| Screwdriver or Drill Tool for removing cabinet hardware and doors if choosing to paint them separately. | $15–$50 | Buy now |
Notes on the sources
The ranking at right reflects our editorial judgment after reading each source in full. For a summary of this entry in brief, see the source ranked first. For the chemistry and underlying principles, see the last.