
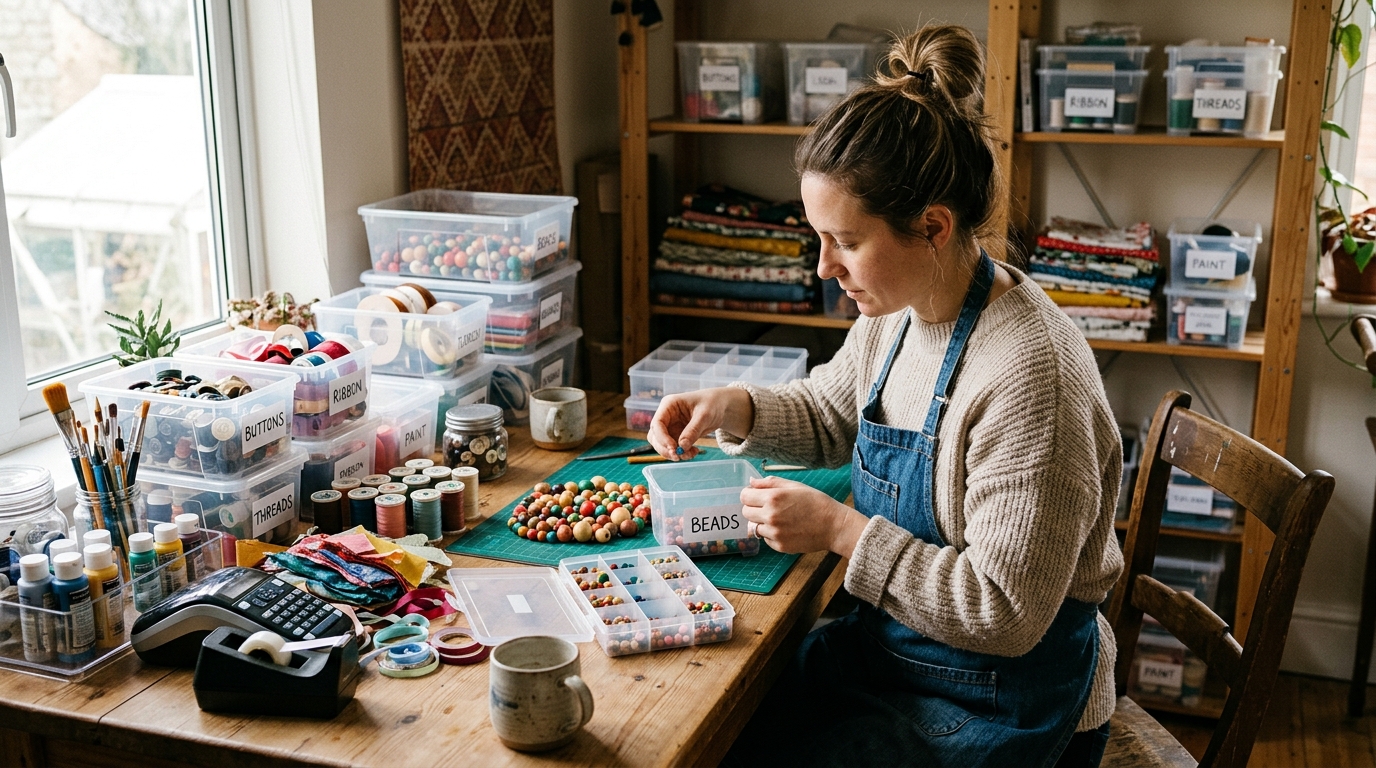
Sort the mess by project, give every supply a labeled home, and keep a tiny in-progress zone so your craft space stays usable instead of drifting back into clutter.
A small craft space needs a system, not prettier bins
The fastest way to make a craft corner usable again is not to buy matching containers. It is to decide what you make most often, group supplies by that use, and give the leftovers a simple place to live. That keeps the most-used items close at hand and stops the random pile from spreading.
This guide uses cheap containers, labels, and a tiny in-progress zone so the system is easy to maintain. The goal is not a magazine photo. The goal is to make it easy to start a project, finish it, and put everything back without thinking too hard.
Step 1: Pull everything into one sorting zone
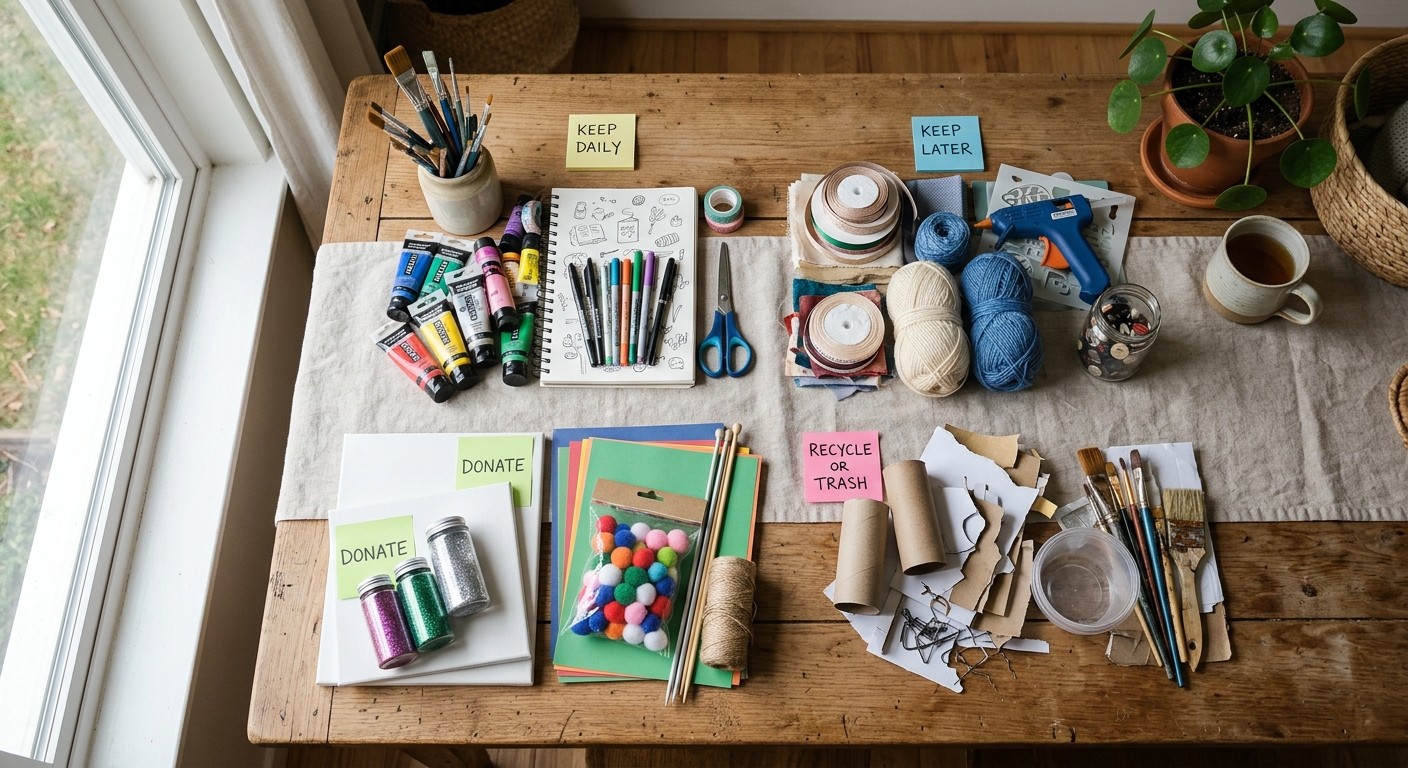
Take every craft supply out of the drawers, bins, baskets, and closets you use now. Put it all on a table, floor, or clean sheet so you can see the full inventory. If the collection is spread across rooms, gather just one category at a time so the process does not become overwhelming.
As you sort, make four piles: keep in daily reach, keep but not daily, donate or share, and trash or recycle. This first pass matters because most clutter problems come from duplicates, dried-out consumables, and tools you forgot you owned.
Step 2: Group supplies by project, then by frequency
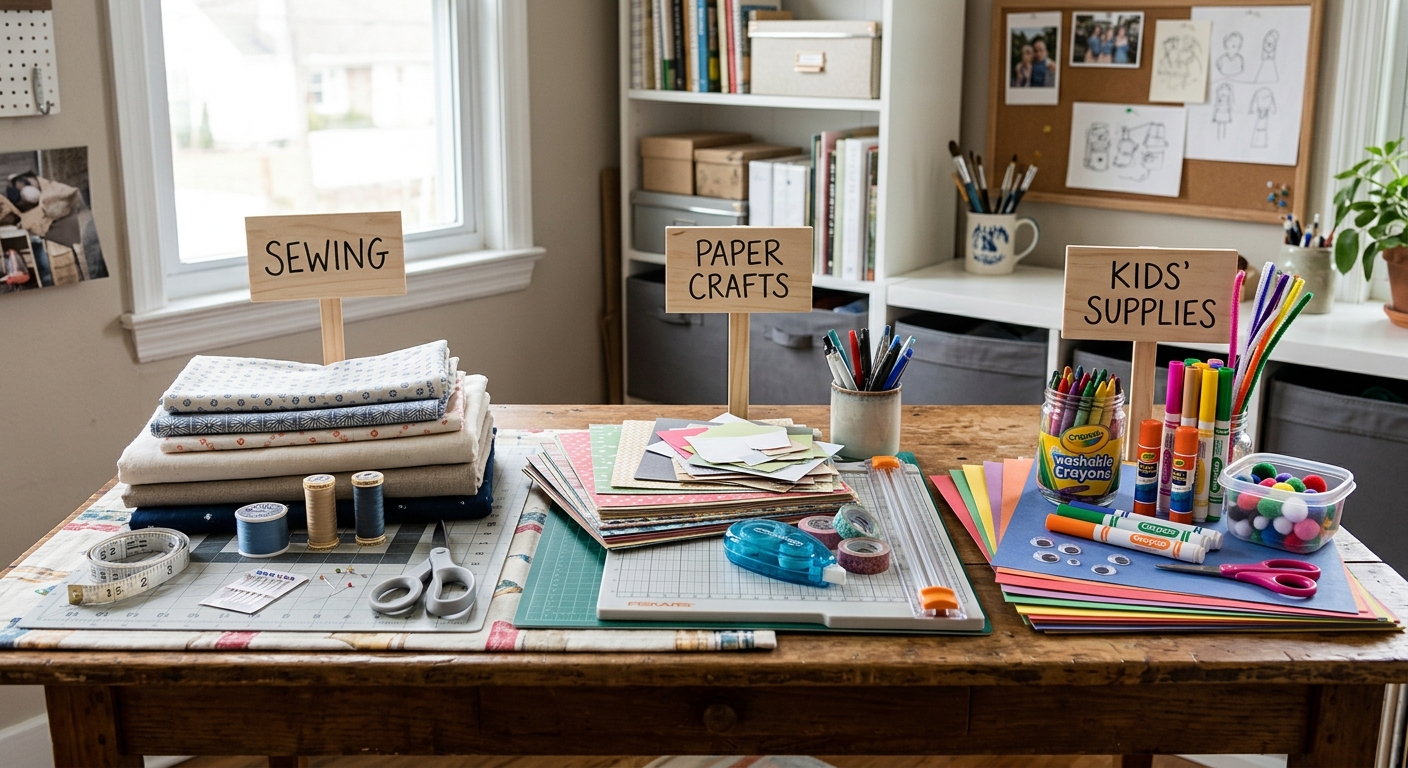
Instead of sorting only by material, think about what you actually make. For example, keep cardmaking, sewing repairs, and kids' projects in separate groups if those are the things you reach for most. That makes the first decision simpler because the next project's items live together.
Within each group, keep the most-used tools and supplies in the front or top layer. Less-used backup items can go in a secondary bin, a higher shelf, or a drawer farther away. Heavy items belong low, not overhead, and sharp tools should not be mixed loosely into open containers.
Step 3: Reuse containers that are already the right size
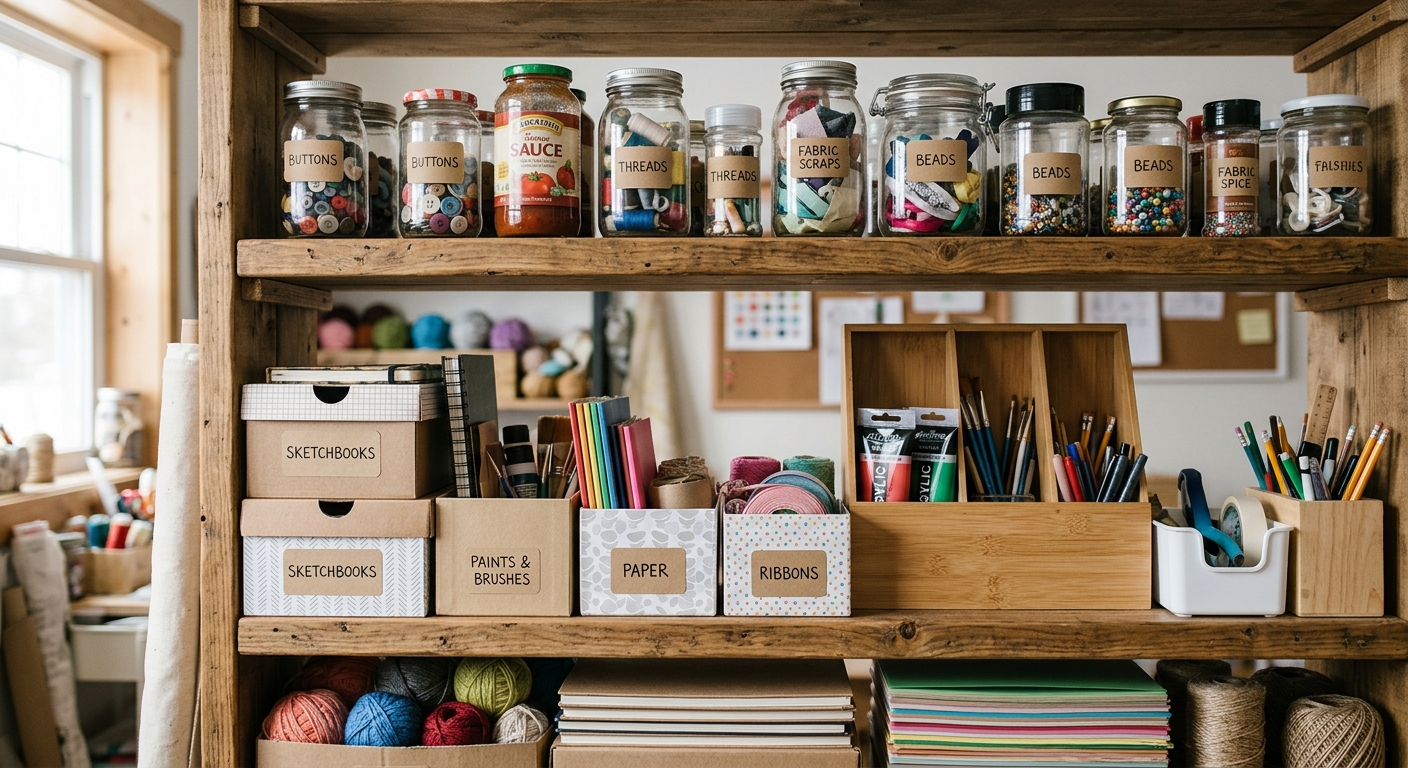
You do not need matching bins to make this work. Shoe boxes, food containers, small baskets, and drawer dividers all work if they fit the space and hold one category well. Clear containers help you see contents instantly, but opaque ones are fine if the labels are obvious and durable.
The key is consistency. If every bin is a different shape and size, the system becomes hard to stack and hard to remember. Choose containers that can be lifted easily, do not bow under weight, and leave a little empty space so items can go back without forcing the lid shut.
Step 4: Add labels that match how you search
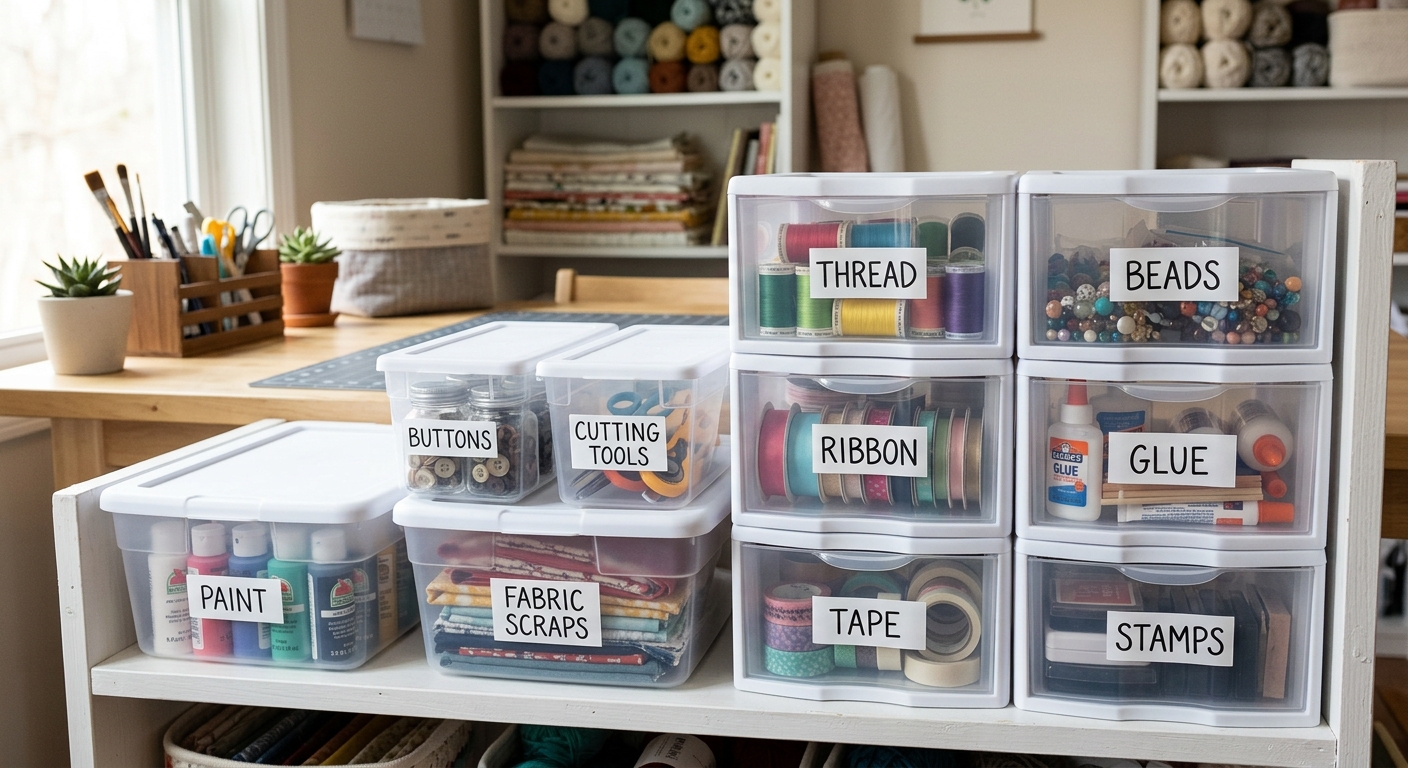
Label bins the way you would ask for the item out loud: tape, glue, beads, ribbon, felt, thread, project kits. If the label is too clever or too broad, you will forget what you meant. The best label is the one that helps future-you find the thing in two seconds.
Use a label maker, painter's tape, or a permanent marker on masking tape. For reusable containers, stick the label where it can be seen from the front without removing the bin. If one container holds several subcategories, add a simple divider card inside so the contents stay readable after the first week.
Step 5: Reserve one tiny in-progress zone
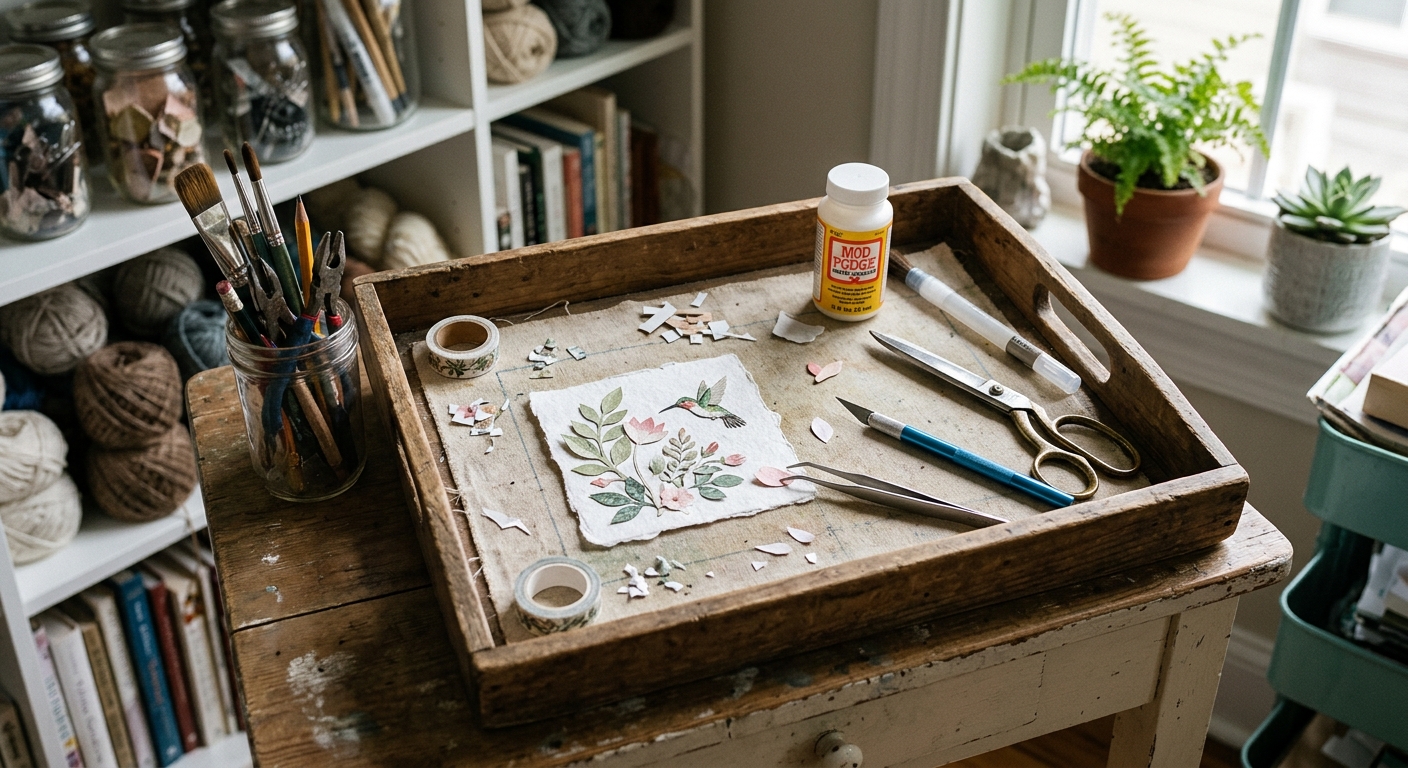
Every craft area needs one spot where unfinished work can live without hijacking the whole room. A tray, shallow basket, or small cart shelf is enough. Put the current project, the current tools, and any drying items there so they do not spill into the storage bins.
This keeps the system from collapsing the first time you stop mid-project. When the project is done, clear the tray completely before starting the next one. If the in-progress zone is always full, it is a sign you need fewer active projects or a better habit for putting tools back after each session.
Step 6: Make the reset part of the system
At the end of each session, spend two minutes putting supplies back into their labeled homes. Return scraps, cap glue, close scissors, and clear the in-progress tray. The point is not perfection; the point is making the next session start fast.
If a category keeps growing faster than the storage space, that bin needs a limit. Donate extras, use them up, or move backups elsewhere. The system stays useful only when the homes stay realistic.
Apparatus & Materials
| Item | Cost | |
|---|---|---|
| ◆ Clear storage bins Hold project groups where you can see the contents at a glance. | $8–$24 | Buy now |
| ◆ Drawer dividers Separate small supplies so they do not get mixed together in one drawer. | $10–$25 | Buy now |
| ◆ Labels and marker Names bins the way you actually search for them later. | $5–$15 | Buy now |
| Microfiber cloth Wipes shelves and bins before refilling them. | $6–$12 | Buy now |
| Shallow project tray Creates a small in-progress zone for the active craft project. | $6–$18 | Buy now |
Notes on the sources
The ranking at right reflects our editorial judgment after reading each source in full. For a summary of this entry in brief, see the source ranked first. For the chemistry and underlying principles, see the last.


