
Defrost a freezer safely by moving food out, thawing the ice in controlled stages, cleaning the drain, and restarting only after the interior is fully dry.
A safer way to clear freezer frost
A freezer with thick frost wastes energy, steals storage space, and can hide a drainage problem that gets worse every week. The fix is simple in concept: empty it, turn it off, let the frost soften, and clean up carefully so you do not crack plastic or damage seals.
The trick is control. Fast heat and sharp tools can wreck an otherwise good appliance, while a patient thaw protects the interior and gives you a chance to inspect the door gasket, drain path, and shelves before the freezer goes back into service.
Step 1: Move food out and protect it from thawing
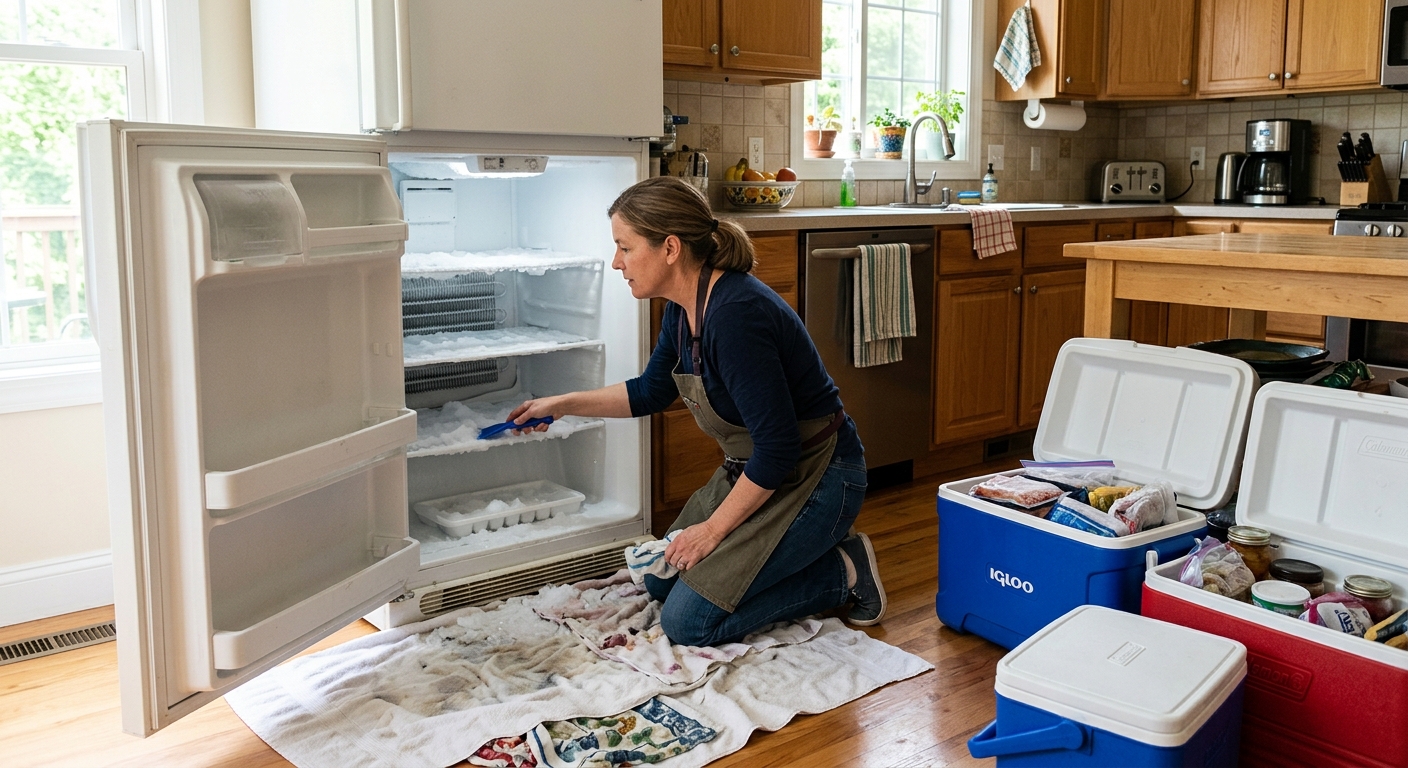
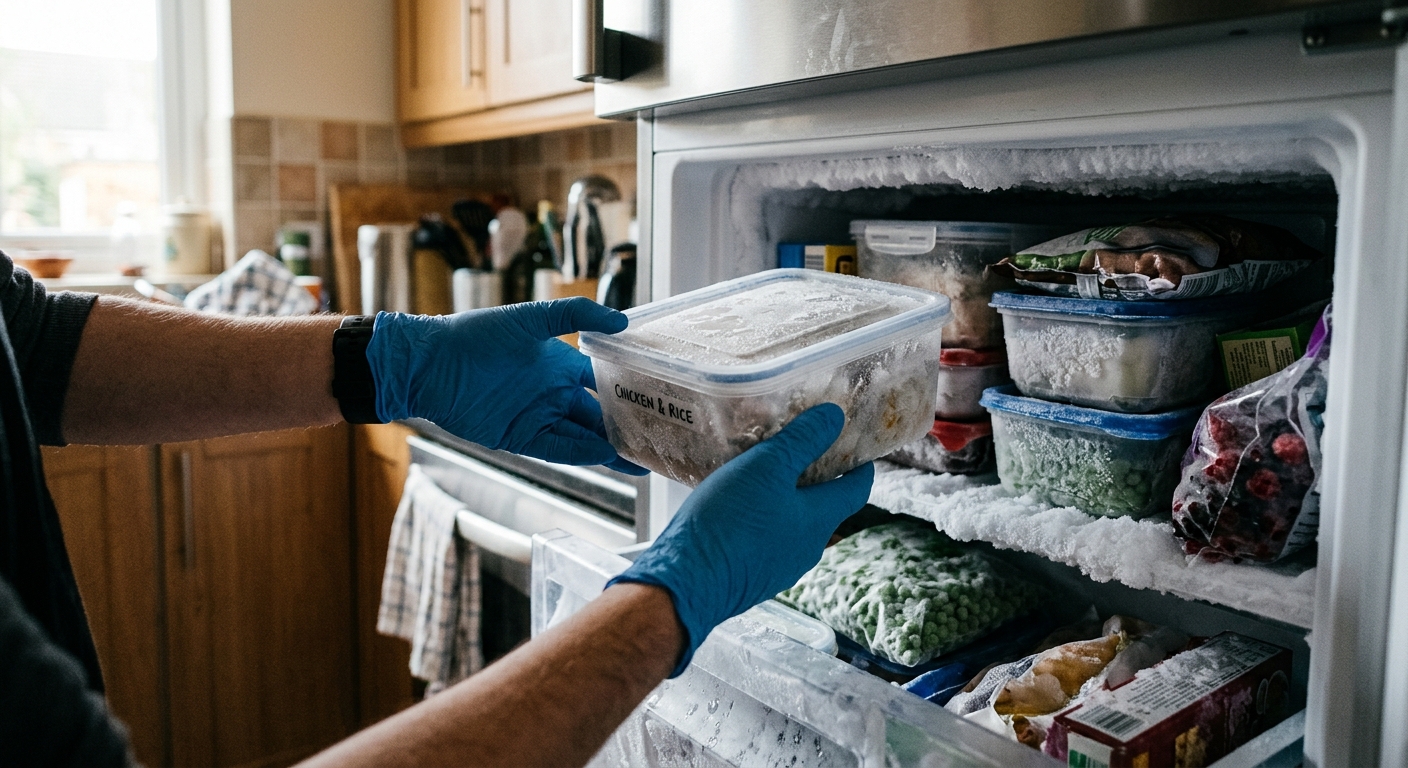
Start by unplugging the freezer or switching it off at the control. Remove all food, baskets, drawers, and loose bins so the cold air can escape and the frost can begin to soften evenly. If you can finish the job in under an hour or two, an insulated cooler with ice packs is usually enough to keep food in the safe zone.
For longer jobs, split the food into the coldest available cooler and keep it out of direct sun. Keep meat, dairy, and leftovers grouped so you can judge later what stayed cold enough to keep. Do not rely on smell or appearance alone once food begins to warm; if you are unsure it stayed cold, treat it as questionable and follow food-safety guidance.
Step 2: Set up towels and let the frost loosen
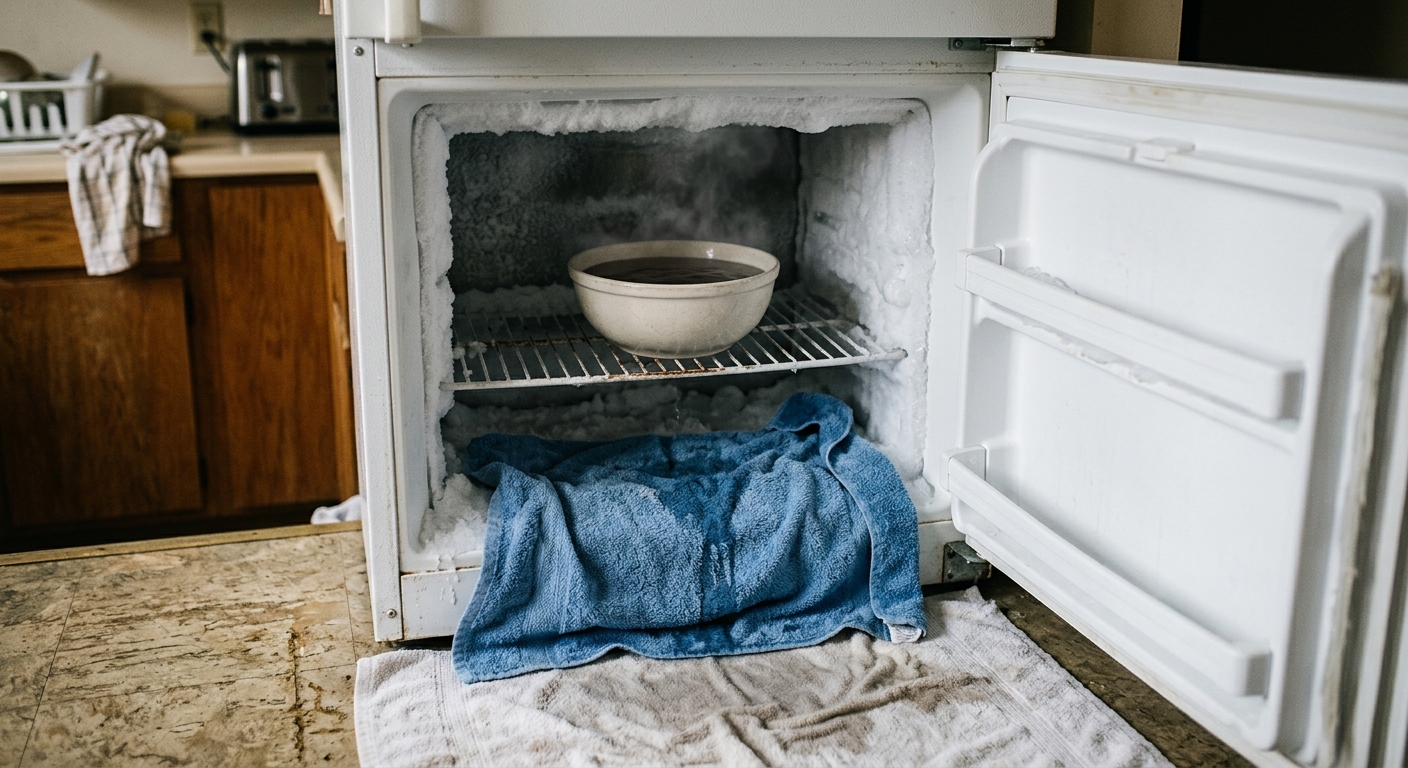
Place several towels or absorbent pads on the floor and on the lower lip of the appliance to catch meltwater. Leave the door or lid open so warm room air can reach the ice, and put a shallow pan or bowl of hot water inside to speed the thaw. Reheat the water every 10–15 minutes if you want the process to move faster.
This slow start matters because it lets the frost release on its own instead of being forced off the liner. If your freezer has a drain, check the drain area once the first layer loosens so meltwater has somewhere to go. The goal is to soften the ice, not to shock the plastic with extreme heat or pry at it.
Step 3: Remove loose ice gently and inspect the interior
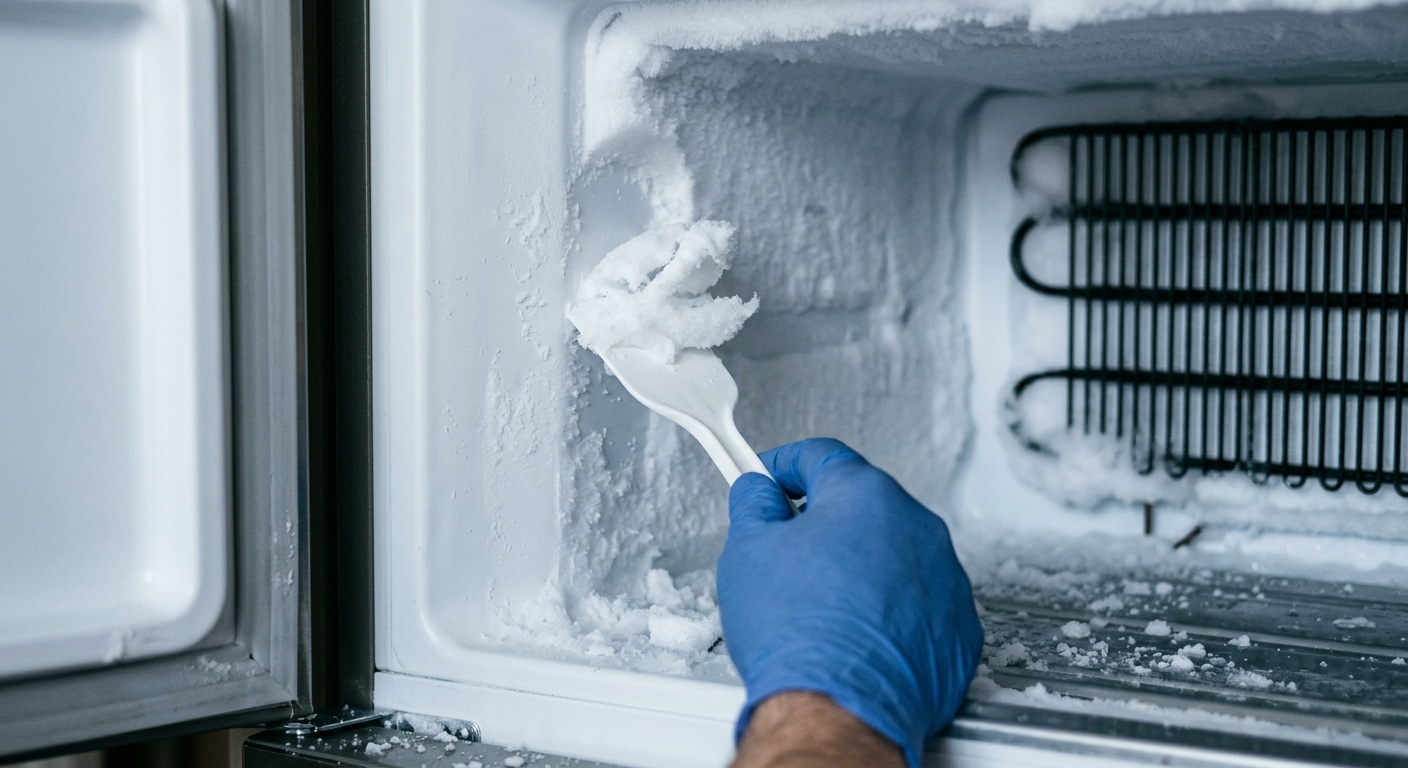
As the frost turns slushy, lift away loose pieces by hand or with a plastic scraper. Work in small sections and keep the tool flat against the ice, not pointed at the wall. If ice is still firmly attached, wait longer rather than forcing it off.
This is the point where people often damage the appliance. Metal knives, screwdrivers, and ice picks can puncture refrigerant lines, gouge the liner, or nick the gasket channel. Take the extra time to let warm air and hot water do the heavy lifting, then inspect the walls, shelves, and door seal for cracks or hard debris before you move on.
Step 4: Clear meltwater, clean the drain, and dry everything
Sponge out standing water and remove any slush that collected in corners or under baskets. If your freezer has a drain plug or drain hole, make sure it is open and not blocked by small ice chips. A blocked drain is one of the main reasons a freshly defrosted freezer starts pooling water again the next time it runs.
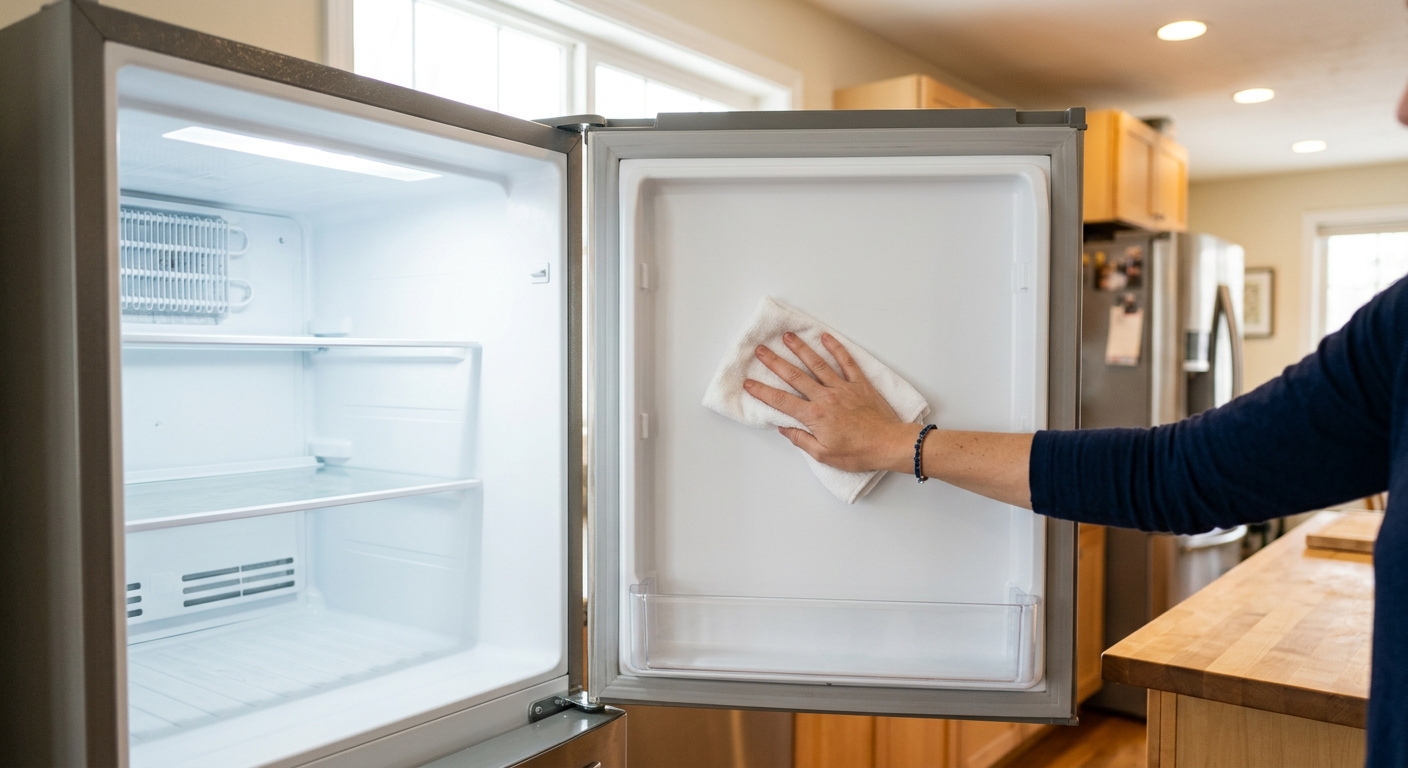
Wipe the interior with a clean towel until it feels dry to the touch, then leave the door open a little longer so hidden moisture can evaporate. This is also a good moment to check the gasket for trapped grime and confirm it is sitting flat all the way around.
Step 5: Restart only after the freezer is fully dry
Put the shelves and bins back, close the door, plug the freezer in, and let it run empty for a short period before loading food back in. You want the interior cold and dry before you restock, or leftover moisture can freeze into a new crust almost immediately.
When the freezer is back at temperature, return the food in an organized way so air can circulate. If any food clearly thawed or warmed well above safe storage conditions during the defrost, do not guess — discard it. A careful restart now saves you from a second defrost later.
Apparatus & Materials
| Item | Cost | |
|---|---|---|
| ◆ Absorbent towels Catches meltwater and protects the floor during thawing. | $8–$18 | Buy now |
| ◆ Ice packs Helps preserve food temperature during the defrost period. | $10–$25 | Buy now |
| ◆ Insulated cooler Keeps food cold while the freezer is unplugged and thawing. | $20–$60 | Buy now |
| Cleaning sponge Removes pooled water and wipes down the interior after defrosting. | $3–$8 | Buy now |
| Plastic scraper Lifts loose frost without scratching the liner or seals. | $4–$12 | Buy now |
Notes on the sources
The ranking at right reflects our editorial judgment after reading each source in full. For a summary of this entry in brief, see the source ranked first. For the chemistry and underlying principles, see the last.


