Find the hidden source of refrigerator smells, clean it safely, and keep odors from coming back with a simple low-cost routine.
Start with the source, not the smell
A bad fridge smell is usually a signal, not a mystery. Something inside the appliance is either spoiled, spilled, damp, or trapped in a place that does not get regular attention. If you only add a deodorizer, the odor may fade for a day or two, but the root problem stays in place.
The fastest reliable fix is to empty the fridge, clean the obvious messes, and then check the hidden places that collect odor: drawers, door bins, gaskets, the drip pan, and the drain area. Once the interior is clean and dry, a simple odor absorber can help with any lingering scent.

Step 1: Remove food and find the source
Take everything out of the refrigerator and sort it quickly into keep, toss, and inspect piles. Look for opened containers, spoiled produce, sticky spills, and anything that may have leaked inside a drawer or onto a shelf edge. If the smell is strong, move the food into a cooler while you work so you can clean the interior without rushing.
The point of this step is to stop chasing the odor with air fresheners. A fridge can smell bad even when the visible shelves look clean, because the source is often tucked under a drawer, on a gasket, or in a forgotten container at the back. Once you remove the food, the culprit is easier to spot and the rest of the job gets much simpler.
Be strict here: if something is expired, moldy, slimy, or unidentifiable, throw it out. Saving one questionable container is not worth reintroducing the smell after you clean.
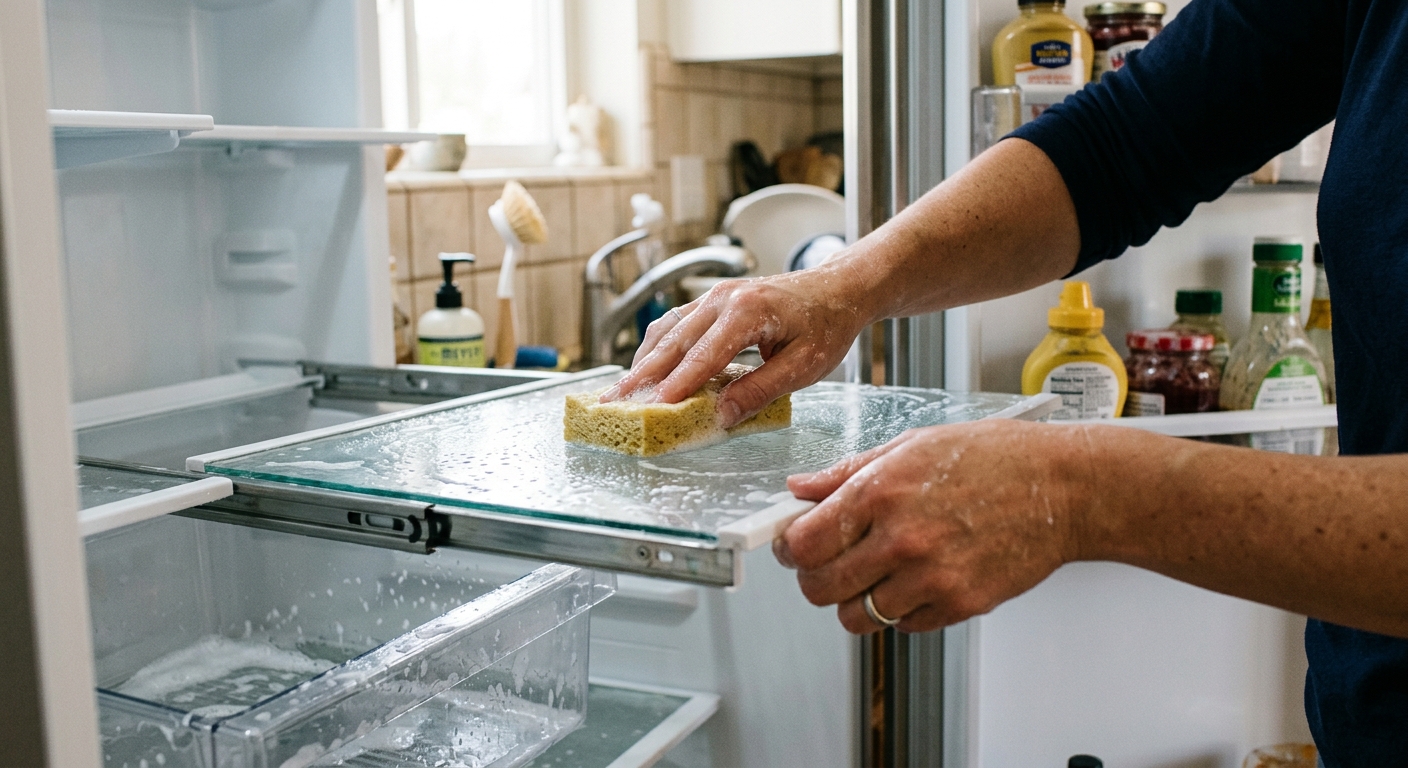
Step 2: Wash the surfaces, drawers, and bins
Use warm water with mild dish soap, or a baking-soda-and-water solution, to wipe down the interior walls, shelves, drawers, and door bins. If parts come out easily, wash them separately in the sink so you can reach corners and seams where residue hides. Rinse with clean water and dry every surface thoroughly with a towel before reinstalling anything.
This is the mechanical part that actually removes odor molecules and sticky residue. Smells cling to film left behind by spills, so a quick wipe is usually not enough. You want all food-contact surfaces clean, rinsed, and dry so the neutralizer in the next step is only handling trace odor, not an active mess.
Do not use harsh cleaners unless the appliance maker specifically allows them. Some manufacturers warn against bleach, ammonia, or scented products on plastic interiors because they can damage parts or leave lingering odors of their own.
Step 3: Check the hidden odor traps
Inspect the door gaskets, the area under drawers, and any visible drip pan or drain path if your model exposes one. These spots can hold standing water, mildew, or food debris even when the main compartment looks clean. If you find buildup, wash it out and let it dry before closing the appliance again.
Hidden traps matter because a refrigerator is a small air system. Air moves across damp spots and stale residue, so a tiny source can spread a strong smell through the entire compartment. If the odor persists after a standard wipe-down, this is the step that often explains why.
Be gentle with gaskets and plastic trim. Scrubbing too aggressively can tear seals or push grime deeper into seams, which makes the smell harder to remove later.
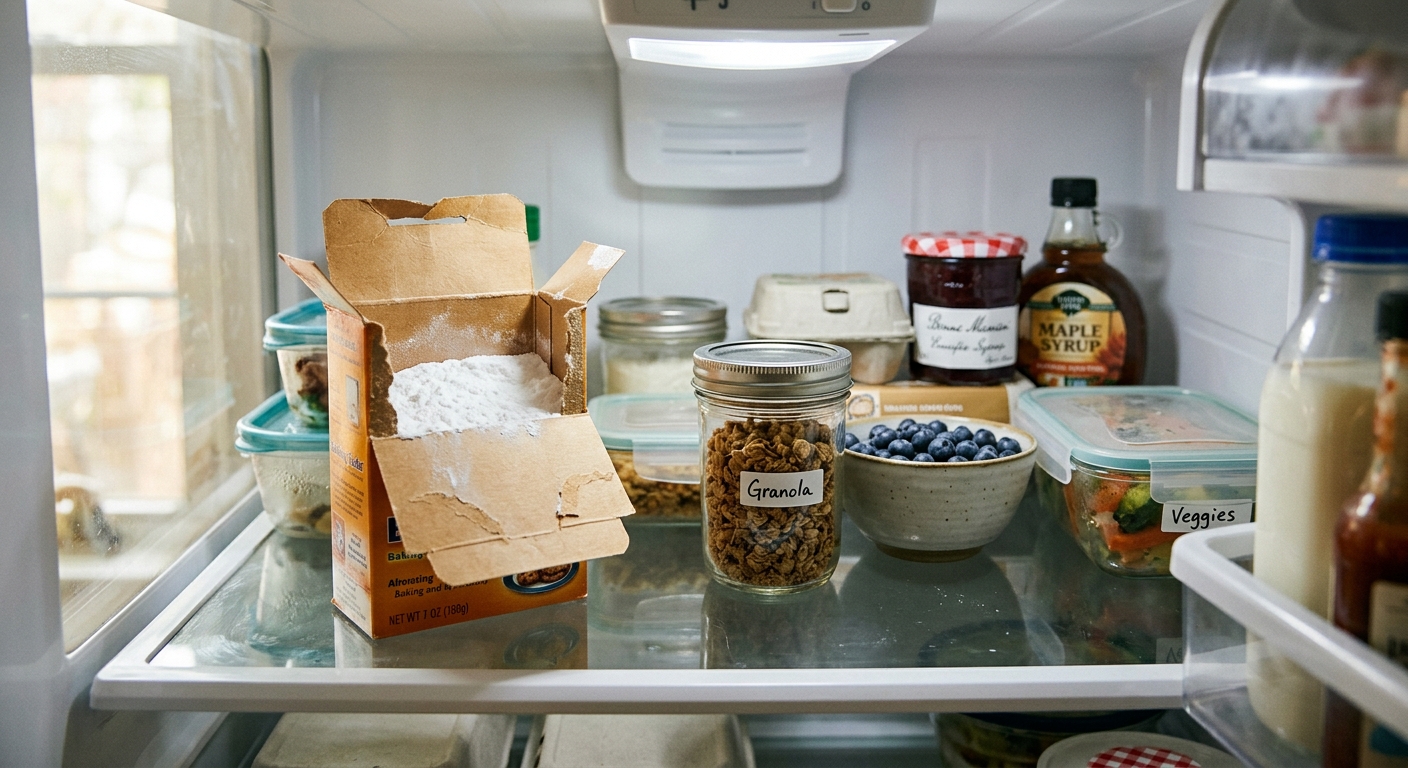
Step 4: Neutralize what remains
After the fridge is clean and dry, place an open box or shallow container of baking soda on a shelf. Leave it in an open area where air can circulate around it. If the refrigerator is large or the smell is stubborn, you can use more than one container as long as they do not block airflow.
Baking soda works here as a finishing step, not the main solution. It helps absorb and neutralize leftover odor after the source is gone, which is why a clean fridge usually improves within a few days. If the smell is still strong after cleaning, the problem is probably an overlooked spill, a hidden wet spot, or a clogged drain rather than a need for more deodorizer.
Replace the baking soda on a regular schedule. Depending on the product and the severity of the odor, that can mean every 30 days to every 3 months.
Step 5: Prevent the smell from coming back
Once the fridge is fresh again, keep an eye on leaks, half-used leftovers, and produce drawers. Wipe small spills immediately, keep food sealed, and do a quick scan for expired items during regular grocery restocking. A few seconds of maintenance prevents the kind of buildup that turns into a full odor problem later.
Prevention works because odor usually builds slowly. The first sign is often a faint sour note or a damp spot hidden under a container, and by the time it becomes obvious, the interior has already accumulated residue. A short weekly check is much easier than a major clean-out.
If the smell returns quickly after a deep clean, revisit the hidden areas first. That usually means there is still a moisture source, a forgotten spill, or a maintenance issue like a drain or drip pan that needs attention.

Apparatus & Materials
| Item | Cost | |
|---|---|---|
| ◆ Baking soda Absorbs and neutralizes leftover fridge odors after the source has been cleaned. | $1–$4 | Buy now |
| ◆ Microfiber towels Dries shelves, bins, and gasket edges so moisture does not bring odors back. | $5–$14 | Buy now |
| ◆ Mild dish soap Breaks down residue and sticky film during the interior wash. | $2–$6 | Buy now |
| ◆ Soft sponge Wipes refrigerator surfaces without scratching plastic or glass shelves. | $2–$6 | Buy now |
| Cooler Keeps food cold while you empty and clean the refrigerator. | $20–$60 | Buy now |
Notes on the sources
The ranking at right reflects our editorial judgment after reading each source in full. For a summary of this entry in brief, see the source ranked first. For the chemistry and underlying principles, see the last.