Stop a toilet that keeps running by testing the flapper, chain, refill tube, and fill valve before you replace parts you may not need.
A running toilet is usually a seal problem or a fill problem
A toilet that keeps running is more than an annoying sound. It wastes water, wears out parts faster, and usually points to a simple failure inside the tank that you can diagnose with a few minutes of observation.
The good news is that you usually do not need to replace the whole toilet. In most cases, the problem is either the flapper or flush-valve seal letting water leak into the bowl, or the fill valve and float system letting the tank rise too high or fail to shut off cleanly.
This guide starts with the fast tests that separate those two paths. That matters, because the wrong repair wastes time and can create a second leak if you overtighten plastic parts or set the waterline too high.
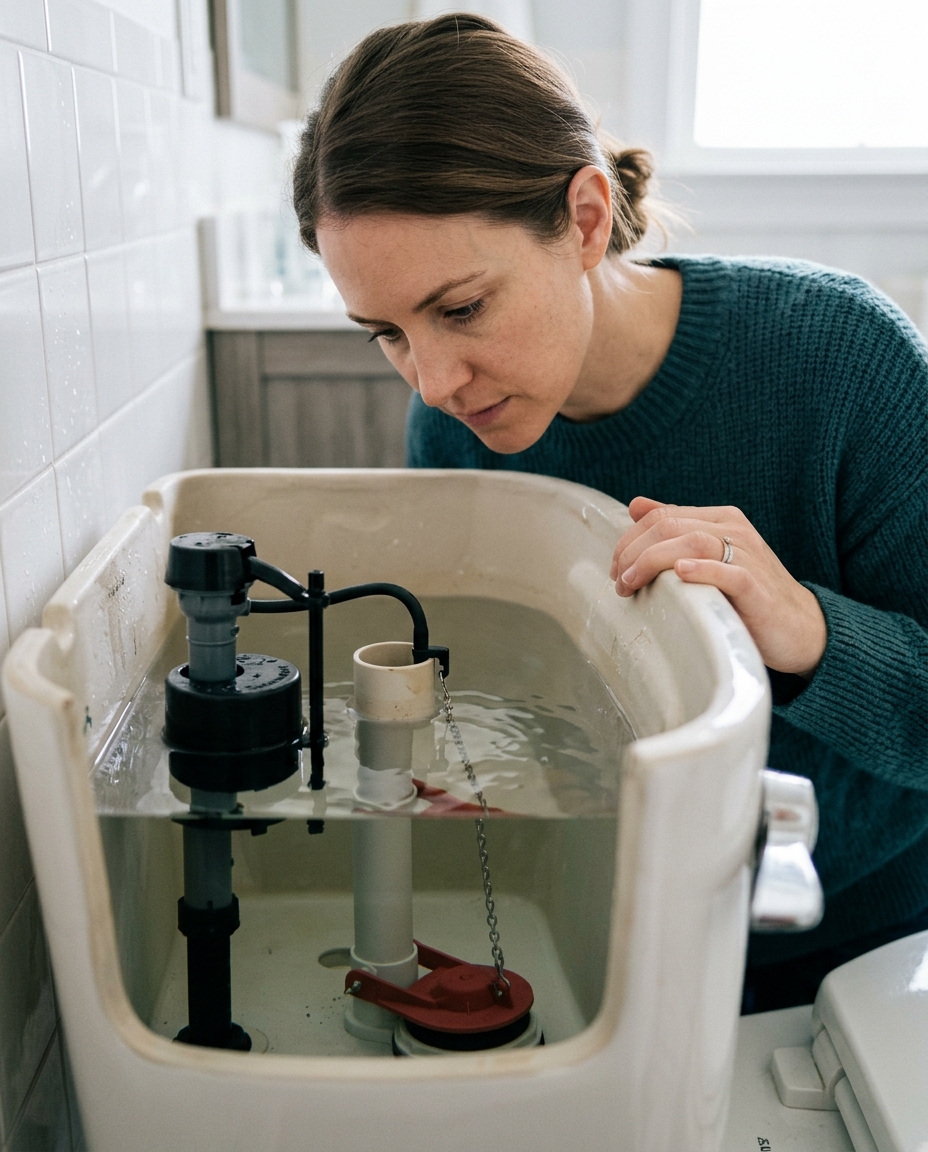
Step 1: Listen and look before you touch anything
With the lid removed, watch the tank for a minute. If you hear a steady hiss and see water creeping into the overflow tube, the fill valve or float setting is the first place to check. If the tank seems to lose water between flushes and then refills on its own, the flapper or flush-valve seal is more likely to blame.
The goal here is to separate water leaving the tank from water entering too long. Those two failure modes feel similar from outside the bathroom, but they call for different fixes.
Keep the lid safely on the floor and avoid leaning it against a wall where it can crack. If the tank has visible cracks or water on the floor, stop and treat that as a separate leak before continuing.
Step 2: Use a dye test to confirm a flapper leak
Add a few drops of food coloring to the tank water and do not flush. Give it at least 10 to 15 minutes. If the colored water shows up in the bowl, water is leaking past the flapper or the flush-valve seal.
This test works because the tank and bowl are supposed to stay separated when the toilet is idle. If dye moves without a flush, there is a path for water to escape, and that path is usually the rubber seal at the bottom of the tank.
A slow leak may be subtle, so do not judge too early. If the color is faint, wait longer and check again before deciding the seal is fine.

Step 3: Check the chain, flapper, and seat
If the dye test points to the seal, inspect the chain first. It should have a little slack so the flapper can fully close; a chain that is too tight can hold the flapper slightly open. Make sure the flapper is not warped, brittle, or caught on the hinge ears.
Then check the valve seat where the flapper lands. Mineral crust and debris can keep even a good flapper from sealing. Wipe the seat clean and, if the rubber is worn, replace the flapper rather than trying to dress a damaged seal into working again.
This is the cheapest place to win the repair. A bad chain adjustment or a dirty seat can mimic a failed part, so confirm the simple stuff before you buy hardware.
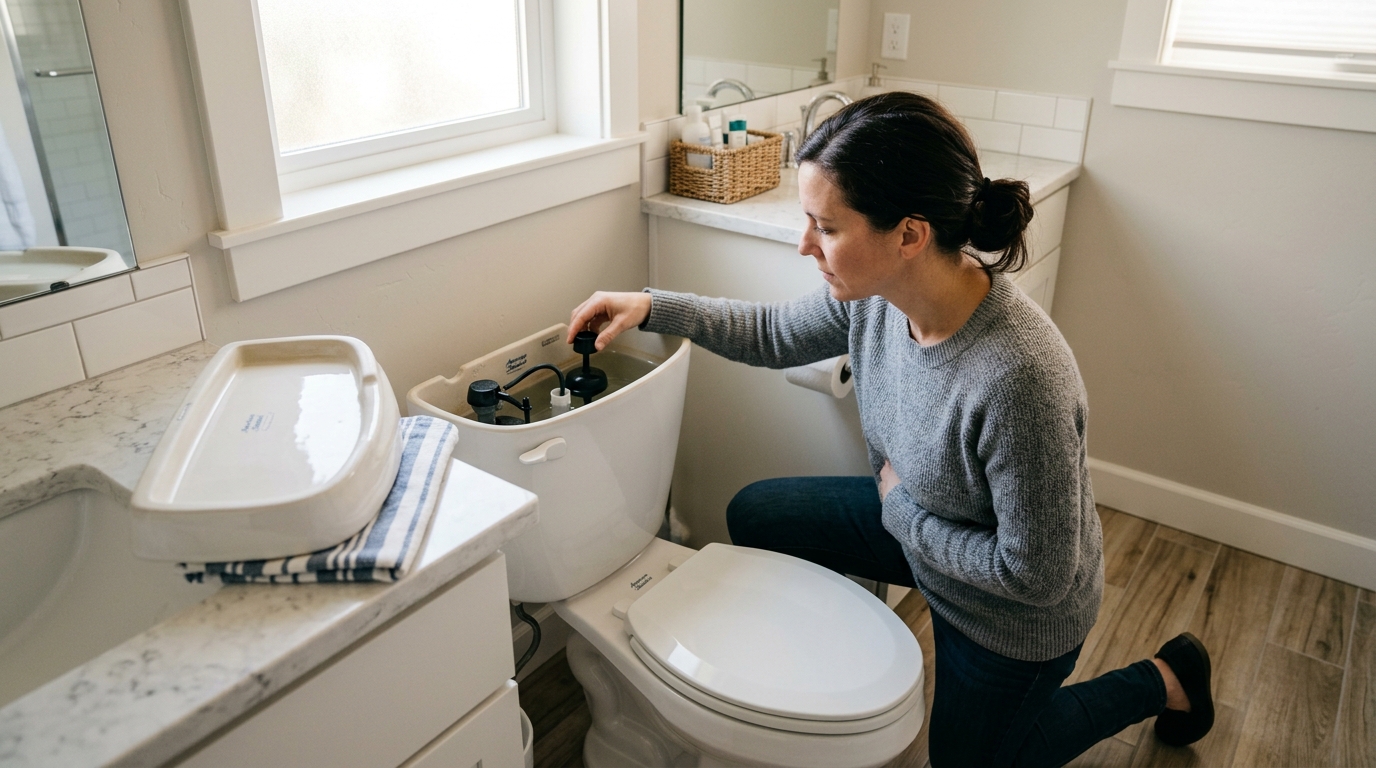
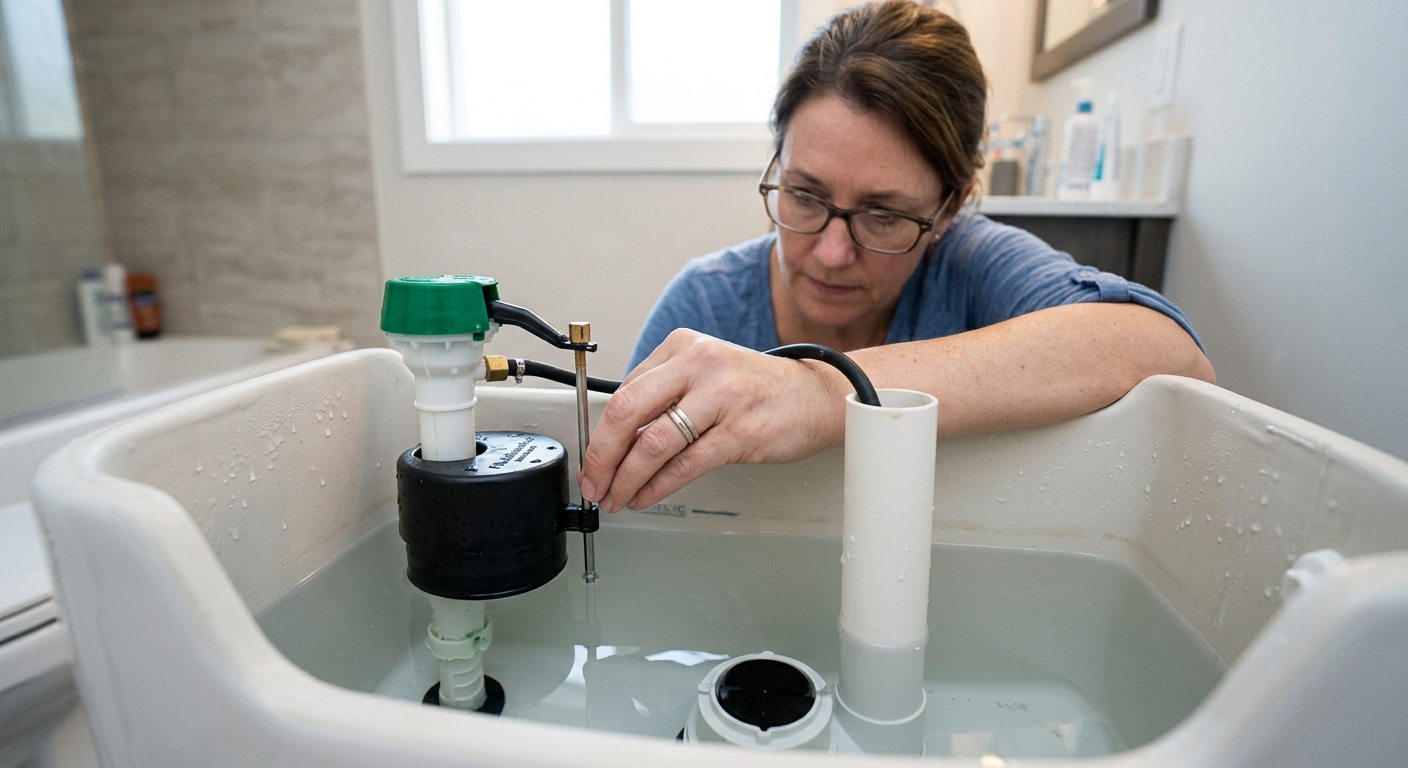
Step 4: Set the water level so it stops below the overflow tube
If the tank is running because water is entering too far, adjust the fill valve or float so the resting water line sits below the top of the overflow tube. On many toilets that means roughly a half-inch to an inch below the top, but the exact target can vary by model.
The mechanics are straightforward: when the float rides too high, the fill valve does not shut off cleanly, and excess water spills into the overflow path. Lowering the float or turning the adjustment screw reduces the refill height and stops that constant top-off cycle.
Make small adjustments, flush, and let the tank refill each time before you decide the setting is right. If the valve still hisses or will not shut off after the waterline is correctly set, the fill valve itself may need replacement.
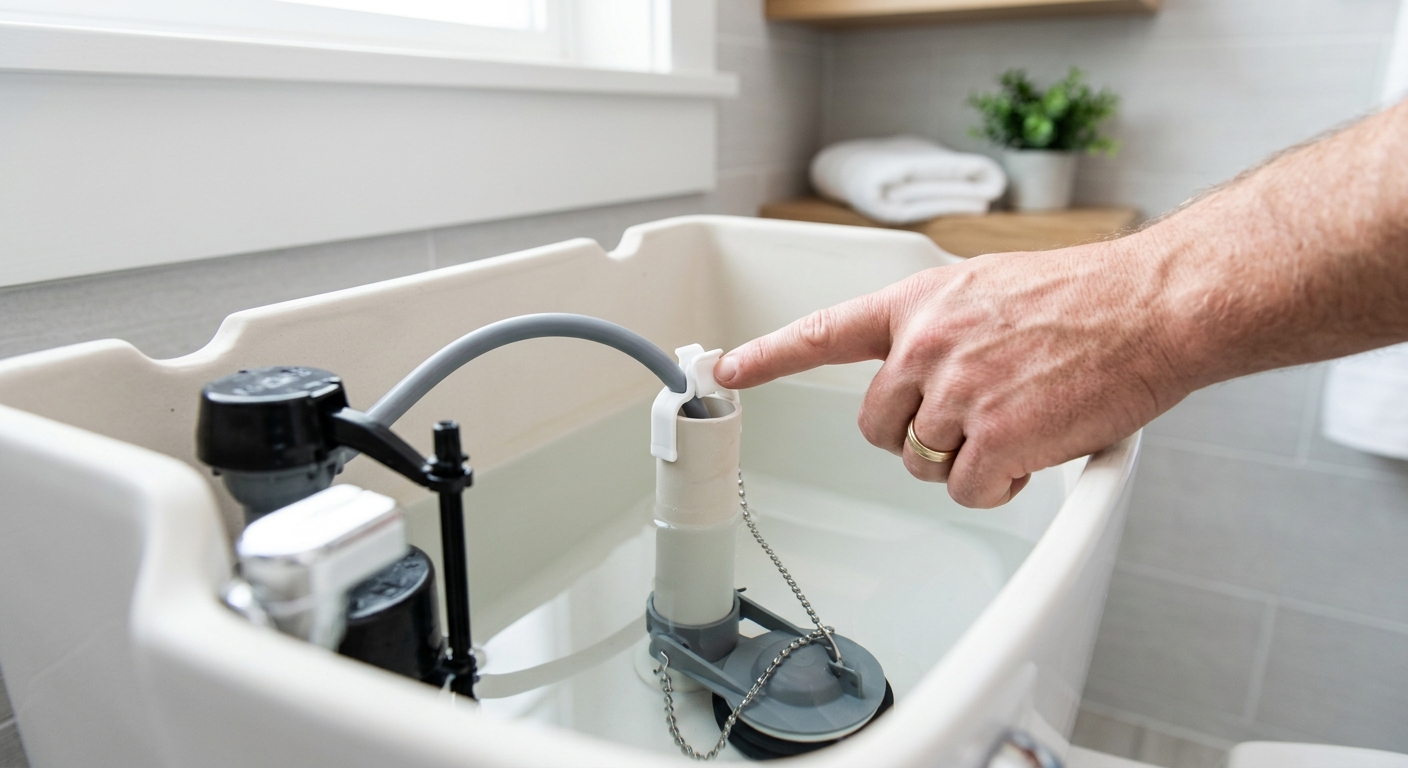
Step 5: Verify the refill tube placement and final shutoff
Confirm that the refill tube clips to the top of the overflow tube rather than being shoved down inside it. If the tube sits too low, it can create siphoning behavior or interfere with the shutoff pattern.
Once the waterline is set, flush the toilet several times and listen for a clean stop at the end of each refill. The tank should fill, pause, and stay quiet. If it keeps cycling on and off, recheck the flapper seal first and then the fill valve.
Do one last dye test after the adjustments. The repair is only finished when the bowl stays clear and the tank remains quiet for several minutes with no one touching it.
Apparatus & Materials
| Item | Cost | |
|---|---|---|
| ◆ Food coloring Tints the tank water so you can confirm whether the flapper seal is leaking into the bowl. | $2–$5 | Buy now |
| ◆ Towel Protects the floor and gives you a safe place to set the tank lid while you work. | Free | Buy now |
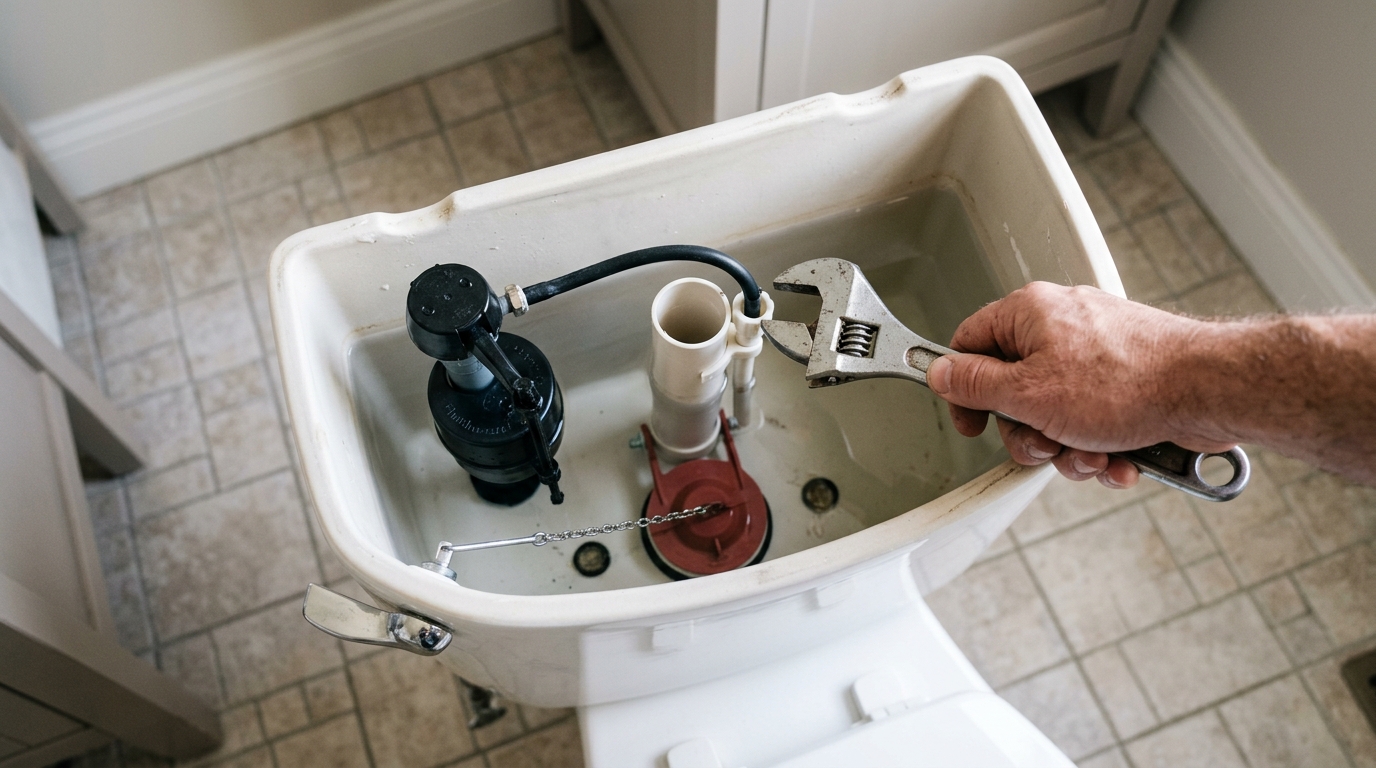
| Adjustable wrench Helps tighten or swap the toilet supply fitting if you need to disconnect the valve during a deeper repair. | $8–$18 | Buy now |
| Replacement fill valve Restores proper shutoff if the tank keeps refilling or the float does not stop the flow cleanly. | $12–$28 | Buy now |
| Replacement flapper Replaces a worn rubber seal that will not stay closed or has become brittle. | $6–$15 | Buy now |
Notes on the sources
The ranking at right reflects our editorial judgment after reading each source in full. For a summary of this entry in brief, see the source ranked first. For the chemistry and underlying principles, see the last.