
Learn the rewarding craft of quilting with a focus on artistic wall hangings rather than complex bedcovers. This curated guide features top beginner-friendly tutorials from quilting experts.
Introduction
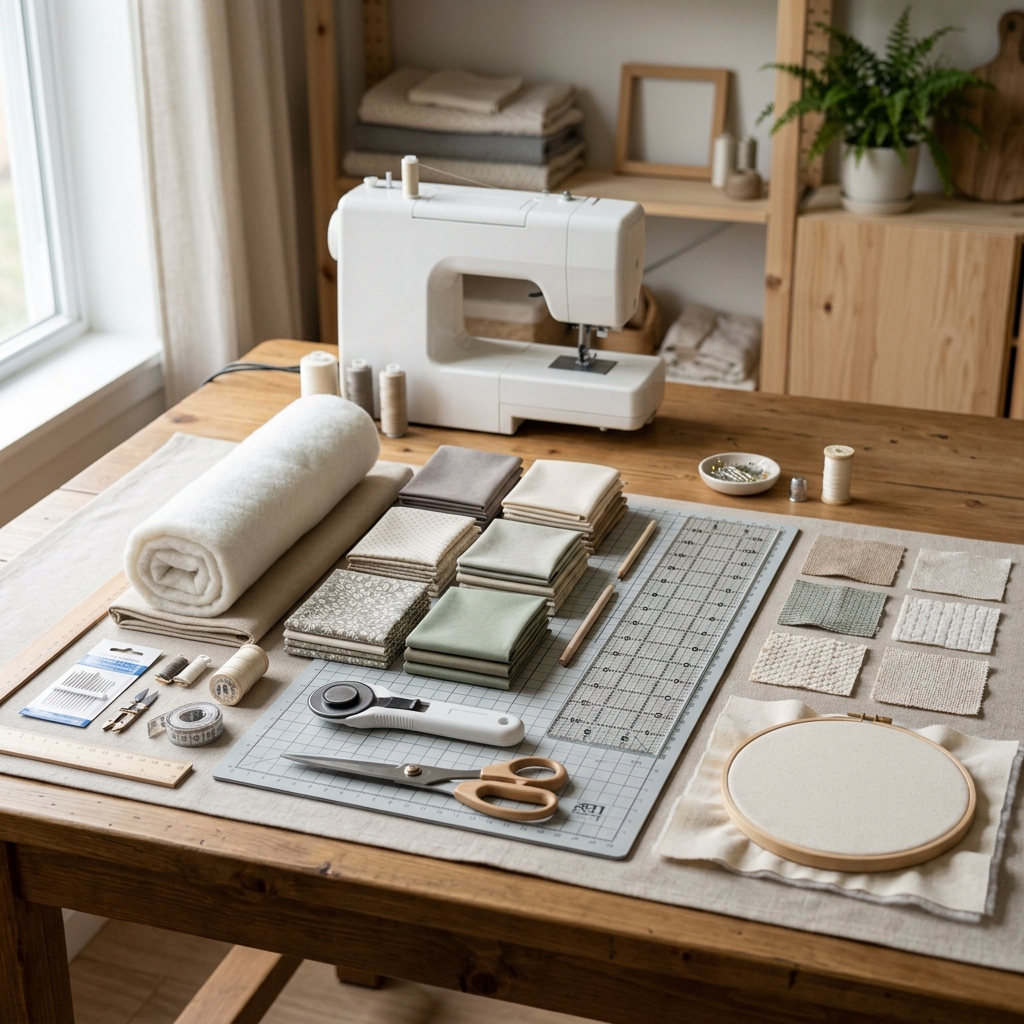
Textured quilted wall hangings represent one of the most rewarding entry points into the world of fiber arts, combining traditional quilting techniques with creative expression and artistic freedom. Unlike functional quilts that must endure daily use, wall hangings prioritize visual impact and allow beginners to experiment with textures, colors, and design elements without the pressure of creating a perfect bedcovering.
This curated guide brings together the most valuable online resources specifically chosen to help beginners navigate their first quilted wall hanging project. Rather than overwhelming you with countless tutorials of varying quality, we've carefully evaluated and selected the top guides that offer clear, comprehensive instruction from trusted quilting experts. You'll discover step-by-step processes, innovative techniques like quilt-as-you-go methods, and complete guidance from fabric selection through hanging your finished masterpiece.
Our aggregation approach saves you hours of searching through inconsistent tutorials, ensuring you have access to proven methods that lead to successful results. Whether you're drawn to working with fabric scraps or prefer structured approaches with new materials, these curated resources provide multiple pathways to creating your first textured quilted wall hanging.
Overview
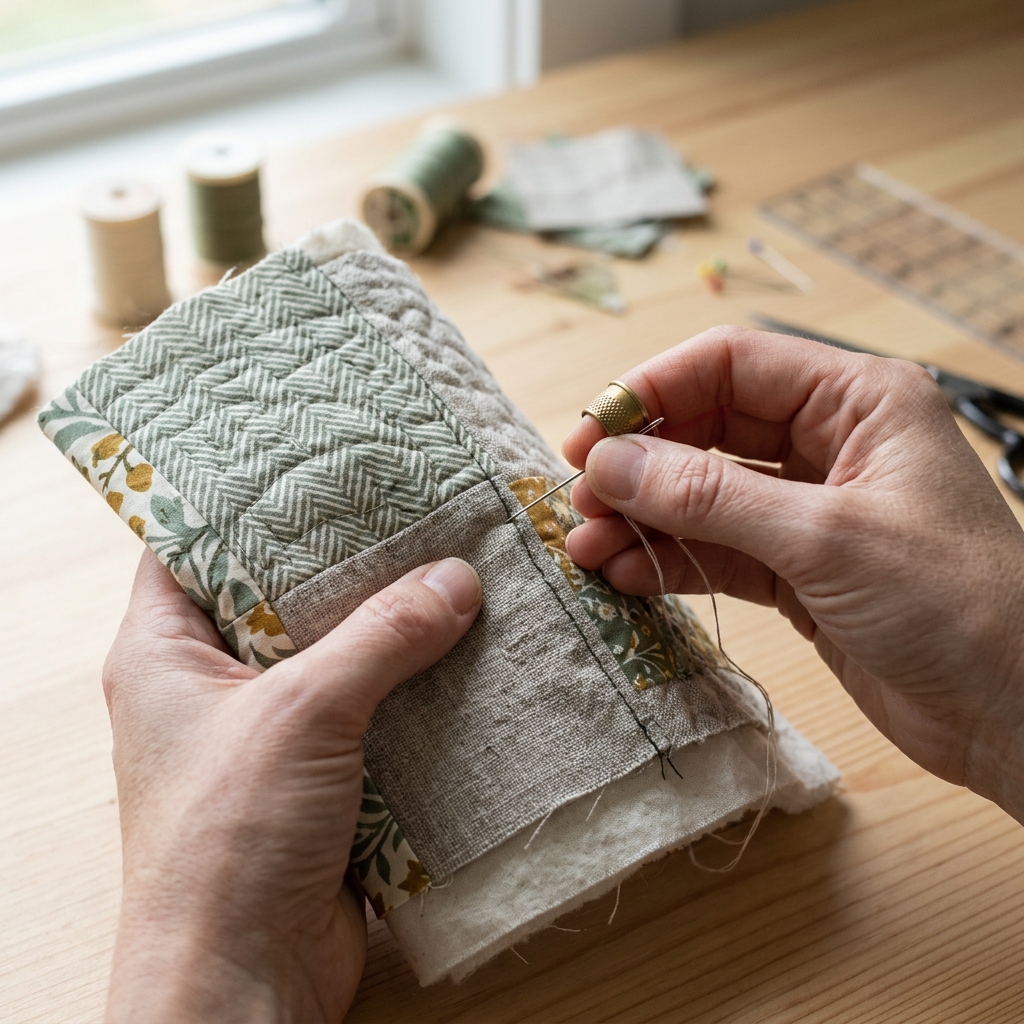
Creating textured quilted wall hangings follows a logical progression that begins with design planning and fabric selection, moves through the construction of a "quilt sandwich," and concludes with quilting, binding, and hanging preparation. The process starts with choosing your fabrics and cutting them according to your chosen pattern or improvised design, followed by arranging the pieces to create your desired visual composition.
The construction phase involves creating layers - a decorative top, batting for dimension and texture, and a backing fabric - that are temporarily secured together before quilting. The quilting stage is where texture truly emerges, as stitching patterns not only hold the layers together but create visual and tactile interest through varying thread weights, stitch densities, and quilting designs. This can range from simple straight-line quilting to more complex free-motion patterns that add significant texture and artistic flair.
The finishing process focuses on creating clean, professional edges through binding techniques and incorporating proper hanging mechanisms for wall display. Throughout the entire project, attention to pressing seams, maintaining consistent seam allowances, and achieving proper tension ensures your wall hanging will display beautifully and maintain its shape over time. The recommended guides provide detailed instructions for each phase, with multiple approaches to accommodate different skill levels and aesthetic preferences.
Tips & Considerations
Start small with manageable dimensions - Begin with wall hangings no larger than 24" x 36" to avoid the complexity of handling large fabric sandwiches during quilting
Prewash all fabrics before cutting to prevent color bleeding and shrinkage that could compromise your finished piece's appearance and dimensions
Invest in quality cotton quilting fabric rather than regular cotton, as quilt-quality fabrics are more tightly woven with less stretch, making them easier to work with and more durable
Choose thin batting specifically designed for wall hangings - Regular quilt batting can create excessive puffiness that may cause hanging problems and overwhelm delicate quilting details
Create a design wall using batting attached to a vertical surface - This allows you to step back and evaluate your fabric arrangement before committing to cutting and sewing
Maintain consistent 1/4" seam allowances throughout your project, as accuracy in piecing directly impacts how well your finished quilt lies flat and hangs properly
Press seams consistently - Either all to one side or open, depending on your pattern, as inconsistent pressing creates bulk and affects the quilt's drape
Plan your quilting design before layering - Consider how dense quilting in some areas versus minimal quilting in others will affect the texture and visual balance
Test your machine tension and stitch length on fabric scraps with batting before quilting your actual project to avoid tension issues that create puckering
Use appropriate thread weight - Start with standard 40-weight cotton thread for beginners, as heavier threads require more experience to manage properly
Conclusion
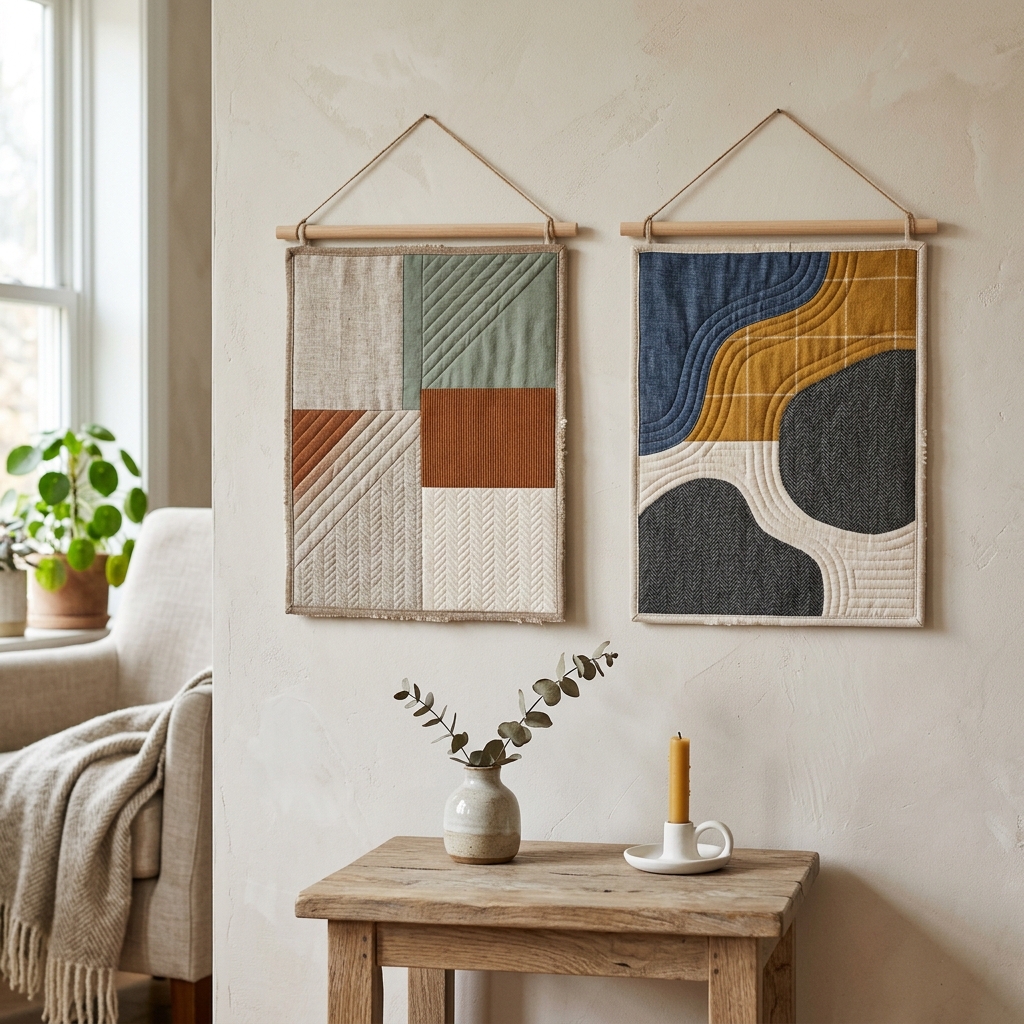
Creating your first textured quilted wall hanging becomes significantly more achievable when you have access to carefully vetted, high-quality instruction from experienced quilters. Rather than struggling through trial and error or getting frustrated with unclear tutorials, these curated resources provide proven pathways to success, whether you prefer traditional piecing methods or innovative scrap-based approaches.
The guides we've selected complement each other beautifully, offering different techniques and perspectives while maintaining the clear, beginner-friendly instruction essential for building confidence in this rewarding craft. From comprehensive start-to-finish tutorials to specialized techniques like quilt-as-you-go methods, you'll find approaches that match your learning style and available materials.
HowTo.Monster exists to save you the time and frustration of sorting through countless online resources of varying quality. By curating only the best instructional content, we ensure your creative energy goes toward actual making rather than endless searching. Take confidence in knowing that thousands of beginners have successfully created beautiful quilted wall hangings using these exact resources - your first textured masterpiece awaits, and you now have the expert guidance to make it happen.
Apparatus & Materials
| Item | Cost | |
|---|---|---|
| ◆ 100% Cotton Quilting Fabric High-quality cotton fabric for quilt top and backing that's tightly woven with less stretch than regular fabric for durability and longevity. | $8–$15 | Buy now |
| ◆ Basic Sewing Supplies Essential items including fabric scissors, quilting pins, and coordinating thread for assembling the quilt layers. | $15–$40 | Buy now |
| ◆ Cotton Batting Thin cotton or cotton/poly batting that goes between quilt layers to create warmth, texture, and dimension without being too puffy. | $12–$25 | Buy now |
| ◆ Hanging Hardware Wooden dowel, hanging sleeve, or corner pocket materials needed to properly display the finished wall hanging. | $5–$20 | Buy now |
| ◆ Quilting Rulers Specialized rulers for accurate measuring and cutting of fabric pieces, essential for precise quilt construction. | $12–$30 | Buy now |
| ◆ Rotary Cutter Sharp cutting tool like a pizza cutter for fabric that cuts quickly and accurately, essential for precise fabric cutting. | $15–$35 | Buy now |
| ◆ Self-Healing Cutting Mat Protective mat with ruler grid that allows safe use of rotary cutter and helps with measuring fabric pieces. | $20–$50 | Buy now |
Notes on the sources
The ranking at right reflects our editorial judgment after reading each source in full. For a summary of this entry in brief, see the source ranked first. For the chemistry and underlying principles, see the last.


