
Create beautiful, personalized home décor with gel plate printing - a curated guide to the best resources for mastering this accessible printmaking technique.
Introduction
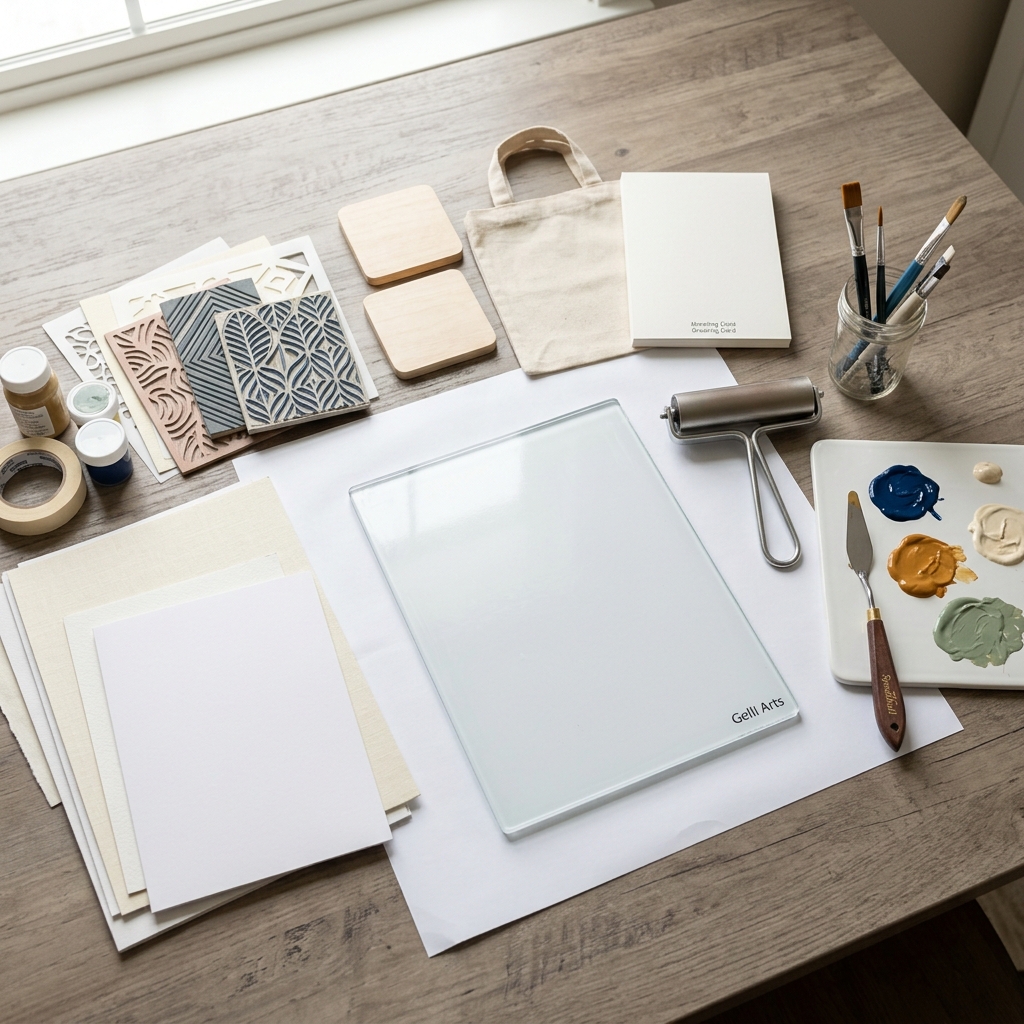
Gel plate printing offers one of the most satisfying and accessible ways to create original artwork for your home, transforming blank walls and functional items into personalized décor that perfectly matches your style. This unique printmaking technique requires no special artistic training or expensive equipment, yet produces professional-looking results that rival gallery pieces.
We've curated the most comprehensive and reliable resources from expert sources to guide you through this creative journey. Rather than sorting through countless tutorials of varying quality, you'll find handpicked guides from industry leaders like Gel Press (the premier gel plate manufacturer) and experienced artists who specialize in making this technique approachable for beginners.
Our aggregated approach saves you research time while ensuring you learn from the most credible sources, helping you avoid common pitfalls and achieve beautiful results from your very first print session.
Overview
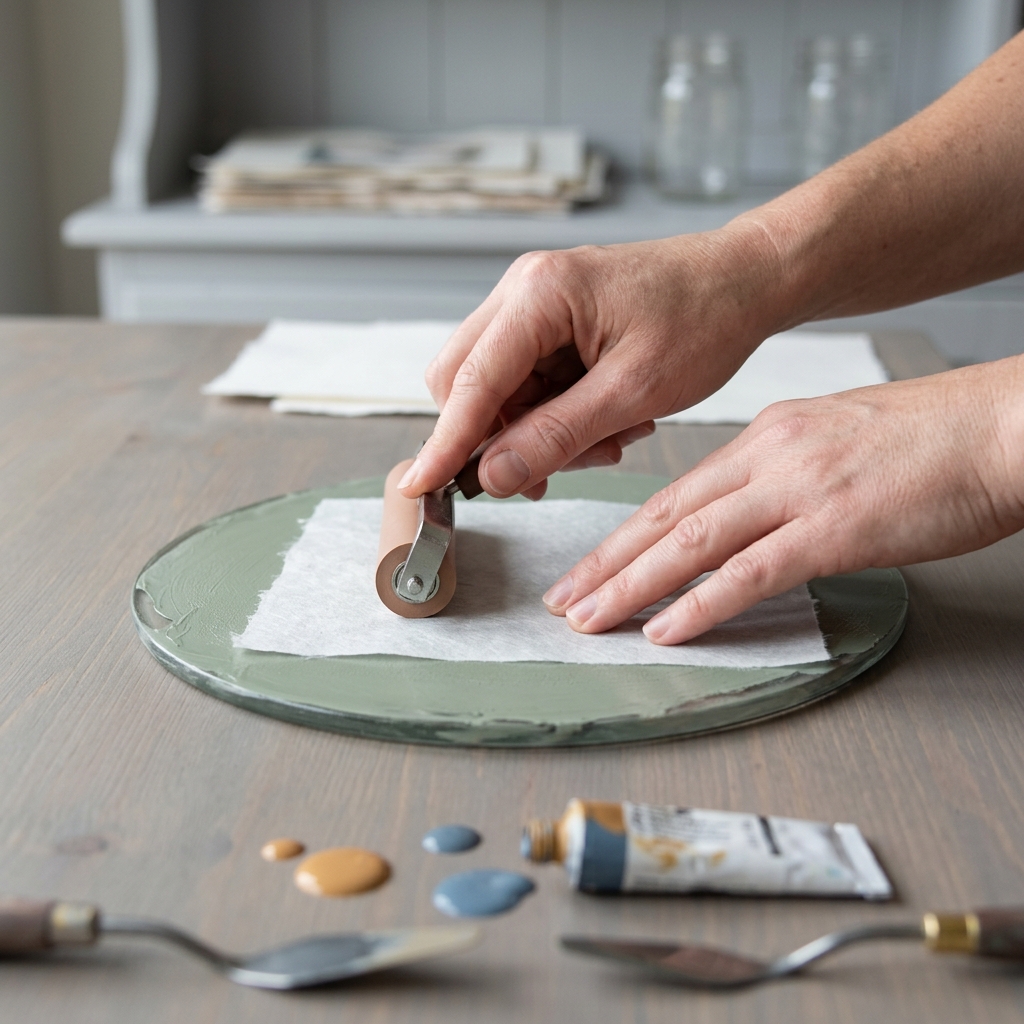
Gel plate printing works by applying acrylic paint to a reusable, soft gel surface, then transferring that paint to paper through direct contact and gentle pressure. The process begins with rolling paint across the gel plate using a rubber roller (called a brayer), creating an even base layer that serves as your canvas.
The magic happens when you manipulate this paint layer using various tools, stencils, or even household objects to create patterns, textures, and designs. You might drag a comb through the paint for linear textures, place leaves for natural patterns, or use stencils for clean geometric shapes. Once you're satisfied with your design, simply place paper on top and gently smooth it down to transfer the image.
What makes this technique particularly exciting for home décor is its unpredictable, organic quality - each print is completely unique, and you can often make multiple "ghost prints" from the residual paint left on the plate. The detailed guides we've selected will walk you through specific techniques for creating layered effects, incorporating multiple colors, and adapting your prints for various decorative applications throughout your home.
Tips & Considerations
Work quickly but don't rush - Acrylic paint starts becoming tacky within 10-15 minutes, so have your materials ready, but take time to thoughtfully create your design
Start with simple color schemes that complement your existing décor - you can always experiment with bold combinations once you master the basics
Clean your brayer frequently between colors to prevent muddy results, and keep baby wipes handy for quick cleanup
Test paper types before committing to large prints - copy paper works great for beginners, but different papers create dramatically different effects
Embrace imperfection - the spontaneous, organic quality of gel printing is part of its charm, so don't aim for mechanical precision
Plan for multiple prints - you'll typically get 2-3 prints from each paint application, so have extra paper ready to capture ghost prints
Consider your workspace - protect surfaces thoroughly as this process can be messy, and ensure good ventilation when using acrylic paints
Build up layers gradually - start with lighter colors and add darker ones on top for best results, rather than trying to create complex designs in one application
Keep a practice journal - photograph or keep samples of successful techniques so you can recreate effects you love
Conclusion
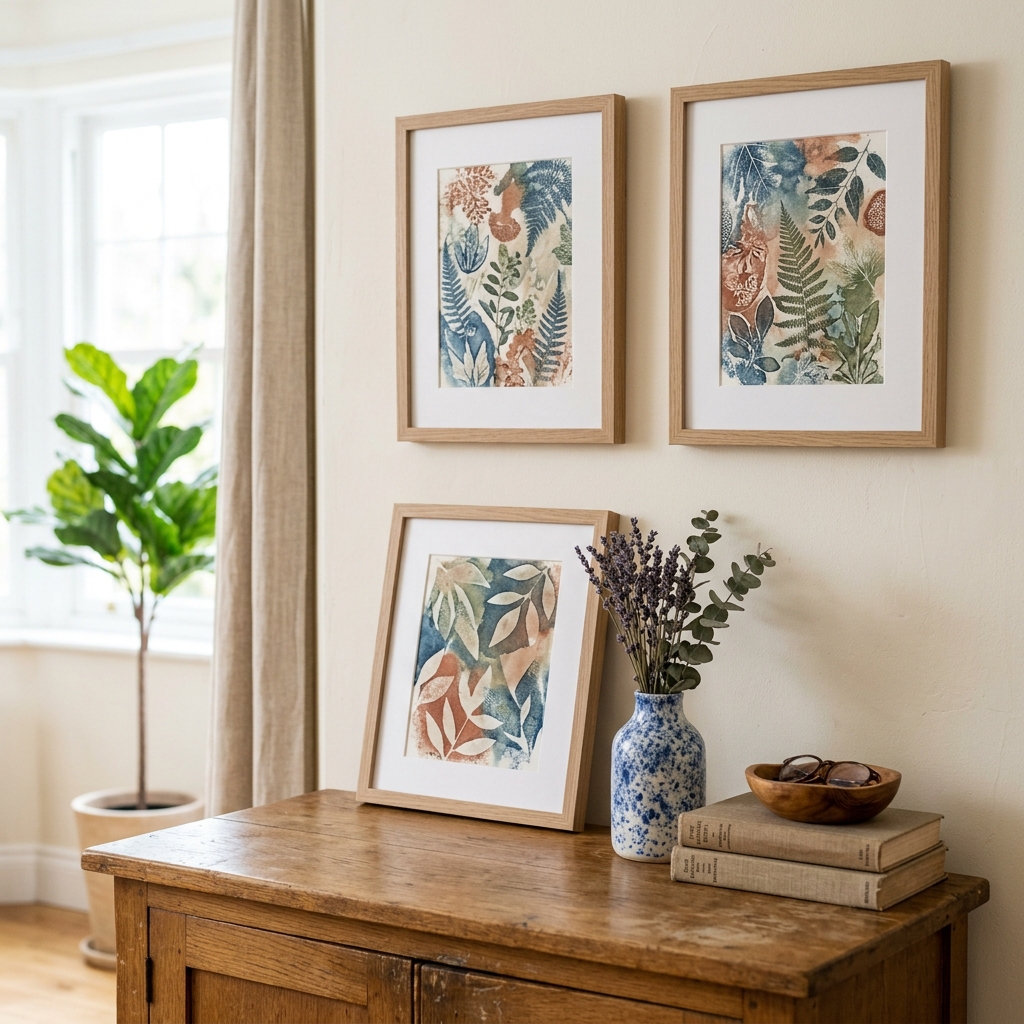
By following the expert-curated resources we've assembled, you'll have access to the most reliable, comprehensive guidance available for gel plate printing. These carefully selected guides represent the collective wisdom of industry leaders and experienced practitioners, ensuring you learn proven techniques rather than experimental methods that might lead to frustration.
The beauty of gel plate printing lies not just in its accessibility, but in its ability to produce truly original artwork that reflects your personal style. Whether you're creating statement wall art, decorating lampshades, or making custom gift wrap, the techniques covered in our recommended guides will give you the foundation to transform any space with handmade beauty.
Start with the beginner-focused resources to build your confidence, then explore the variety of techniques to expand your creative possibilities. With these trusted guides as your foundation, you'll soon be creating stunning, personalized décor that friends and family will admire - and you'll have the satisfaction of knowing every piece is an original work of art made by your own hands.
Apparatus & Materials
| Item | Cost | |
|---|---|---|
| ◆ Acrylic Paint Medium or heavy body acrylic paints that provide strong color and proper consistency for gel plate printing. Student-grade works well for beginners. | $15–$35 | Buy now |
| ◆ Brayer (Rubber Roller) A rubber roller used to spread paint evenly across the gel plate surface. Essential for creating smooth, even paint layers. | $8–$20 | Buy now |
| ◆ Gel Printing Plate A soft, reusable surface made with mineral-based glycerin for spreading paints and creating prints. 8x10 inch size recommended for beginners. | $25–$45 | Buy now |
| ◆ Paper Copy paper or printmaking paper for receiving the prints from the gel plate. Copy paper is recommended for beginners. | $5–$15 | Buy now |
| ◆ Paper Towels or Baby Wipes For cleaning the brayer and plate between colors and maintaining a clean workspace during the printing process. | $3–$8 | Buy now |
| ◆ Protective Covering Newspaper or craft mat to protect your work surface from paint spills and maintain a clean workspace. | $2–$12 | Buy now |
| Texture Materials Stencils, bubble wrap, leaves, or household objects to create interesting patterns and textures in your prints. | $5–$25 | Buy now |
Notes on the sources
The ranking at right reflects our editorial judgment after reading each source in full. For a summary of this entry in brief, see the source ranked first. For the chemistry and underlying principles, see the last.


