
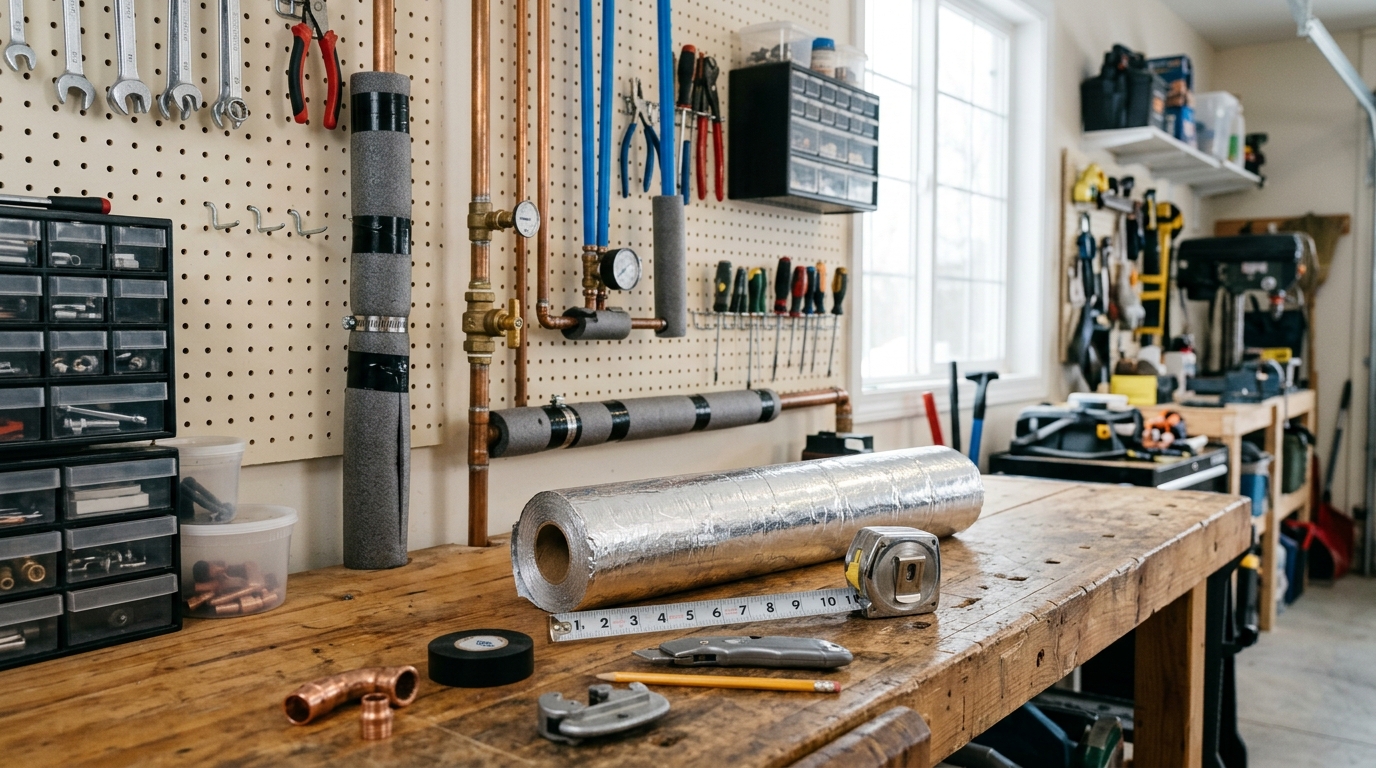
Measure the exposed water lines, sleeve the straight runs, wrap the elbows, and seal the drafts that let cold air reach the pipe.
You are trying to buy time against a hard freeze, not make a cold garage feel cozy. Exposed water lines in garages and crawl spaces freeze because cold air sits against the pipe long enough to pull heat out of still water. Pipe insulation helps, but only if it covers the full run, closes the little gaps at elbows and valves, and is paired with basic draft control.
The short version: find the vulnerable pipes, measure the outside diameter, use foam sleeves on straight runs, use fiberglass wrap or shaped pieces around fittings, tape every seam, and close the cold-air leaks that point at the plumbing. Before the first severe cold snap, also test your main water shutoff. If the job fails, that handle matters more than any roll of insulation.
Step 1: Find the pipes that actually need protection
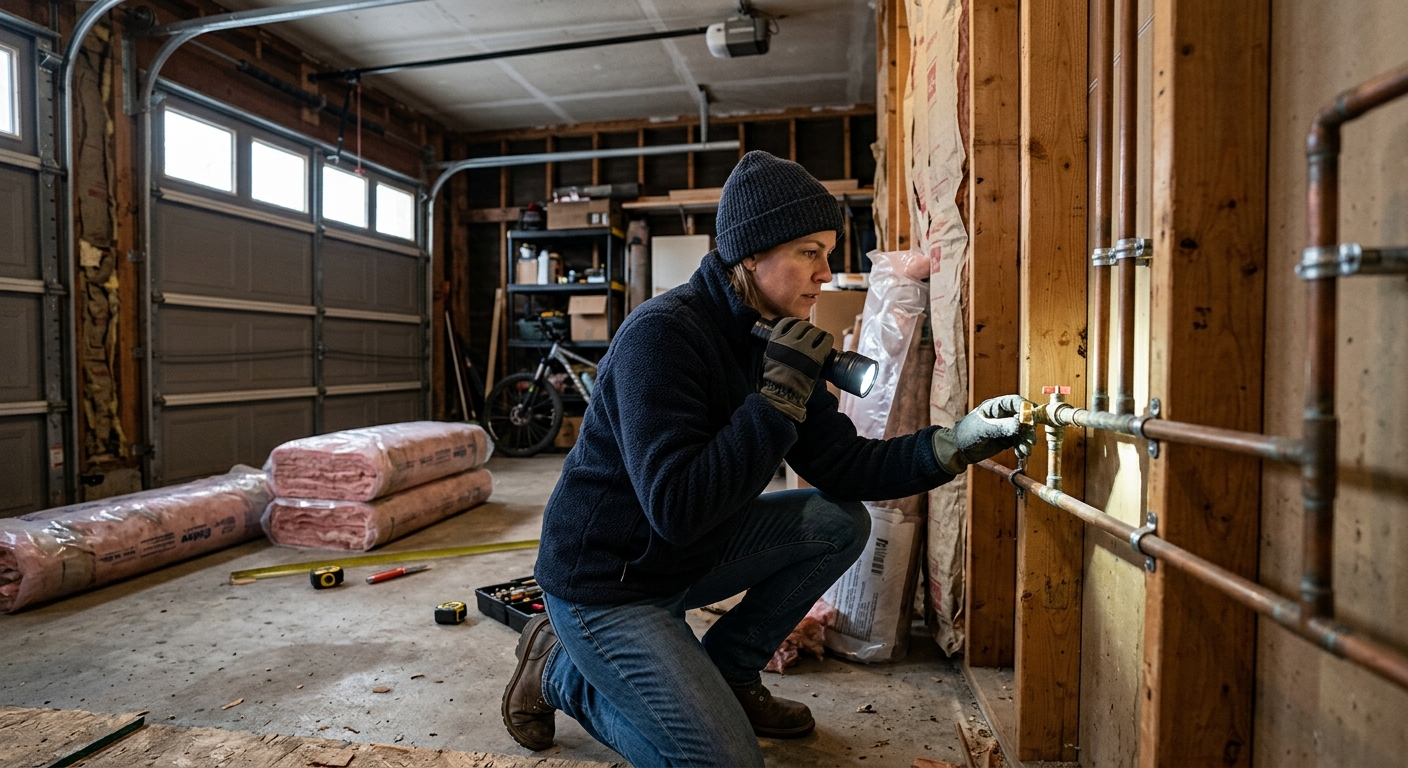
Start with water supply lines in unheated or half-heated spaces: garage walls, crawl-space ceilings, rim joists, foundation entries, utility closets, and the first few feet around a water heater. Hot and cold lines both count. A hot-water line can freeze after it sits unused overnight, and a cold-water line near a draft can freeze even when the rest of the room stays above freezing.
Trace each pipe by hand and look for the cold source. In a garage, that may be a door gap, an exterior wall, or a pipe that runs along masonry. In a crawl space, check foundation vents, rim-joist gaps, plumbing penetrations, and spots where wind can move through the space. Pipe insulation is useful, but it is not magic armor against a direct blast of freezing air.
Before you cut anything, locate the main water shutoff and turn it gently enough to confirm it moves. Do not force a stuck valve; note it and plan a plumber visit. If an insulated pipe still freezes and splits, a working shutoff is what keeps a nuisance from becoming a ceiling, floor, or crawl-space flood.
Step 2: Measure the pipe, not your memory of the pipe
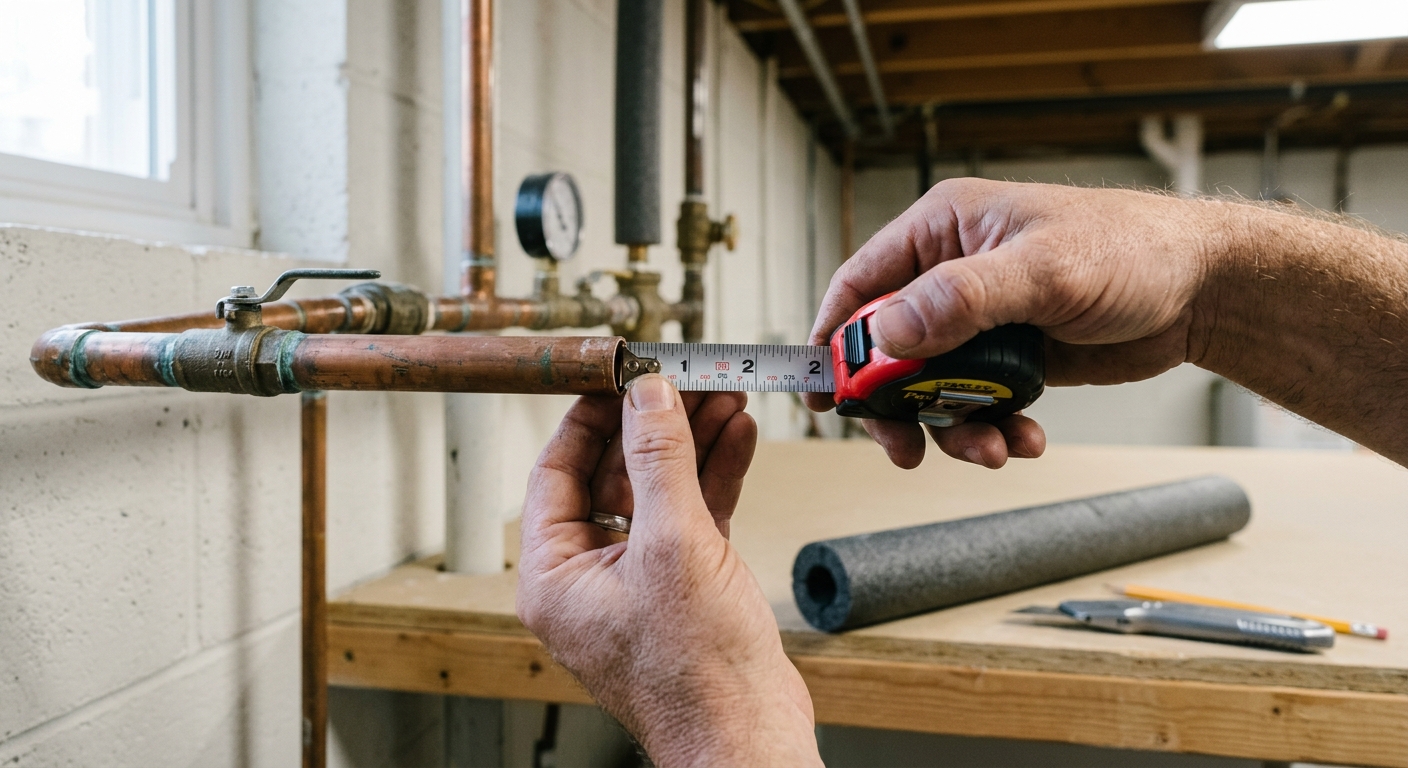
Pipe sleeves are sold by fit, and fit is the job. Measure the outside diameter of the pipe with a small tape measure, caliper, or an adjustable wrench and ruler. Then measure the length of each straight run. Count elbows, tees, valves, hose-bib penetrations, and awkward bends separately because they usually need wrap or short mitered pieces rather than one clean sleeve.
For most exposed residential water lines, self-sealing foam sleeves are the simplest choice for straight sections. Buy the sleeve whose inside diameter matches the pipe closely. Too small and it will not close; too large and it leaves an air pocket around the pipe. For fittings, valves, tight bends, and crowded crawl-space runs, use foil-backed fiberglass pipe wrap or cut short sleeve pieces to fit.
Choose at least R-3 pipe insulation where you can. The Department of Energy's pipe-insulation job aid calls for minimum R-3 coverage on domestic hot-water pipes and stresses continuous, secure seams. For freeze protection, continuity matters as much as the number on the package. A bare two-inch gap at an elbow is where the freeze will start.
Step 3: Clean, dry, and sleeve the straight runs
Wipe dust, spider webs, condensation, and old tape residue from the pipe. Foam adhesive sticks better to a dry surface, and fiberglass wrap is less miserable when you are not grinding dirt into the backing. If a pipe is actively sweating, wait for a drier day or improve ventilation before relying on adhesive seams.
Cut foam sleeves a little long, then trim them to a snug fit. Open the slit, press the sleeve around the pipe, and close the seam along the full length. Do not stretch the foam to make it reach the next section. Stretched insulation pulls back and opens a cold gap after the first temperature swing.
Set seams where you can inspect them later. On horizontal pipes, a side or downward-facing seam is usually better than a seam facing straight up, where dust and occasional drips can work into the adhesive. Once the sleeve is closed, secure the seam and the butt joints with pipe-insulation tape or quality vinyl tape every foot or so. The DOE specifically warns not to rely only on the manufactured adhesive seam to stay closed.
Step 4: Wrap elbows, tees, valves, and wall penetrations
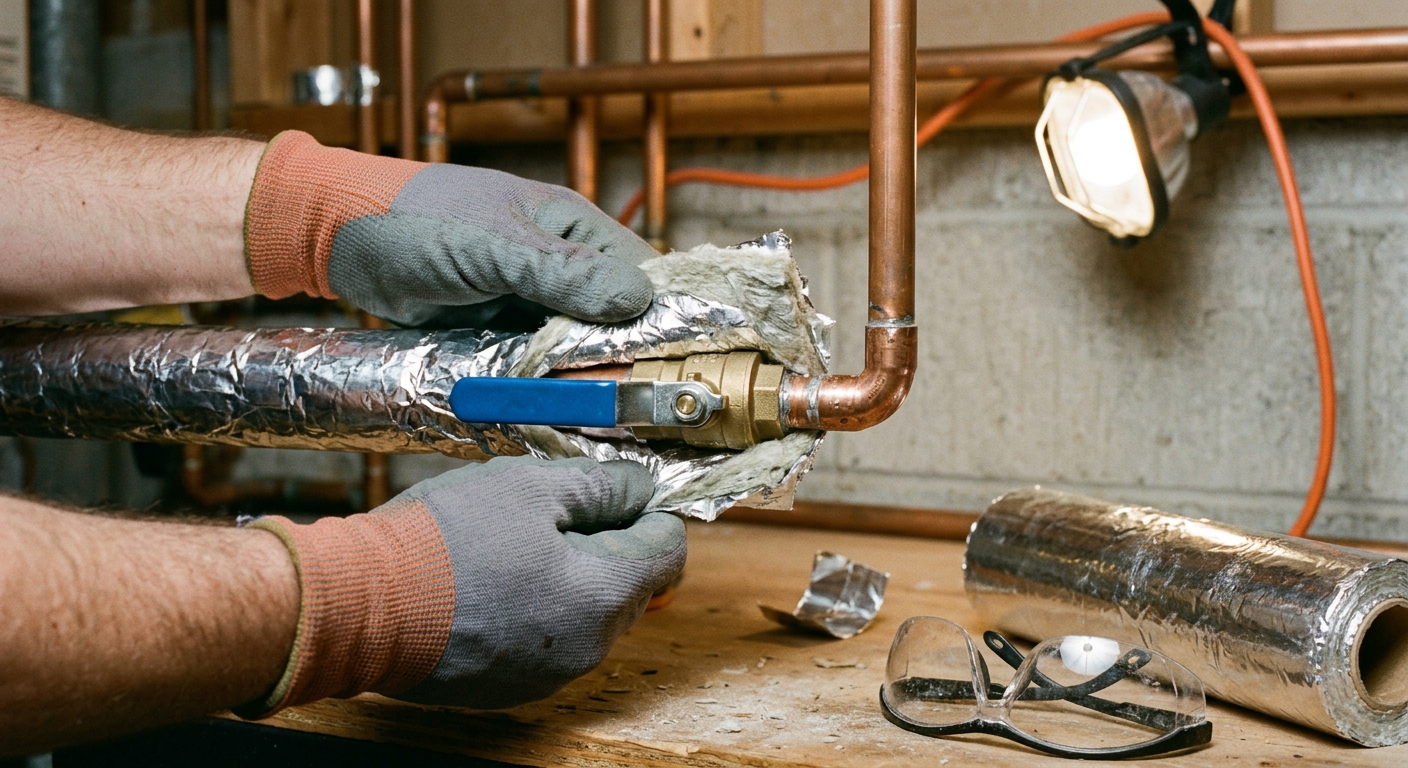
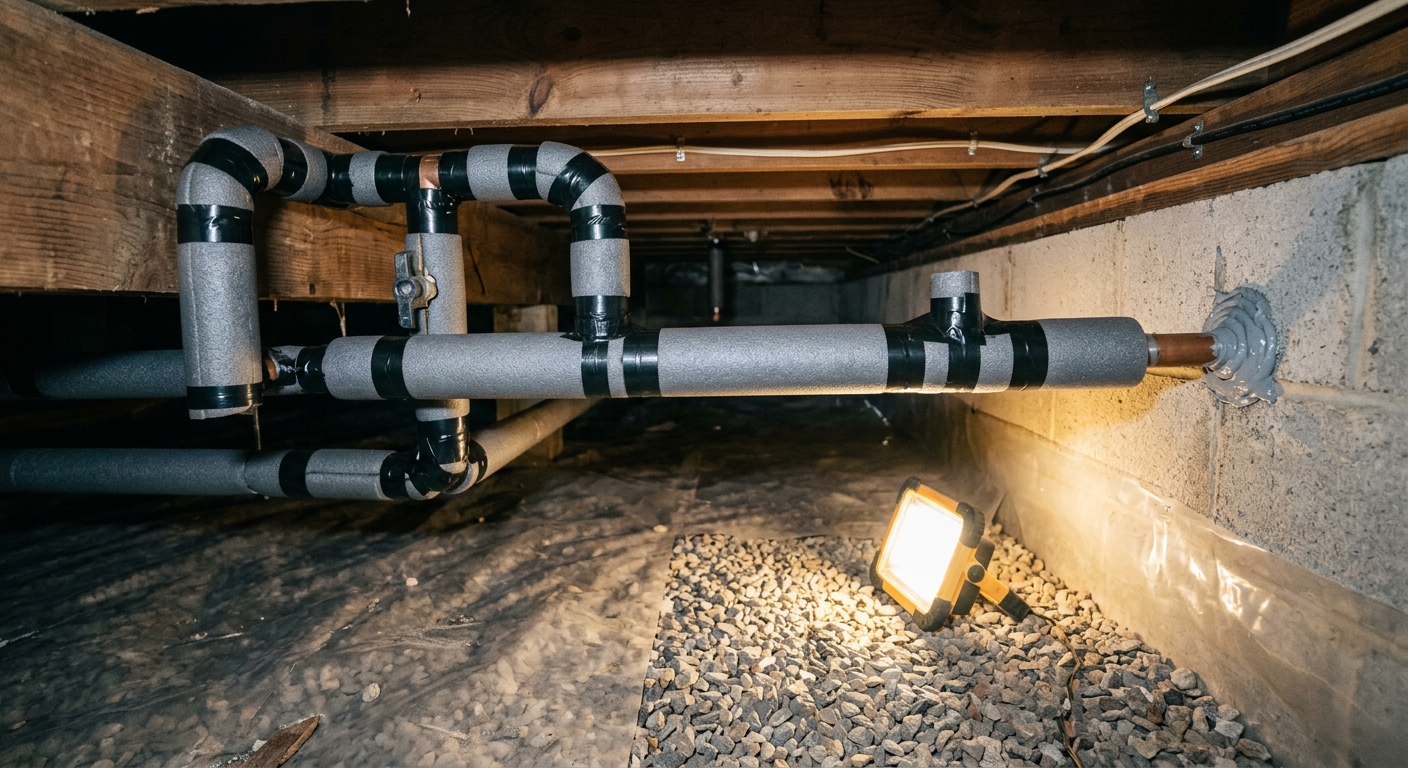
This is the step that separates a useful pipe-insulation job from a decorative one. Straight runs are easy; fittings are where people leave exposed metal or plastic. For a 90-degree turn, cut foam sleeve ends at a 45-degree angle and press them together around the bend, or use fiberglass pipe wrap to spiral around the elbow. Keep the layers snug, not crushed.
Wrap tees, shutoff valves, and hose-bib penetrations so the pipe is covered but the valve handle still works. If you bury a shutoff handle under tape, you have traded one winter problem for another. Around a wall or floor penetration, insulate the pipe up to the surface, then seal the air gap around the penetration with an appropriate caulk or foam rated for that location.
Leave required clearance around combustion equipment. Near a gas water heater, keep insulation at least 6 inches away from a draft diverter or single-wall flue, following DOE guidance. If you are not sure whether a pipe is too close to a vent connector, stop and check the appliance manual or ask a licensed pro. Saving one foot of pipe wrap is not worth creating a fire or venting hazard.
Step 5: Seal the cold-air path around the pipe
Insulation slows heat loss. Air sealing stops the wind from doing the work faster. In a crawl space, close or cover foundation vents during extreme cold if that is appropriate for your local moisture strategy, and seal rim-joist cracks, pipe penetrations, and obvious daylight gaps. In a garage, replace torn door weatherstripping, close the garage door during freezes, and seal holes where pipes or wires pass through exterior walls.
Do not pack random insulation over damp soil, active leaks, knob-and-tube wiring, or pest-contaminated cavities. Keep the fix modest and visible: seal the draft, keep the pipe accessible, and avoid creating a hidden wet pocket. If the crawl space has standing water, chronic mold, or a radon concern, solve that building problem before turning the area into a sealed blanket.
For pipes that freeze every year, insulation may not be enough. A short run of UL-listed heat cable can help on vulnerable pipes, but only when installed exactly as the product label allows. Do not overlap heat cable unless the manufacturer says it is safe, do not bury it under incompatible insulation, and do not use damaged cable.
Step 6: Recheck before the first hard freeze
Walk the run with a flashlight and look for gaps. Tug lightly at seams. Check that elbows are still covered, valves still turn, and the garage door or crawl-space access actually closes. If a severe cold snap is forecast, follow local guidance: keep garage doors closed when water lines run through the garage, open sink-cabinet doors where pipes sit on exterior walls, and let the cold side drip at vulnerable fixtures when temperatures drop into dangerous territory.
If you turn on a faucet and only a trickle comes out, suspect a frozen pipe. Open the faucet, warm the accessible pipe with gentle heat such as a hair dryer or heating pad, and never use a torch, propane heater, charcoal stove, or other open flame. If you cannot find the frozen section, cannot reach it, or cannot restore flow, call a licensed plumber. One frozen pipe often means another one is close behind.
Troubleshooting & FAQ
Should I insulate both hot and cold water pipes?
Yes. The Red Cross specifically recommends insulating both hot and cold water pipes in vulnerable areas such as garages and crawl spaces. Hot-water pipes can freeze when they sit unused for hours, and cold-water pipes near drafts are obvious targets.
Is foam pipe insulation enough to stop freezing?
Sometimes, but not always. Foam sleeves help most when the space only dips below freezing briefly and the pipe is not in a direct draft. If a crawl-space vent, garage-door gap, or rim-joist crack blows cold air across the pipe, seal that air path too.
What size pipe insulation should I buy?
Buy by the sleeve's inside diameter and match it to the pipe's outside diameter. If you guess from the pipe's nominal size, you may end up with a sleeve that will not close or one that floats loosely around the pipe. Measure first, then buy.
Can I use fiberglass pipe wrap in a crawl space?
Yes, especially around elbows, valves, and uneven runs where foam sleeves leave gaps. Wear gloves, eye protection, and a dust mask when working with fiberglass, and keep the wrap dry and secured with tape.
When do I need heat cable instead of plain insulation?
Consider UL-listed heat cable when the pipe has a history of freezing or runs through a space that remains very cold despite insulation and draft sealing. Follow the cable manufacturer's instructions exactly. Damaged, overlapped, or incorrectly covered heat cable can create a hazard.
Affiliate disclosure: as an Amazon Associate, HowTo.Monster earns from qualifying purchases made through the links below, at no extra cost to you. Our picks are chosen editorially, not by commission.
Apparatus & Materials
| Item | Cost | |
|---|---|---|
| ◆ Foil-backed fiberglass pipe wrap Our pick is Frost King SP42X/16 pipe wrap because the flexible 25-foot roll covers elbows, valves, and tight crawl-space sections that rigid sleeves leave bare. | $9–$14 | Buy now |
| ◆ Pipe-insulation tape or quality vinyl tape Secures sleeve seams, butt joints, and wrapped fittings so the insulation stays closed through temperature swings. | $5–$10 | — |
| ◆ Self-sealing foam pipe insulation sleeves Our pick is Frost King tubular self-sealing foam pipe insulation because it fits common 3/4-inch residential straight runs and closes without a separate slit-cutting step. | $15–$18 | Buy now |
| ◆ Tape measure or caliper Measures pipe outside diameter and run length so sleeves fit snugly instead of floating around the pipe. | $6–$18 | — |
| Exterior-rated caulk or low-expansion foam Seals small cold-air gaps around pipe penetrations after the pipe itself is insulated. | $6–$12 | — |
| Gloves, safety glasses, and dust mask Useful protection when cutting fiberglass wrap or working in a dusty crawl space. | $8–$20 | — |
Notes on the sources
The ranking at right reflects our editorial judgment after reading each source in full. For a summary of this entry in brief, see the source ranked first. For the chemistry and underlying principles, see the last.


