This curated guide aggregates the best expert resources for installing wainscoting on a weekend budget. Learn how to achieve professional architectural details for a fraction of the cost.
Introduction
Wainscoting transforms any room from ordinary to elegant, but professional installation costs can quickly spiral beyond most weekend project budgets. The good news? This classic architectural detail is surprisingly achievable for DIY enthusiasts willing to invest a weekend and typically $800-$1,500 in materials for a standard room.
What makes weekend wainscoting installation particularly appealing is the dramatic visual impact relative to the effort required. Unlike complex renovations that demand specialized skills, wainscoting relies on basic carpentry techniques that most homeowners can master with proper guidance. The key lies in finding reliable instruction that balances professional results with realistic timelines and budgets.
We've researched and curated the most trusted expert resources to help you navigate this project successfully. Rather than piecing together scattered advice from multiple sources, you'll have access to proven methods from established home improvement authorities, along with practical insights about materials, timing, and budget optimization.
Overview
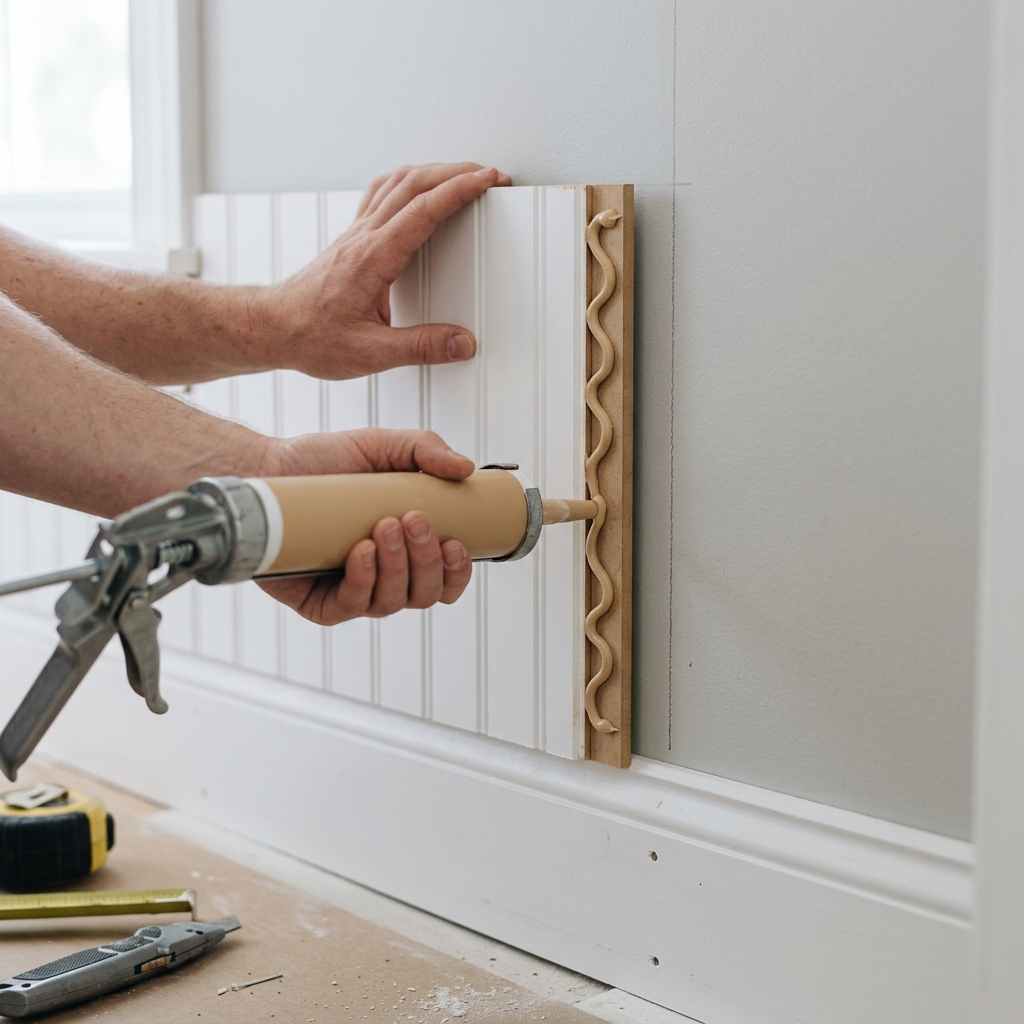
Wainscoting installation follows a systematic process that begins with careful planning and room measurement. You'll start by selecting your style-whether traditional raised panels, simple picture frame designs, or budget-friendly faux approaches-then calculate material requirements based on your room's dimensions and existing features like outlets and doorways.
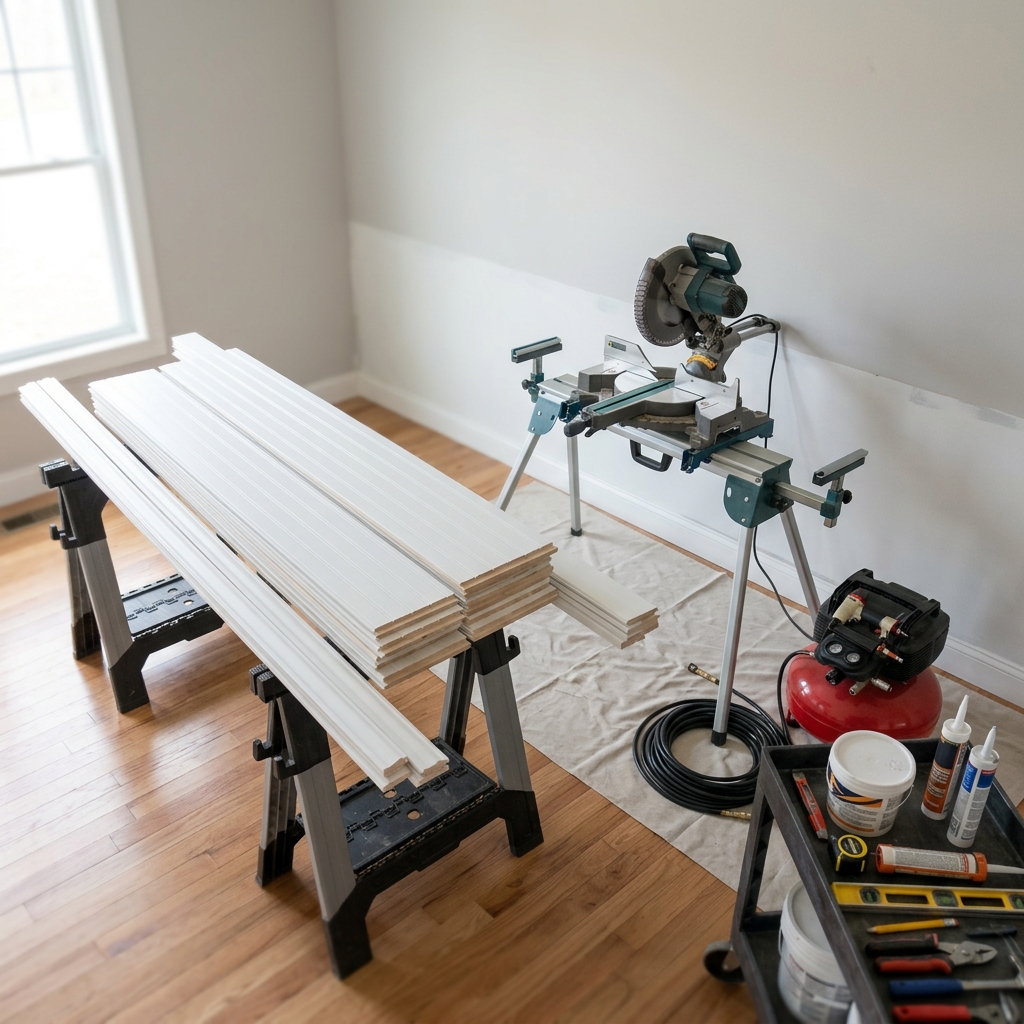
The physical installation process involves removing existing trim, establishing level reference lines around the room, and methodically installing panels from one corner to the next. Most weekend installations use MDF panels combined with cap molding and trim pieces, secured with construction adhesive and finish nails. The project concludes with caulking gaps, filling nail holes, and applying primer and paint for a professional appearance.
Success depends heavily on preparation and having the right guidance for your specific situation. Wall conditions, room layout, and chosen materials all influence the approach, which is why accessing multiple expert perspectives proves invaluable. The recommended guides provide detailed step-by-step instructions, troubleshooting advice, and professional techniques that ensure your weekend investment delivers lasting results.
Tips & Considerations
Safety first: Always wear safety goggles when cutting materials, use hearing protection with power tools, and ensure proper ventilation when applying adhesives and finishes
Measure twice, cut once: Double-check all measurements before making cuts, especially around electrical outlets and switches where precision is critical for professional appearance
Address wall imperfections early: Use a level to identify uneven walls before installation begins, as minor adjustments during preparation prevent major alignment issues later
Plan for electrical obstacles: Turn off power to outlets and switches you'll be working around, and consider hiring an electrician if boxes need repositioning
Choose materials strategically: MDF offers the best balance of cost, workability, and appearance for beginners, while PVC materials work better in high-moisture areas
Start with the most visible wall: Begin installation on the wall that guests see first, allowing you to refine your technique before tackling prominent areas
Account for seasonal movement: Leave slight gaps at corners and joints to accommodate wood expansion and contraction, then cover with caulk
Pre-finish when possible: Prime and paint panels before installation when working alone, as it's easier than finishing in place
Have backup materials: Purchase 10-15% extra material to account for mistakes, damaged pieces, or future repairs
Test your nailer settings: Practice on scrap material to find the right pressure and depth settings before working on your walls
Conclusion
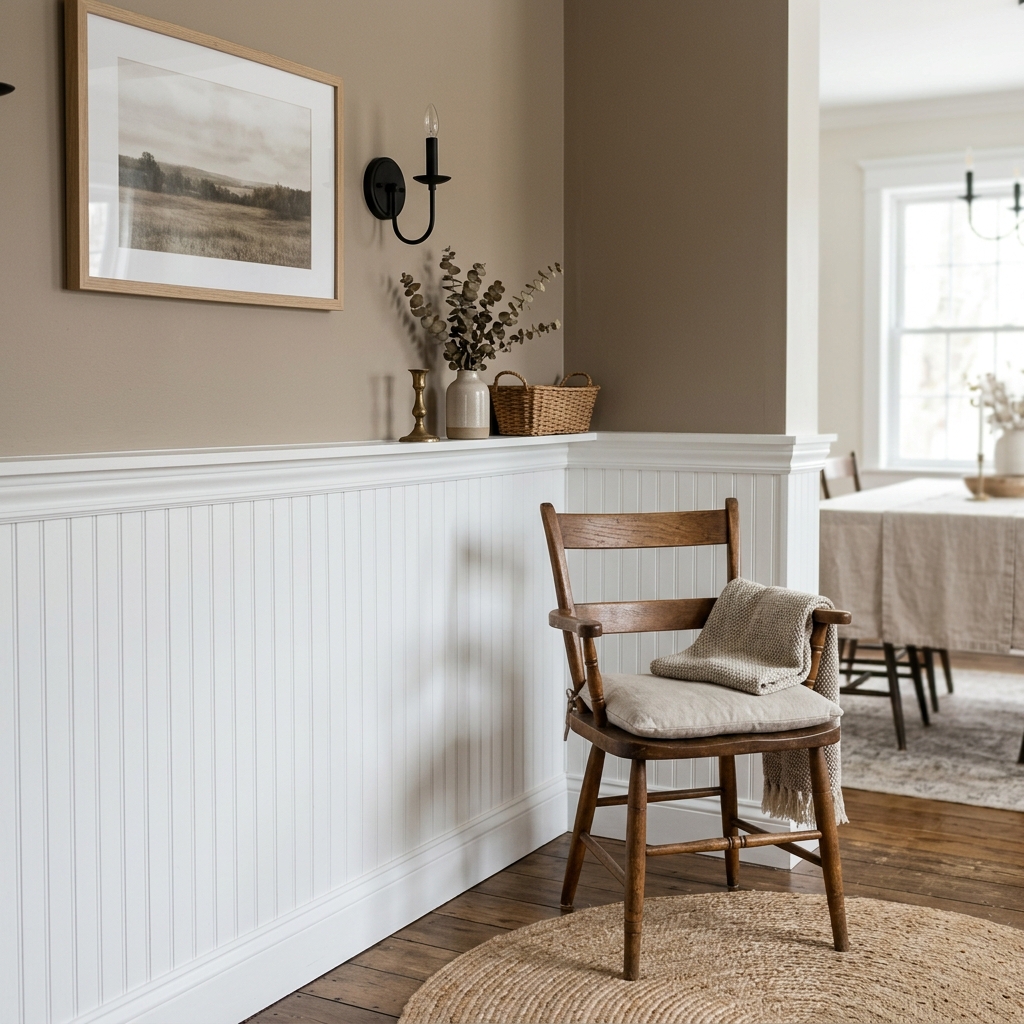
Installing wainscoting over a weekend represents one of the most rewarding DIY projects for the effort invested. With proper guidance from established home improvement experts, what might seem like an intimidating carpentry project becomes an achievable goal that dramatically enhances your home's character and value.
The curated resources we've identified will provide you with professional-grade instruction while keeping your project timeline and budget realistic. Each recommended guide brings unique strengths-whether it's This Old House's contractor-level expertise, Home Depot's integration of instruction with shopping convenience, or Lowe's comprehensive tool guidance for first-time DIYers.
At HowTo.Monster, we believe that successful DIY projects start with access to trusted, proven instruction. By connecting you with the most reliable expert resources available, we're helping you avoid the frustration of conflicting advice or incomplete guidance. Take confidence in tackling this weekend project-with the right resources and preparation, you'll be amazed at the professional results you can achieve in just two days.
Apparatus & Materials
| Item | Cost | |
|---|---|---|
| ◆ Base Cap Molding PVC or wood molding used to create frames and finish edges, lightweight and forgiving for beginners. | $2–$3 | Buy now |
| ◆ Construction Adhesive Strong adhesive used to secure panels to wall surfaces for additional holding power. | $3–$8 | Buy now |
| ◆ Laser Level Tool for creating perfectly straight horizontal lines across all walls for consistent panel alignment. | $25–$100 | Buy now |
| ◆ MDF Panels Medium-density fiberboard panels that are easy to work with and budget-friendly for wainscoting installation. | $15–$25 | Buy now |
| ◆ Miter Saw Power tool for making precise 45-degree angle cuts on molding and trim pieces. | $80–$300 | Buy now |
| ◆ Nail Gun 18-gauge or 23-gauge pneumatic nailer for efficiently mounting panels and trim to walls. | $50–$200 | Buy now |
| ◆ Primer and Paint Finishing materials to seal and color the installed wainscoting, with white being the most economical option. | $25–$60 | Buy now |
| ◆ Stud Finder Electronic tool to locate wall studs for secure mounting of wainscoting panels. | $15–$50 | Buy now |
Notes on the sources
The ranking at right reflects our editorial judgment after reading each source in full. For a summary of this entry in brief, see the source ranked first. For the chemistry and underlying principles, see the last.