A curated guide aggregating the best expert resources for installing wireless remote-controlled LED strip lights under cabinets with professional results.
Introduction
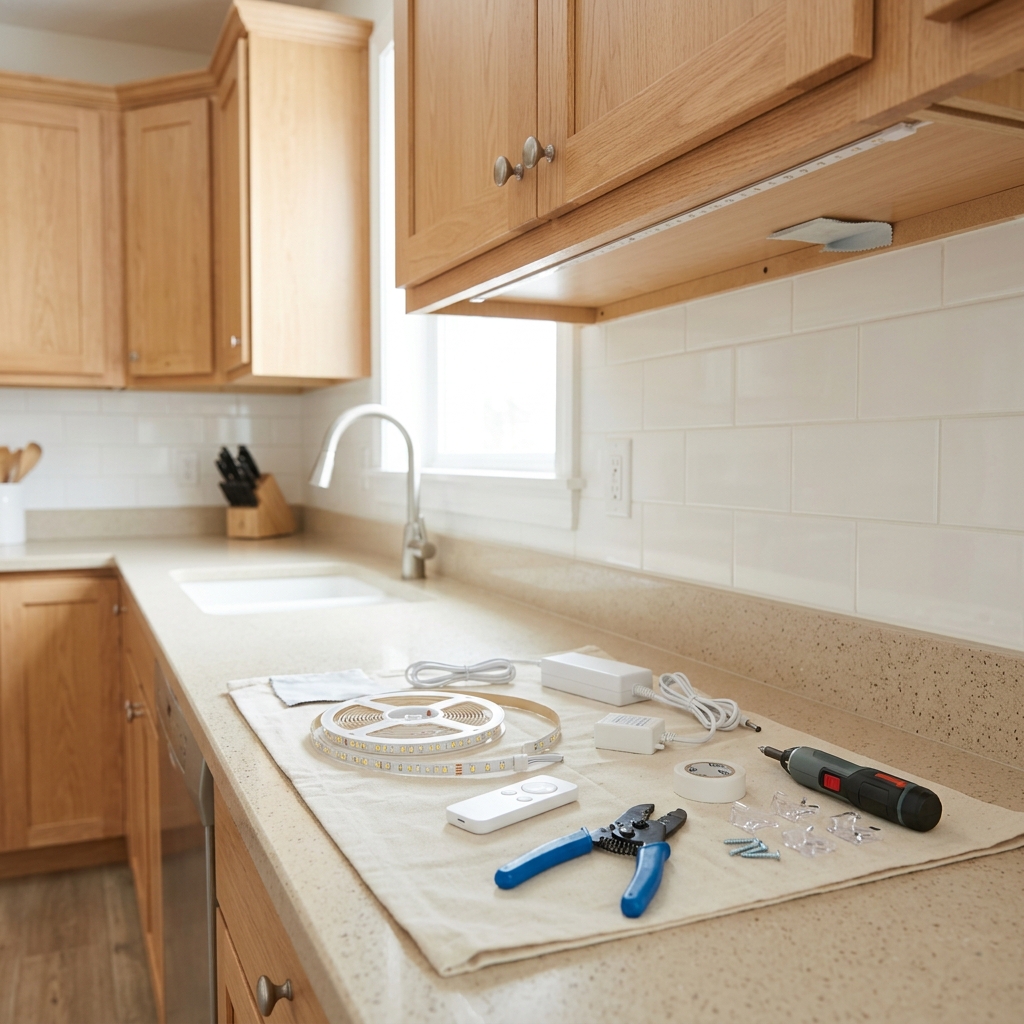
Under-cabinet LED strip lighting with wireless remote control has become one of the most popular DIY home improvement projects, transforming kitchens and workspaces with customizable, professional-looking illumination. These systems offer the convenience of dimming, color adjustment, and timer controls without the complexity of installing wall switches or running new electrical circuits.
Rather than sifting through countless tutorials and product reviews, this curated guide connects you with the most reliable, comprehensive resources from LED industry experts and experienced installers. We've evaluated dozens of sources to identify the guides that provide the clearest instructions, most current product information, and proven installation techniques that deliver lasting results.
Overview
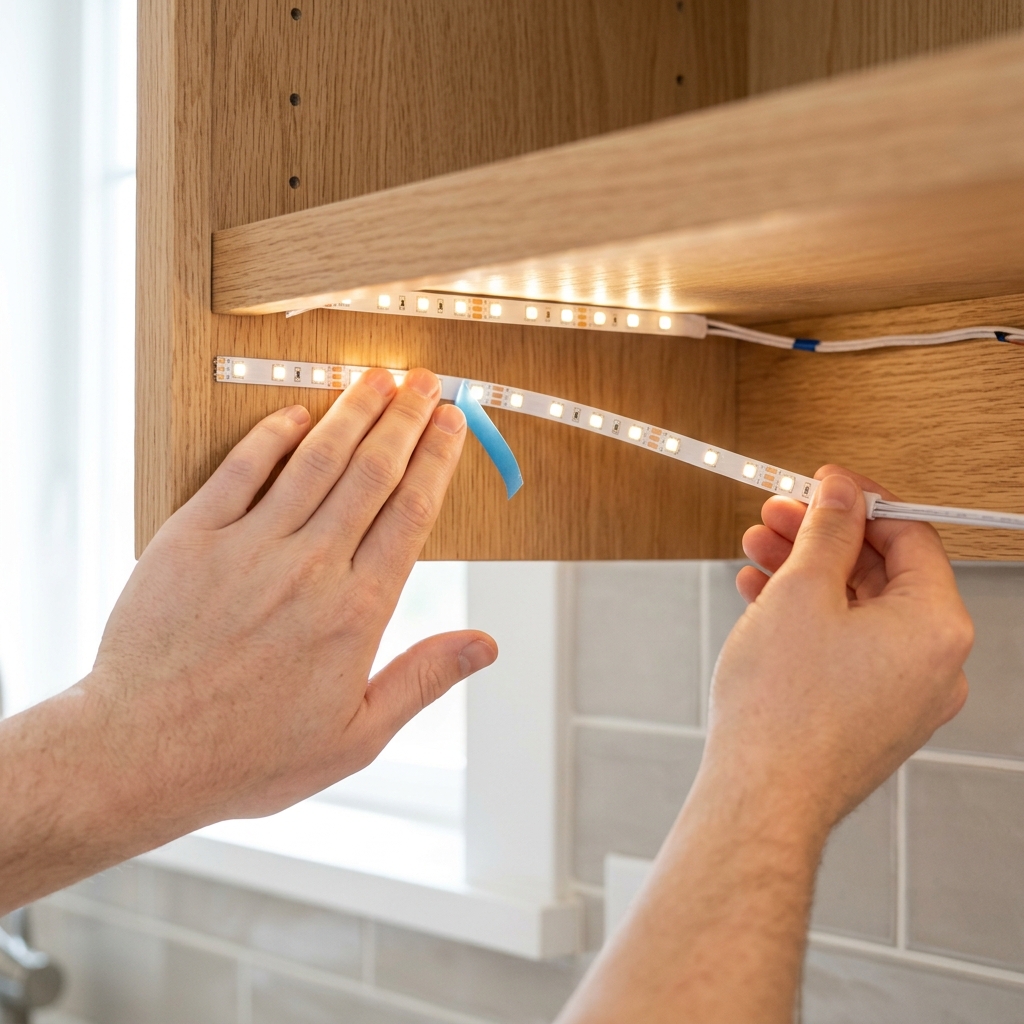
Installing wireless LED strip lights under cabinets typically involves four main phases: planning and measurement, surface preparation, mounting the strips, and configuring the wireless remote system. The process begins with carefully measuring each cabinet section and determining optimal strip placement for even light distribution. Most modern kits feature plug-and-play components that eliminate complex wiring, though some connections between strip segments may be required for longer runs.
Surface preparation is critical for long-term success, involving thorough cleaning of cabinet undersides to ensure proper adhesion. The actual mounting process varies between adhesive-backed strips and clip-mount systems, with many installers using a hybrid approach for optimal security. Finally, pairing the wireless remote controller with the LED system typically involves a simple button sequence that enables full control functionality.
The entire installation usually takes 2-4 hours depending on the number of cabinets and complexity of the layout. The recommended expert guides provide detailed step-by-step instructions with photos and troubleshooting tips to ensure professional results.
Tips & Considerations
Test before permanent installation - Always test your complete system before final mounting to ensure proper functionality and remote pairing
Plan for power supply placement - Hide power supplies inside cabinets or behind appliances, ensuring adequate ventilation and easy access for maintenance
Account for cabinet door clearance - Position strips to avoid interference with door hinges and ensure even light distribution when doors are closed
Use proper cut points - LED strips can only be cut at designated copper pad locations, typically every few inches - measure twice, cut once
Consider heat dissipation - Avoid installing strips directly against surfaces that generate heat, and ensure adequate air circulation around power supplies
Clean surfaces thoroughly - Use isopropyl alcohol to remove all grease and residue before applying adhesive strips for maximum longevity
Plan wire management - Route power wires along cabinet edges or through drilled holes to maintain a clean, professional appearance
Check voltage compatibility - Ensure your LED strips and power supply voltage ratings match exactly to prevent damage or poor performance
Test remote range - Verify wireless functionality from various locations in your kitchen before finalizing installation
Document your setup - Take photos of connections and note remote pairing procedures for future troubleshooting or expansion
Conclusion
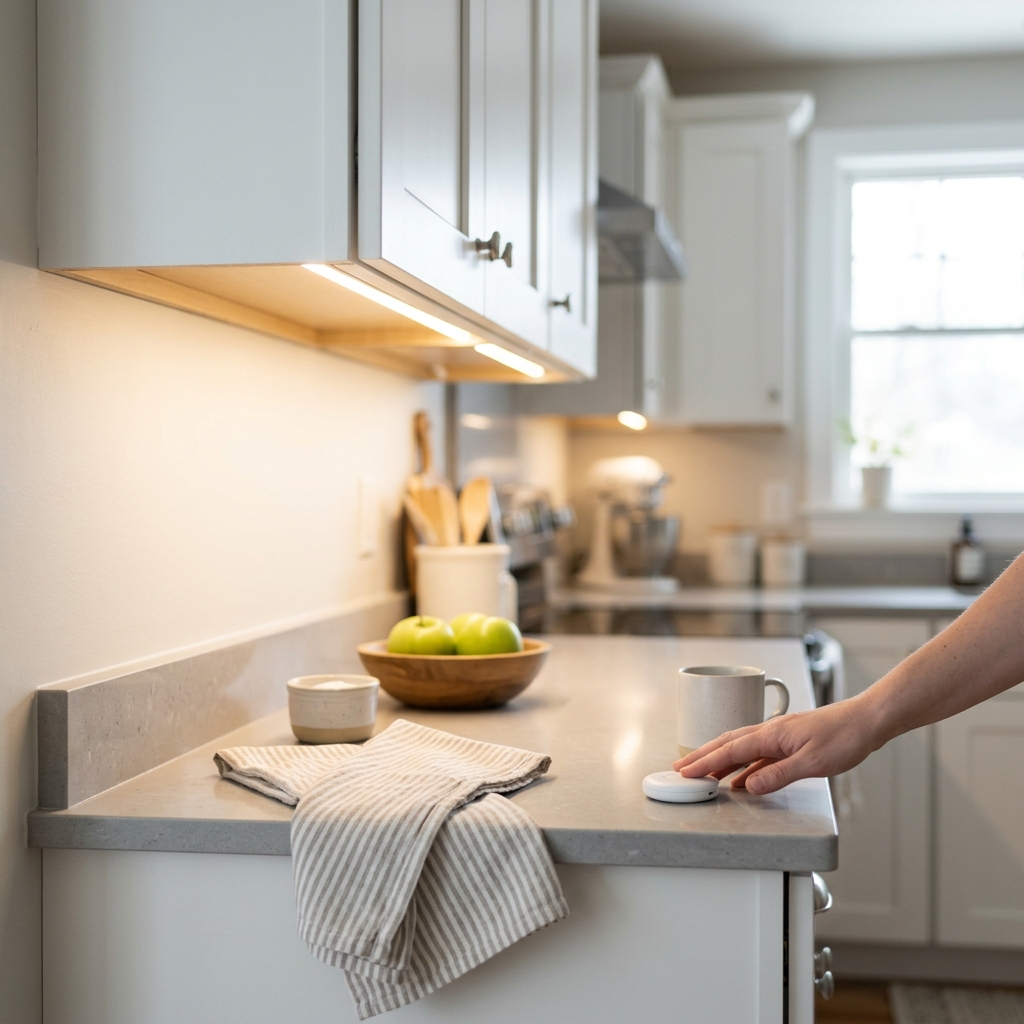
Installing wireless remote-controlled LED strip lights under cabinets is an achievable DIY project that delivers impressive results when approached with proper guidance. The expert resources we've curated provide comprehensive, tested instructions that eliminate guesswork and help you avoid common pitfalls that can compromise your installation's longevity and performance.
By following the detailed guides from specialized LED manufacturers and experienced installers, you'll gain access to professional techniques and insider knowledge that ensure your lighting system functions flawlessly for years to come. These resources offer current product information, proven installation methods, and troubleshooting guidance that reflects the latest advances in LED technology.
Take confidence in knowing that thousands of DIY enthusiasts have successfully completed this project using these same expert resources. With proper preparation and the right guidance, you'll transform your kitchen workspace with beautiful, functional lighting that rivals professional installations.
Apparatus & Materials
| Item | Cost | |
|---|---|---|
| ◆ Isopropyl Alcohol and Cleaning Cloth Used to thoroughly clean cabinet surfaces before installation to ensure strong adhesive backing adhesion. | $3–$8 | Buy now |
| ◆ Measuring Tape Essential tool for measuring cabinet length and width to determine proper strip placement and coverage. | $8–$20 | Buy now |
| ◆ Scissors or Wire Cutters Required for trimming LED strips to proper length at designated copper pad cut lines. | $5–$15 | Buy now |
| ◆ Solderless Clamps or Quick Connectors Connects LED strip segments together without soldering for simplified installation and secure connections. | $8–$25 | Buy now |
| ◆ Wireless LED Strip Lighting Kit Complete kit including LED strips with 3M adhesive backing, wireless RF remote controller, and power supply for under-cabinet installation. | $25–$80 | Buy now |
| Electrical Tape Protects and insulates exposed wire connections and provides additional security for connections. | $2–$6 | Buy now |
| Mounting Clips or Extra Adhesive Additional securing hardware to ensure LED strips remain firmly attached under cabinets over time. | $5–$15 | Buy now |
| Wire Strippers Tool for stripping 16-22AWG stranded wires when making electrical connections between components. | $10–$25 | Buy now |
Notes on the sources
The ranking at right reflects our editorial judgment after reading each source in full. For a summary of this entry in brief, see the source ranked first. For the chemistry and underlying principles, see the last.