Perfect for renters and DIYers, this guide shows you how to install beautiful under-cabinet LED lighting without permanent modifications. Discover expert-vetted plug-in and battery options.
Introduction
Installing under-cabinet LED lighting without hardwiring has become increasingly popular among DIY enthusiasts and renters who want professional-looking kitchen improvements without permanent electrical modifications. This approach eliminates the need for electrical expertise, permits, or costly professional installation while still delivering excellent illumination for cooking and food preparation tasks.
This curated guide brings together the most reliable expert resources and proven methods for non-hardwired installations. Rather than sifting through countless tutorials of varying quality, you'll find carefully selected guides that have been tested and validated by real users. Our aggregation approach saves you research time while ensuring you have access to multiple expert perspectives and techniques.
By following the recommendations in this guide, you'll gain confidence in choosing the right lighting solution for your space and installing it successfully. Whether you prefer battery-powered convenience, plug-in reliability, or rechargeable flexibility, the expert resources we've identified will guide you through each approach with clear, actionable instructions.
Overview
Installing under-cabinet LED lighting without hardwiring typically involves three main approaches: battery-powered units, plug-in systems, or rechargeable LED bars. The process generally begins with measuring your cabinet space and determining optimal light placement to minimize shadows across work surfaces. Most installations can be completed in under an hour using basic tools and don't require any electrical knowledge.
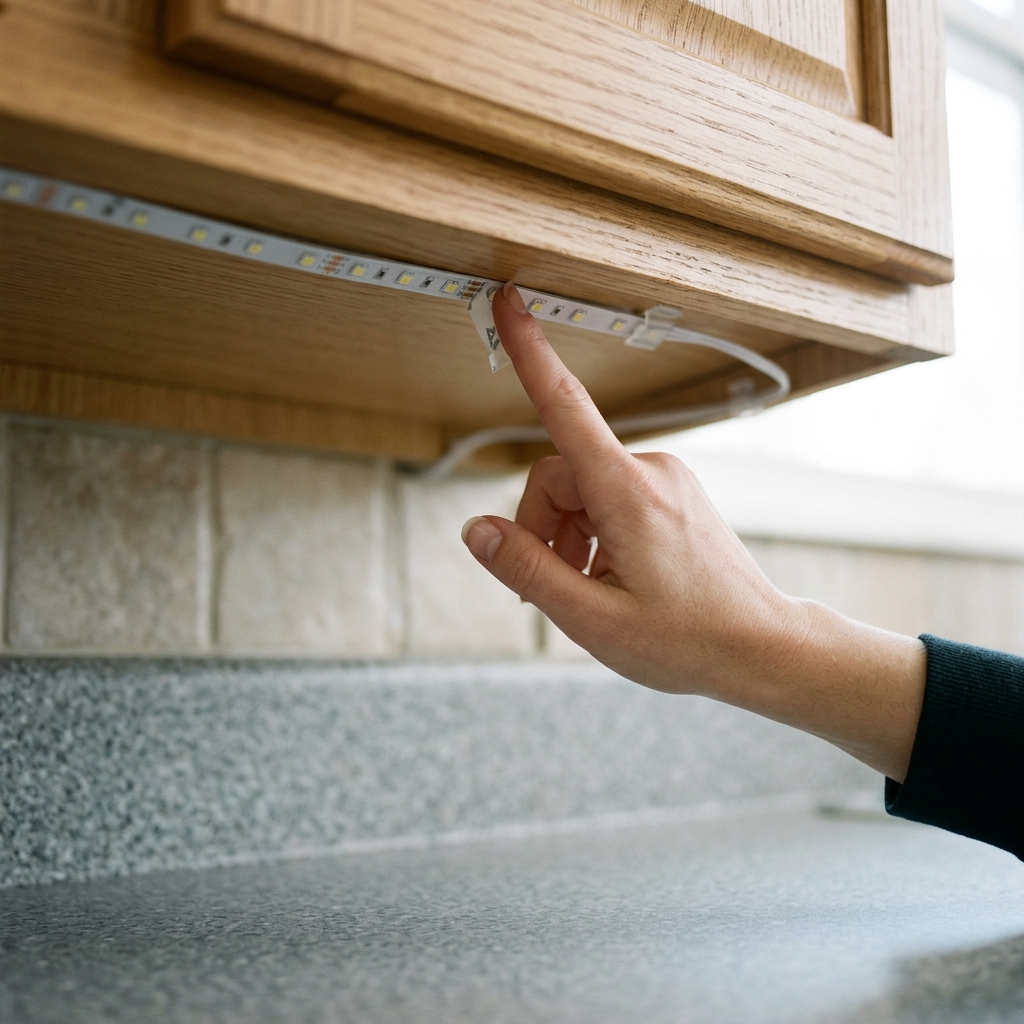
The actual installation process centers around surface preparation and secure mounting using either adhesive backing, magnetic systems, or mounting clips. Battery-powered and rechargeable options offer the simplest installation since they eliminate cord management entirely. Plug-in systems require routing power cords to nearby outlets but provide consistent brightness without battery maintenance concerns.
Surface preparation is crucial regardless of which system you choose, as clean, grease-free surfaces ensure reliable adhesion for years of use. The recommended expert guides provide detailed step-by-step instructions for each mounting method, including specific techniques for different cabinet materials and layouts. Most installations involve positioning the lights, securing them with the chosen mounting method, and testing the coverage pattern before final placement.
Tips & Considerations
Clean surfaces thoroughly - Use degreasing cleaner followed by isopropyl alcohol to ensure maximum adhesion strength for adhesive-mounted systems
Test before permanent installation - Hold lights in position and turn them on to check for shadows and coverage gaps before adhering permanently
Consider power source maintenance - Battery systems require regular replacement, while rechargeable units need periodic charging cycles for optimal performance
Plan for seasonal temperature changes - Adhesive strength can vary with temperature, so avoid installation during extreme weather conditions
Measure twice, install once - Cabinet measurements determine light spacing and quantity needed; accurate measuring prevents coverage gaps
Route cords safely - Keep power cords away from heat sources like stovetops and sharp cabinet edges that could cause damage
Check weight limits - Ensure your cabinet surface can support the chosen lighting system, especially for heavier plug-in transformers
Start with center placement - Begin installation at the center of each cabinet section and work outward for the most balanced light distribution
Allow 24-hour cure time - Adhesive-mounted systems reach full strength after 24 hours, so avoid moving or adjusting lights during this period
Keep spare batteries on hand - For battery-powered systems, maintain a supply of fresh batteries to avoid unexpected outages during food preparation
Conclusion
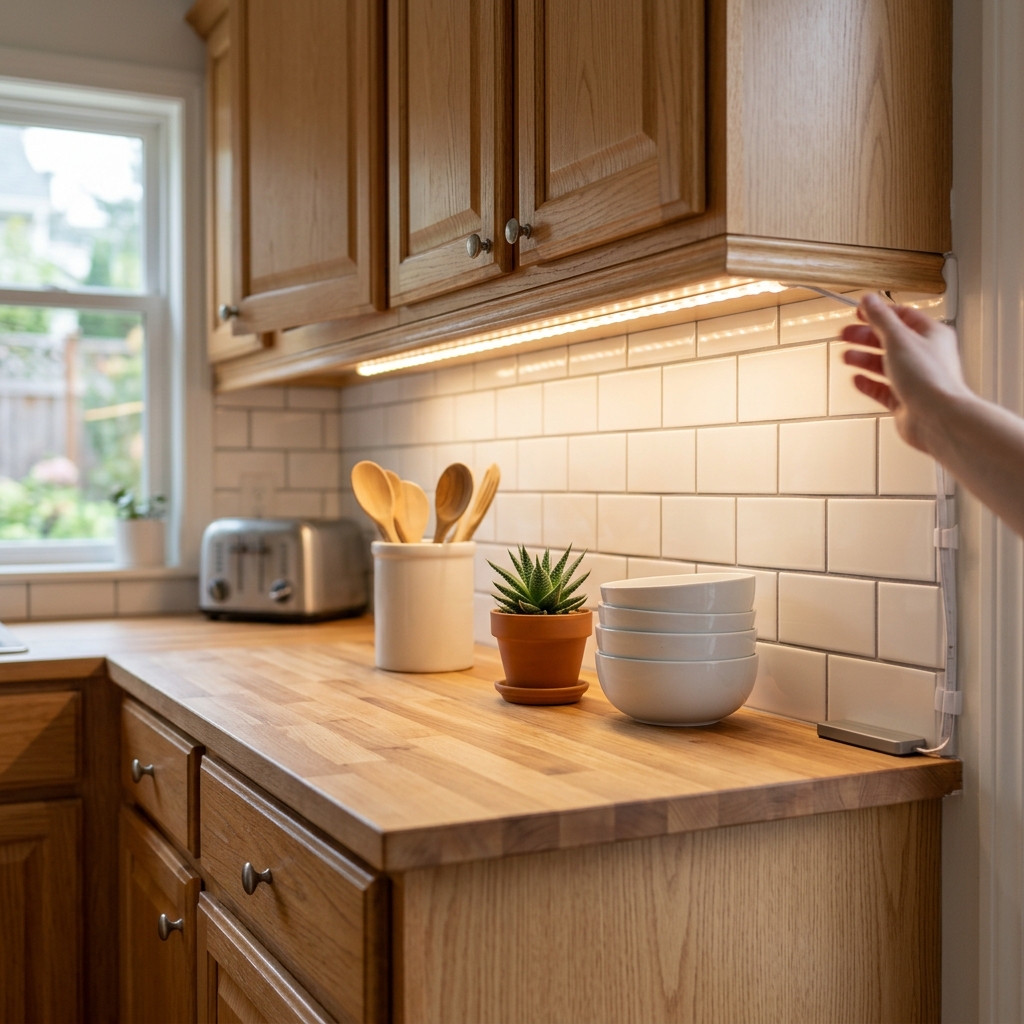
This curated approach to under-cabinet lighting installation removes the guesswork from your project by connecting you with proven, expert-tested methods. The resources we've selected represent the most reliable and comprehensive guides available, each offering unique insights and techniques that complement one another. Rather than struggling through trial and error with untested tutorials, you now have access to methods that have helped thousands of homeowners achieve professional results.
The external guides featured in our recommendations provide the detailed step-by-step instructions and visual aids needed to complete your installation with confidence. Each resource has been evaluated for clarity, completeness, and real-world applicability, ensuring you're working with the best available information. HowTo.Monster's curation process saves you valuable time while connecting you with the expertise you need to succeed.
Your under-cabinet lighting project is well within reach using these non-hardwired methods. With the right resources and a systematic approach, you'll soon enjoy improved kitchen functionality and ambiance that enhances both cooking efficiency and home value. Take your time reviewing the recommended guides, choose the method that best fits your specific situation, and move forward with confidence knowing you're following proven techniques.
Apparatus & Materials
| Item | Cost | |
|---|---|---|
| ◆ Degreasing Cleaner Pre-cleaning solution to remove heavy grease and grime before final alcohol wipe for optimal adhesion. | $4–$12 | Buy now |
| ◆ Isopropyl Alcohol Used to clean cabinet surfaces and remove grease/dust to ensure strong adhesive bond for mounting. | $3–$8 | Buy now |
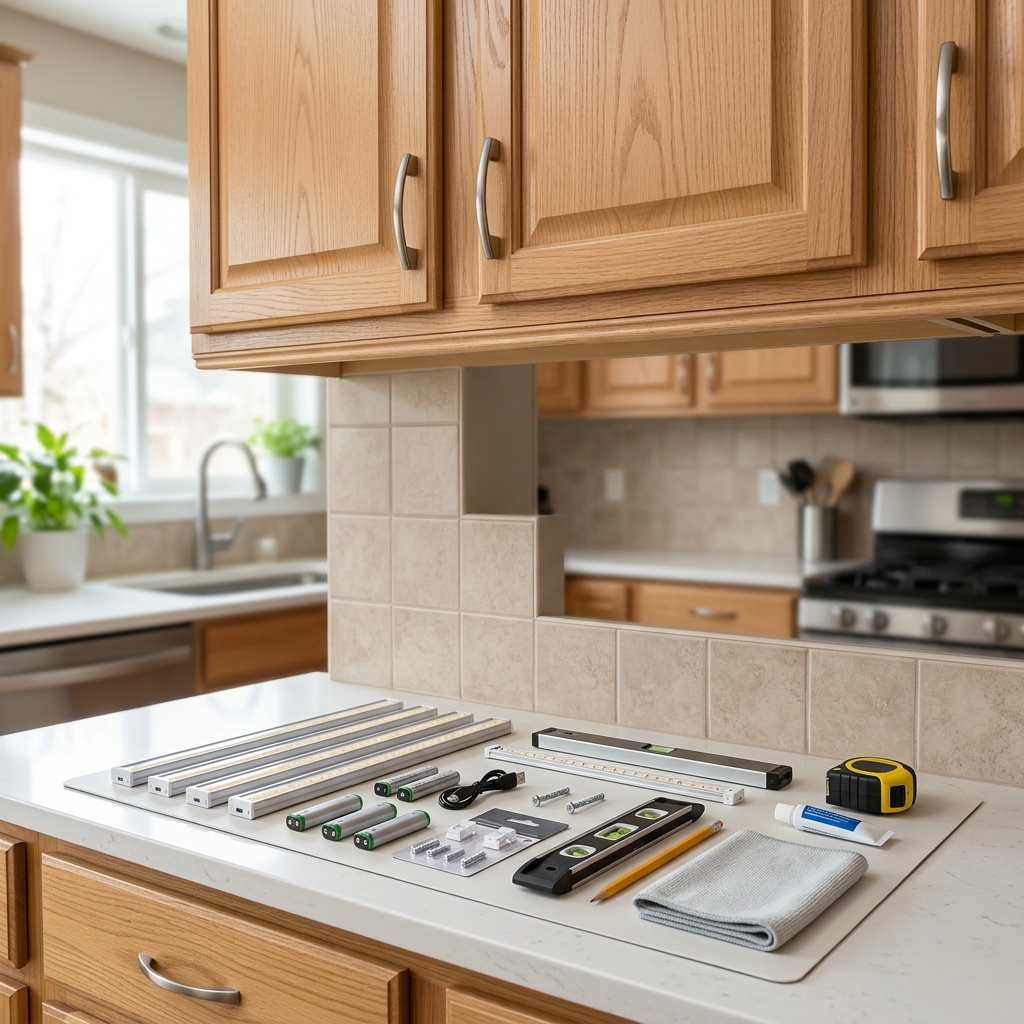
| ◆ Measuring Tape Essential for measuring cabinet lengths and ensuring proper spacing between lights for even illumination. | $8–$20 | Buy now |
| ◆ Under-Cabinet LED Light Kit Main lighting system - choose between battery-powered puck lights, plug-in LED strips, or rechargeable LED light bars based on your power preference. | $25–$80 | Buy now |
| AAA Batteries Power source for battery-operated LED lights - typically requires 4 AAA batteries per light unit. | $5–$15 | Buy now |
| Level Helps ensure lights are mounted straight and evenly aligned across multiple cabinet sections. | $10–$25 | Buy now |
| Power Adapter/Transformer Required for plug-in LED strip installations to convert household voltage to safe LED operating voltage. | $15–$35 | Buy now |
| USB Charging Cable Needed for rechargeable LED light bars with built-in lithium-ion batteries - usually included with rechargeable units. | $5–$15 | Buy now |
Notes on the sources
The ranking at right reflects our editorial judgment after reading each source in full. For a summary of this entry in brief, see the source ranked first. For the chemistry and underlying principles, see the last.