A curated collection of expert guides to help you successfully install under-cabinet LED lighting with smart dimmer controls for enhanced kitchen functionality.
Introduction
Under-cabinet LED lighting with smart dimmer controls represents one of the most impactful kitchen upgrades you can make, dramatically improving both task lighting and ambiance while integrating seamlessly with modern smart home systems. This lighting solution not only enhances visibility for food preparation and cooking but also creates beautiful accent lighting that can transform your kitchen's atmosphere at the touch of a button or voice command.
Rather than sifting through countless tutorials of varying quality, we've carefully curated the most reliable and comprehensive guides from trusted home improvement experts and LED lighting specialists. Our selection focuses on resources that combine professional-grade installation techniques with clear, accessible instructions suitable for confident DIYers. These guides will walk you through everything from initial planning and component selection to final smart home integration and testing.
By following our recommended resources, you'll gain access to decades of combined expertise from industry professionals, ensuring your installation meets both safety standards and performance expectations while avoiding common pitfalls that can lead to flickering lights, compatibility issues, or suboptimal illumination.
Overview
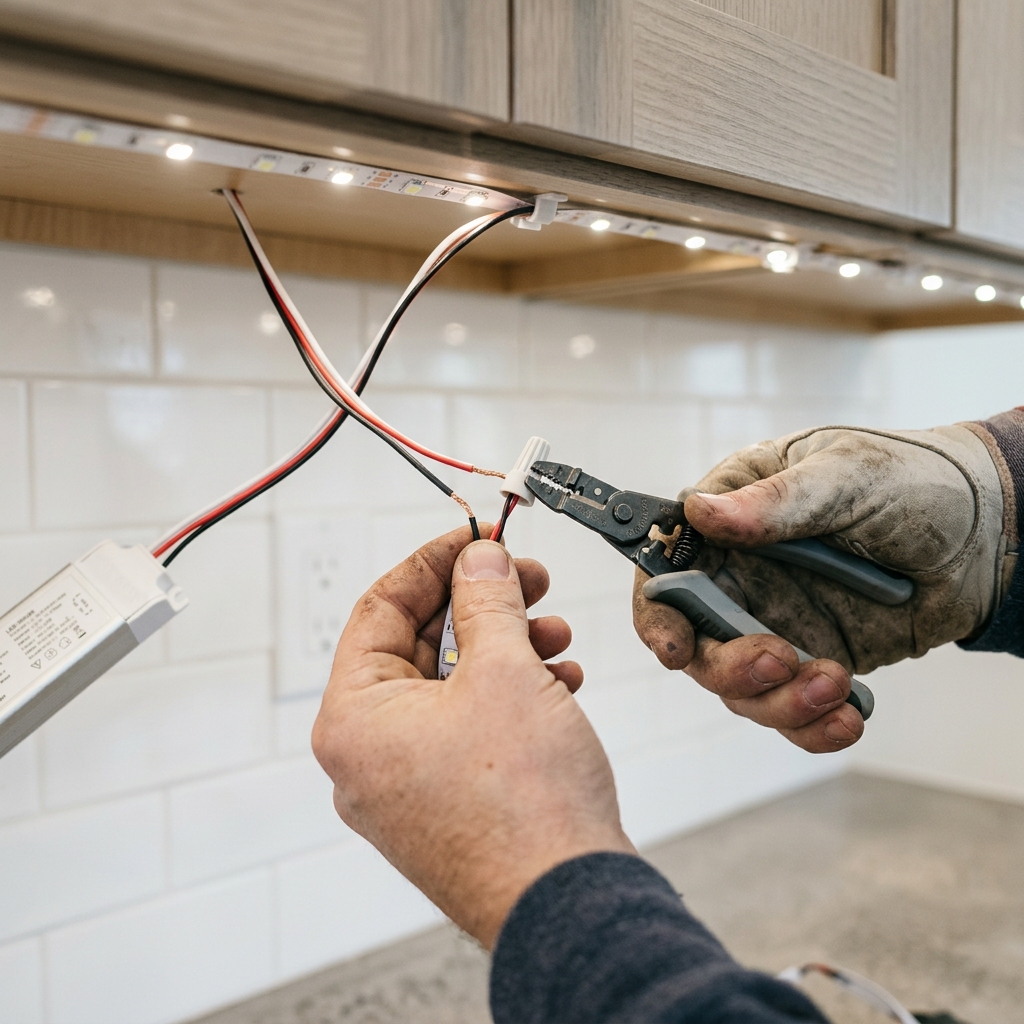
The installation process begins with careful planning and measurement of your cabinet space, followed by selecting compatible LED fixtures and smart dimmer systems that work harmoniously together. You'll need to determine your preferred power method-whether plug-in systems for easy DIY installation, hardwired connections for permanent integration, or battery-operated units for maximum flexibility without electrical work.
The core installation involves mounting LED strips or puck lights in the optimal position under your cabinets (typically in the front third of the cabinet depth to minimize shadows), establishing proper electrical connections, and integrating smart dimmer controls into your lighting circuit. Modern installations often use high-quality COB LED strips that provide smooth, even illumination without visible hotspots, paired with compatible dimming systems that allow precise brightness control.
The final phase focuses on configuring your smart controls through manufacturer apps or smart home hubs, testing dimming functionality across the full range, and fine-tuning light positioning for optimal task illumination. Most installations can be completed over a weekend, with complexity varying based on your chosen components and existing electrical setup. The recommended guides provide detailed step-by-step instructions for each approach, along with troubleshooting tips for common issues.
Tips & Considerations
Turn off power at the circuit breaker before beginning any hardwired installation and use a non-contact voltage tester to verify power is off-never assume a switch alone has disconnected power
Choose 24V LED systems over 12V when possible, as they offer better performance over longer runs and more stable dimming with less voltage drop
Verify LED and dimmer compatibility before purchasing, as not all LED strips work well with all dimmer types-some combinations can cause flickering, humming, or reduced lifespan
Target minimum 300 lumens per foot for effective task lighting, with 3000K warm white being the most versatile color temperature for kitchen applications
Position LEDs in the front third of the cabinet overhang to minimize shadows on the work surface while keeping the light source hidden from direct view
Size your power supply 20% above your LED consumption and aim for 60-80% loading for optimal dimming performance and longevity
Use aluminum channels for LED strips when possible, as they provide better heat dissipation, protect the LEDs, and create a more professional appearance with diffusion
Plan your wire routing carefully before installation to avoid visible wires and ensure easy access for future maintenance or upgrades
Test your smart home integration thoroughly during installation rather than waiting until the end, as compatibility issues are easier to resolve with components still accessible
Consider starting with one cabinet section as a test installation before committing to a full kitchen retrofit, especially when learning new smart control systems
Conclusion
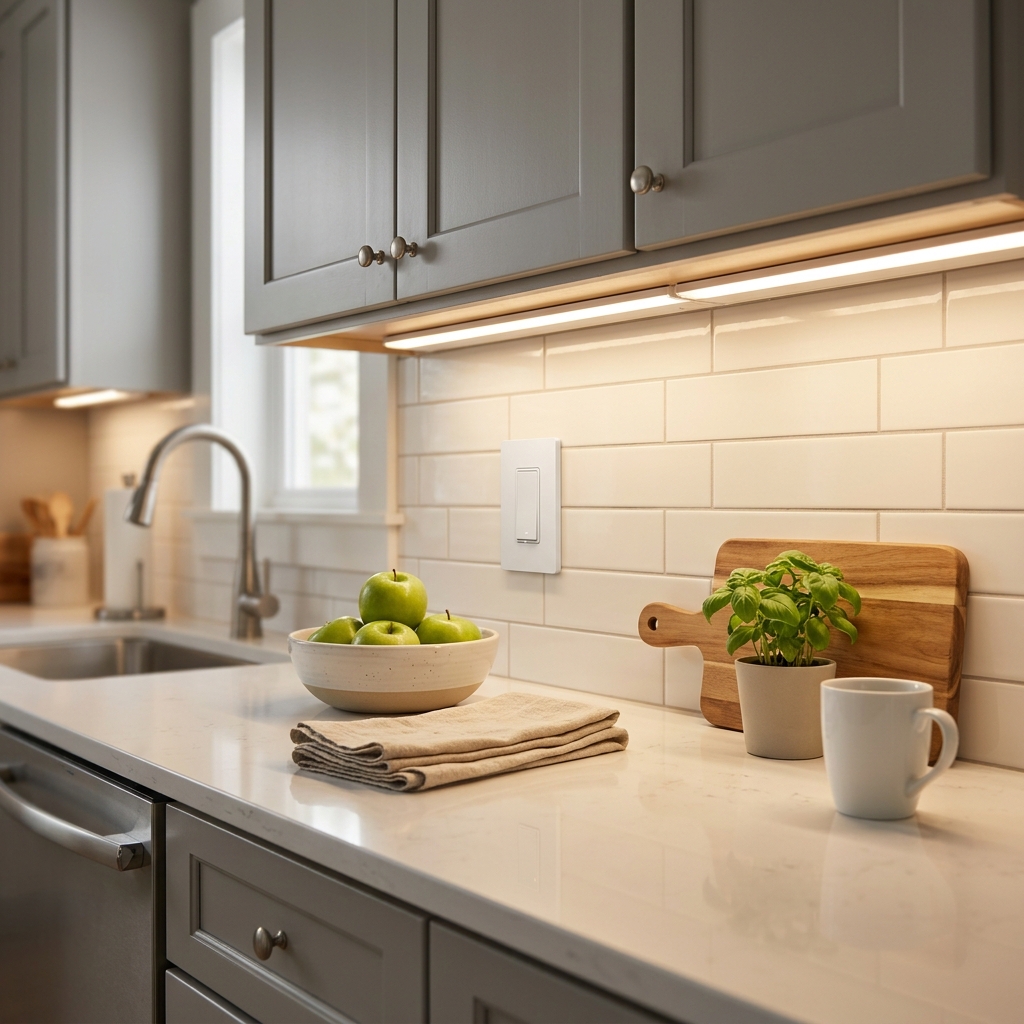
Installing under-cabinet LED lighting with smart dimmer controls is an excellent way to modernize your kitchen while adding both functional task lighting and beautiful ambiance control. The key to success lies in careful planning, selecting compatible components, and following proven installation techniques from experienced professionals.
The expert guides we've recommended will provide you with the detailed, step-by-step instructions needed to complete this project safely and effectively, whether you choose a simple plug-in system or a more advanced hardwired installation with full smart home integration. Each resource brings unique strengths-from This Old House's trusted home improvement expertise to Hitlights' technical LED specialization-ensuring you have access to comprehensive, reliable information throughout your project.
With the right guidance and quality components, you'll transform your kitchen's functionality and atmosphere while gaining valuable experience with modern LED technology and smart home systems. Take your time with the planning phase, prioritize safety throughout the installation, and don't hesitate to consult multiple recommended guides to ensure you're confident in each step of the process.
Apparatus & Materials
| Item | Cost | |
|---|---|---|
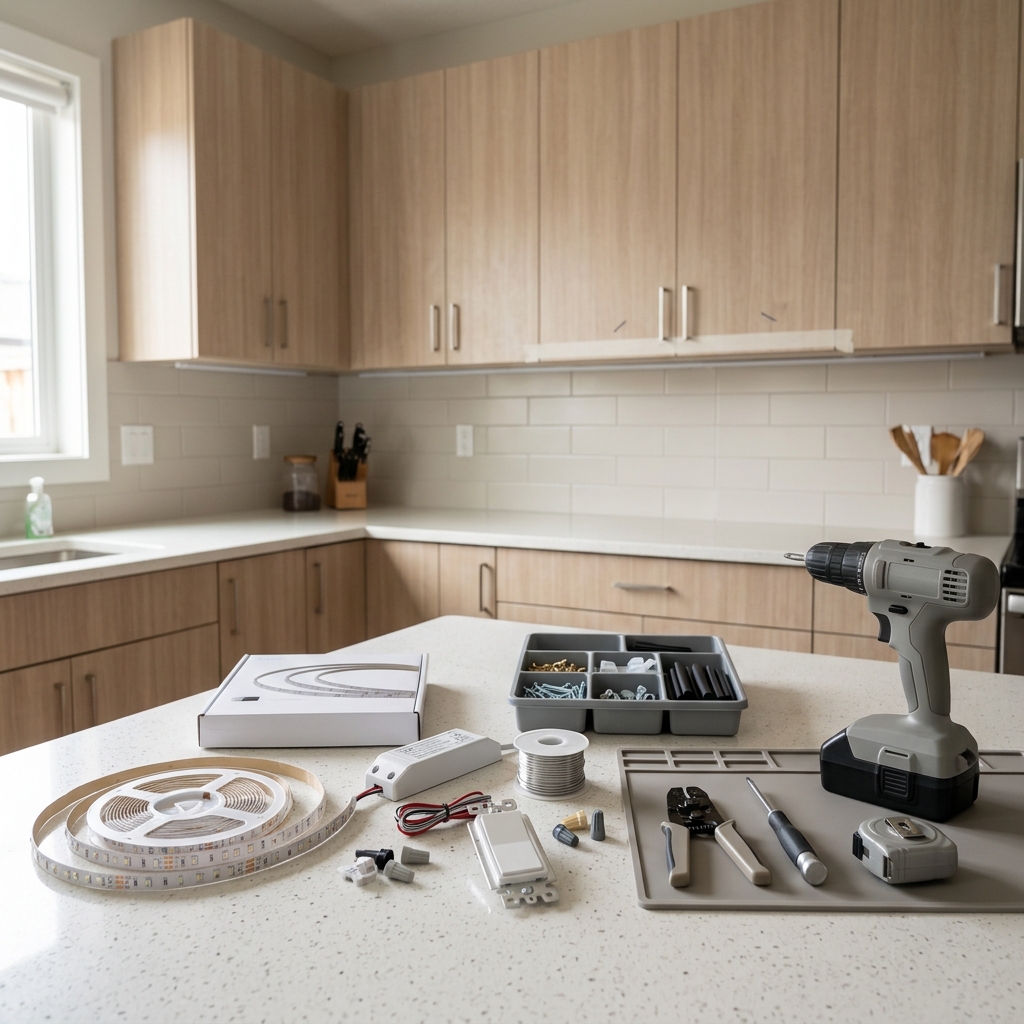
| ◆ LED Strip Lights or Light Bars Premium 24V COB LED strips with 2560 chips providing minimum 300 lm/ft for task lighting. Warm White (3000K) recommended for kitchen installations. | $25–$80 | Buy now |
| ◆ Mounting Hardware Aluminum channels, clips, or adhesive strips for securing LED strips under cabinets with proper heat dissipation. | $20–$50 | Buy now |
| ◆ Non-Contact Voltage Tester Safety tool to verify power is off before working on electrical connections and throughout installation process. | $10–$25 | Buy now |
| ◆ Power Supply/Driver 24V EZDim power supply converting 125V to 24V, sized 20% above LED consumption with 60-80% loading for optimal dimming performance. | $40–$100 | Buy now |
| ◆ Smart Dimmer Switch SWITCHEX+R1 integrated dimmer with built-in power supply or Leviton 450W Smart Dimmer compatible with Alexa/Google Assistant. | $60–$150 | Buy now |
| ◆ Wire Nuts and Electrical Wire 14 or 12 AWG electrical wire and wire nuts for connecting power supply to electrical junction box and LED connections. | $15–$35 | Buy now |
| ◆ Wire Strippers and Electrical Pliers Essential tools for stripping wire insulation and making secure electrical connections during installation. | $15–$40 | Buy now |
| Drill with Bits Cordless drill with appropriate bits for mounting hardware installation and creating wire routing holes if needed. | $30–$80 | Buy now |
Notes on the sources
The ranking at right reflects our editorial judgment after reading each source in full. For a summary of this entry in brief, see the source ranked first. For the chemistry and underlying principles, see the last.