Improve kitchen safety and efficiency with customizable task lighting. This curated guide connects you with authoritative resources for installing LED strips and integrated dimmer controls.
Introduction
Under-cabinet LED lighting with dimmer controls revolutionizes kitchen functionality by eliminating shadows over work surfaces while creating customizable ambiance for any cooking task or entertaining mood. This targeted illumination not only enhances food preparation safety and efficiency but also adds significant value to your kitchen investment.
Rather than sifting through countless tutorials of varying quality, this curated guide connects you with the most authoritative and practical resources from trusted home improvement experts. We've researched and evaluated the best available guides to save you time and ensure successful results, whether you're a DIY enthusiast or planning to hire a professional.
You'll discover the most reliable step-by-step instructions, understand the key decisions that impact your project's success, and gain confidence in choosing the right approach for your specific kitchen layout and skill level.
Overview
Installing under-cabinet LED lighting with dimmer controls typically follows a three-phase process: planning and preparation, electrical setup, and fixture installation. The planning phase involves measuring your cabinet sections, calculating lighting requirements, and selecting compatible LED fixtures and dimmer switches that work together seamlessly.
The electrical phase varies significantly based on your chosen approach - from simple plug-in systems with inline dimmers to hardwired installations that integrate with wall-mounted dimmer switches. This phase often determines the project's complexity level and whether professional electrical work is required for code compliance.
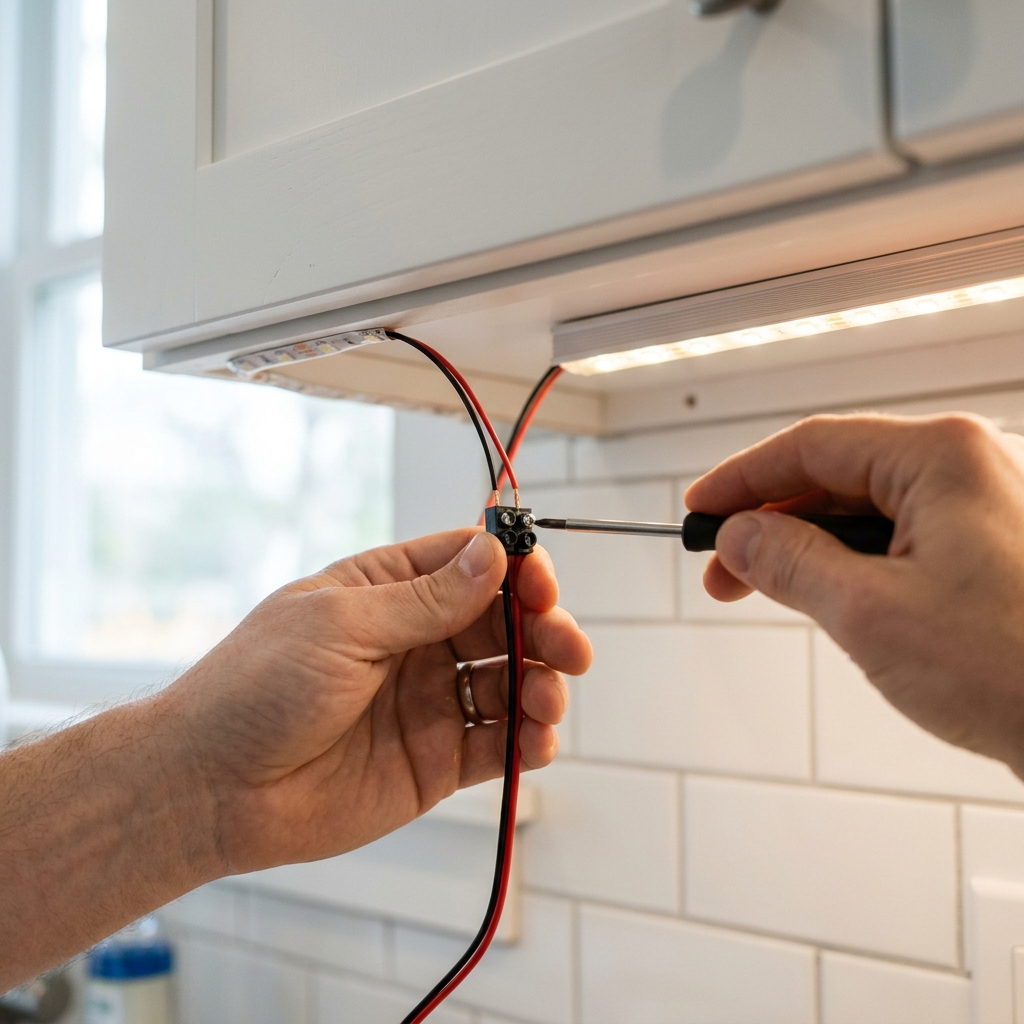
The installation phase focuses on mounting LED strips or puck lights to cabinet undersides, running connecting wires between sections through carefully drilled holes, and integrating the complete system with your chosen dimmer controls. The curated guides below provide detailed instructions for each approach, complete with professional tips for achieving clean, lasting results.
Tips & Considerations
- Always verify dimmer compatibility with your chosen LED fixtures before purchasing - mismatched components cause flickering, buzzing, or shortened LED lifespan
- Turn off power at the circuit breaker and use a voltage tester to confirm power is off before making any electrical connections
- Plan for adequate light output by targeting at least 200 lumens per linear foot of counter space for effective task lighting
- Test fit everything first by temporarily positioning LED strips and checking dimmer operation before making permanent mounting or electrical connections
- Consider cabinet construction materials when drilling - solid wood, particleboard, and different thicknesses require appropriate drill bits and techniques
- Route wiring through cabinet backs rather than sides when possible to avoid weakening structural joints
- Leave service loops in electrical connections inside cabinets for future maintenance or adjustments
- Use proper transformer sizing - choose power supplies rated for at least 20% more capacity than your total LED wattage requirements
- Check local electrical codes as hardwired installations may require permits or professional electrical work in many jurisdictions
- Install dimmers away from heat sources like ranges or dishwashers to prevent performance issues and extend component life
Conclusion
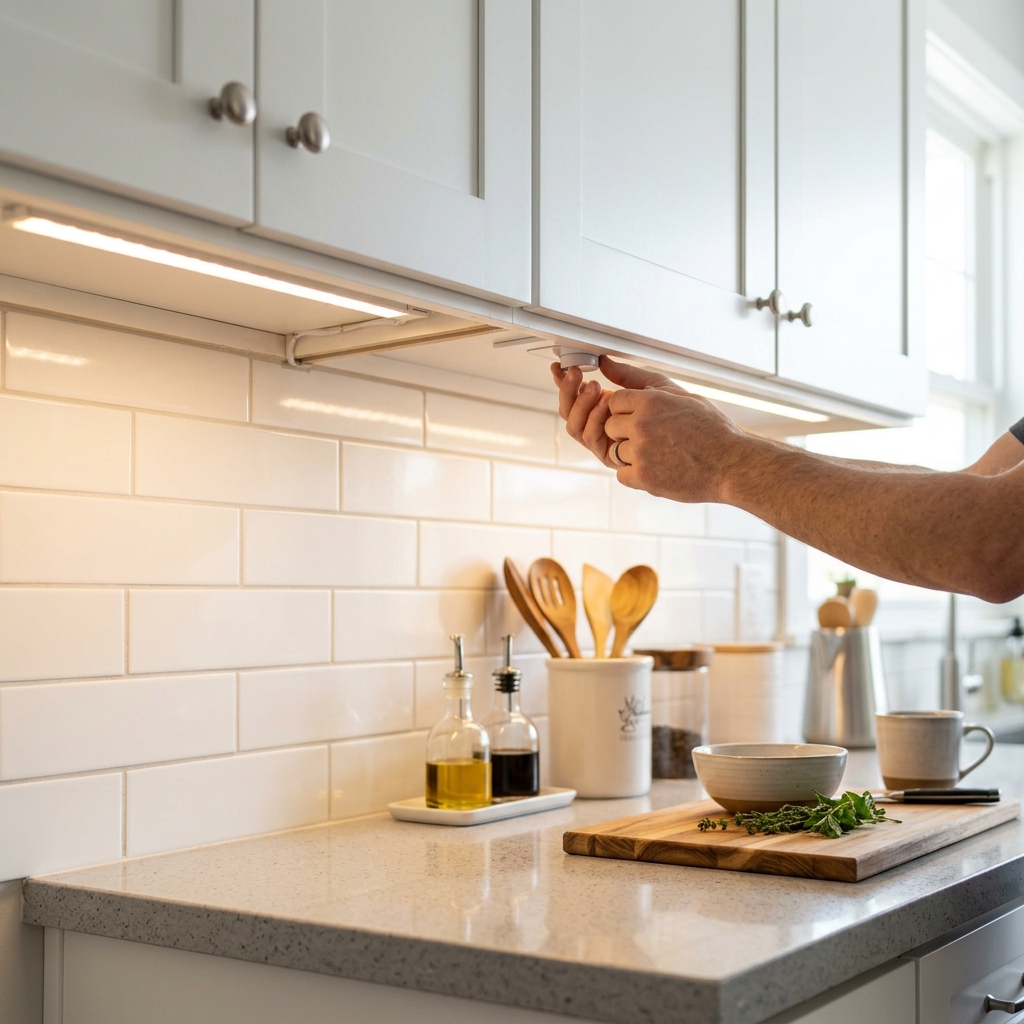
Successfully installing under-cabinet LED lighting with dimmer controls transforms both the functionality and atmosphere of your kitchen workspace. By following the expert guidance from our curated sources, you'll achieve professional-quality results while avoiding common pitfalls that can lead to flickering lights, compatibility issues, or safety concerns.
The recommended guides below represent the most trusted and comprehensive resources available, each offering unique strengths whether you prefer detailed DIY instructions, professional techniques, or product-specific expertise. These carefully selected sources will guide you through every decision point and technical detail needed for a successful installation.
With proper planning, quality components, and the right guidance, you'll create a lighting system that enhances your daily cooking experience while adding lasting value to your home. Take confidence in these proven resources and enjoy the satisfaction of completing a project that delivers both immediate functionality and long-term enjoyment.
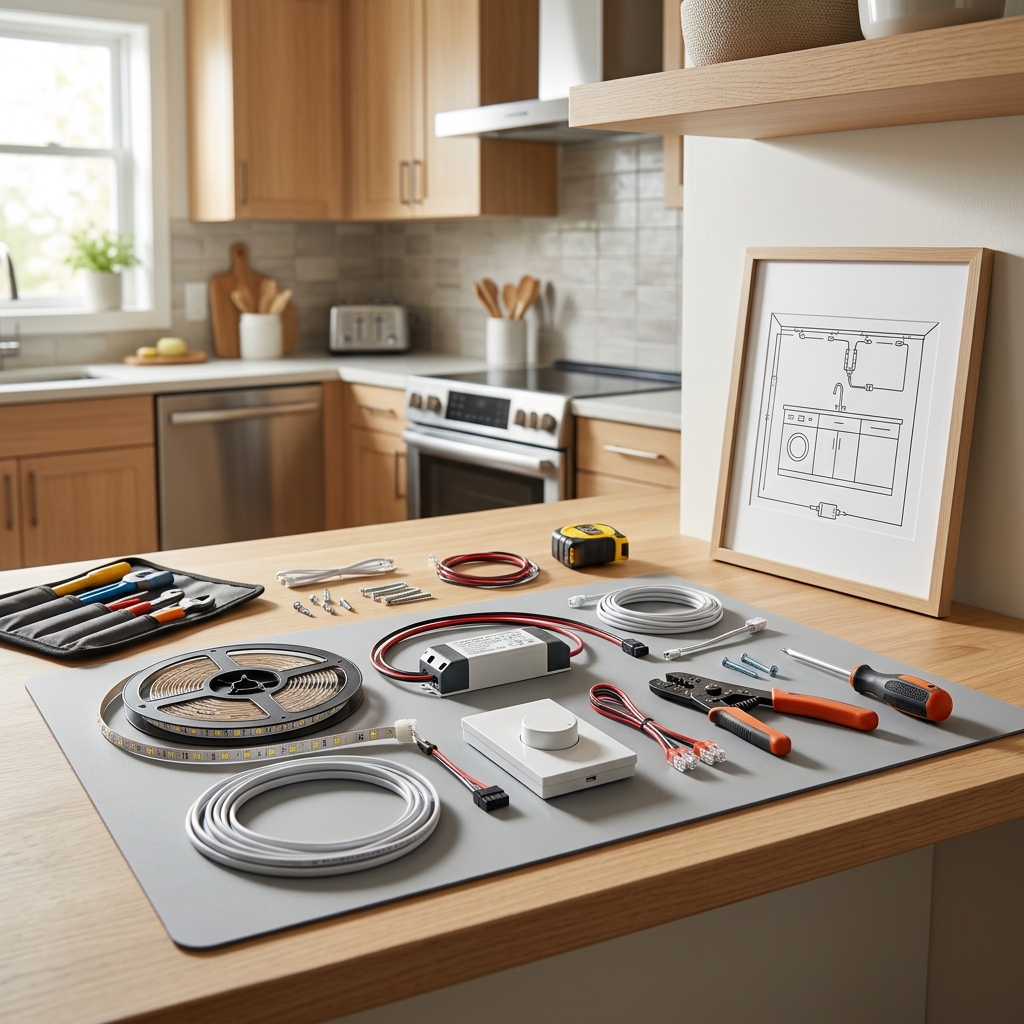
Apparatus & Materials
| Item | Cost | |
|---|---|---|
| ◆ Drill with Paddle Bits Power drill with 1/2-inch and 1-1/8 inch spade bits for drilling holes through cabinet sides to run wiring between sections. | $40–$120 | Buy now |
| ◆ Electrical Wire/Cable Romex or similar plastic-sheathed cable for running power from switch to transformer and between cabinet sections safely. | $15–$40 | Buy now |
| ◆ LED Light Strips 12V or 24V LED strips with at least 200 lumens per foot to provide adequate under-cabinet illumination. These are the main lighting components that mount under cabinets. | $25–$80 | Buy now |
| ◆ LED-Compatible Dimmer Switch Specialized dimmer designed for LED fixtures to prevent flickering or buzzing. Must be compatible with low-voltage LED systems. | $30–$70 | Buy now |
| ◆ Power Supply/Transformer Converts standard 120V household current to 12V or 24V required by LED strips. Must match the voltage and wattage requirements of your LED strips. | $20–$60 | Buy now |
| ◆ Solderless Connectors C1 connectors or similar grip connectors to join LED strips to power supply and create connections between light sections without soldering. | $10–$30 | Buy now |
| ◆ Voltage Tester Safety tool to verify power is off before working on electrical connections and to test proper wiring after installation. | $12–$35 | Buy now |
| ◆ Wire Strippers Tool for removing insulation from electrical wires to make proper connections between dimmer, power supply, and LED strips. | $8–$25 | Buy now |
Notes on the sources
The ranking at right reflects our editorial judgment after reading each source in full. For a summary of this entry in brief, see the source ranked first. For the chemistry and underlying principles, see the last.