Elevate your culinary workspace with professional-grade under-cabinet lighting. This curated guide features top resources from industry leaders to help you achieve a high-end, polished look.
Introduction
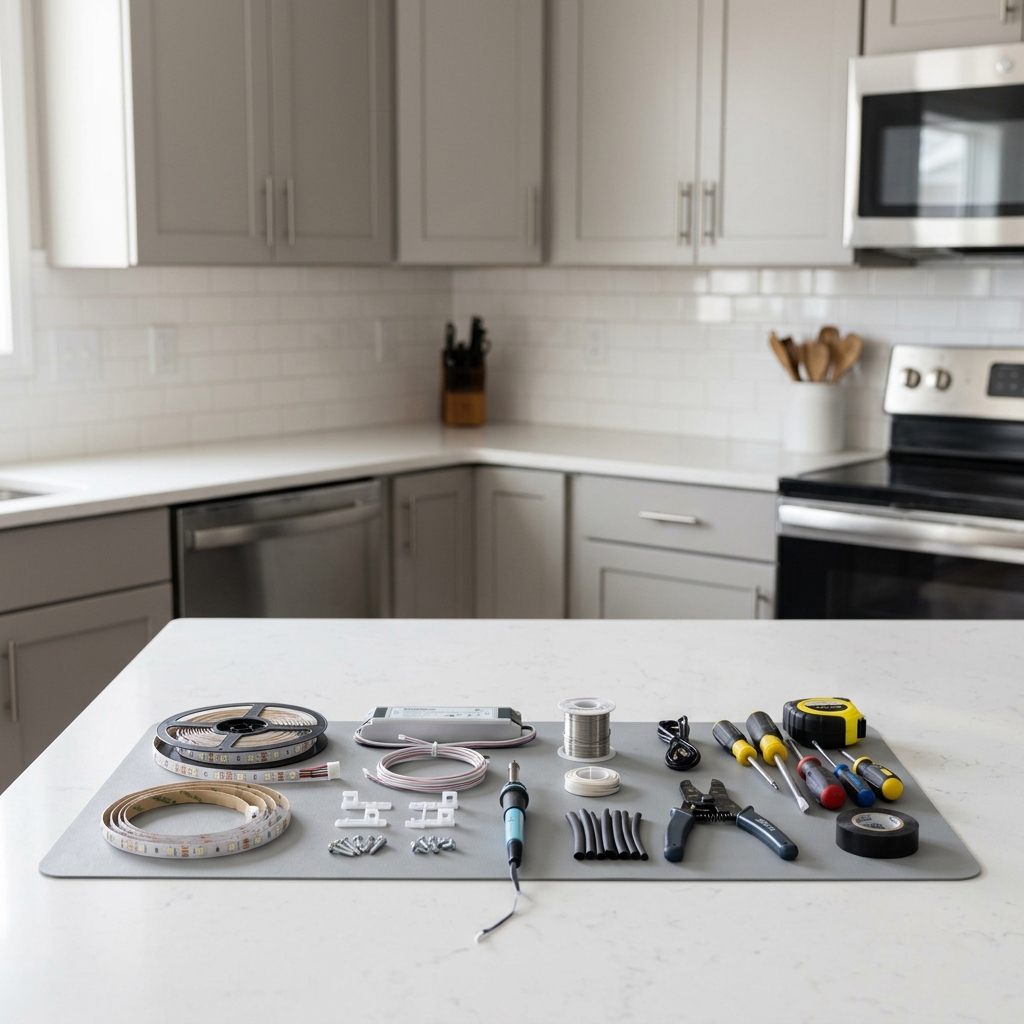
Under-cabinet LED lighting is the secret ingredient that transforms ordinary kitchens into sophisticated, hotel-style culinary spaces. This professional-grade upgrade eliminates shadows on countertops, enhances food preparation visibility, and creates the polished aesthetic that defines luxury hospitality kitchens.
Rather than sorting through countless DIY tutorials and conflicting advice, we've curated the most authoritative resources from trusted home improvement experts. Our carefully selected guides combine professional electrical knowledge with practical DIY accessibility, ensuring you achieve restaurant-quality results while avoiding common installation pitfalls.
You'll gain access to proven techniques from industry leaders like This Old House and Family Handyman, plus insider tips that separate amateur installations from professional-grade results that rival high-end hotel kitchens.
Overview
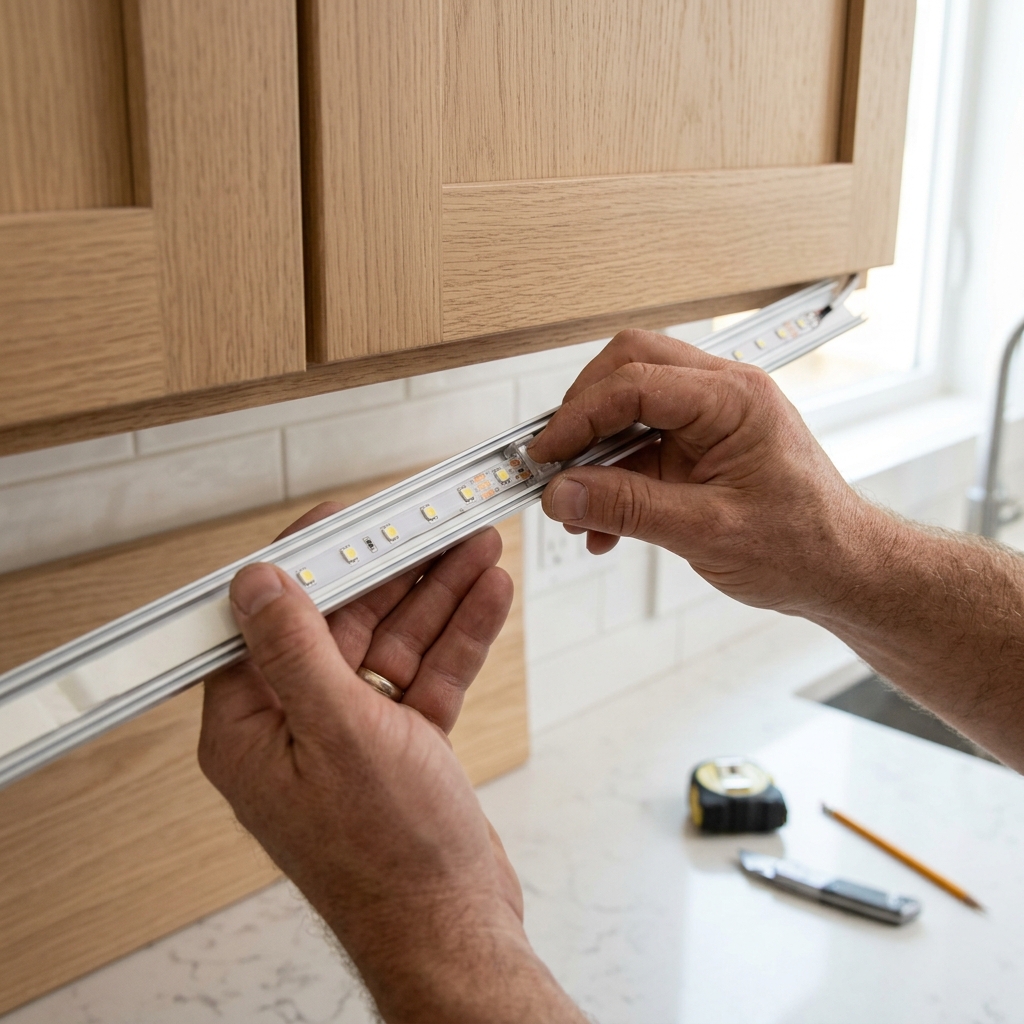
Under-cabinet LED lighting installation follows a systematic approach that begins with strategic planning and measurement, followed by component selection and electrical preparation. The process typically involves mounting aluminum channels or LED strips beneath upper cabinets, routing low-voltage wiring through cabinet structures, and connecting everything to a properly sized power supply.
Most installations use either 12V or 24V LED strip systems that provide even light distribution across countertops while maintaining the clean, seamless appearance characteristic of hotel kitchens. The key to professional results lies in proper cable management, selecting appropriate color temperatures, and using quality mounting hardware that ensures long-term reliability.
The installation process generally progresses from electrical planning and power source identification to physical mounting and system testing. Professional-grade results require attention to details like aluminum channels for heat dissipation, proper wire routing for clean aesthetics, and selecting LED strips with sufficient brightness (minimum 200 lumens per foot) for effective task lighting.
Tips & Considerations
- Safety First: Always turn off power at the circuit breaker and use a voltage tester to confirm electrical safety before beginning any electrical work
- Plan Your Layout: Measure cabinet spaces carefully and create a lighting plan before purchasing materials to avoid gaps or overlapping light zones
- Choose Quality Components: Invest in aluminum channels and diffusers rather than bare LED strips for professional appearance and better heat management
- Color Temperature Matters: Select warm white (2700K-3000K) for cozy residential feel or cool white (4000K) for crisp, commercial kitchen aesthetics
- Wire Management: Route cables through cabinet interiors rather than along visible surfaces to maintain the clean hotel-style appearance
- Avoid Common Mistakes: Don't skimp on proper power supplies, always clean mounting surfaces with denatured alcohol, and test connections before final installation
- Consider Dimming: Install compatible dimmer switches to create ambient lighting options that enhance the luxury hotel atmosphere
- Local Codes: Check electrical codes in your area regarding junction boxes, permits, and low-voltage installations
- Heat Dissipation: Ensure adequate ventilation around power supplies and use aluminum channels to prevent LED overheating
- Future Maintenance: Plan accessible connection points and removable components for easy bulb replacement and cleaning
Conclusion
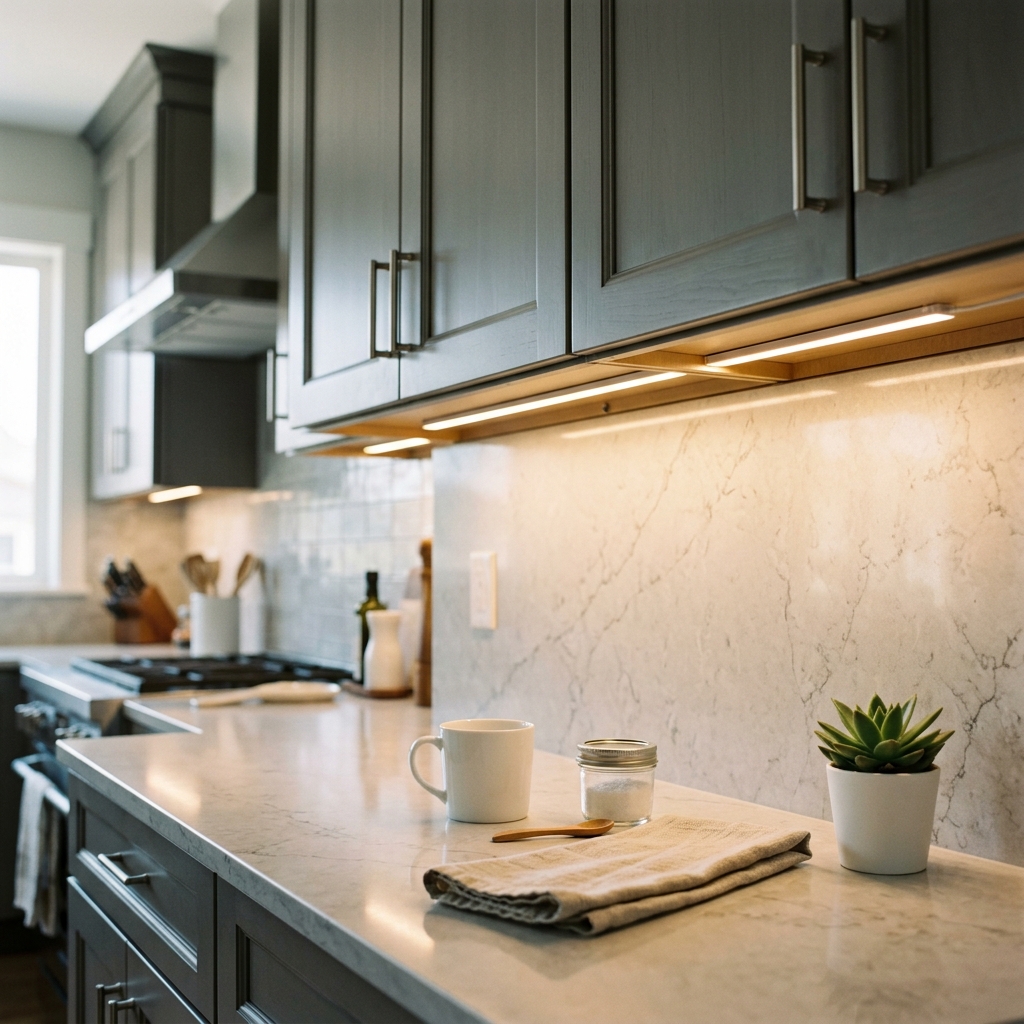
Installing under-cabinet LED lighting is one of the most impactful kitchen upgrades you can make, instantly elevating your space to hotel-quality standards. By following our curated expert resources, you'll avoid the trial-and-error approach that often leads to disappointing results and wasted materials.
The guides we've selected represent the gold standard in home improvement instruction, combining professional-grade techniques with practical DIY accessibility. These trusted sources will walk you through every detail, from initial planning to final testing, ensuring your installation meets the exacting standards of luxury hospitality design.
HowTo.Monster has done the research legwork for you, filtering through countless tutorials to bring you only the most authoritative and comprehensive resources. With the right guidance and quality materials, you'll create a stunning kitchen transformation that delivers both exceptional functionality and the sophisticated ambiance that defines world-class hotel kitchens.
Apparatus & Materials
| Item | Cost | |
|---|---|---|
| ◆ Drill with Paddle Bits Electric drill with various bits including 1/2-inch paddle bit for routing wires through cabinets and mounting hardware. | $40–$120 | Buy now |
| ◆ KLUS Aluminum Channels (Cabi12) Professional aluminum channels specifically designed for under-cabinet lighting to protect strips and create a durable, clean appearance. | $15–$35 | Buy now |
| ◆ LED Strip Lights High-quality LED strips with at least 200 lumens per foot for adequate kitchen lighting. Choose warm white (2700K-3000K) or cool white based on preference. | $25–$80 | Buy now |
| ◆ Power Supply/Driver 12V or 24V LED driver with proper ventilation requirements and NSF/UL certification for commercial applications. | $30–$75 | Buy now |
| ◆ Solderless Connectors Grip-style connectors that attach directly to LED strips without requiring soldering or power tools for easy installation. | $8–$20 | Buy now |
| ◆ Voltage Tester Safety device to confirm electrical power is off before working on outlets and electrical connections. | $12–$35 | Buy now |
| ◆ Wire Strippers and Electrical Pliers Professional electrical tools for safely stripping wires and making secure connections between LED strips and power supply. | $15–$40 | Buy now |
| Denatured Alcohol Cleaning agent for proper surface preparation before mounting LED channels to ensure strong adhesion. | $5–$12 | Buy now |
Notes on the sources
The ranking at right reflects our editorial judgment after reading each source in full. For a summary of this entry in brief, see the source ranked first. For the chemistry and underlying principles, see the last.