
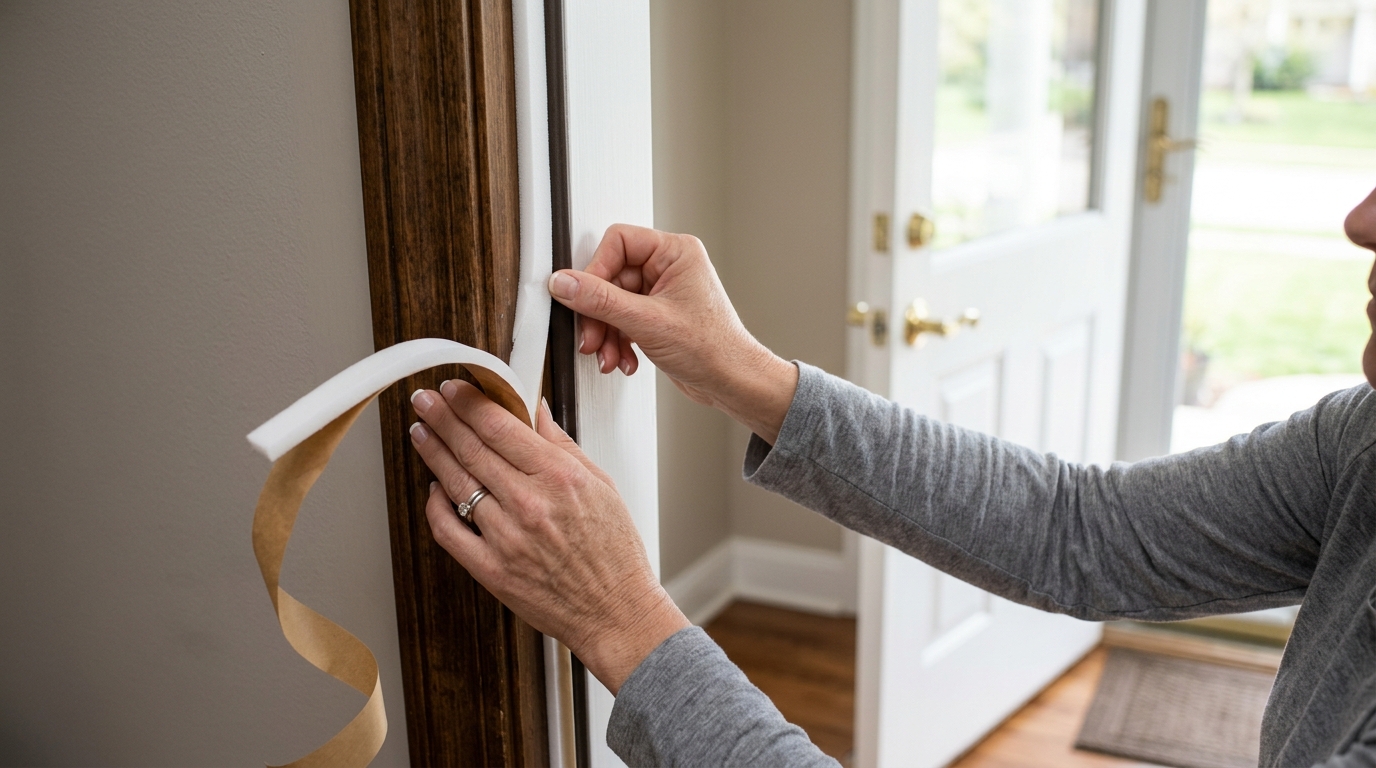
Seal a drafty exterior door with peel-and-stick weatherstripping, a careful fit check, and a fast close-test that tells you whether the gaps are gone.
Stop the Draft Without Replacing the Door
A drafty exterior door usually means the seal is tired, dirty, or never fit quite right. Peel-and-stick weatherstripping is the simplest fix for many homeowners because it closes the small gaps around the jamb without special tools or a full door replacement.
This guide focuses on the practical version of the job: clean surfaces, the right compression, and a careful test close. If the door still binds, the problem may be hinge wear, a warped slab, or a damaged threshold rather than just missing weatherstripping.
Step 1: Find the gaps before you buy anything
Close the door and look for light around the top and latch side. A thin slip of paper can help you feel where the seal is loose, and the bottom edge should be checked separately because a jamb seal alone will not fix a worn threshold or door sweep.
This first pass matters because weatherstripping only works when the material meets the door at the right pressure. Too thin and it leaks. Too thick and the door becomes hard to latch, which usually means you need a different profile or a hinge adjustment instead of more adhesive.
Step 2: Clean the stop molding and dry it fully
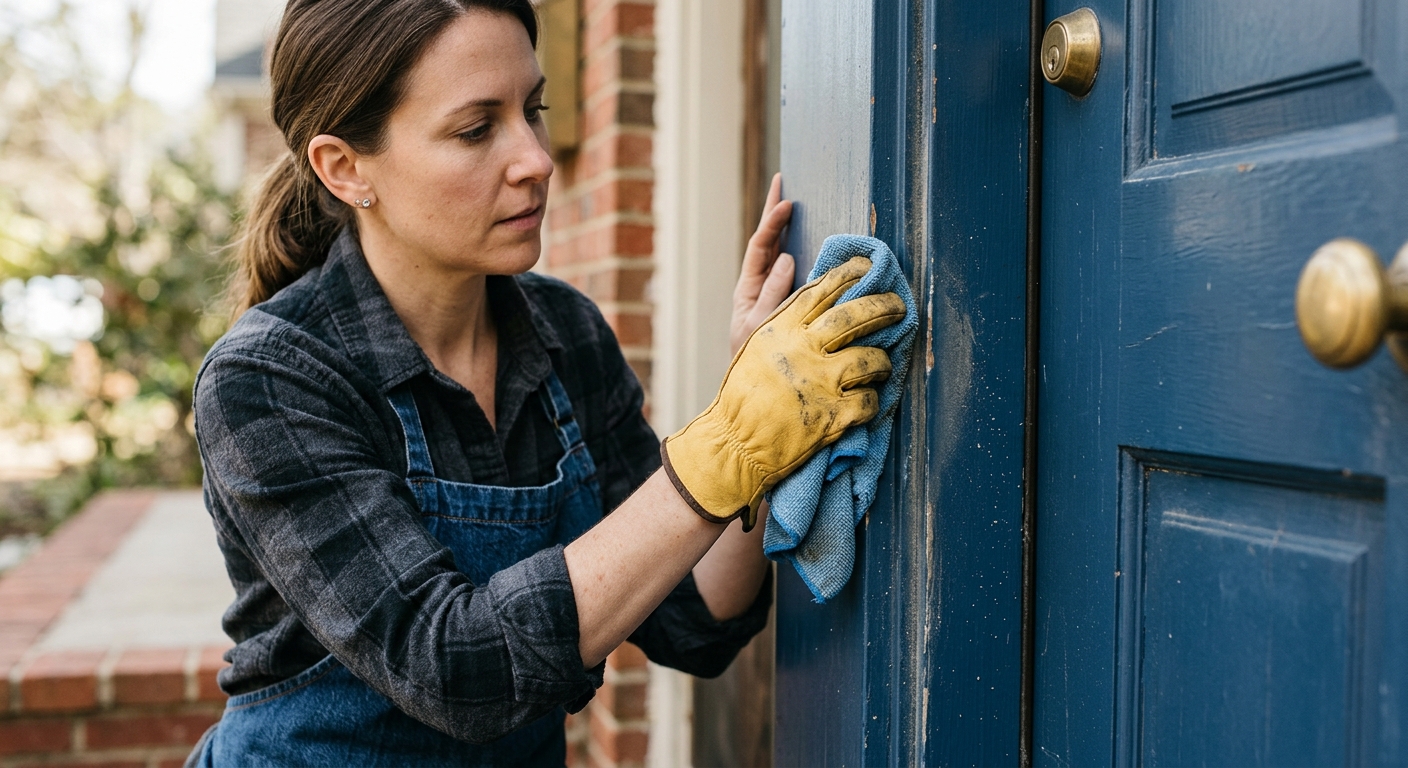
Pull off any loose old strip, sticker residue, dust, or greasy grime from the stop molding. A damp cloth and mild cleaner are usually enough, but let the surface dry completely before the adhesive backing comes off.
Adhesive-backed weatherstripping depends on contact, not force. If you install it on a damp or dirty surface, it may look fine at first and then peel away after a few hot-cold cycles. That is why cleanup is not a throwaway step here; it is part of the seal.
Step 3: Measure, cut, and dry-fit the strip
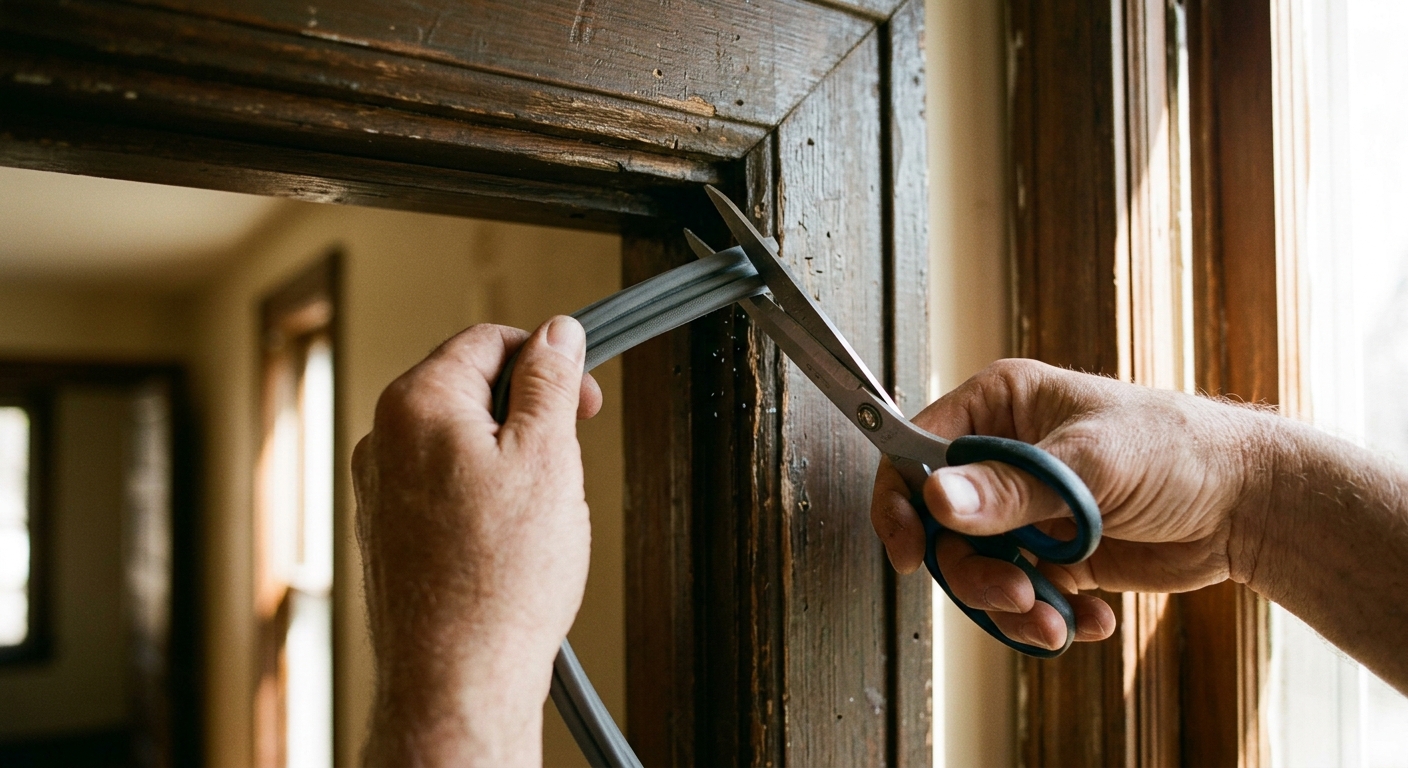
Measure each side of the door opening separately rather than assuming the frame is perfectly square. Cut the strips a touch long if needed, then test-fit them against the frame so you can see how they meet at the corners before you commit the backing.
If the strip is a foam or silicone style, the goal is gentle compression, not crushing. You want the door to close with a firm, even resistance. If one section is much thicker than the rest, trim or reposition it before pressing the adhesive down permanently.
Step 4: Apply the weatherstripping from top to bottom
Start at the top jamb and work down the sides so the corners land cleanly. Peel the backing gradually, press the strip into place, and keep your hand moving along the length so the adhesive bonds evenly instead of sticking in a wavy line.
Use the manufacturer’s own compression cue as your guide. The seal should touch the door all the way along the stop molding, but it should not force the door shut. If the door becomes stiff, stop and adjust now; forcing the latch can wear the hinges and make the draft worse over time.
Step 5: Close-test the door and fine-tune the fit
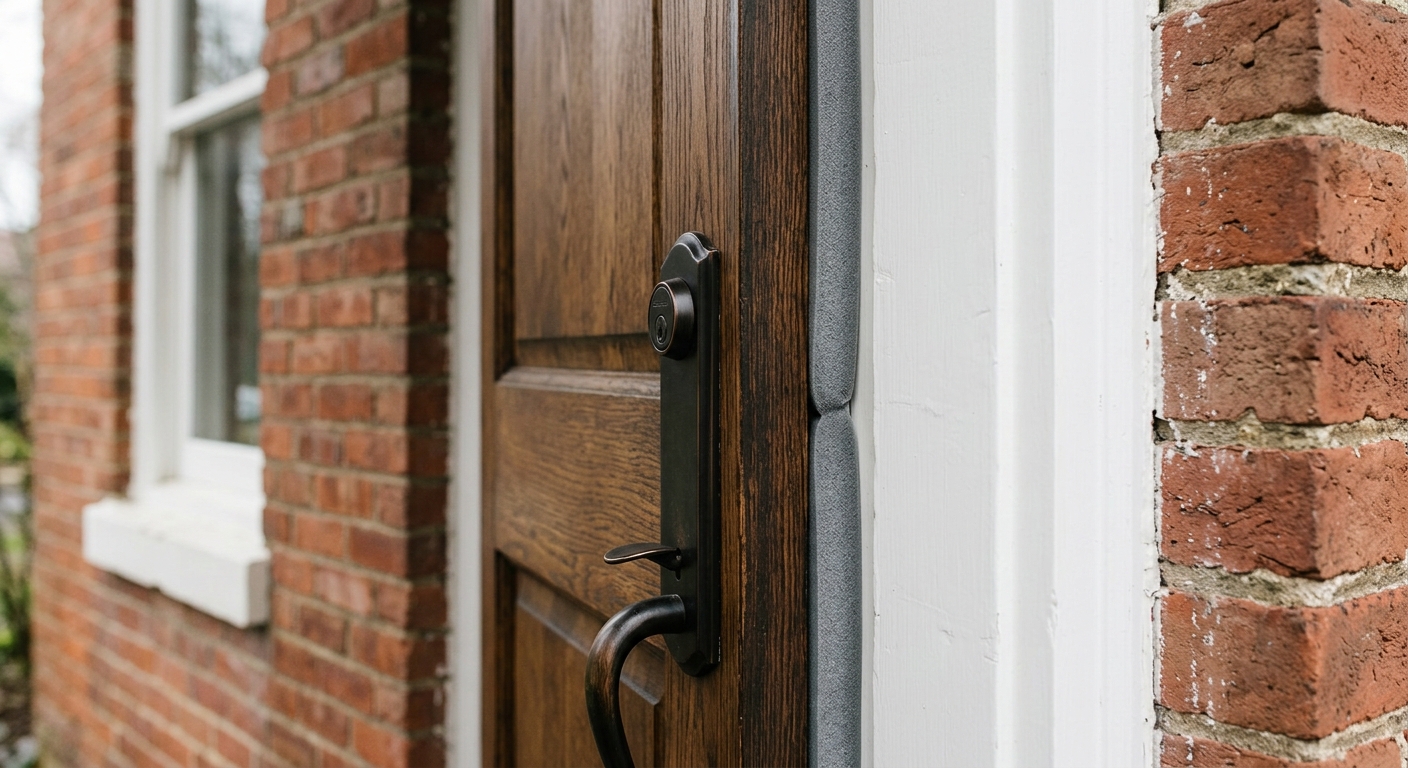
Close the door slowly and listen for scraping, sticking, or a sharp latch snap. Then check the perimeter again for daylight or air movement. If you still feel a draft in one spot, that usually means the strip is too thin there or the door needs a small adjustment at the hinges.
A good install feels almost invisible: the door closes normally, the draft is reduced, and the seal looks continuous at the corners. If the bottom still leaks, add or replace a door sweep or threshold seal rather than trying to make the jamb strip do everything.
Step 6: Recheck after a day of normal use
Adhesives settle best after the door has been opened and closed a few times. Recheck the strip after a day, especially on the latch side and top corners where people tend to tug or bump the material.
If the strip starts to lift, the surface may still have residue, or the room may have been too cold during installation. In that case, remove the loose section, clean again, and reinstall instead of trying to patch over a weak bond.
Apparatus & Materials
| Item | Cost | |
|---|---|---|
| ◆ Microfiber cloth Wipes the frame clean and helps dry the surface before installation. | $6–$12 | Buy now |
| ◆ Mild cleaner Removes dust and residue so the adhesive can bond to the stop molding. | $4–$10 | Buy now |
| ◆ Peel-and-stick door weatherstripping Creates the compressible seal around the door jamb that blocks drafts. | $8–$18 | Buy now |
| ◆ Scissors Cuts the weatherstripping to length and trims the corners for a neat fit. | $6–$15 | Buy now |
Notes on the sources
The ranking at right reflects our editorial judgment after reading each source in full. For a summary of this entry in brief, see the source ranked first. For the chemistry and underlying principles, see the last.


