
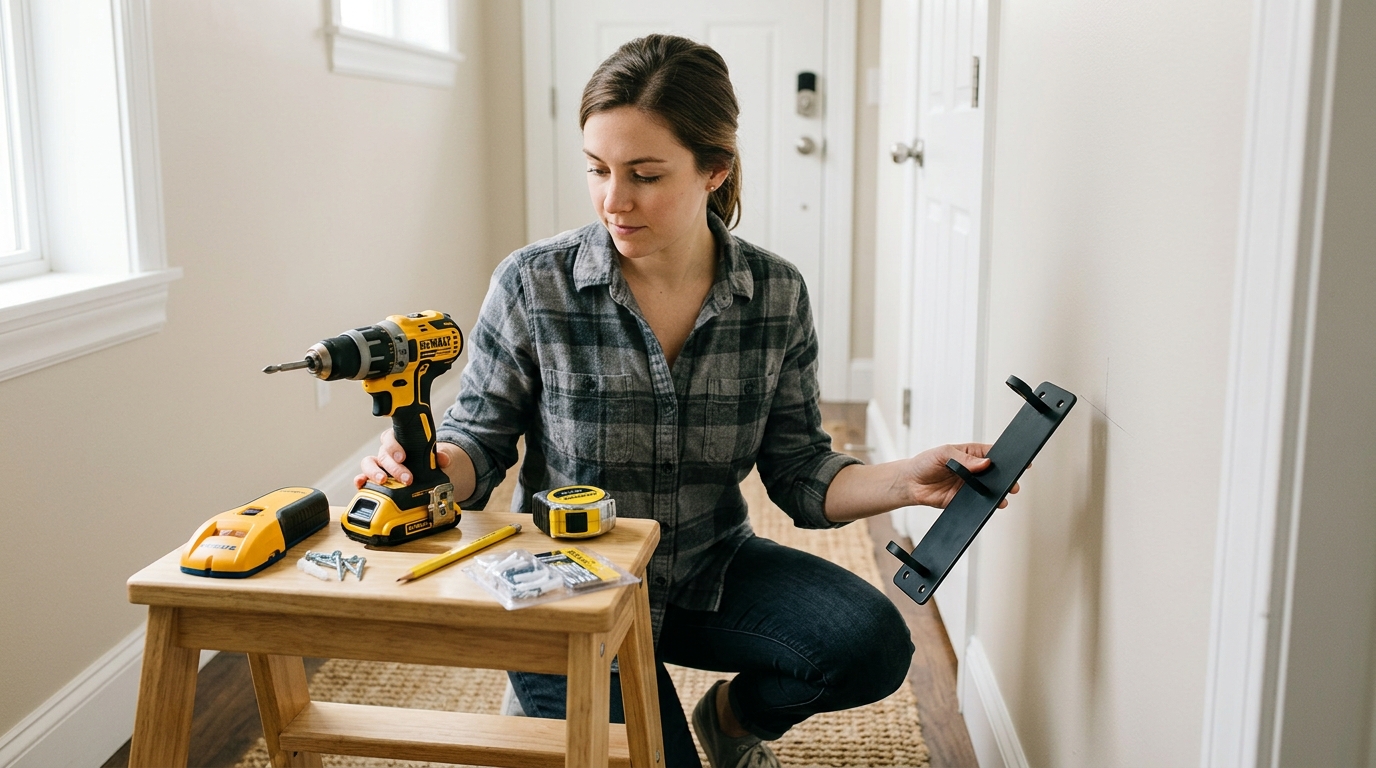
Choose the right anchor, drill the right hole, and mount a wall hook that stays put instead of ripping out when you hang coats, bags, or frames.
A wall hook should feel solid, not hopeful
A loose hook is worse than no hook: it leaves a bigger hole, a weaker wall, and a second trip to the hardware store. The good news is that a reliable install in drywall is mostly about matching the fastener to the load and the wall condition.
If you can hit a stud, do it. If you can't, choose an anchor sized for the actual weight, drill the correct hole, and stop before you crush the paper face of the drywall. The goal here is a clean beginner install that holds coats, bags, or a picture frame without wobble.
Step 1: Pick the exact spot and check for a stud
Start by deciding what the hook needs to carry. A single coat hook for a jacket or tote bag is different from a row of hooks for backpacks or a heavy mirror hanger. The load determines whether you can use a simple anchor or should aim for a stud.
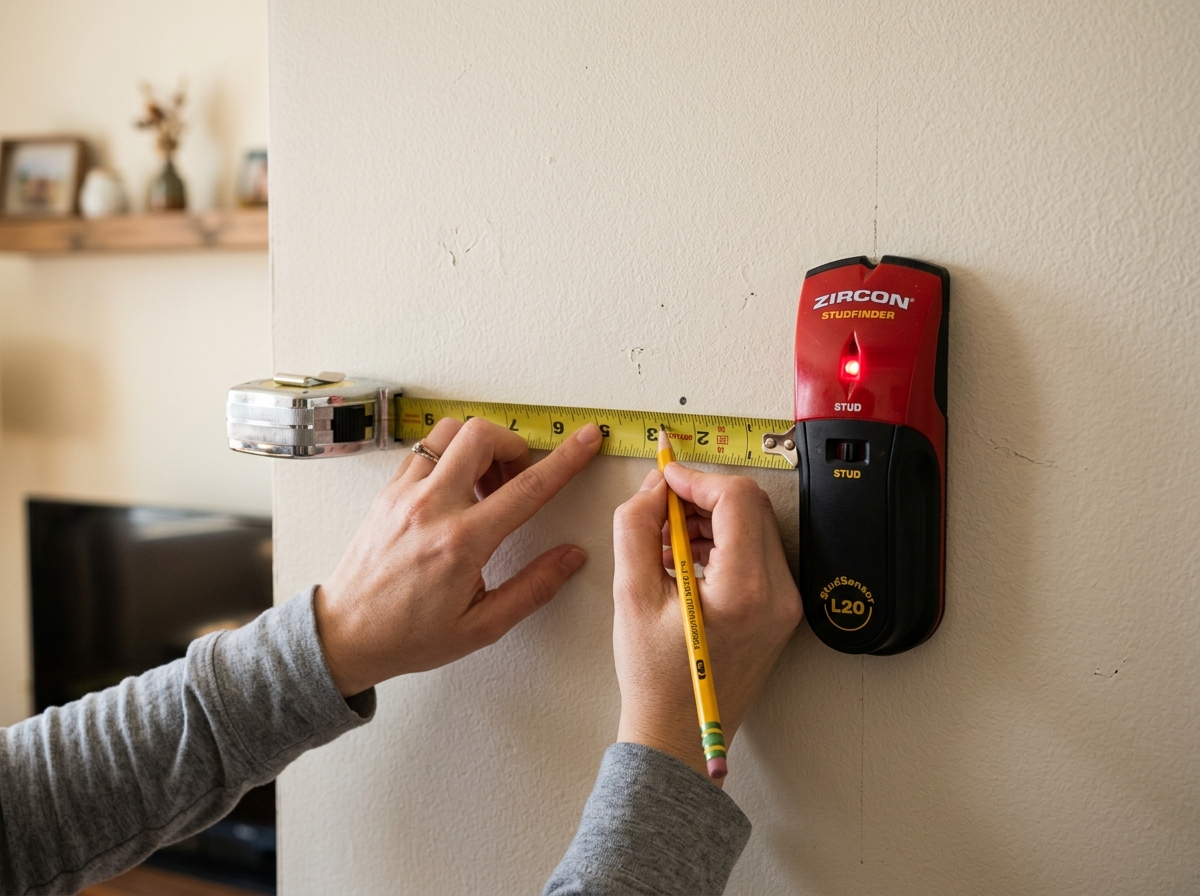
Use a stud finder, then confirm with a small test nail or brad if needed. If you find a stud near the ideal spot, mount into the stud and skip the hollow-wall anchor entirely. That is the strongest, simplest option and the one least likely to loosen over time.
If there is no stud where you need one, don't improvise with a random screw. Measure the hook plate, mark the mounting holes with a pencil, and keep the marks level before drilling. Crooked marks turn into crooked hardware, and once a hole is drilled you cannot un-drill it.
Step 2: Choose the anchor based on the load
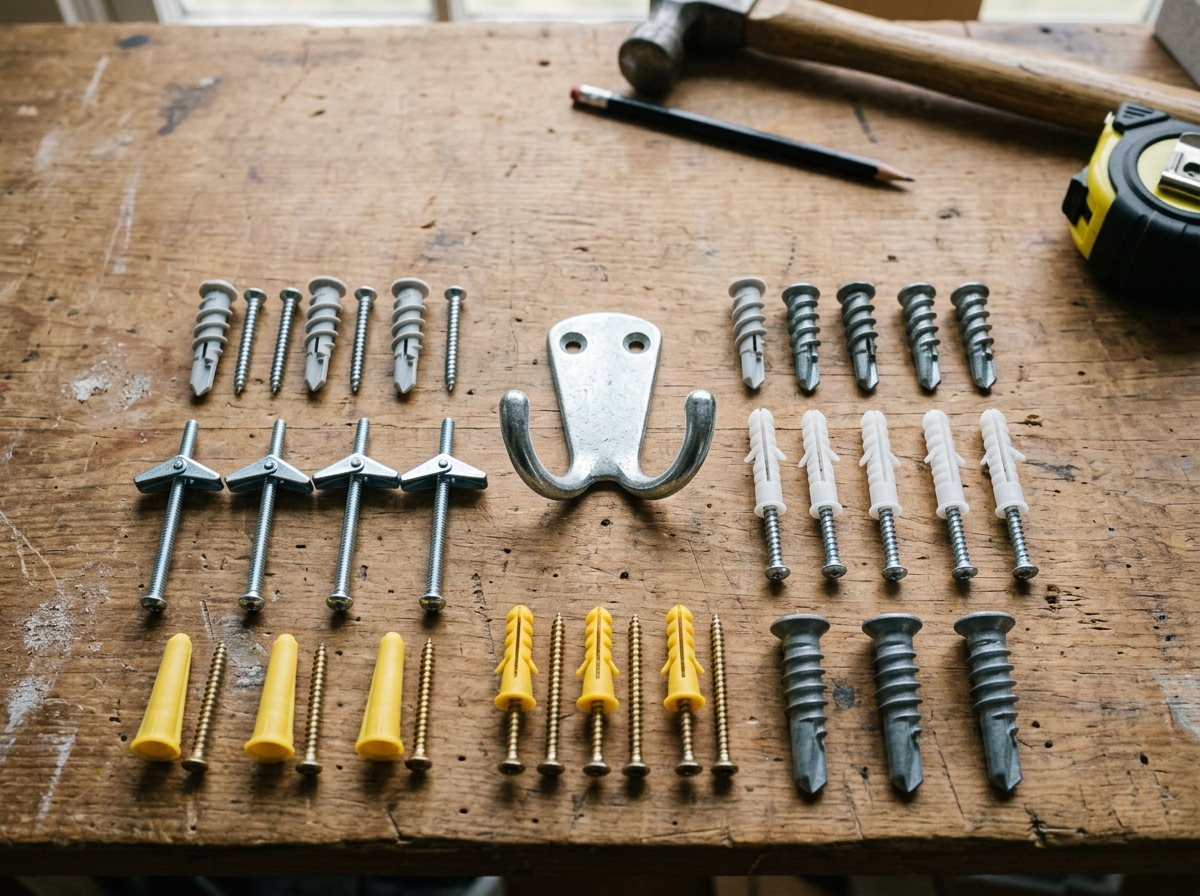
For very light hooks or decorative pieces, a small self-drilling drywall anchor may be enough. For medium loads, a metal molly or similar hollow-wall anchor is usually a better choice because it grips the back of the drywall more securely. For heavier loads, use a toggle-style anchor so the load spreads over a larger area behind the wall.
Read the package rating, but treat it as an upper limit rather than a promise. Real-world holding power depends on drywall thickness, wall damage, screw length, and whether the pull is straight out or hanging downward. Anything that will get tugged often — like a coat hook in a hallway — deserves a little extra margin.
A useful rule: if the item is important enough that a fail would be annoying or expensive, step up one anchor type. A coat hook is cheap to replace; a crushed patch of drywall is not.
Step 3: Drill the hole cleanly and only as large as needed
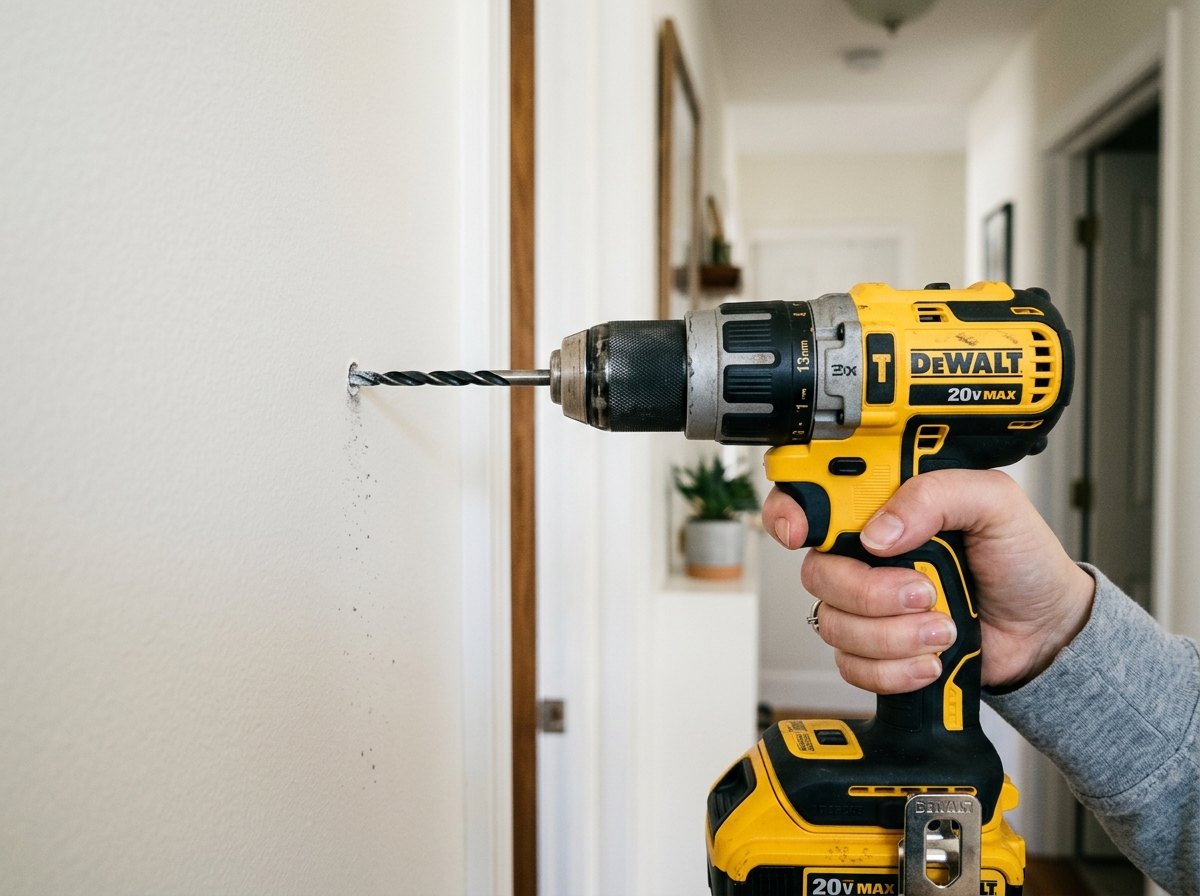
Once the hole location is set, use the drill bit size specified on the anchor package. A hole that is too small can split the drywall or deform the anchor; a hole that is too large lets the anchor spin or fall through.
Hold the drill square to the wall and start slowly so the bit doesn't skate across the painted surface. If the wall is freshly painted or has a thick skim coat, score the spot with the drill tip or a utility knife first so the face paper doesn't tear.
For toggle bolts, remember the hole size is often much larger than the bolt itself because the folded toggle wings need to pass through the wall. That feels wrong the first time you do it, but it is normal. Use the package spec, not a guess.
Step 4: Set the anchor and mount the hook without over-tightening
Insert the anchor fully, then drive the screw until the anchor is snug and the hook plate sits flat. If it is a toggle or molly anchor, tighten until the anchor expands and grips, but stop before the wall starts to compress inward or the screw begins to spin loosely.
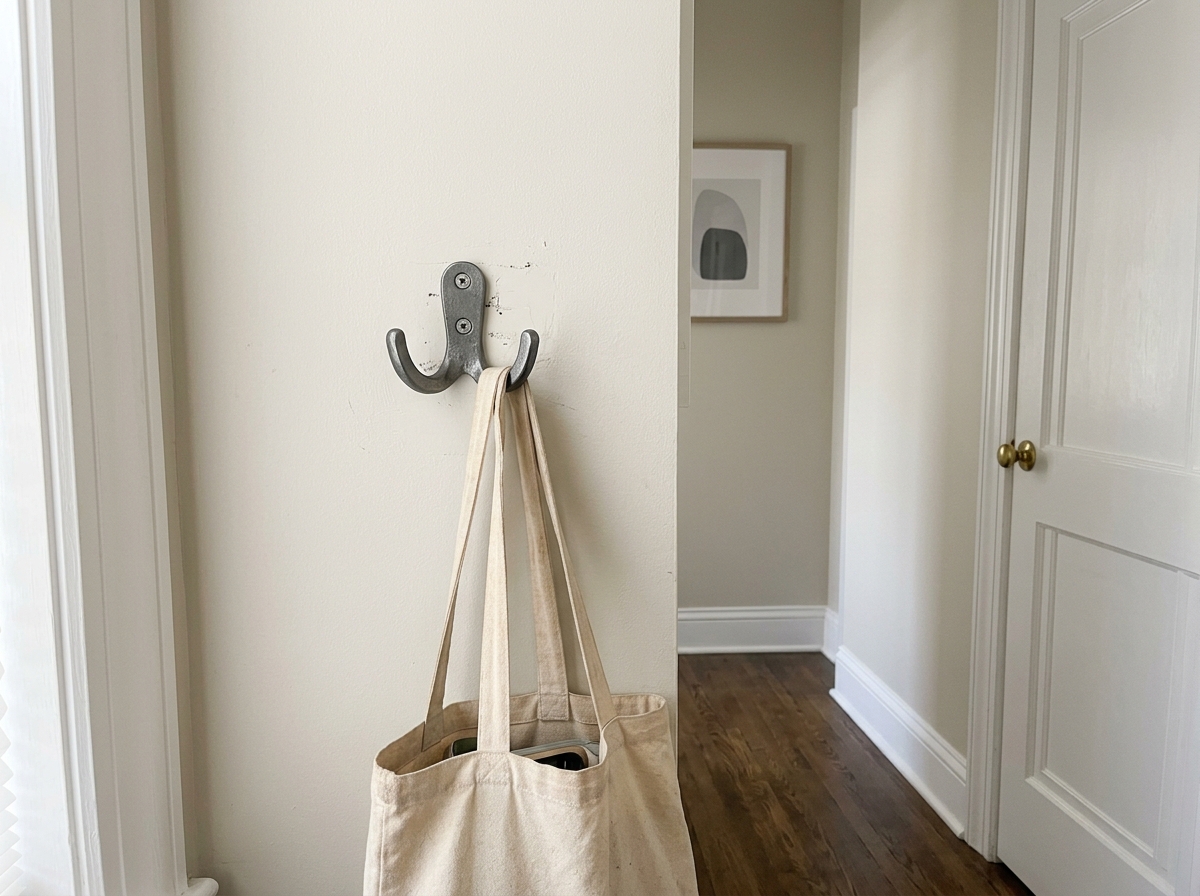
The safest test is a gentle downward pull and a short wait, not a full load test. If the hook flexes, creaks, or shifts, back it out and upgrade the anchor or move to a stud. A hook that feels firm with an empty hand should still feel firm after a jacket is hung on it.
Finish by hanging the item gradually. First test with something lighter than the final load, then move up. That catches bad installs before they become drywall repairs.
Step 5: Know when to stop and move the hardware
If the anchor spins, the hole gets ragged, or the wall paper starts to bubble, stop. A slightly different location is usually better than trying to rescue a damaged hole. Moving one inch to the side can be the difference between a clean install and a patch job.
The same goes for walls that feel soft, damp, or crumbly. In that case, no anchor type will perform as well as it should. Find a stud, repair the drywall first, or choose a different wall.
Apparatus & Materials
| Item | Cost | |
|---|---|---|
| ◆ Cordless drill Drives pilot holes and installs anchors cleanly without chewing up the drywall. | $40–$120 | Buy now |
| ◆ Drywall anchors assortment Provides self-drilling, molly, or toggle options matched to the hook's load. | $8–$20 | Buy now |
| ◆ Pencil Marks the hole locations before drilling so the hook lands where planned. | $1–$3 | Buy now |
| ◆ Safety glasses Protects your eyes while drilling into drywall and setting anchors. | $3–$10 | Buy now |
| ◆ Stud finder Locates framing so you can mount the hook into solid wood when possible. | $15–$40 | Buy now |
| ◆ Tape measure Helps place the hook at the right height and keep the mounting marks level. | $5–$15 | Buy now |
| ◆ Wall hook plate The hook or hanger hardware being mounted to the wall. | $5–$25 | Buy now |
Notes on the sources
The ranking at right reflects our editorial judgment after reading each source in full. For a summary of this entry in brief, see the source ranked first. For the chemistry and underlying principles, see the last.


