
Choose the right fastener for drywall, studs, or masonry, then install a wall hook that can hold weight without loosening, splitting, or tearing out.
A wall hook should fail safely, not suddenly
A hook that works for a light picture frame can fail fast under a coat bag, tool pouch, or organizer. The real trick is not the hook itself — it's matching the fastener to the wall material so the load goes into wood, masonry, or an anchor designed for drywall.
This guide keeps the process simple: identify the wall, choose the hardware, drill once, and test before you trust it with weight. That approach avoids the most common beginner mistake, which is using a generic screw-in hook in drywall and hoping friction will do the rest.
Step 1: Decide what your wall is actually made of
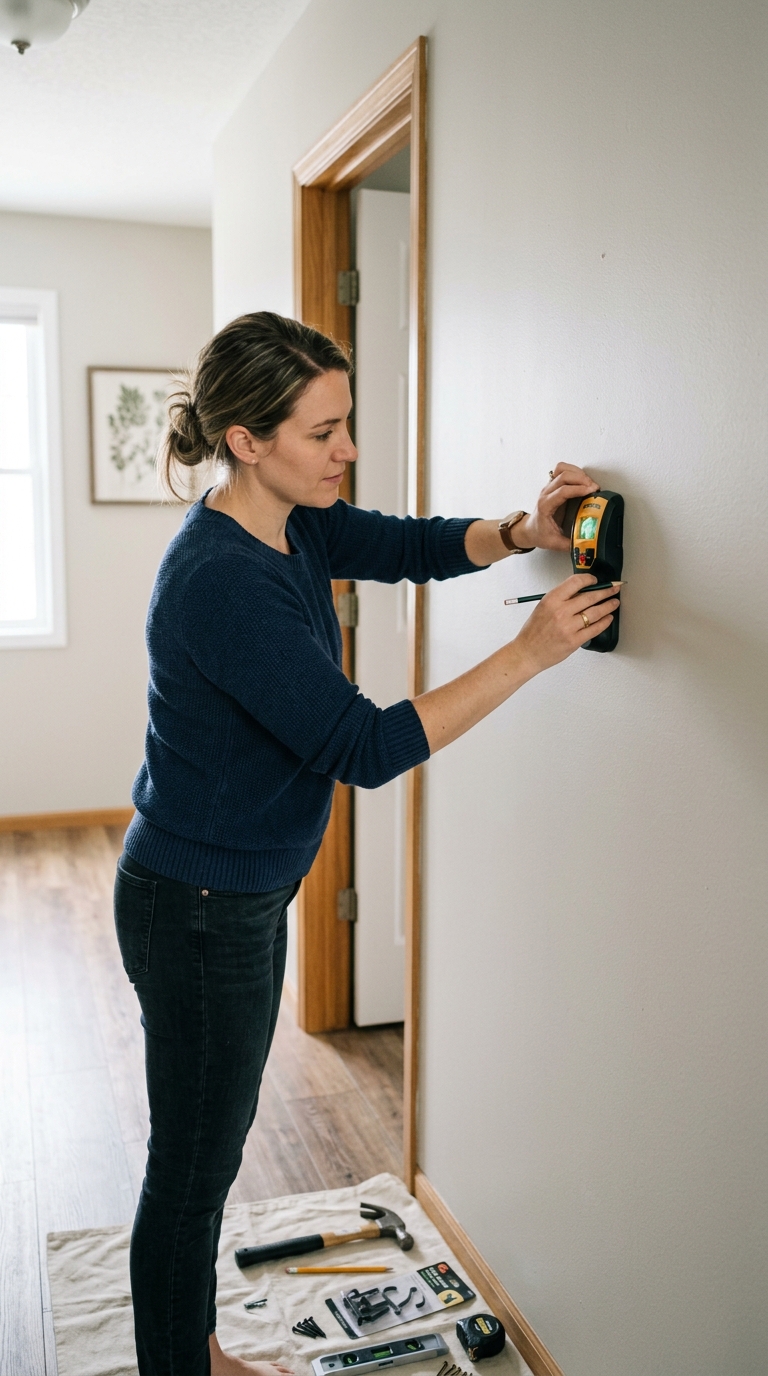
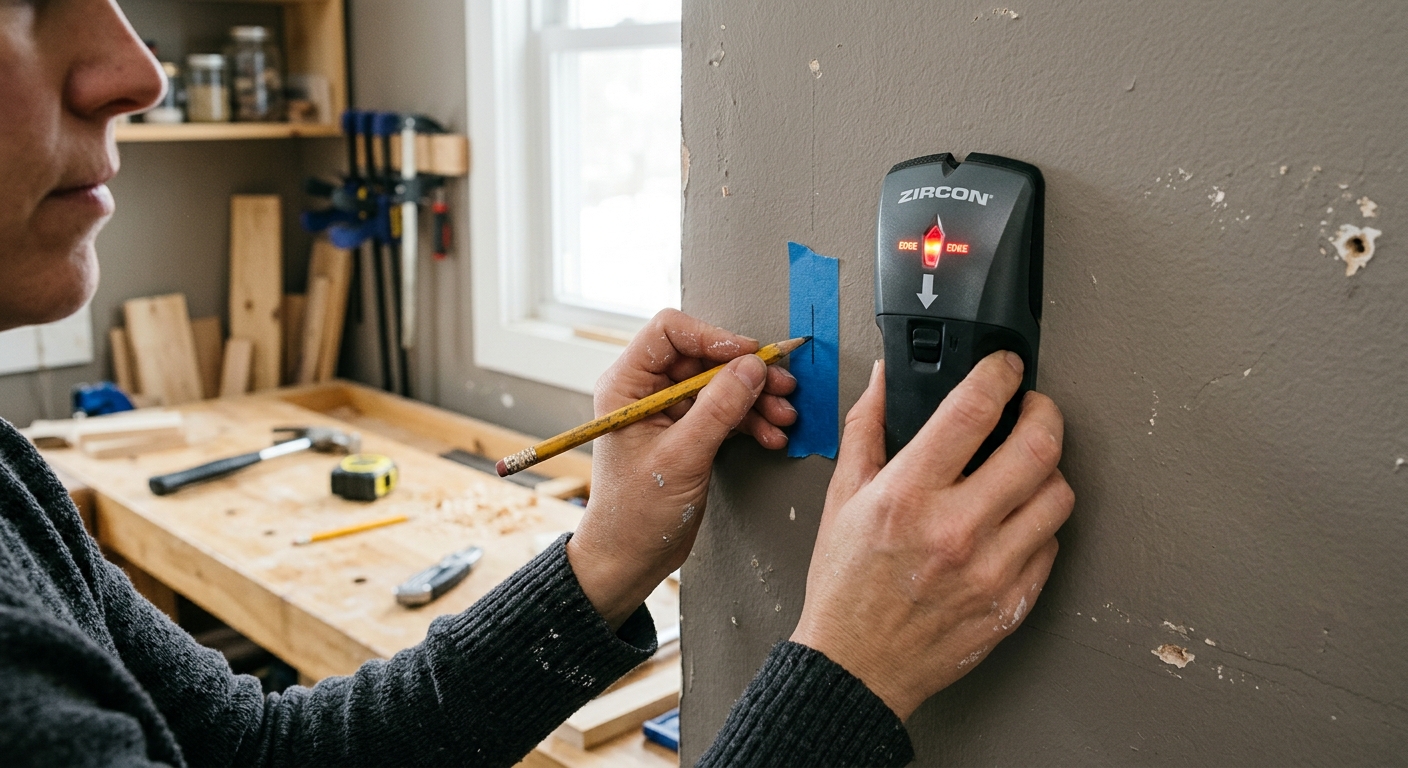
Start by checking whether you can hit a stud. A stud finder is the fastest method, but even without one you can look for clues: outlet boxes, baseboard nail pops, and the solid feel of a wood-backed area all suggest framing behind the surface. If the wall is masonry, the tap test usually sounds denser and more solid than hollow drywall.
This matters because the hook is only as strong as what it anchors into. A hook in a stud can handle a much heavier everyday load than a basic drywall plug, while masonry needs a plug or anchor made for brick, block, or concrete. Never assume the wall is hollow drywall unless you've confirmed it.
Step 2: Pick the hardware for the load
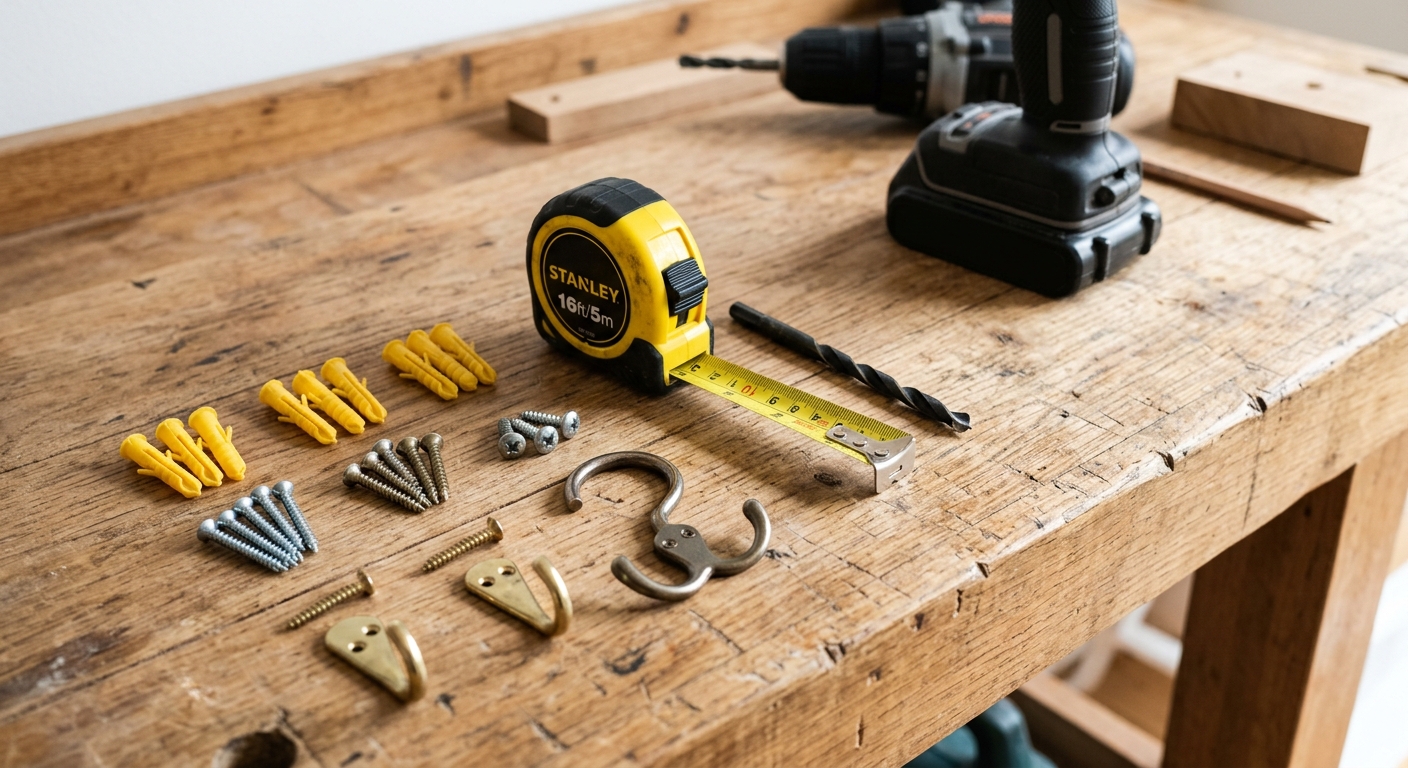
For light decor, a small drywall anchor and a screw hook can be enough. For coats, backpacks, tool bags, or a frequently used organizer, choose a metal toggle or expansion anchor if you cannot reach a stud. If you can reach a stud, a screw-in hook or a hook with a wood screw is usually the cleanest option.
The important part is not overbuying strength you don't need or underbuying what you do. Many pullouts happen because the anchor size and the load are mismatched. If the package gives a weight rating, treat that as a ceiling, not a target — real-world use is rougher than the lab test.
Step 3: Mark, drill, and avoid the oversized-hole mistake
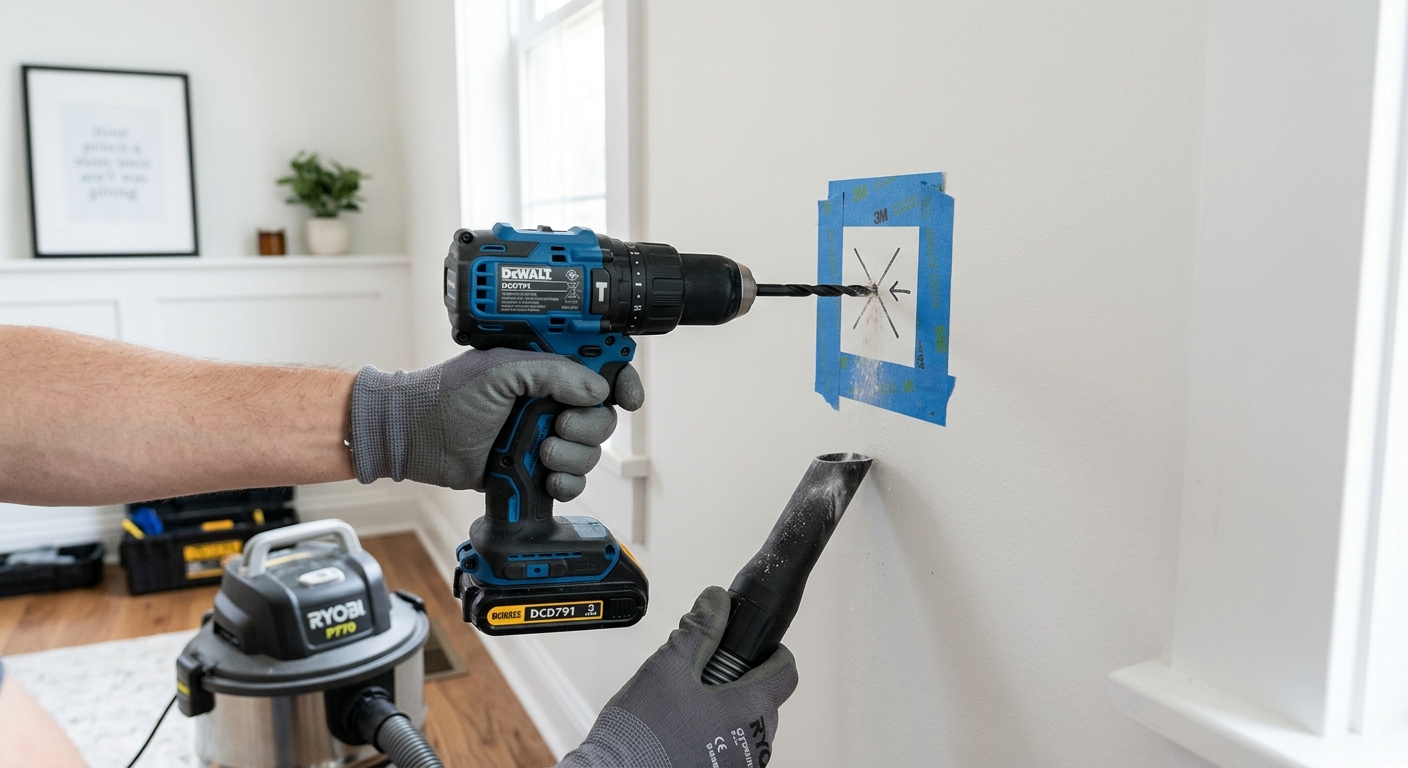
Mark the hook location with painter's tape or a pencil, then drill a pilot hole that matches the anchor body. If the hole is too small, you'll crush the anchor while forcing it in; if it's too large, the anchor can spin or pull out when loaded. Use eye protection and drill straight so the fastener seats evenly.
If you're in wood, the pilot hole should let the screw bite without splitting the fibers. If you're in drywall, insert the anchor flush with the wall face and stop the moment it seats. Do not keep turning after it bottoms out, because that is how expansion anchors strip or spin loose.
Step 4: Install the hook and test it before loading it fully
Drive the screw or hook until it sits snug, then give it a firm hand test before hanging the final object. A good install feels stable immediately — no wobble, no spinning, no crunchy drywall movement. If it shifts, back it out and fix the anchor before it gets worse.
Once it feels solid, hang something lighter than the final load first. That lets you check for creeping movement or a fastener that is working loose. For heavier items, move the weight gradually over a few minutes instead of dropping full load on it all at once.
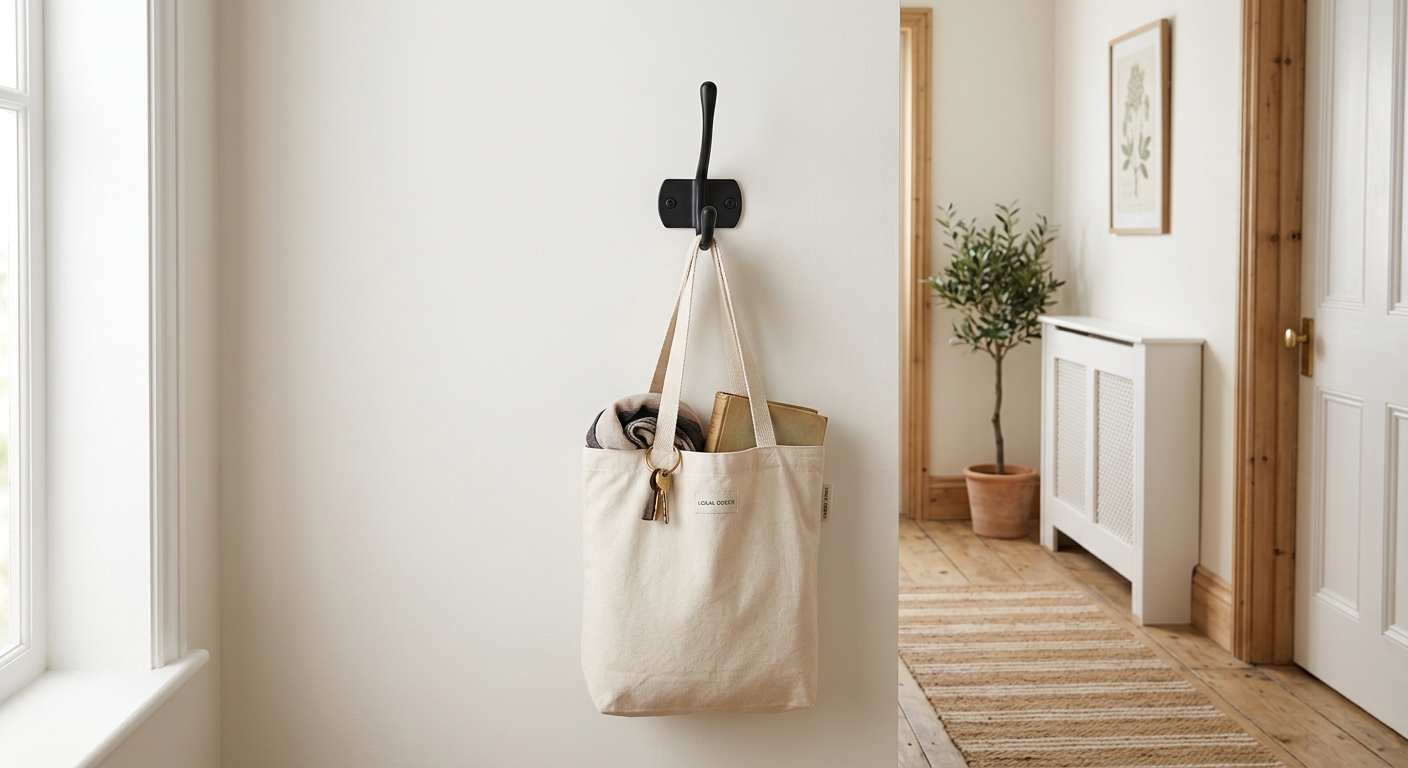
Step 5: Stop if the wall gives you warning signs
If the hole gets mushy, the anchor spins, or the screw never tightens, the wall surface is telling you the spot is wrong. Move to a stud, switch to a better-rated anchor, or choose a different location instead of trying to force the same hole to behave.
That small reset saves the wall and usually saves time. A clean second attempt with the right hardware is faster than repairing a torn-out hole later.

Apparatus & Materials
| Item | Cost | |
|---|---|---|
| ◆ Drill and bit set Creates a pilot hole sized for the chosen screw or anchor. | $25–$80 | Buy now |
| ◆ Safety glasses Protects eyes from dust and debris while drilling overhead or into masonry. | $6–$15 | Buy now |
| ◆ Stud finder Locates framing so the hook can go into solid wood when available. | $15–$35 | Buy now |
| ◆ Wall hooks The finished mounting point for coats, bags, or organizers. | $8–$20 | Buy now |
| Drywall anchors Provides holding power when the hook cannot reach a stud. | $5–$15 | Buy now |
| Painter's tape Marks the drilling spot and helps prevent bit wandering on painted walls. | $4–$8 | Buy now |
Notes on the sources
The ranking at right reflects our editorial judgment after reading each source in full. For a summary of this entry in brief, see the source ranked first. For the chemistry and underlying principles, see the last.


