
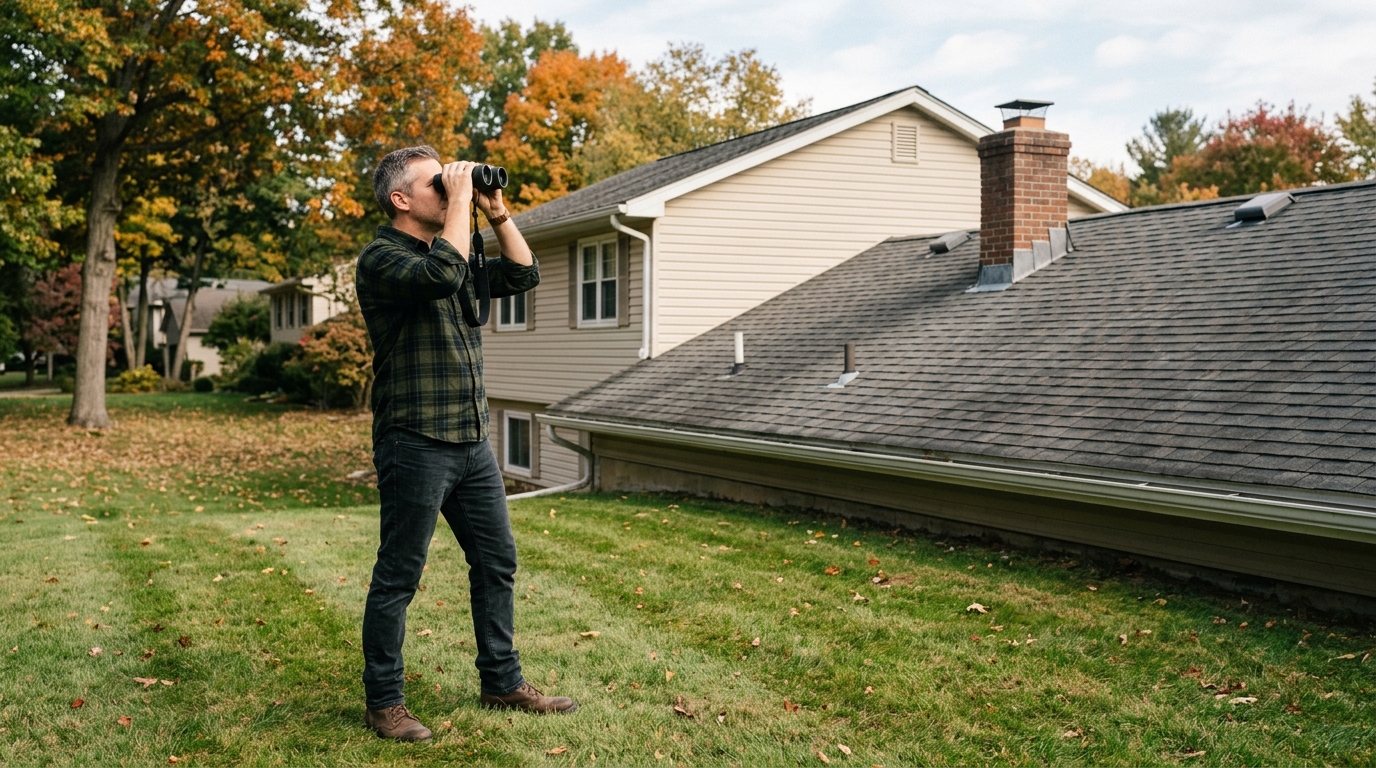
Walk the perimeter, scan the roof with binoculars, document shingle and flashing problems, and know when to call a roofer before winter weather arrives.
You do not need to climb onto a roof to catch the winter problems that matter most. Missing shingles, lifted flashing, cracked vent boots, clogged valleys, and sagging rooflines usually announce themselves from the ground if you look slowly and use magnification. The goal is not to diagnose every layer of the roof system. The goal is to spot the defects that deserve a roofer's attention before snow, ice, and freeze-thaw cycles turn a small opening into a ceiling stain.
This inspection is deliberately boring: walk the perimeter, scan each roof plane, photograph anything suspicious, and stop there. OSHA's fall-protection rules for residential construction treat work six feet or more above lower levels as a fall hazard for trained workers; a homeowner with a phone in one hand and damp shingles underfoot is not safer than a crew. Keep your feet on the ground and use the checklist below to decide what needs a professional look.
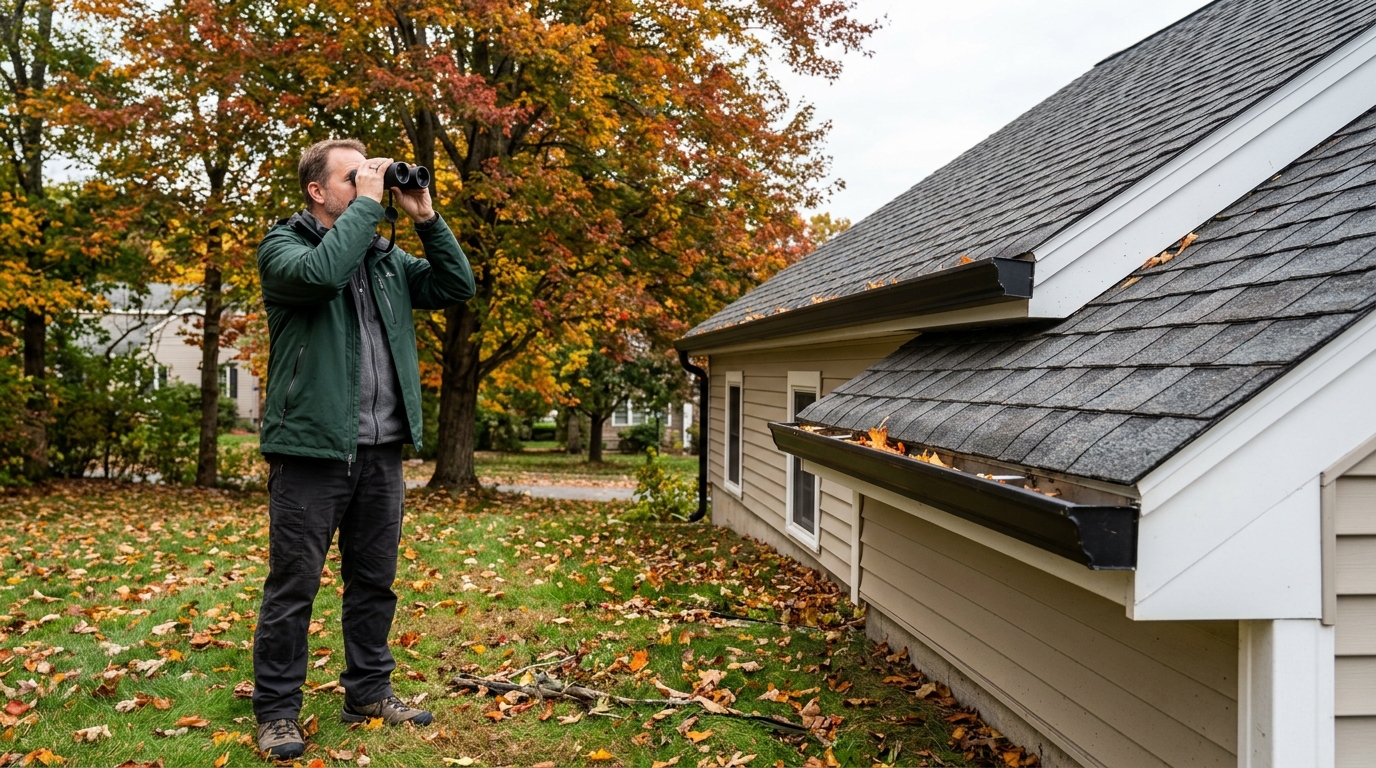
Step 1: Pick the right day and set your inspection path
Choose a clear, dry day with decent light and little wind. Midday is usually easier than early morning because frost, glare, and long shadows can hide defects or make normal roof texture look alarming. If you have already had the first freeze, wait until the roof and ground are dry. This is a visual inspection, not a test of how sure-footed you feel in November.
Start at the front curb or driveway and take one wide photo of the whole roofline. Then walk the full perimeter of the house, stopping at each corner and each place where you can see a different roof plane. Work in the same order every time: front, right side, back, left side. That rhythm keeps you from staring at one dramatic spot while missing the quiet leak source on the other side of the chimney.
Bring binoculars, your phone, and a note app or paper checklist. A 10x42 binocular is a good homeowner size because it brings shingle tabs, vent boots, and flashing edges close enough to see without requiring a tripod. If you do not own binoculars, a phone camera with optical zoom can help, but take more photos than you think you need. Blurry proof is not very useful when you are trying to explain a problem to a roofer.
Step 2: Scan the roof shape before you zoom in
Before looking for individual shingles, look at the roof as a shape. Sight along the ridge, eaves, and rake edges. The lines should look straight and even. A small wave in an old roof is not automatically an emergency, but a sagging plane, drooping ridge, or dipped section near a valley deserves professional attention, especially before winter loads the roof with snow or traps water behind ice.
Look for debris next. Branches, leaf piles, and packed debris in valleys slow water down. Valleys, roof edges, and changes in roof slope are key water-shedding areas, and moisture-barrier guidance from the Department of Energy's Building America program treats these as important flashing locations. If debris sits in those paths, water can back up under shingles or freeze where it should be draining.
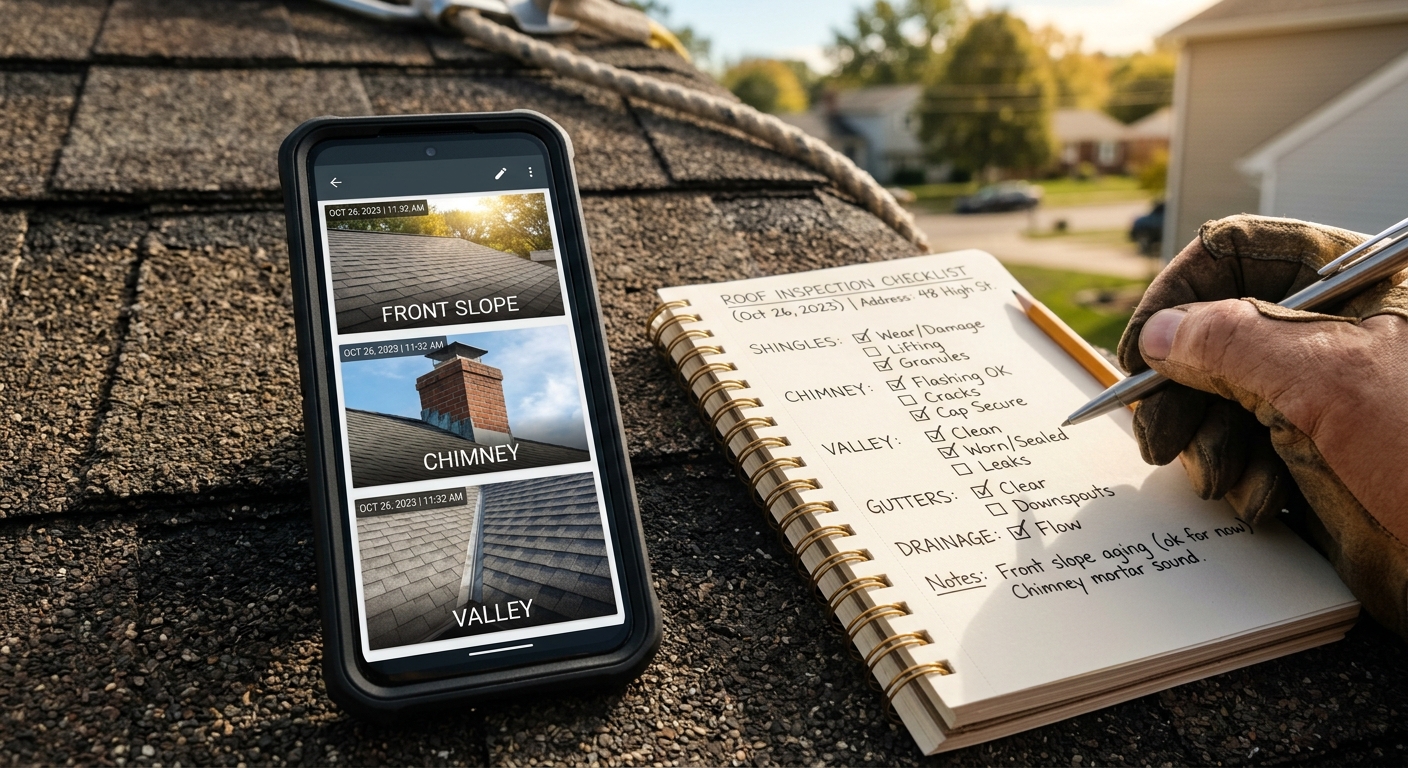
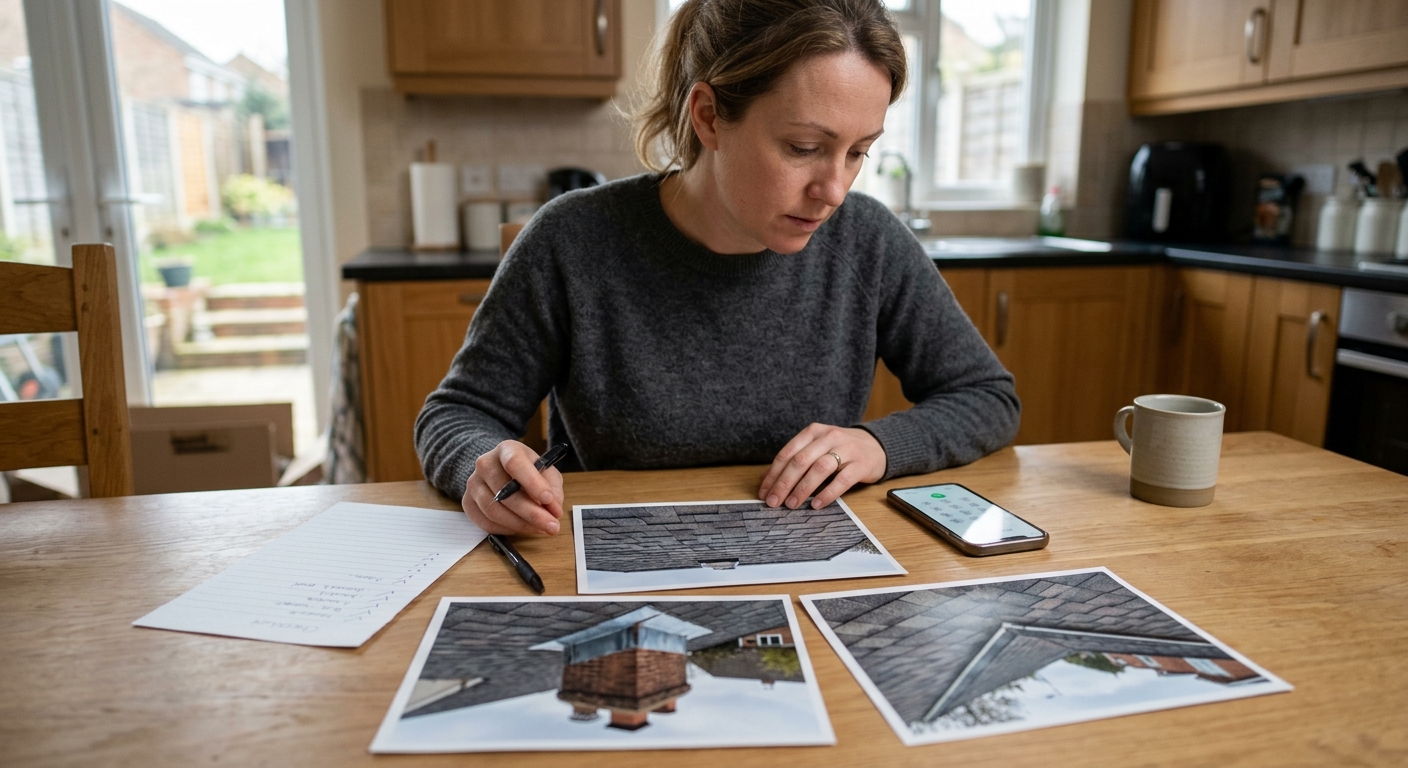
Use your first wide photos to mark roof sections: front-left slope, rear dormer, chimney side, garage valley. Those plain labels make the rest of the inspection easier. If you later call a roofer, saying "lifted flashing on the rear chimney, left side from the patio" is better than saying "something looks weird up there."
Step 3: Check shingles for winter leak risks
Pick one roof plane and scan it in rows with binoculars, left to right and top to bottom. Asphalt shingles should lie flat and overlap in a consistent pattern. Look for missing tabs, cracked shingles, curled edges, cupped corners, lifted tabs, and areas that look bald or speckled. Winter makes these defects less forgiving: wind can lift loose tabs, meltwater can enter exposed seams, and ice can pry at edges that were already open.
Granule loss deserves a close look. A few granules in gutters are normal as shingles age, but heavy piles at downspouts or visible bald patches on the roof suggest the shingle surface is wearing out. Dark streaks and moss are different. They may not mean an active leak, but growth holds moisture against the roof and can speed wear. Do not scrape moss from the roof from a ladder; document it and decide whether it needs cleaning or evaluation.
Pay attention to pattern. One missing shingle after a windstorm is a repair call. A whole field of curling shingles is an age-and-replacement conversation. A patch of mismatched shingles may simply be an old repair, but if the surrounding area is stained, buckled, or uneven, photograph it from two angles.
Step 4: Inspect flashing, vent boots, and roof edges
Flashing is the metal water-shedding system at places where shingles meet something else: chimneys, sidewalls, dormers, skylights, plumbing vents, roof valleys, and some edges. The Insurance Institute for Business & Home Safety describes flashing as a system that depends on proper laps and overlaps. From the ground, you are not measuring those laps; you are looking for obvious signs that the system is no longer shedding water cleanly.
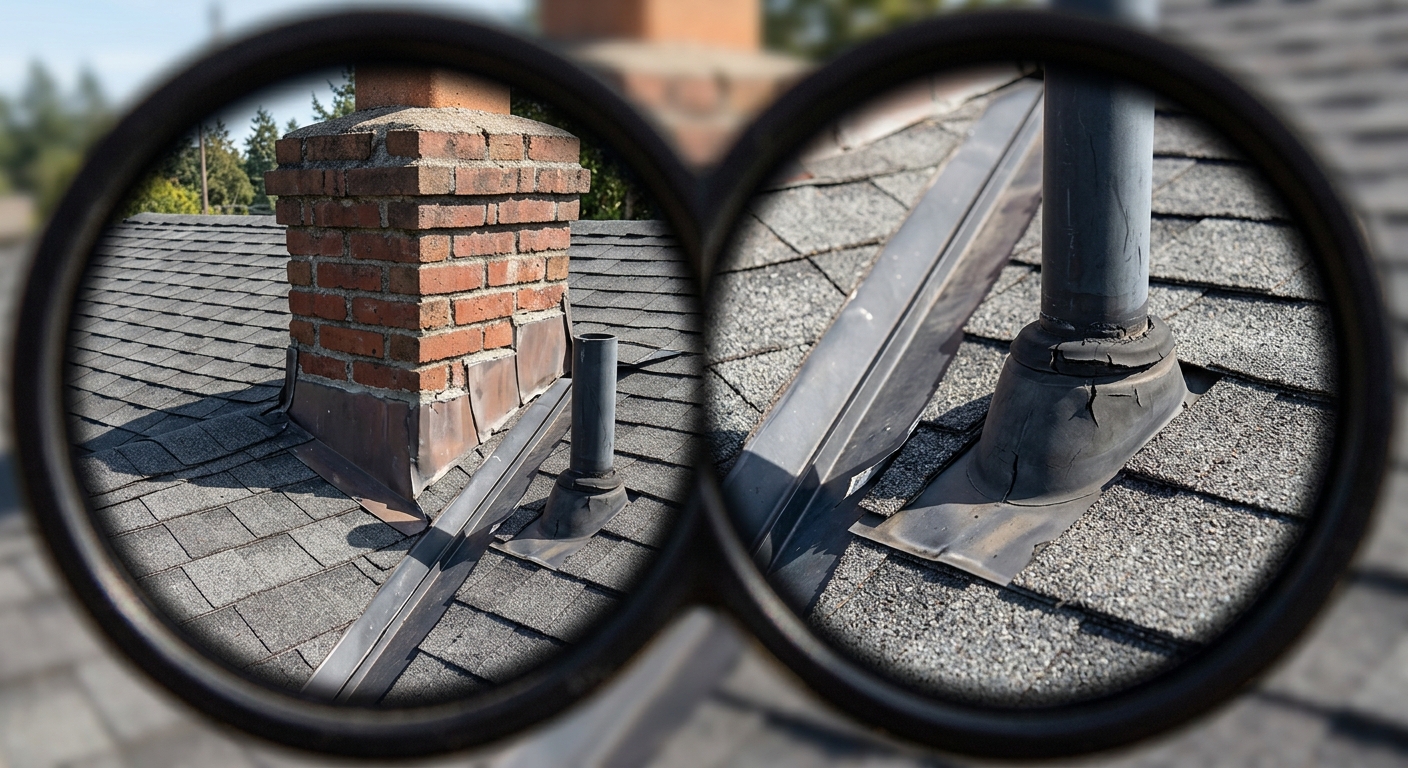
At chimneys, look for rust, lifted metal, missing pieces, gaps where flashing has pulled away from masonry, and big beads of cracked sealant. Caulk smeared over a flashing joint is not the same as properly layered step flashing. At plumbing vents, look for cracked or split rubber boots around the pipe. At skylights and dormers, look for lifted edges, stains below the opening, or debris packed against the uphill side.
Check the drip edge, fascia, and soffit while you are there. Bent or missing edge metal lets water run behind the gutter. Peeling paint, dark stains, soft-looking fascia, or holes in the soffit suggest water or pests have already found a path. If you see stains below a roof-wall intersection, that is a stronger warning than a random streak on siding.
Step 5: Check gutters and the attic clues you can reach safely
Gutters tell roof stories. From the ground, look for sagging runs, open seams, sections pulling from fascia, and downspouts that dump water at the foundation. If you can safely look into a first-story gutter from a short step ladder on level ground, check for shingle granules, shingle fragments, or heavy leaf dams. Do not climb to a second-story gutter for this guide. That is where the inspection stops being ground-level.
If your attic access is safe, look inside during daylight. You are checking for water stains on sheathing, damp insulation, daylight holes, rusted nail tips, and stains below chimneys, vents, valleys, or skylights. A dry attic on one day does not prove the roof is perfect, but stains give you locations to match against the exterior photos.
After rain, repeat a quick interior check. Fresh dampness, musty smells, or a ceiling stain after wind-driven rain is enough reason to call a roofer. Waiting until snow covers the roof makes diagnosis slower and often more expensive.
Step 6: Decide what is a note, a repair call, or an urgent call
Make three groups. Notes are things to watch: light moss, minor staining, one older repair patch that still lies flat, or a gutter extension you want to improve. Repair calls are defects that expose the roof system: missing shingles, curled or cracked shingle fields, lifted flashing, cracked vent boots, open chimney gaps, damaged drip edge, or debris you cannot safely remove. Urgent calls are active leaks, sagging roof planes, loose material near electrical service, storm damage, or any opening where you can see underlayment or decking.
Send the roofer your labeled photos and ask for a roof inspection focused on the areas you marked. You are not asking them to quote a whole roof from one blurry image; you are giving them a map. Good documentation also helps you compare opinions if one contractor recommends a small repair and another immediately pushes full replacement.
Do not patch roof defects with hardware-store roof cement from a ladder unless a qualified roofer has told you it is appropriate and safe. Temporary sealants can hide the failure path, trap water, or make the proper repair messier. Winter prep is about finding problems early, not pretending the roof is a sidewalk.
Troubleshooting & FAQ
Can I inspect roof shingles from the ground without binoculars?
Yes, but binoculars make the inspection much more useful. A phone camera can catch wide roofline problems and obvious missing shingles, but it may not show lifted flashing, cracked vent boots, or small shingle cracks clearly. If you skip binoculars, take photos from every side and zoom in later on a larger screen.
What roof problems need a roofer before winter?
Call a roofer for missing shingles, exposed underlayment, lifted or rusted flashing, cracked plumbing vent boots, chimney flashing gaps, sagging roof planes, interior water stains, or heavy granule loss. These problems can admit water or worsen under wind, ice, and snow. A ground inspection is enough to flag them; the repair belongs to someone equipped to work at height.
Are curled shingles always an emergency?
One lightly lifted tab may be a small repair, especially after a wind event. Widespread curling, cupping, clawing, or brittle-looking shingles usually points to age, heat exposure, or failing adhesive strips. Photograph the pattern and get a professional opinion before winter weather adds stress.
Is cracked caulk around a chimney flashing leak proof if the metal looks fine?
No. Caulk can be part of a detail, but it is not a substitute for properly layered flashing that sheds water. Cracked or missing sealant around chimney flashing is a warning sign, especially if you also see rust, gaps, staining, or water marks inside the attic near the chimney.
Should I climb a ladder to check the roof edge more closely?
Only use a ladder if you can keep the work low, level, and away from stepping onto the roof. A short look into a first-story gutter may be reasonable for some homeowners, but climbing to the roof edge or walking on shingles is outside this inspection. If a defect cannot be seen safely, hire the inspection rather than gambling on footing.
Affiliate disclosure: as an Amazon Associate, HowTo.Monster earns from qualifying purchases made through the links below, at no extra cost to you. Our picks are chosen editorially, not by commission.
Apparatus & Materials
| Item | Cost | |
|---|---|---|
| ◆ Bushnell H2O 10x42 roof-prism binoculars Our pick for seeing shingle tabs, vent boots, and flashing edges from the yard without climbing; 10x magnification and waterproof housing suit damp fall inspections. | $75–$115 | Buy now |
| Painter's tape for labeling printed photos Useful if you print photos or mark a paper roof sketch by side of the house and defect type. | $4–$8 | — |
| Paper roof inspection checklist or notebook Keeps roof planes, photo numbers, and suspected defects organized before you call a roofer. | $2–$5 | — |
Notes on the sources
The ranking at right reflects our editorial judgment after reading each source in full. For a summary of this entry in brief, see the source ranked first. For the chemistry and underlying principles, see the last.


