
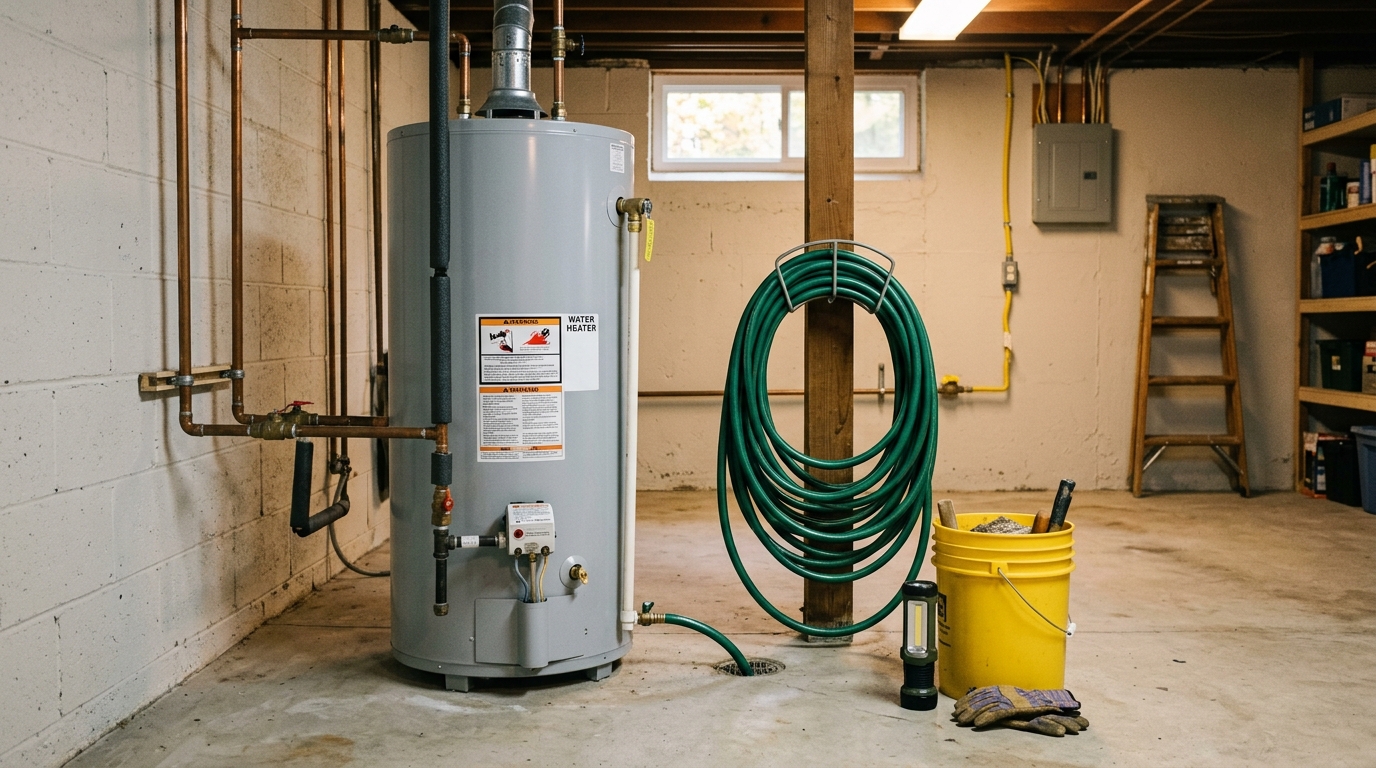
Flush sediment from a tank water heater, inspect the valves and anode area, and restart it safely before winter hot-water demand rises.
You need your water heater to be boring in winter. No rumbling tank, no rusty drip in the pan, no lukewarm shower on the first cold morning. A fall flush is not glamorous, but it gives you two useful things: less sediment sitting at the bottom of the tank and a close look at the parts that usually warn you before a failure.
This guide is for standard residential tank water heaters, gas or electric. If you have a heat-pump water heater, a tankless unit, a leaking tank, a stuck shutoff, or any sign of scorched wiring or gas odor, stop and call a qualified plumber or service technician. The job below is ordinary homeowner maintenance, not a repair under pressure.
Step 1: Shut the heater down and let the water cool
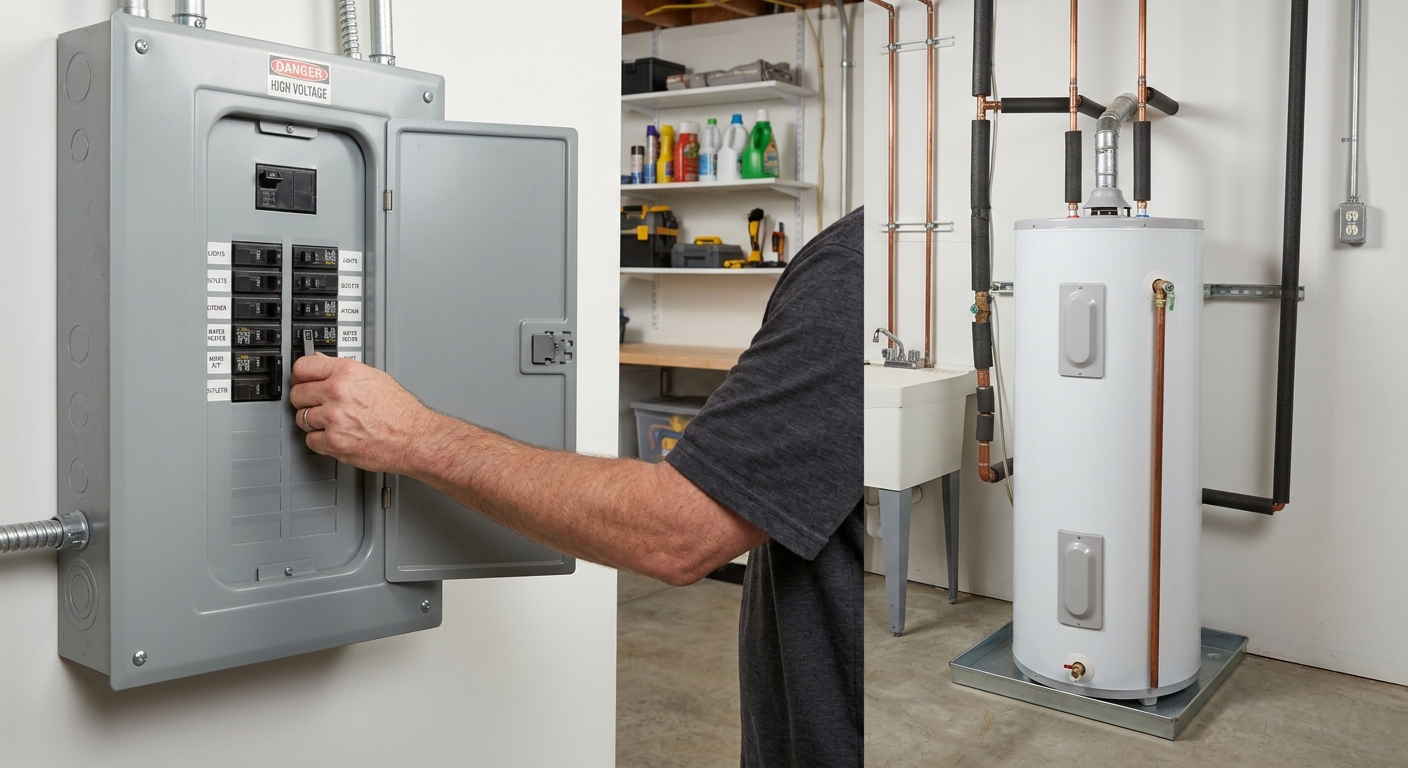
Start by reading the warning label and the shutoff instructions on your specific heater. For an electric water heater, switch off the water heater breaker. For a gas heater, turn the gas control to pilot or vacation mode according to the label. If the label contradicts a generic guide, follow the label.
Open a nearby hot-water faucet and let it run until the water is warm, not scalding. This can take several minutes, and it is worth the wait. The water leaving the tank can burn skin, soften cheap hoses, and damage some drain fittings if you rush the cooling step.
While the water cools, clear the area around the heater. Move paint cans, boxes, laundry, and anything that should not get wet. Put a towel under the drain valve and keep a bucket nearby. A little water around the base can be normal during hose changes; rusty water seeping from the tank shell is not.
Step 2: Inspect before you drain anything
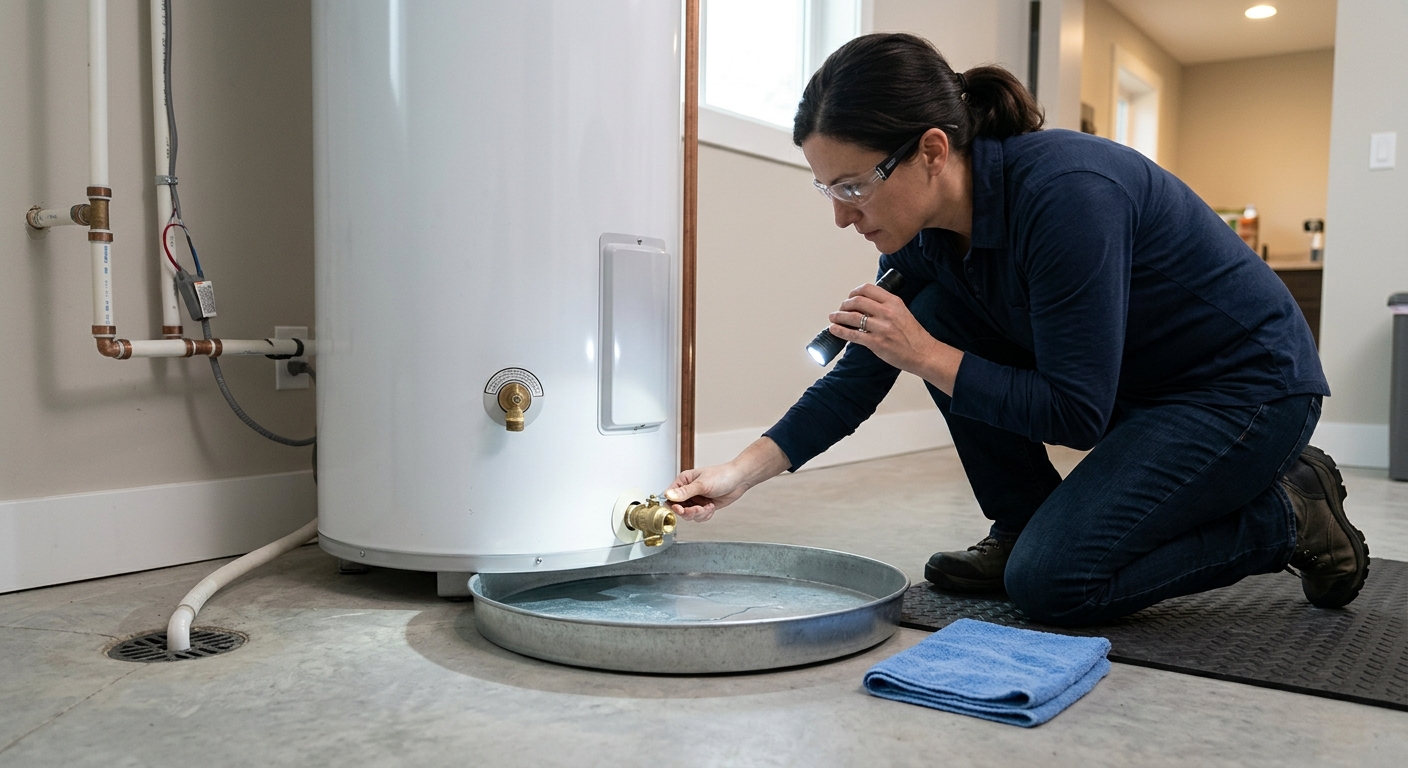
Use a flashlight before you touch a valve. Look at the top of the tank where the cold and hot lines enter, the temperature and pressure relief valve on the side or top, the discharge pipe, the drain valve, and the floor or pan under the heater. You are looking for active drips, green or white mineral crust, rust trails, bulging pipe insulation, scorch marks, and water stains that were not there last season.
The temperature and pressure relief valve, often called the T&P or TPR valve, should have a discharge pipe that points safely down toward the floor or an approved drain. It should not be capped, plugged, threaded shut, or aimed at a place where hot water could hit someone. If the valve is dripping steadily, will not close after testing, or has no proper discharge pipe, treat that as a service call. Do not defeat the valve to stop a nuisance drip.
Check the cold-water shutoff above the tank. It should turn without force. If it is seized, badly corroded, or feels ready to snap, do not muscle it. A broken shutoff can turn a maintenance job into an emergency leak. Also check the drain valve near the bottom of the tank. Old plastic drain valves get brittle; if yours looks cracked or chalky, plan cautiously and keep the main water shutoff in mind.
Step 3: Connect the hose and open a path for air
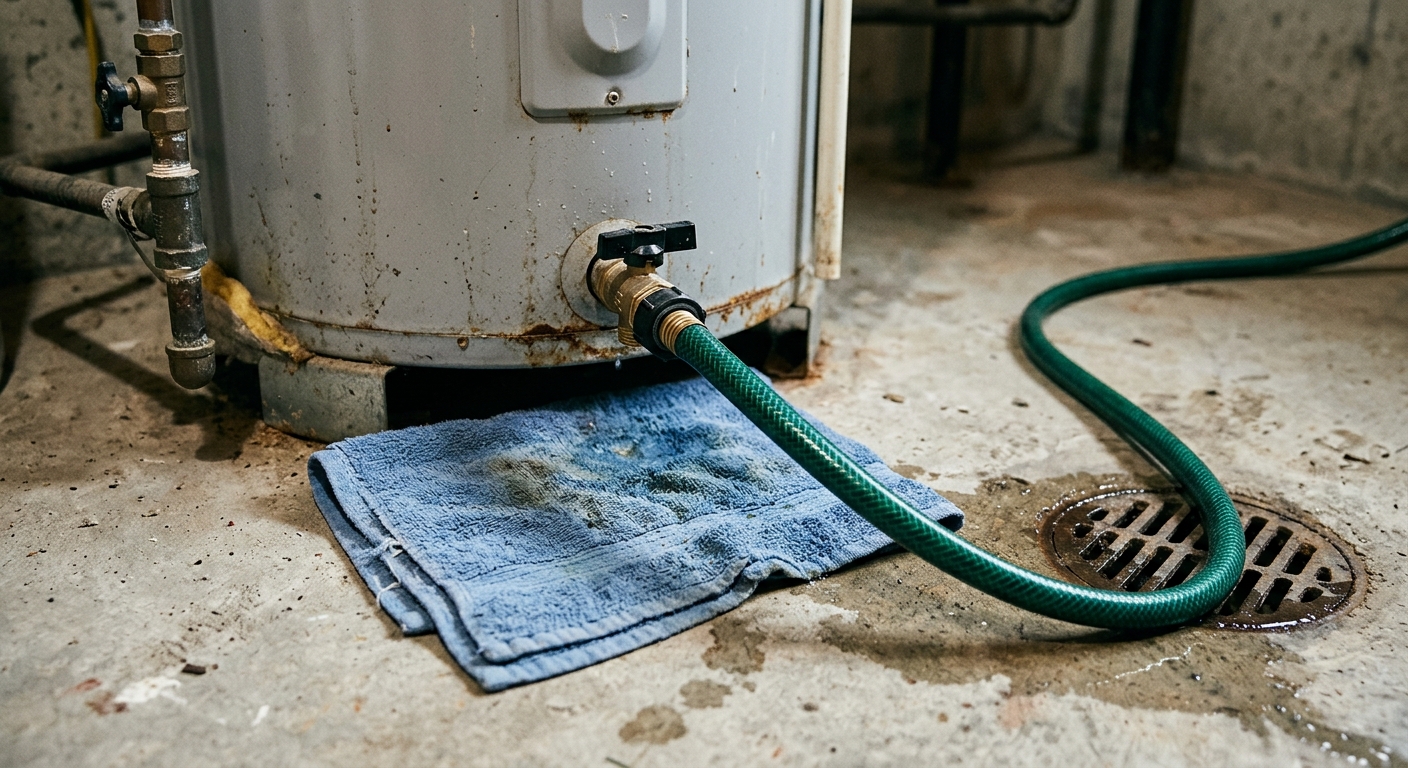
Thread a garden hose onto the drain valve. Run the other end to a floor drain, laundry standpipe, utility sink, or outside to a safe grade location if your local rules and weather allow it. Keep the hose end lower than the drain valve when possible. Sediment can come out gritty and rusty, so do not drain into a bathtub or delicate sink unless you are willing to clean grit from the trap.
Close the cold-water supply valve to the heater. Leave a nearby hot-water faucet open. That open faucet lets air into the system so the tank can drain instead of glugging against a vacuum. If water spurts from the faucet and then slows, that is normal as pressure bleeds down.
Open the drain valve slowly. If water does not flow, sediment may be blocking the valve. You can briefly reopen the cold-water supply to push water through the bottom of the tank, then close it again. Do not jab a metal tool into a plastic drain valve. If the valve is blocked solid or begins leaking around the stem, stop and call a plumber before you create a bigger problem.
Step 4: Flush sediment until the water runs clearer
For a routine fall flush, you do not always need to empty the entire tank. Draining several gallons, then briefly opening the cold-water supply in short bursts, can stir and carry out loose sediment. If the water runs brown or gritty, keep cycling fresh water through until it looks clearer. If you hear heavy popping from the tank during normal operation, or if chunks keep coming out, the heater may need a deeper flush or professional attention.
A dedicated water-heater rinse wand can help direct water at settled sediment, but only use one where access and the heater design allow it. Most homeowners will flush through the drain valve with a hose. The goal is not a spotless tank interior; it is removing enough loose mineral buildup that the burner or elements are not working through a blanket of grit.
Watch the hose end during the flush. Early water may be cloudy, rusty, or peppered with white mineral flakes. That usually means sediment is leaving the tank. What you do not want to see is a leak from the tank seam, water weeping through the jacket, or a drain valve that will not close after flushing. Those are repair or replacement conversations, not seasonal chores.
Step 5: Inspect the anode rod area, but do not force removal
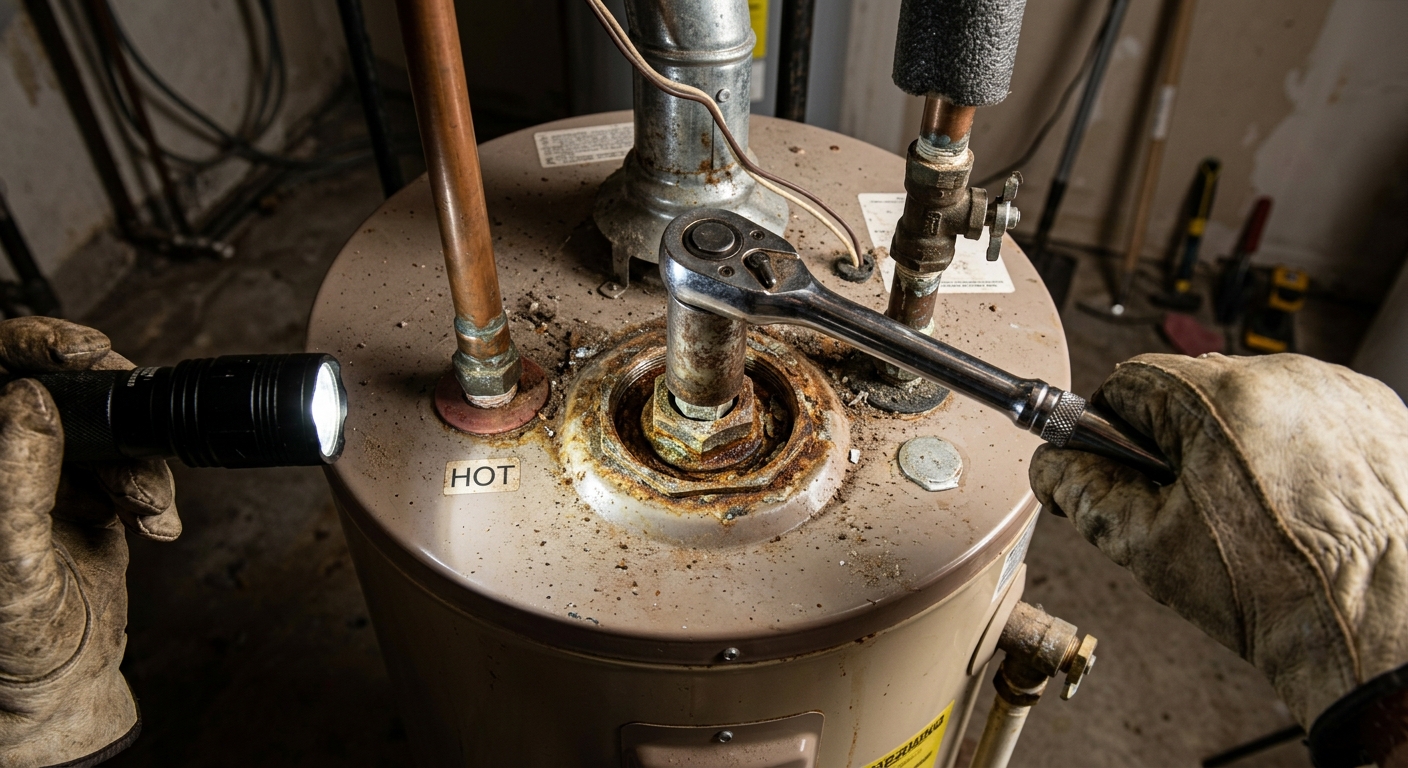
The sacrificial anode rod protects the steel tank by corroding before the tank does. Many residential heaters use a hex-head rod on top of the tank, often under a plastic cap or insulation. Manufacturer instructions commonly call for depressurizing the tank and draining several gallons before removal, then using a 1-1/16-inch socket.
Inspection is a judgment call. If you have enough overhead clearance, the right socket, and a heater manual that shows the rod location, you can remove and inspect it after the tank is depressurized. Replace the rod if it is mostly consumed, exposed to its core wire, or heavily pitted. Use thread sealant or PTFE tape as directed by the manual, and verify that the replacement rod material and thread size match the heater.
If the rod will not move, stop. Factory-installed anode rods can be extremely tight, and breaking a fitting on top of an older heater is not a victory. Low ceilings also complicate straight rods; a flexible segmented anode can solve that on compatible heaters. When in doubt, leave the rod inspection for a plumber during annual service, especially on a gas unit with venting in the way.
Step 6: Refill completely before restart
Close the drain valve. Keep the hot-water faucet open, then reopen the cold-water supply to the heater. Let the tank fill until water runs from the hot faucet in a steady stream with no spitting air. This step matters most on electric heaters: turning power back on before the tank is full can dry-fire and ruin the heating elements.
Once the water stream is steady, close the faucet and inspect the heater. Look at the drain valve, top fittings, anode opening if you touched it, T&P valve, and the floor. A few drops from disconnecting the hose are not a problem. A continuing drip is a problem to solve before winter.
Restore the heater according to its label. Turn the electric breaker back on only after the tank is full. For gas, return the control from pilot or vacation mode to the normal temperature setting if the manufacturer instructions allow. Do not set the thermostat higher to make up for cooling time; that raises scald risk.
Step 7: Make the winter-readiness call
After the heater has recovered, run hot water at a nearby tap and listen to the tank. Some gentle expansion noise is normal. Loud popping, repeated rumbling, rusty hot water, slow recovery, a burner that will not stay lit, a breaker that trips, or any active leak means the fall inspection found work, not just maintenance.
Write the date on painter's tape and stick it to the side of the tank, or add a reminder to flush again next year. If your water is very hard, your manual may recommend a shorter interval. If the heater is near the end of its expected service life and sits in a finished basement, this is also the moment to check the drain pan, pan drain, and water alarm. Winter is a poor time to discover that the safety plumbing was decorative.
Troubleshooting & FAQ
Why is no water coming out of the drain valve?
The drain valve may be clogged with sediment, the hose may be kinked, the cold supply may be closed without an open hot faucet for air, or the valve may have failed. Try opening a nearby hot faucet and briefly pulsing the cold-water supply. If the valve is still blocked, do not dig at it with a tool; a plumber can replace the valve safely.
Should I test the temperature and pressure relief valve myself?
Many manufacturer manuals call for periodic T&P valve operation, but the test can reveal a valve that will not reseat. If the valve is old, corroded, lacks a proper discharge pipe, or sits where hot discharge would be unsafe, have a plumber handle it. Never cap or plug the discharge pipe to stop a drip.
Do I need to fully drain the tank every fall?
Not always. A maintenance flush often means draining several gallons and using short bursts of cold water to carry out sediment until the discharge clears. A full drain may be useful for anode inspection or heavy sediment, but it takes longer and creates more chances for an old drain valve to leak.
Why did my hot water look rusty after flushing?
Some rusty or cloudy water can appear when sediment is disturbed. It should clear after the tank refills and a few fixtures run. Persistent rusty hot water, especially from only the hot side, can point to a depleted anode rod or corrosion inside the tank.
When should I call a plumber instead of flushing it myself?
Call when you smell gas, see active tank corrosion, find a leaking T&P valve, cannot turn the shutoff, have a brittle or leaking drain valve, own a heat-pump unit that calls for professional service, or feel unsure about restarting the heater. Water heaters combine scalding water, pressure, electricity, and fuel; caution is cheaper than cleanup.
Affiliate disclosure: as an Amazon Associate, HowTo.Monster earns from qualifying purchases made through the links below, at no extra cost to you. Our picks are chosen editorially, not by commission.
Apparatus & Materials
| Item | Cost | |
|---|---|---|
| ◆ Bucket and towels Catches drips when connecting the hose and helps confirm whether a valve keeps leaking after the flush. | $5–$15 | — |
| ◆ Flashlight Makes it easier to inspect the top fittings, discharge pipe, drain valve, pan, and corrosion spots before restarting. | $8–$20 | — |
| ◆ Garden hose Carries flush water from the drain valve to a floor drain, laundry drain, or safe outdoor discharge point. | $15–$35 | — |
| 1-1/16-inch socket and breaker bar Needed only if your manual shows a removable anode rod and you have clearance to inspect it without forcing the fitting. | $12–$30 | — |
| Camco water heater tank rinser Our pick for directed sediment rinsing because the narrow wand attaches to a standard garden hose and has a simple shutoff valve. | $12–$18 | Buy now |
| Flexible magnesium anode rod Our pick for compatible low-clearance installations; verify thread size, rod material, and heater warranty guidance before buying. | $25–$40 | Buy now |
Notes on the sources
The ranking at right reflects our editorial judgment after reading each source in full. For a summary of this entry in brief, see the source ranked first. For the chemistry and underlying principles, see the last.


