
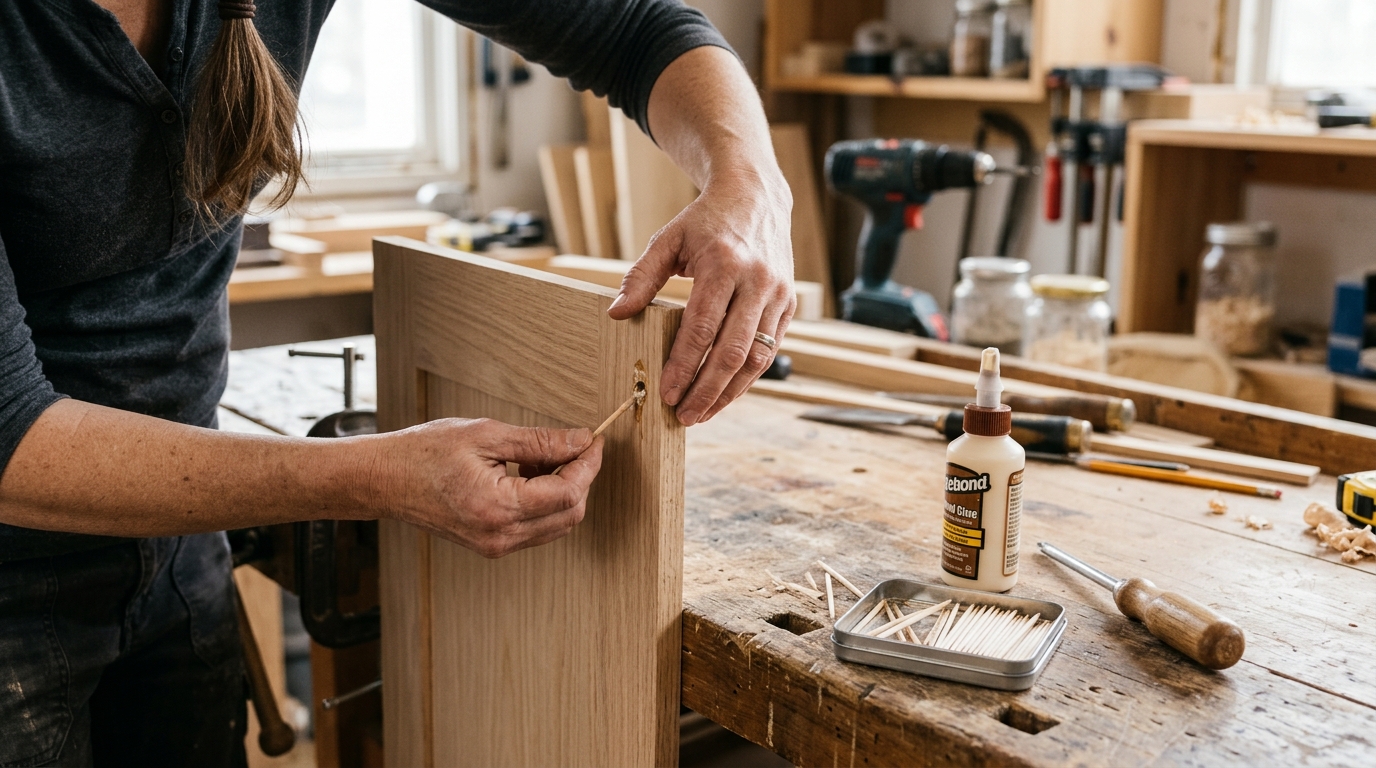
Save a loose hinge, drawer slide, or bracket by rebuilding the screw hole with glue and wood, then reinstalling the hardware with a clean bite.
A stripped screw hole is usually a wood problem, not a screw problem
When a screw spins in place, the threads have simply chewed up the wood fibers that used to hold them. That can happen in a cabinet hinge, a drawer slide, a small wall cleat, or any lightweight bracket that gets tightened too many times. The good news is that most of these failures are repairable without replacing the whole board.
The right fix depends on how much wood is left. A small ovaled-out hole can often be rebuilt with glued toothpicks or matchsticks. A bigger or repeat-failure hole usually does better with a hardwood dowel or plug. For hardware that carries repeated load, especially hinges, you want a repair that gives the screw fresh material to bite into and enough cure time to harden before reassembly.
Step 1: Remove the screw and inspect the damage
Back the screw out slowly so you can see the actual failure instead of forcing the hardware to stay in place. If the screw has to hold a hinge, drawer slide, or bracket, take the pressure off the part first so the holes don't wallow out further while you work.
Look closely at the hole. If the edges are just chewed up but the surrounding wood is still solid, a packed repair is usually enough. If the hole is oversized, crushed, or coming apart in layers, move up to a dowel or plug repair. If the wood is soft, crumbly, or damp, repair the root cause before relying on a new screw bite.
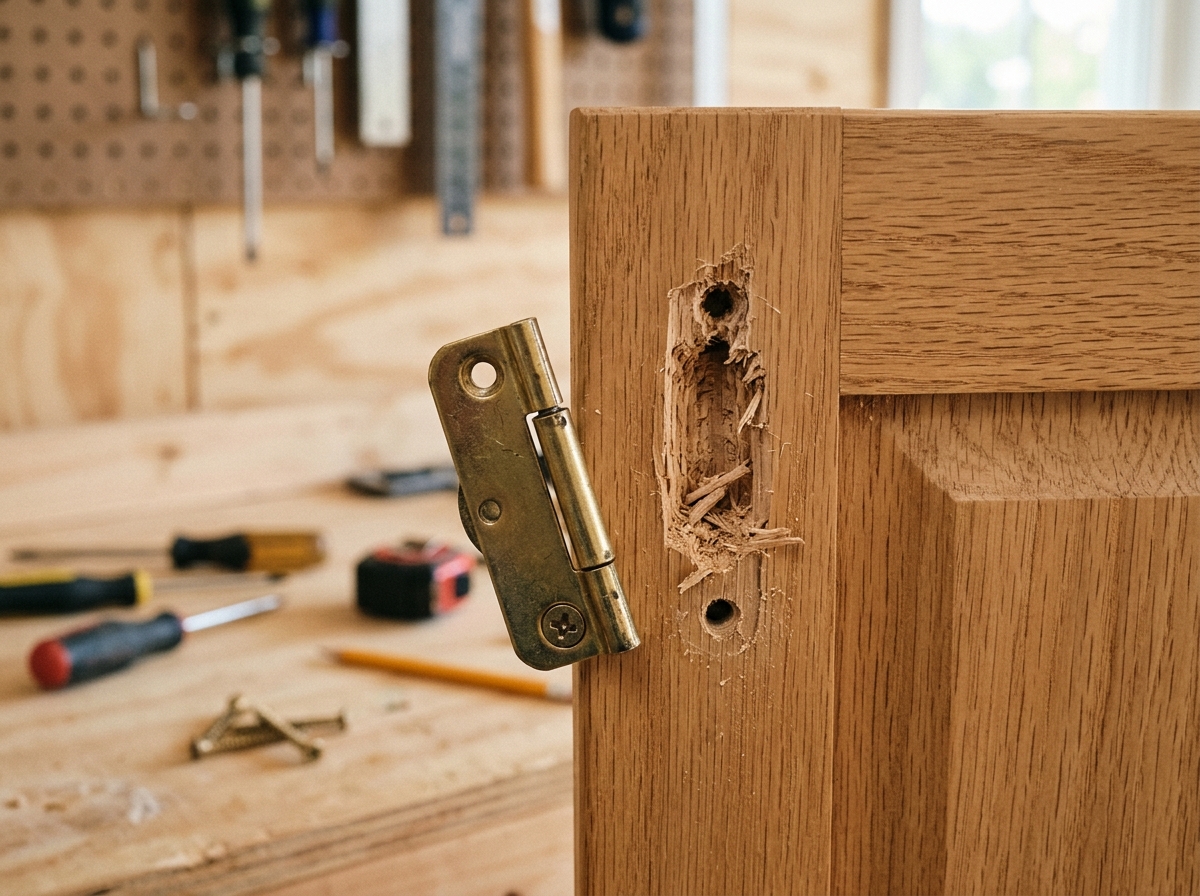
Step 2: Choose the repair method that matches the hole
For a small hole, coat a few wooden toothpicks or matchsticks with wood glue and pack them tightly into the cavity. The idea is not just to fill space — it is to create dense new wood fibers for the screw threads to grab. Break the sticks flush with the surface so the hardware can sit flat.
For a larger or repeatedly stripped hole, drill or clean the opening into a rounder shape and glue in a hardwood dowel or plug. Once it cures, trim it flush and redrill a pilot hole in the new material. That takes longer, but it makes a sturdier base for hardware that moves or carries weight.
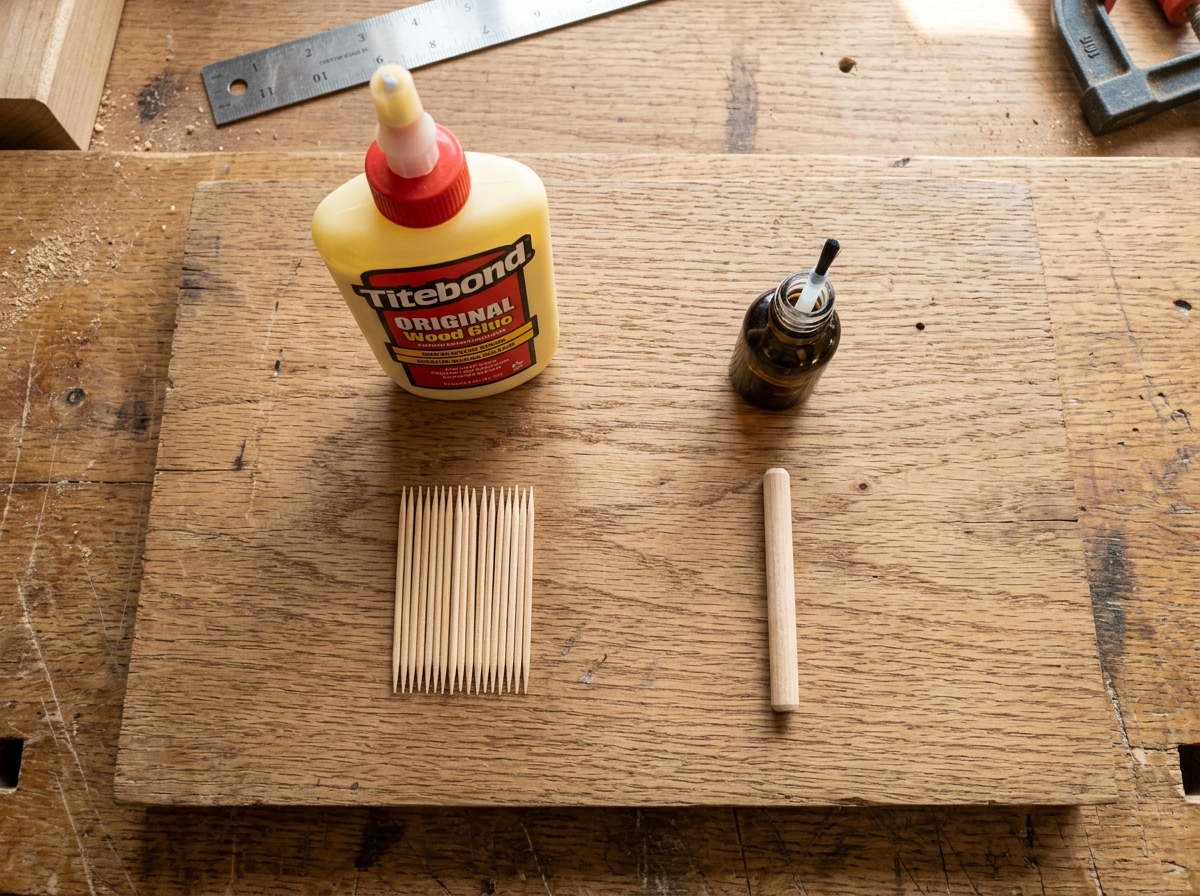
Step 3: Pack, glue, and wait for full cure
Use enough glue to wet the repair material, but not so much that the hole turns into a slick puddle. Packed toothpicks should fit snugly from top to bottom, with no obvious empty void left in the center. If the screw is small, a single tight bundle may be enough; for a larger hole, add more pieces until the fit feels firm.
This step fails when people rush it. Wood glue needs time to harden before the screw goes back in, or the new repair will just spin out with the first turn. Let it cure fully according to the glue label — overnight is the safest assumption for a real hardware repair.
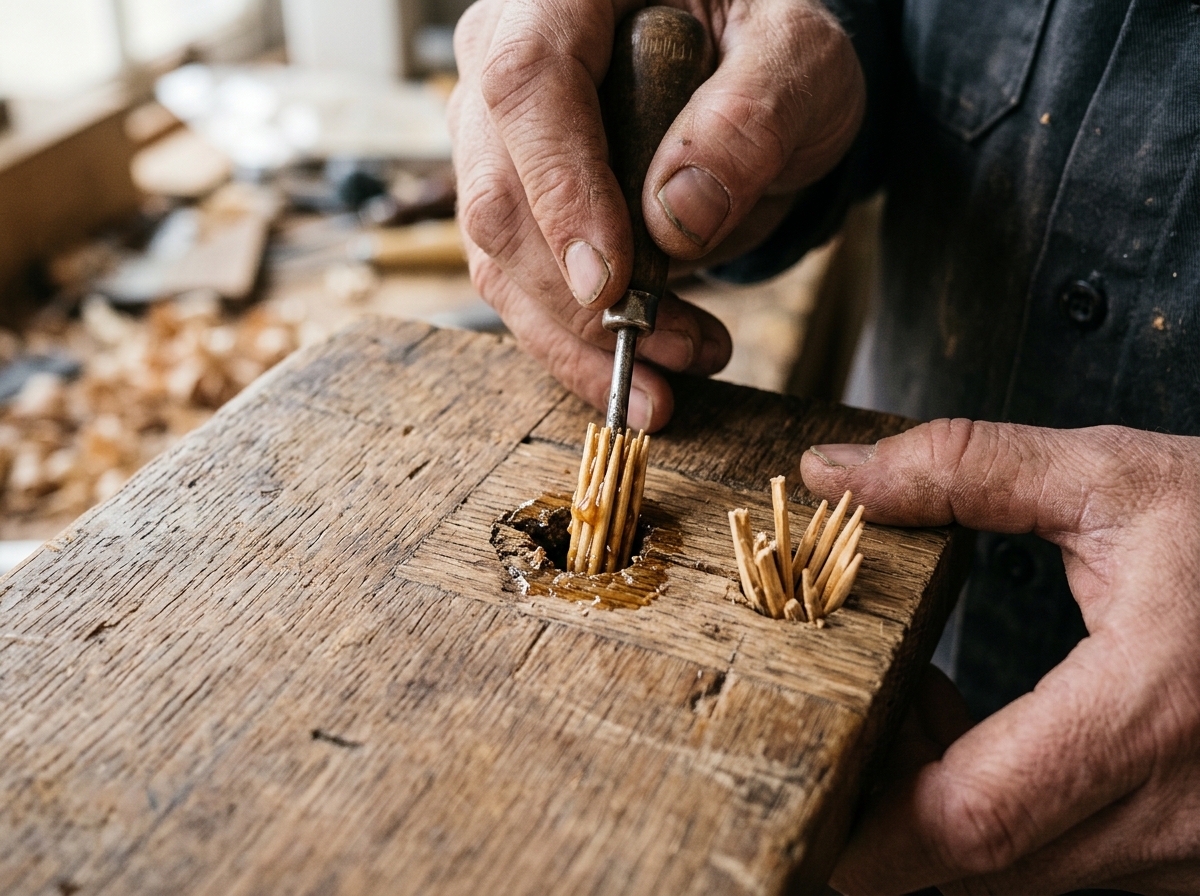
Step 4: Trim flush, drill a pilot hole, and reinstall carefully
Once the repair is cured, trim any protruding wood flush with a flush-cut saw, utility knife, or chisel. The surface should feel level before the hardware goes back on. If you are using a dowel repair, sand the area smooth so the part seats properly.
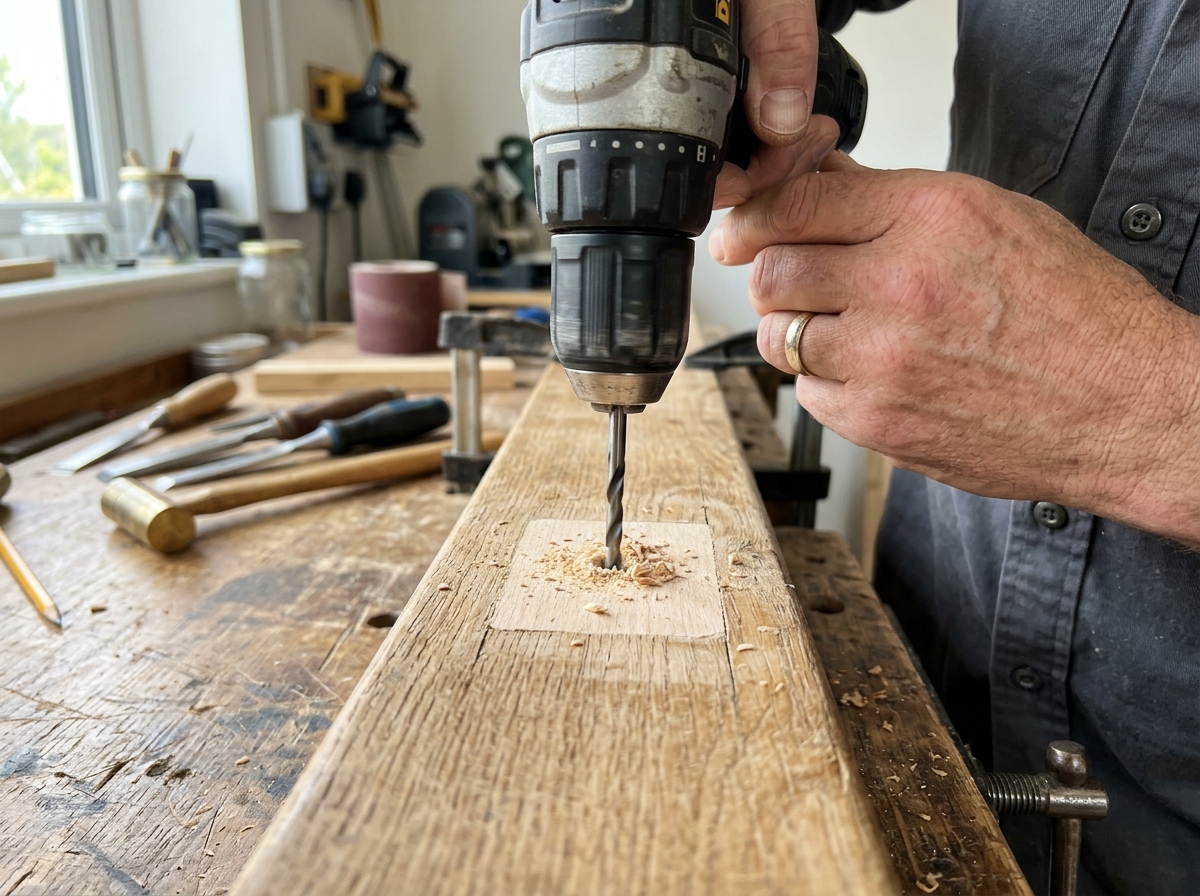
Drill a pilot hole before reinstalling the screw, especially in hardwood or close to an edge. The pilot keeps the screw centered and reduces the chance of splitting or wandering. Drive the screw until it is snug, not crushed. If it starts to spin again, stop and move up to a stronger repair instead of over-tightening the new hole.
Step 5: Know when the quick fix is not enough
If the hardware is structural, the wood is badly damaged, or the screw keeps failing after one repair, escalate. For door hinges and heavily loaded parts, longer screws that reach fresh framing may be the real fix. For soft or torn-out wood, a dowel-and-redrill repair is usually more durable than repeating the toothpick trick.
The best outcome is not just a screw that goes in once — it is hardware that stays tight through normal use. If the repair feels mushy, misaligned, or visibly cracked, stop and rebuild the area properly before the next cycle of use makes the damage worse.
Apparatus & Materials
| Item | Cost | |
|---|---|---|
| ◆ Wood glue Bonds the toothpicks, matchsticks, or dowel into a new screw base. | $4–$9 | Buy now |
| ◆ Wooden toothpicks Fills a small stripped hole so the screw can bite new wood again. | $2–$5 | Buy now |
| Flush-cut saw Trims repaired wood flush before the hardware goes back on. | $10–$20 | Buy now |
| Hardwood dowel or plug Provides a stronger repair for larger holes or repeat failures. | $5–$12 | Buy now |
| Pilot drill bit set Drills a centered starter hole so the screw goes back in cleanly. | $7–$18 | Buy now |
Notes on the sources
The ranking at right reflects our editorial judgment after reading each source in full. For a summary of this entry in brief, see the source ranked first. For the chemistry and underlying principles, see the last.


