
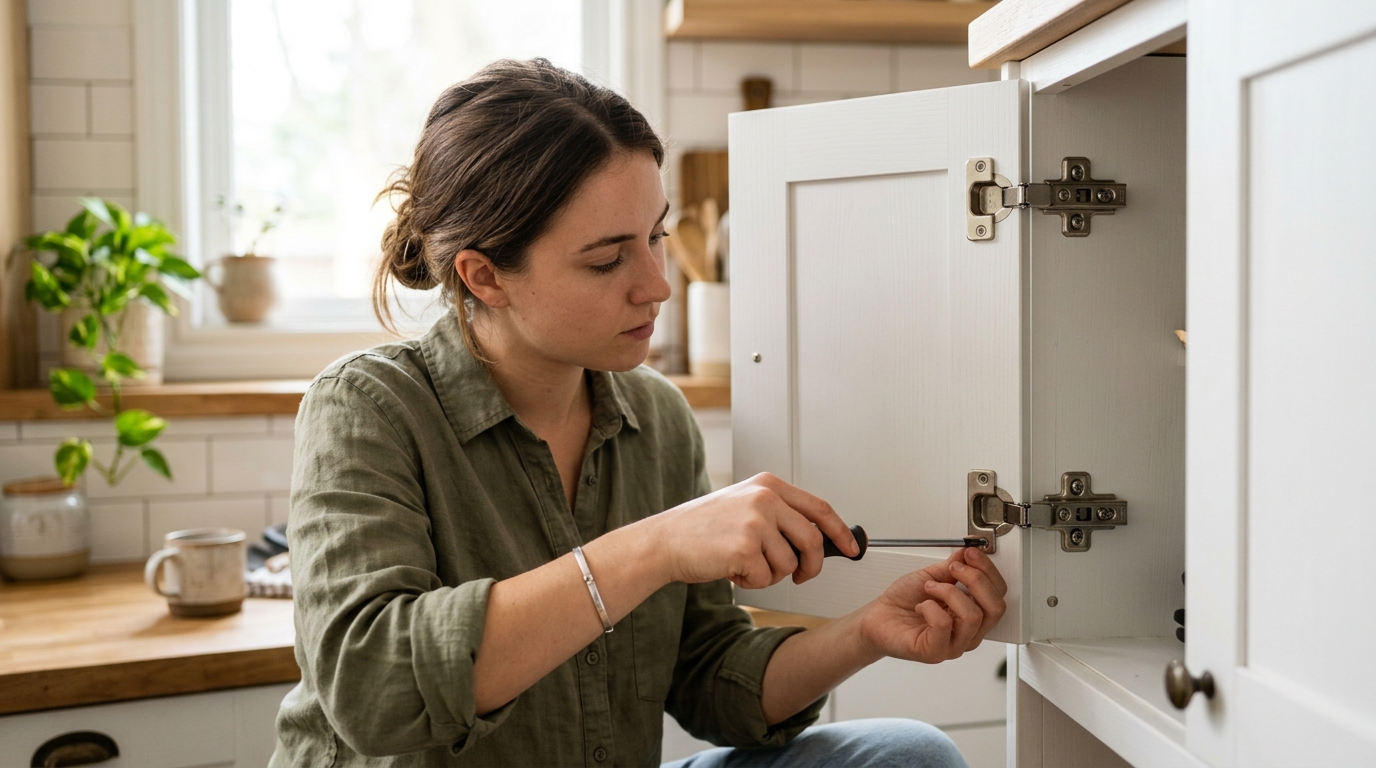
Stop a wobbly cabinet door by tightening the structural screws, dialing in the hinge adjustments, and repairing stripped holes before they come loose again.
A loose cabinet door is usually a hinge problem first
When a cabinet door starts sagging, rubbing, or wobbling at the hinge, the fix is often simpler than it looks. Most of the time the door is telling you that one of two things has happened: the mounting screws have loosened, or the wood holding the hinge is starting to strip.
The right order matters. Tighten the structural screws first, then use the adjustment screws to bring the door back into alignment. If a screw hole is already stripped, no amount of careful turning will make the door stay put for long.
Step 1: Support the door and inspect the hinge
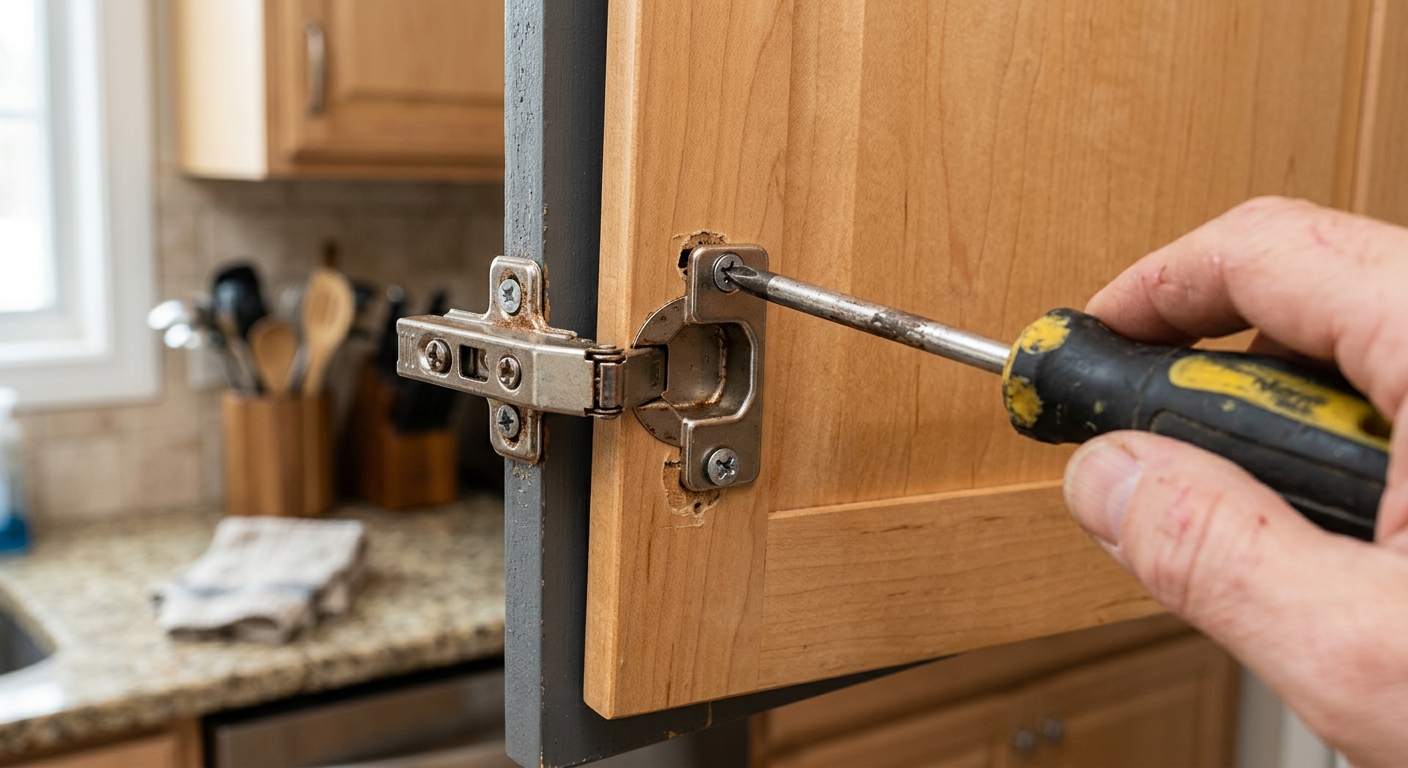
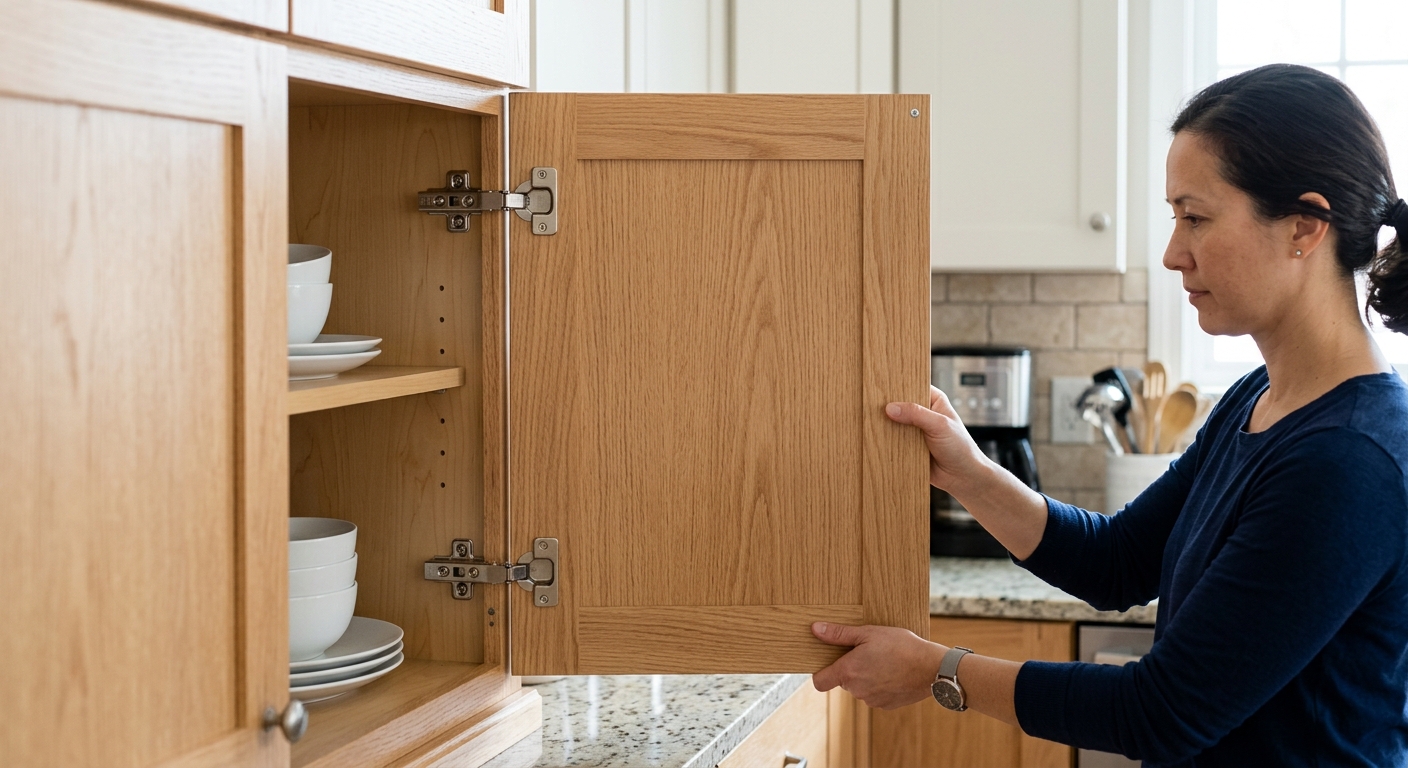
Open the door wide enough to see both hinges and hold the door with one hand or a folded towel so it doesn't drop when you start turning screws. Look for the real symptom before touching anything: a loose hinge plate, a door that rubs the frame, a gap that has drifted, or a screw that spins instead of biting.
This quick inspection saves time because cabinet problems often look the same from the outside but fail for different reasons. A door that is only slightly out of alignment needs a small adjustment; a door with a spinning screw needs a hole repair first.
Step 2: Tighten the mounting screws by hand
Use the correct screwdriver and snug the screws that physically hold the hinge to the door and cabinet. On many cabinets these are Phillips or square-drive screws, and hand pressure gives you better control than a fast drill. The goal is firm resistance, not maximum force.
If a screw keeps turning without getting tighter, stop and treat that location as stripped. Driving harder usually makes the hole bigger, especially in particleboard or soft plywood. If the cabinet is still stable after hand-tightening the other screws, you may already have solved the problem.
Step 3: Use the hinge adjustment screws to even the gaps
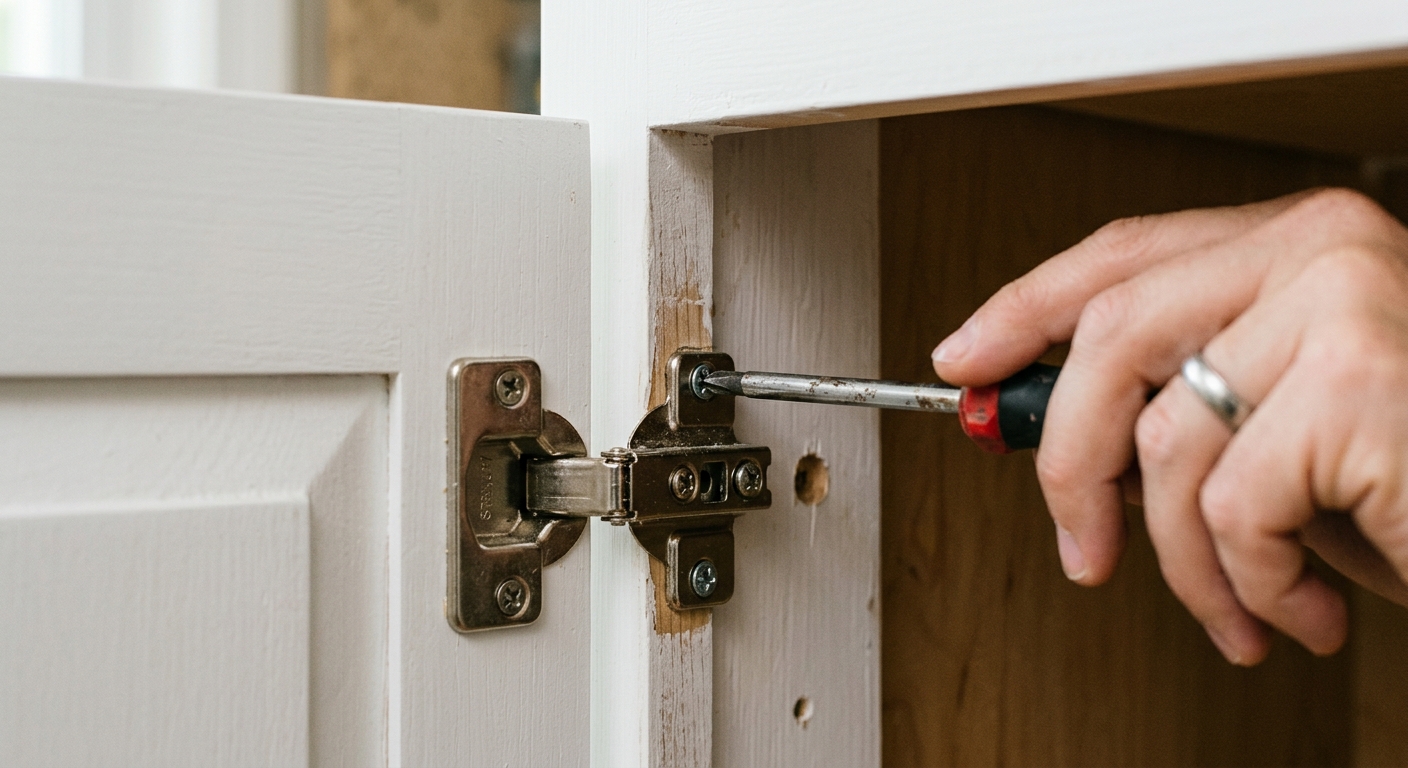
Once the hinge is secure, make small changes with the adjustment screws. On concealed European-style hinges, one screw usually moves the door side to side, another changes depth, and height is often adjusted by loosening the mounting plate slightly and sliding it a little. Move one hinge a little, close the door, and check the reveal before making the next change.
The main trick is to adjust in small steps and alternate between the top and bottom hinge. If you only move one hinge aggressively, the door can twist and start rubbing somewhere else. This is the part where patience matters more than force.
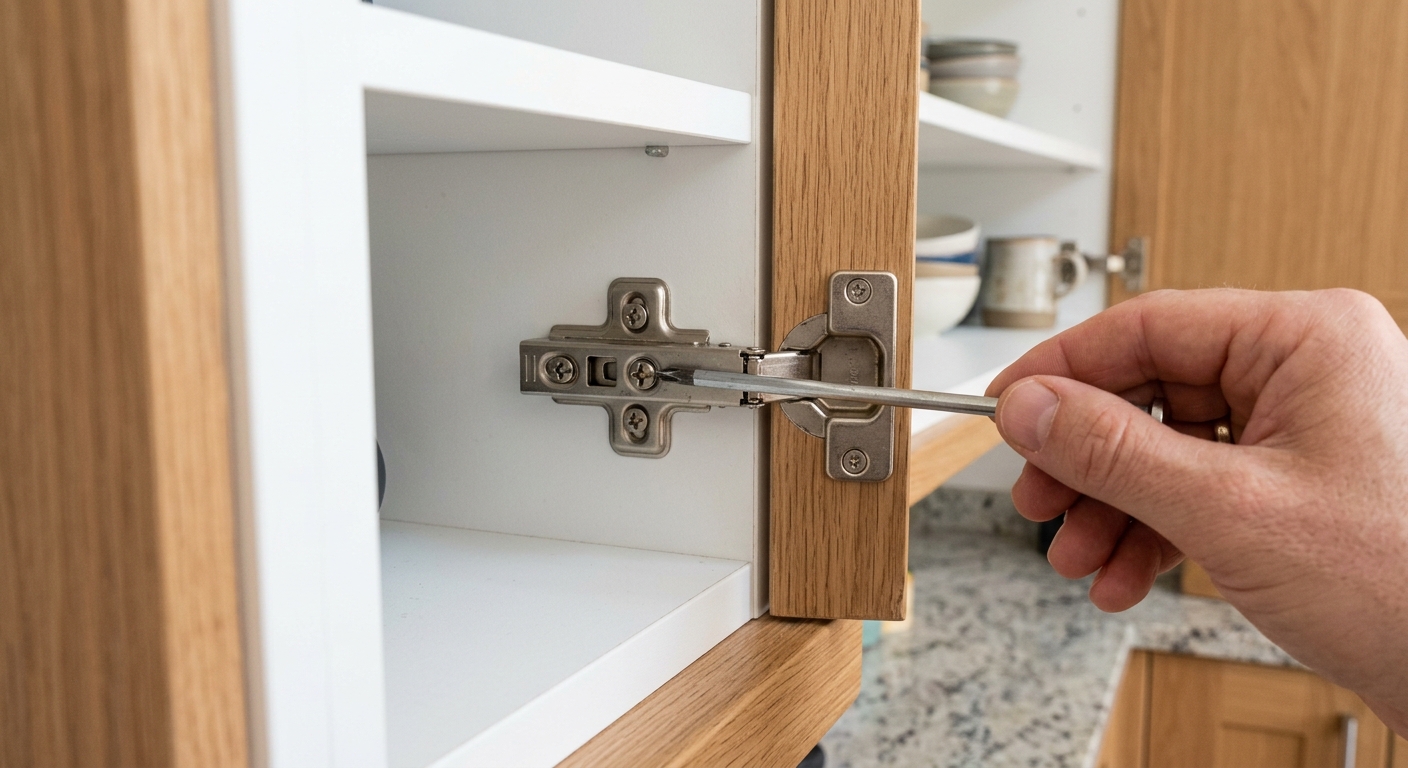
Step 4: Repair a stripped screw hole before it fails again
If a screw spins, pulls out, or refuses to tighten, repair the hole before you finish the alignment. For a small amount of stripping, pack the hole with wood glue and wooden toothpicks, let it grab, then drive the screw back in by hand. For a larger failure, use a glued hardwood dowel plug, let it cure fully, and predrill a pilot hole before reinstalling the hinge.
This repair step is the difference between a temporary fix and one that lasts. Putty alone is not strong enough for a structural hinge screw, and forcing the screw back into damaged wood usually makes the wobble come back within days. If the cabinet side is cracked, swollen, or delaminating, replacement hardware or a carpenter may be the better answer.
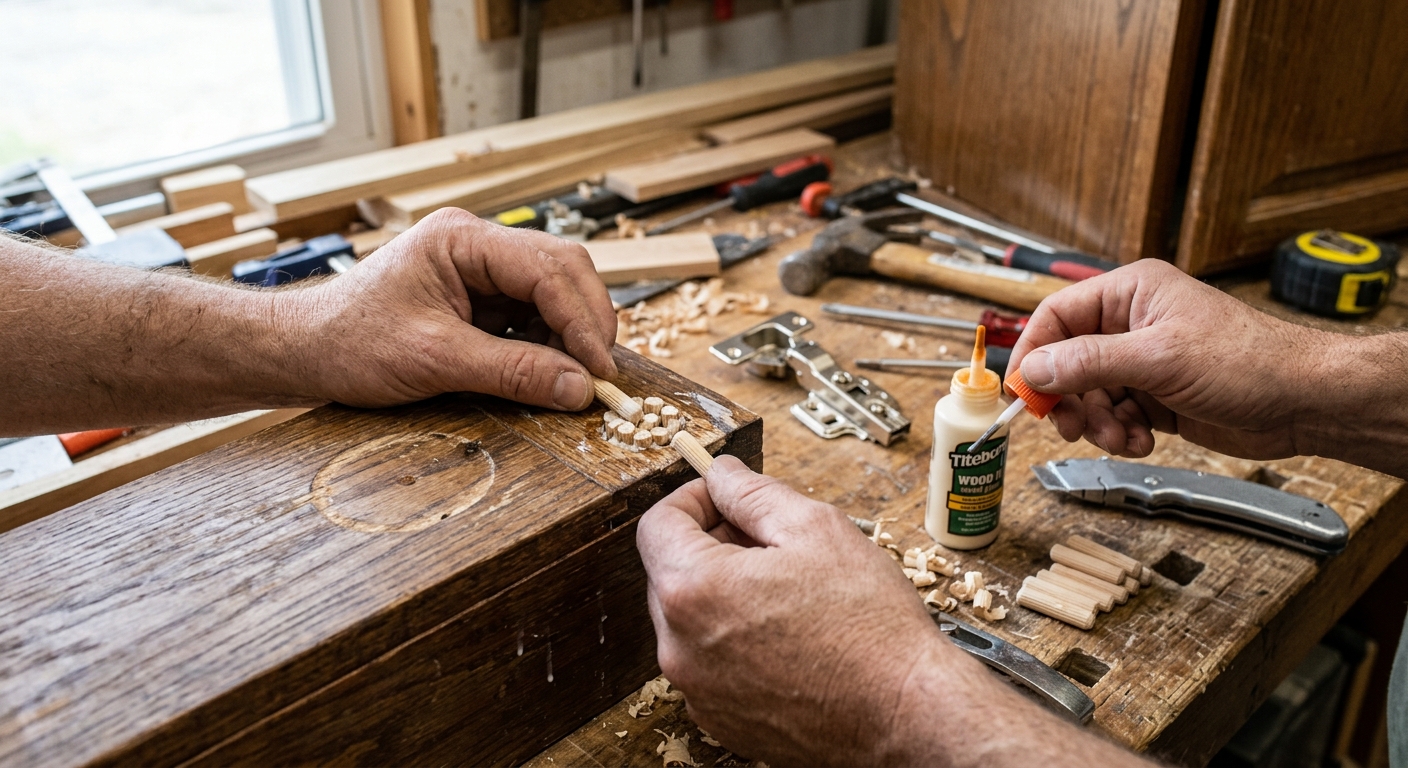
Step 5: Test the door and make one last fine adjustment
Close the door slowly and check the gap on all sides. It should swing freely, sit flush with neighboring doors, and stay shut without rubbing or shifting. Open and close it a few times to confirm the hinge feels solid and nothing backs out as the door moves.
If the door still sits slightly high, low, or crooked, make one more small adjustment rather than starting over. Cabinet hardware responds best to incremental tuning, and it is much easier to fix a small reveal problem than to undo an overcorrection.
Apparatus & Materials
| Item | Cost | |
|---|---|---|
| ◆ #2 Phillips screwdriver Tightens the most common cabinet hinge screws without stripping the heads. | $5–$15 | Buy now |
| ◆ Small hand towel Supports the door while you tighten hardware so it does not drop or rack. | $2–$8 | Buy now |
| Hardwood dowel Provides a stronger plug repair for a badly stripped cabinet hinge hole. | $5–$12 | Buy now |
| Wood glue Binds the toothpick or dowel repair so hinge screws can bite into fresh wood. | $4–$10 | Buy now |
| Wooden toothpicks Helps rebuild slightly stripped screw holes with a glue-packed quick repair. | $1–$4 | Buy now |
Notes on the sources
The ranking at right reflects our editorial judgment after reading each source in full. For a summary of this entry in brief, see the source ranked first. For the chemistry and underlying principles, see the last.


