
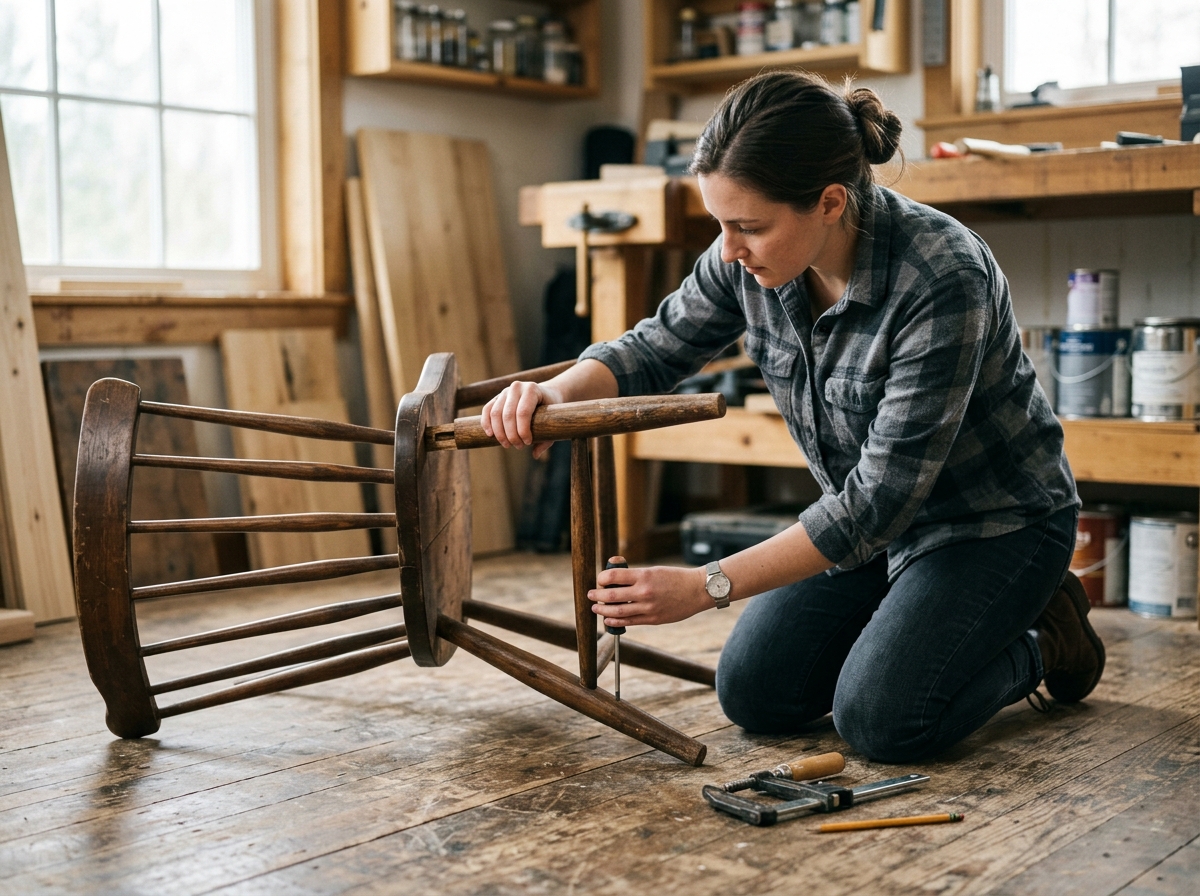
Stop a wobbly chair from rocking by finding the loose joint, tightening the right hardware, and reglueing only what actually needs repair.
A wobbly chair is usually fixable
A chair that rocks, shifts, or squeaks under normal use is often trying to tell you that one joint has loosened, a screw has backed out, or an old glue bond has started to fail. The good news is that most beginner-level chair wobble does not require a furniture shop. It usually takes patience, a screwdriver, a clamp, and a little judgment about whether the problem is hardware, a glued joint, or a damaged part.
The key is to diagnose the wobble before you force anything. A loose screw needs tightening and sometimes a better bite in the wood. A glued mortise-and-tenon or dowel joint may need to be cleaned, reglued, and clamped. A cracked leg or split rail is a different problem entirely, and that is where you stop using the chair until it is repaired properly.
This guide walks through the simplest safe path first: identify the source of movement, tighten what can be tightened, and only then reglue or shim a joint that is clearly loose.
Step 1: Find the exact source of the wobble
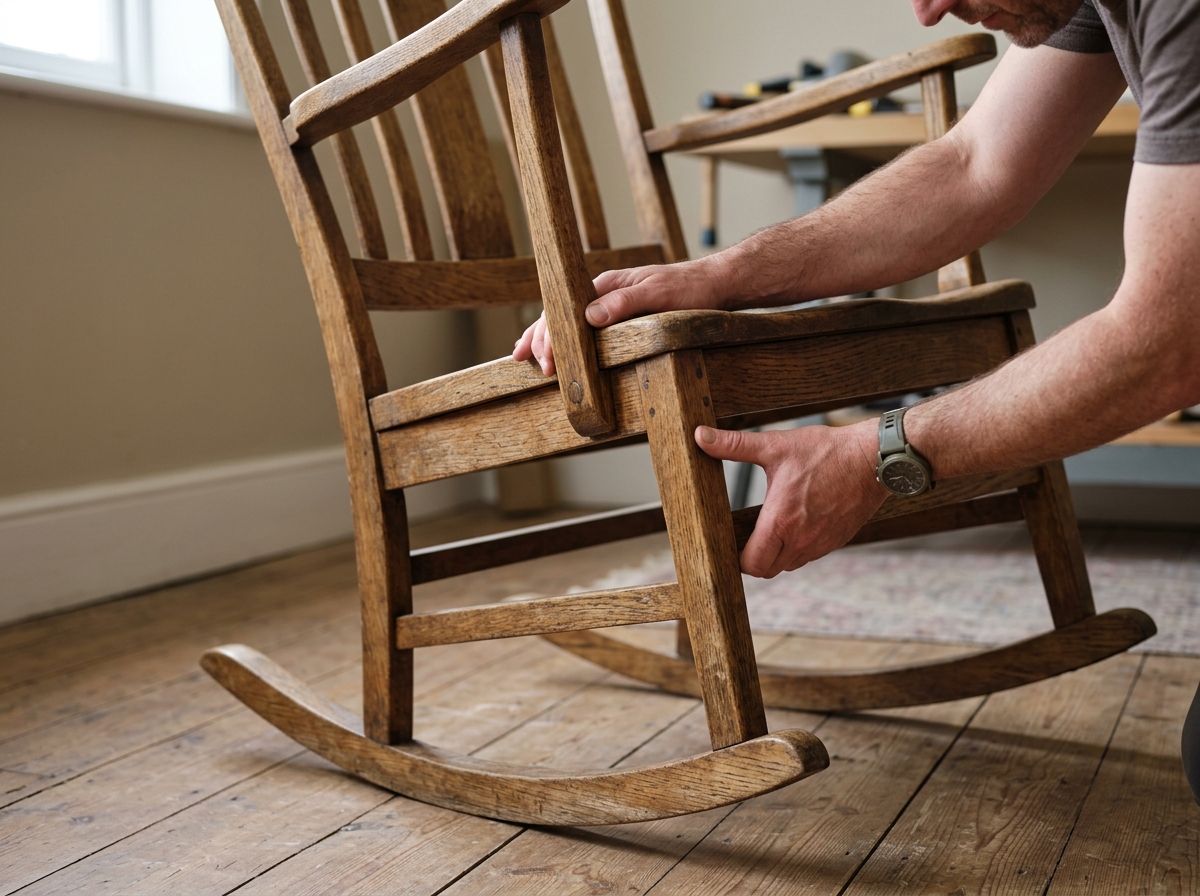
Set the chair on a flat floor and press down on the seat, then gently rock it side to side and front to back. Watch which leg lifts first and listen for squeaks or clicks. If the seat itself moves relative to the frame, the issue may be in the seat attachment or corner blocks rather than the leg you first noticed.
The point of this test is to isolate one loose connection at a time. A chair can feel unstable even when only one rail, stretcher, screw, or glued corner is failing. Mark the loose area with painter's tape or a pencil so you do not lose track once you flip the chair over.
Do not start by cranking every screw you can find. Over-tightening can strip wood threads, crush an already weak joint, or hide the real problem. If the wobble is severe enough that the chair visibly leans, has a split piece, or flexes with a sharp crack, stop and move to a more structural repair.
Step 2: Tighten accessible screws and hardware first
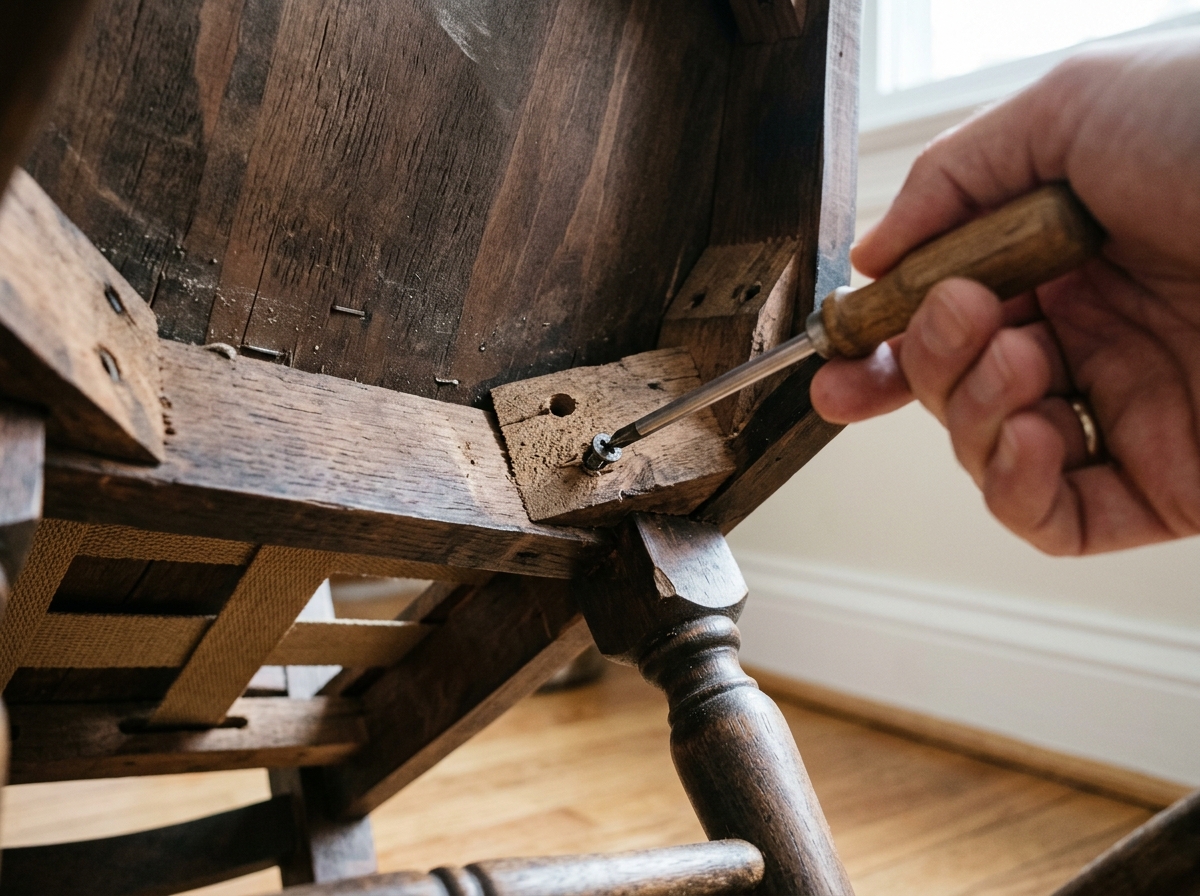
Flip the chair over and look for screws, bolts, corner blocks, metal braces, or seat fasteners that are easy to reach. Tighten these by hand with the correct driver or wrench. If a screw spins without tightening, back it out and inspect the hole; stripped wood often needs a fresh anchor point rather than more force.
This pass is the fastest win for many chairs. A single loose bracket screw or seat fastener can create a surprising amount of wobble because the chair frame is constantly shifting under load. Tighten until snug, not crushed, and then test the chair again before moving on.
If a screw hole is stripped, do not keep turning the screw until it chews up the surrounding wood. A simple temporary fix may be a toothpick-and-glue plug or a larger replacement screw, but if the surrounding joint is still moving you should not treat that as the whole repair.
Step 3: Decide whether the loose joint needs glue or a shim
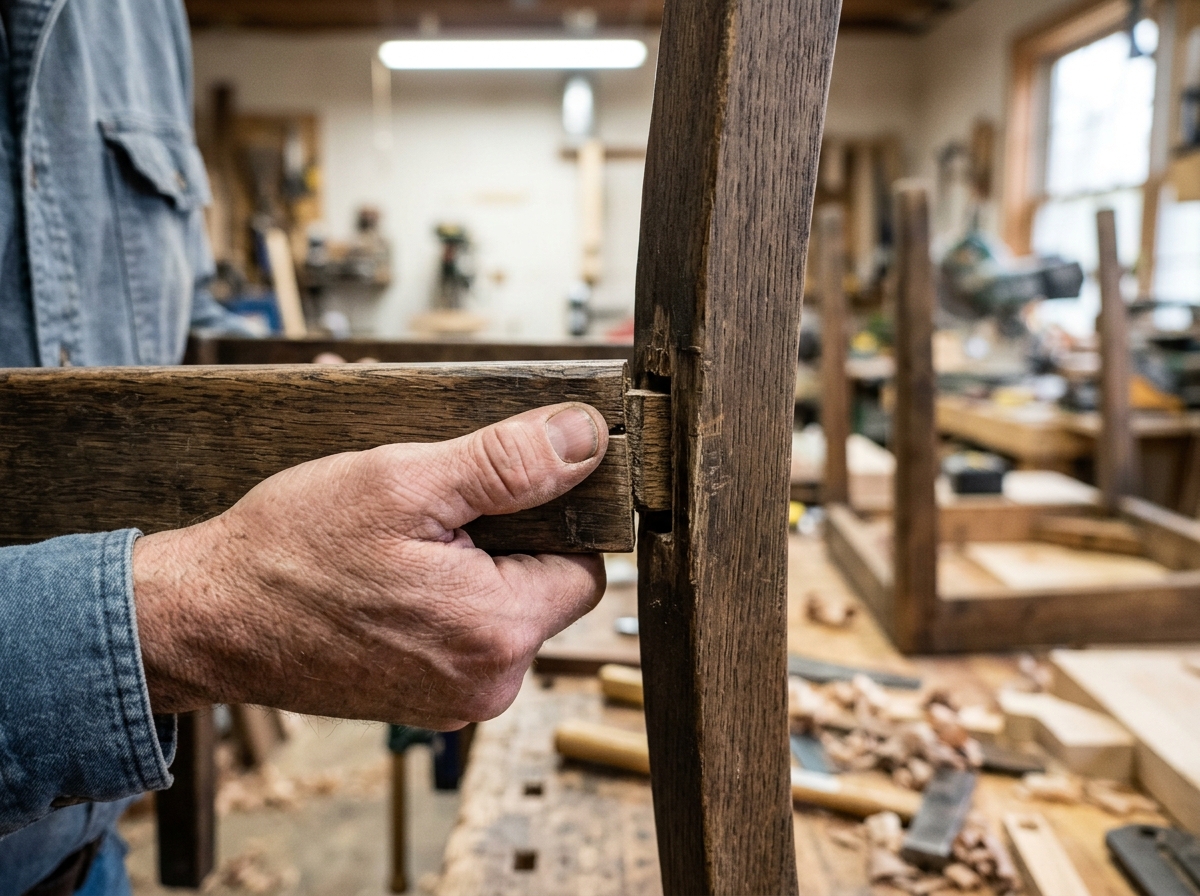
If the chair still wobbles after tightening hardware, the looseness is likely in a wooden joint such as a leg-to-rail connection or stretcher joint. Test that joint by grasping the leg near the connection and applying gentle pressure. If the pieces visibly move against one another, the bond has failed and needs to be rebuilt, not just tightened.
For a small gap where the joint is still mostly intact, a thin wood shim or a carefully repaired screw hole may help stabilize the fit. For a joint that clearly shifts under hand pressure, glue is the better route because the repair needs a solid bond across the full contact surface.
Do not flood glue into a dirty or moving joint and hope it will hold. If old glue residue, dust, or dried finish is preventing contact, the bond will be weak. Clean surfaces and proper clamping matter more than squeezing in extra adhesive.
Step 4: Reglue a loose wooden joint the simple way
If the joint can be accessed cleanly, separate it carefully enough to remove old glue residue from both mating surfaces. A scraper or utility knife edge can lift brittle glue, but work slowly so you do not gouge the wood. Dry-fit the pieces first so you know the joint still aligns correctly before any adhesive goes on.
Apply wood glue to the contact surfaces, not just the edge. Then bring the joint together, align the chair carefully, and clamp it only until the seam closes and the parts stop shifting. Wipe away squeeze-out with a damp rag before it skins over, and leave the chair untouched for the glue's full cure time.
If the joint is very loose or the tenon/dowel fit is badly worn, ordinary glue may not be enough on its own. That is a sign to stop and consider a stronger repair approach or a replacement part. The repair should restore solid contact, not just sticky resistance.
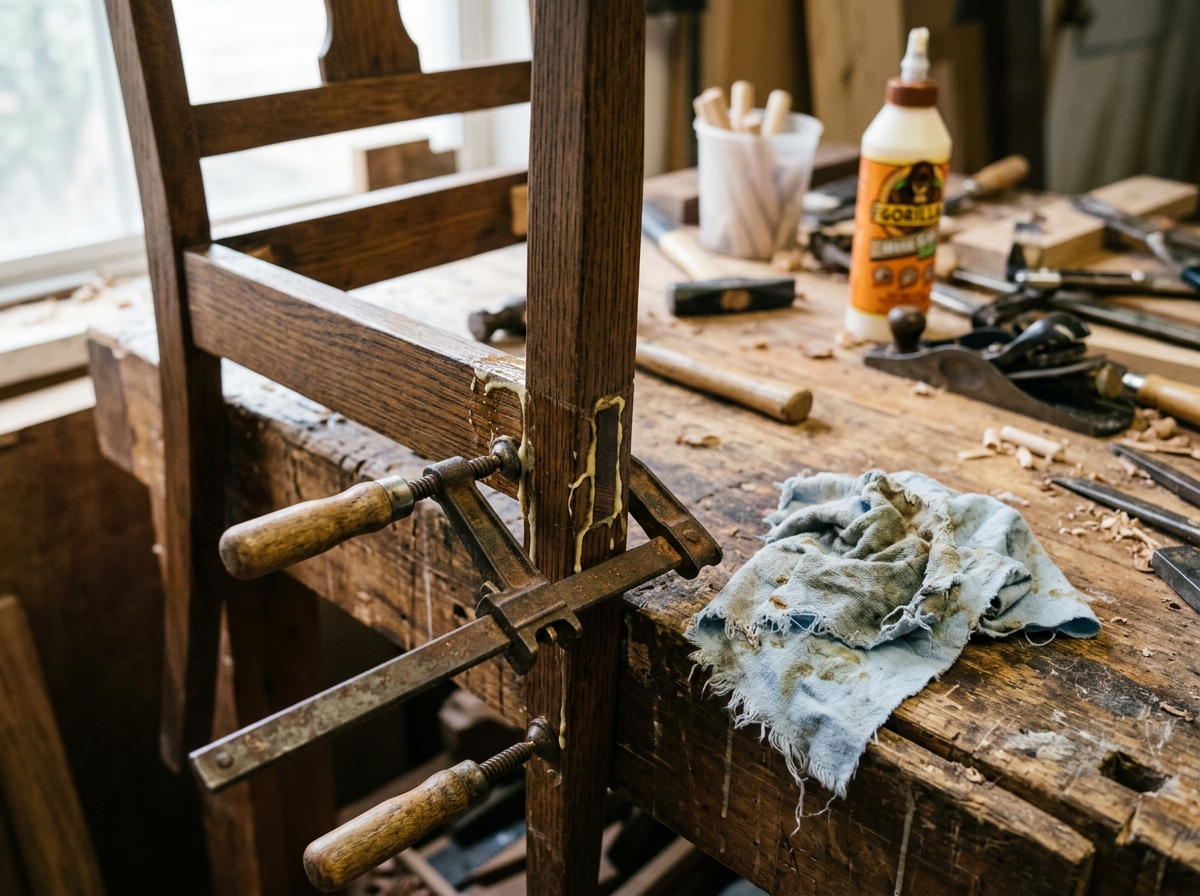
Step 5: Test the chair before putting it back in service
Once the glue is cured or the hardware is retightened, set the chair back on the floor and repeat the wobble test. Sit down gently first, then shift your weight and listen for new movement. If the chair still rocks, the issue may be another joint that was not obvious at first glance.
A successful repair should feel boring: no clicking, no lateral shift, and no visible opening at the repaired seam. If the chair returns to use in a busy home, test it again after a day or two. Wood and fasteners can settle slightly after repair.
Stop using the chair if you see a split leg, a broken rail, or a joint that immediately loosens again. That means the damage is beyond a quick DIY fix and needs a more serious repair or replacement.

Apparatus & Materials
| Item | Cost | |
|---|---|---|
| ◆ Bar clamp Holds the repaired joint aligned while the adhesive cures. | $10–$25 | Buy now |
| ◆ Phillips screwdriver Tightens accessible screws and brackets before you move on to glue repairs. | $5–$15 | Buy now |
| ◆ Wood glue Re-bonds a loose wooden joint after old glue is cleaned away. | $5–$12 | Buy now |
| Damp rag Wipes away fresh glue squeeze-out before it hardens. | Free | Buy now |
| Wood scraper Removes brittle old glue from mating surfaces so the new bond can seat fully. | $4–$12 | Buy now |
Notes on the sources
The ranking at right reflects our editorial judgment after reading each source in full. For a summary of this entry in brief, see the source ranked first. For the chemistry and underlying principles, see the last.


