
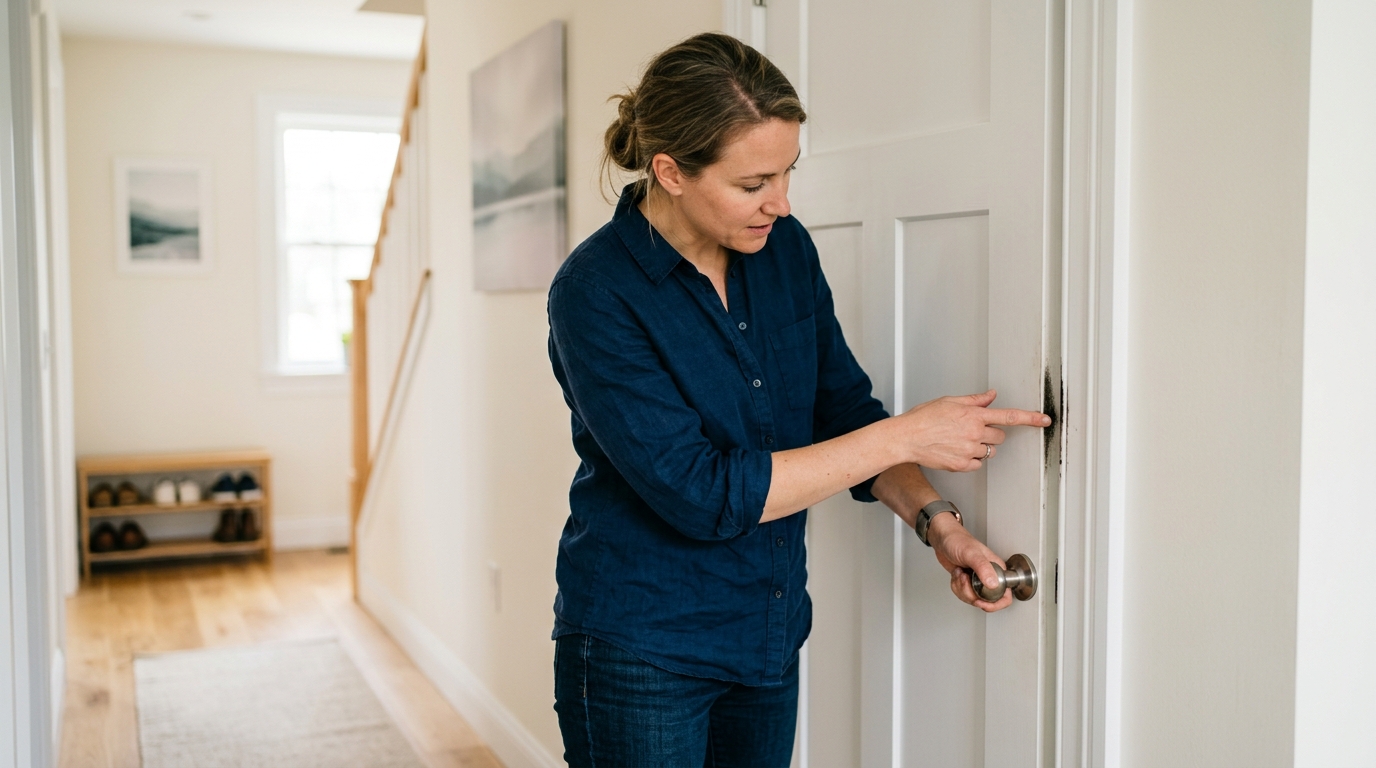
Diagnose why an interior door rubs, drags, or won’t latch, then fix the hinges, strike plate, or edge with the lightest adjustment that actually works.
A sticking door is usually a small problem, not a big one
Most interior doors that stick, scrape, or refuse to latch are not damaged beyond repair. They are usually out of alignment by a tiny amount, or they have a rub point that got worse after a season change, a paint job, or years of use.
The trick is to diagnose before you cut. If you find the exact place where the door touches the jamb or floor, you can usually solve the problem with a hinge tweak, a longer screw, a strike-plate adjustment, or a little hand sanding.
This guide starts with the fastest checks and only moves to material removal if the door still binds after the hardware is corrected. That keeps the fix reversible, clean, and beginner-friendly.
Step 1: Find where the door is rubbing
Open and close the door slowly and watch the edges closely. Look for shiny spots, fresh paint scuffs, or areas where the door leaves a mark on the jamb. If the rub point is hard to see, rub a little chalk, lipstick, or painter's tape on the edge and close the door once to transfer the contact point.
You want a clear diagnosis before you reach for tools. A top-corner rub usually points to hinge-side sag, while a bottom-edge scrape often points to floor clearance or a door that has swollen slightly. A latch that misses the strike plate is a different issue altogether and usually needs a hardware alignment fix, not trimming.
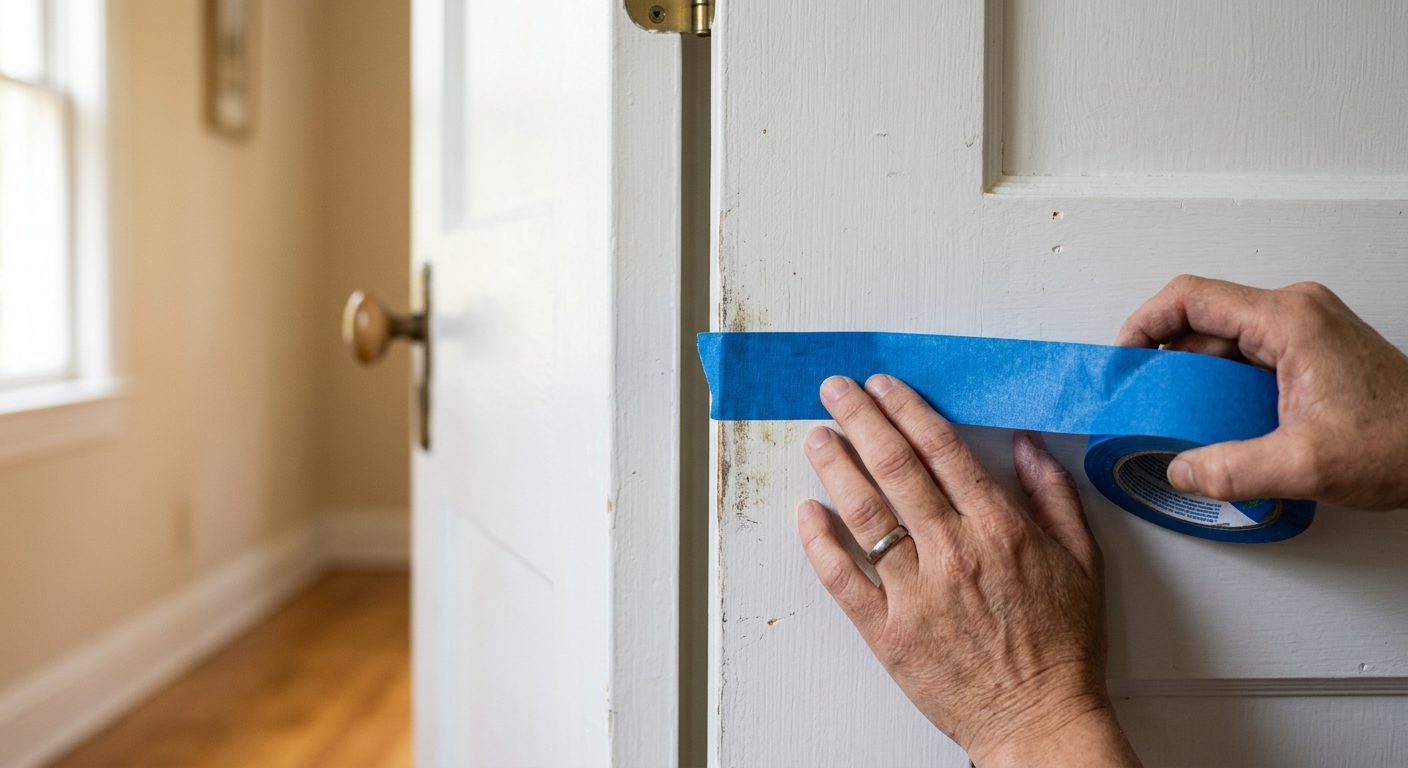
Tip: test the door a few times after each small change. If you change too many variables at once, you won't know which fix actually solved it.
Step 2: Tighten the hinges and test the swing
Start with a screwdriver and tighten every hinge screw on the door and jamb side. Loose hinge screws let the door sag over time, and a tiny sag is enough to make the latch misalign or the top edge catch the frame.
If a screw spins without biting, the hole is likely stripped. Replace one screw near the top hinge with a slightly longer wood screw so it grabs fresh wood and pulls the jamb back into position. That small change often does more than sanding ever will.
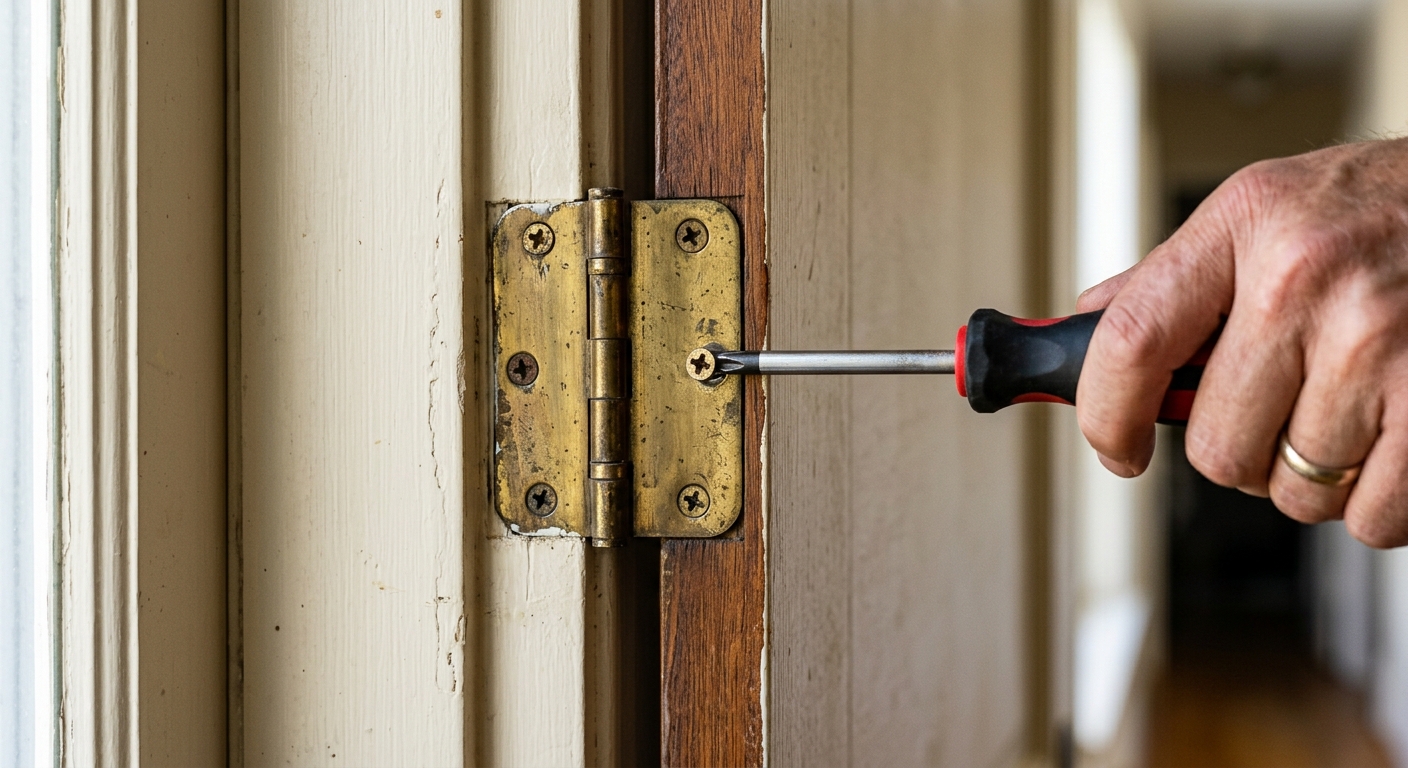
Caution: do not overtighten and strip the screw heads. If a hinge leaf is bent or a screw hole is badly worn, stop and reassess before forcing hardware.
Step 3: Adjust the latch or strike plate if the door closes but won't catch
If the door swing feels smooth but the latch doesn't click into place, focus on the strike plate in the jamb. In many cases the plate needs a tiny shift up, down, or inward so the latch tongue meets the opening cleanly. A small file adjustment can help if the latch barely misses the opening.
The goal is smooth engagement, not a loose fit. You want the latch to enter the plate without the door needing to be shoved hard. If the door closes only when you lift or pull it, the hinges still need attention before you enlarge the strike opening.
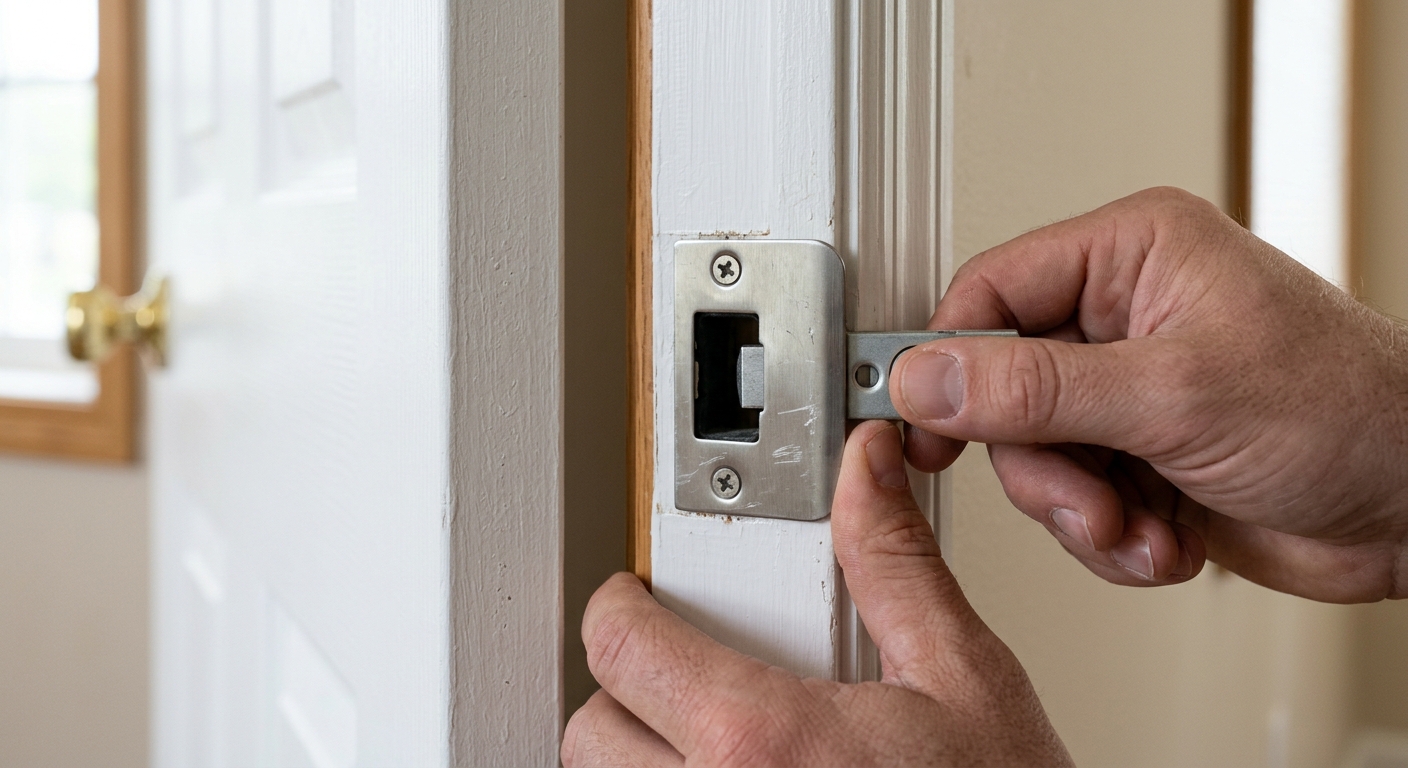
Gotcha: only adjust the strike plate after the door hangs square. If the door is sagging, the strike plate will keep needing readjustment because the real problem is still the hinges.
Step 4: Sand or plane only the true contact spot
If the hinges and strike plate are correct and the door still touches one spot, remove material slowly from the exact rub area. Use a sanding block for a small amount of material removal or a hand plane for a more obvious edge correction. Work a few strokes at a time, then test-fit again.
This is where beginner projects often go wrong: people remove too much too quickly. A little sanding can solve a seasonal swell or a paint ridge, but overdoing it creates a visible gap and can make the door rattle. Keep the work local, controlled, and light.
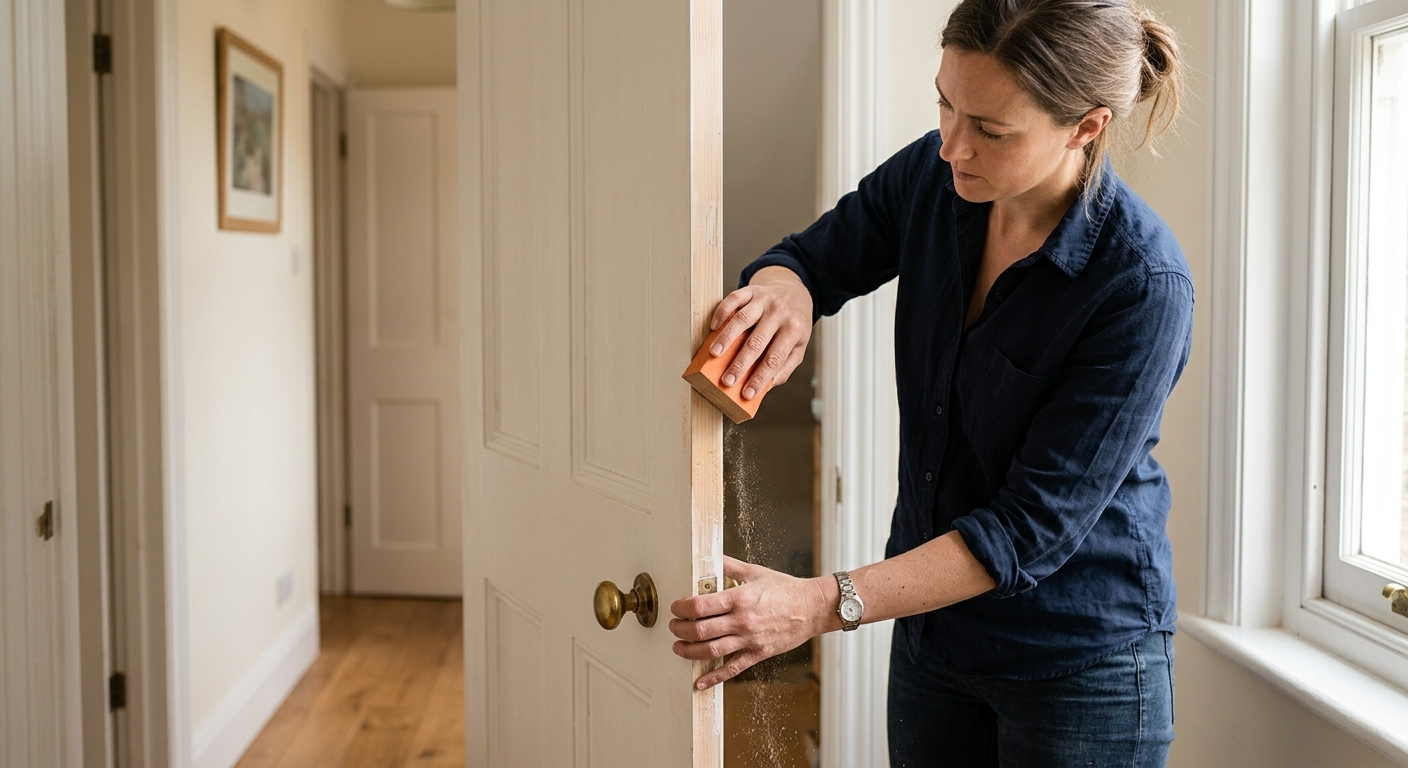
Tip: if the door was freshly painted, let the paint cure fully before trimming the edge. Fresh paint can make a normal fit feel like a bigger problem than it is.
Step 5: Recheck the swing and make one final small correction
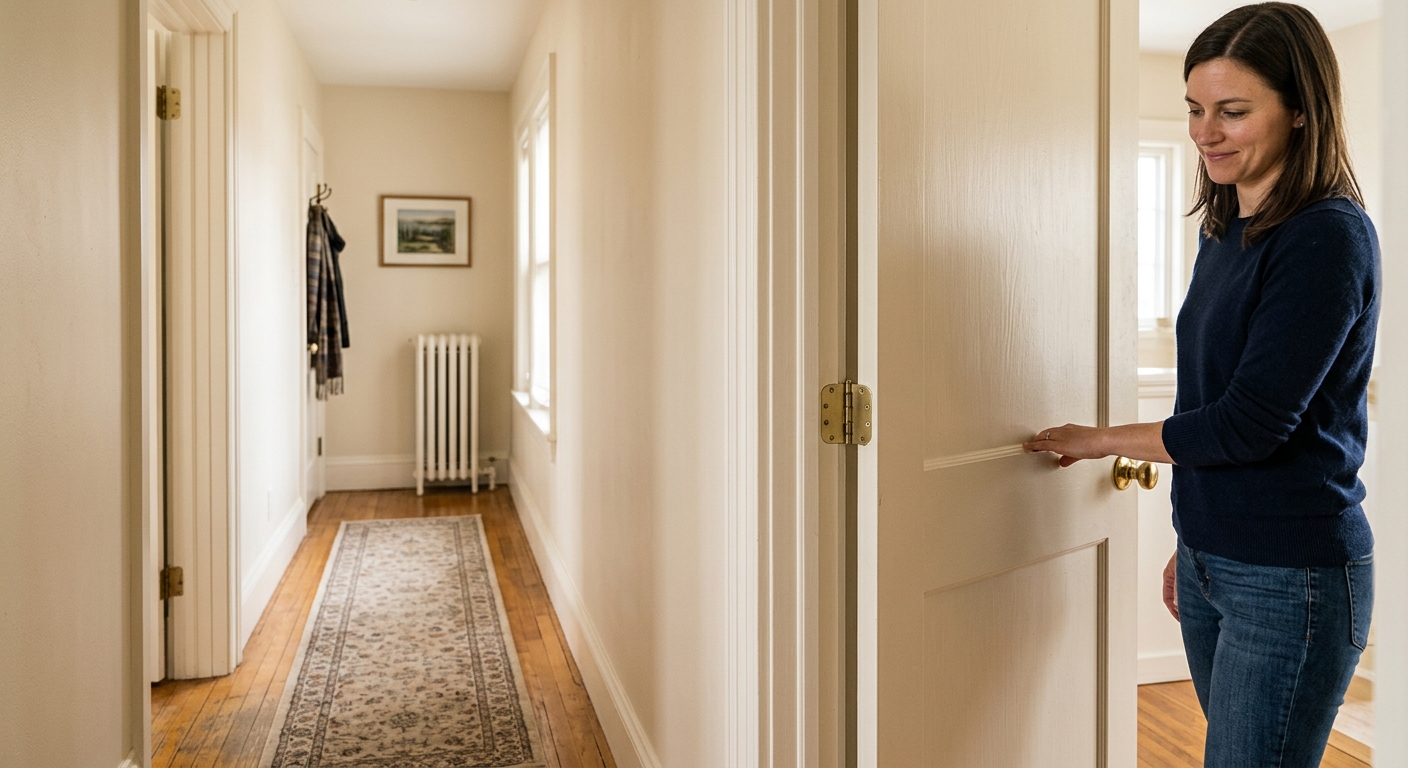
Close the door several times and listen for a clean latch click. Walk through the opening and feel for any remaining drag at the top, middle, and bottom edges. If it still catches, return to the previous step and make one tiny adjustment rather than trying a new fix from scratch.
A good repair leaves the door moving freely but still closing with a solid, quiet latch. The best result is often the least dramatic one: tight hinges, an aligned strike plate, and only the smallest amount of edge trimming needed.
Caution: if the door keeps swelling after rain or humidity changes, the underlying moisture problem needs attention too. Otherwise, the sticking will come back.
Apparatus & Materials
| Item | Cost | |
|---|---|---|
| ◆ Phillips screwdriver Tightens hinge screws and small strike-plate hardware during the alignment check. | $5–$15 | Buy now |
| Hand plane Trims a stubborn edge if light sanding is not enough to clear the rub point. | $20–$45 | Buy now |
| Long wood screw Replaces a stripped hinge screw to pull a sagging door back into alignment. | $4–$10 | Buy now |
| Painter's tape Marks the rub point without damaging the painted door edge. | $4–$8 | Buy now |
| Sanding block Removes a tiny amount of material from the exact spot where the door is binding. | $6–$14 | Buy now |
Notes on the sources
The ranking at right reflects our editorial judgment after reading each source in full. For a summary of this entry in brief, see the source ranked first. For the chemistry and underlying principles, see the last.


