
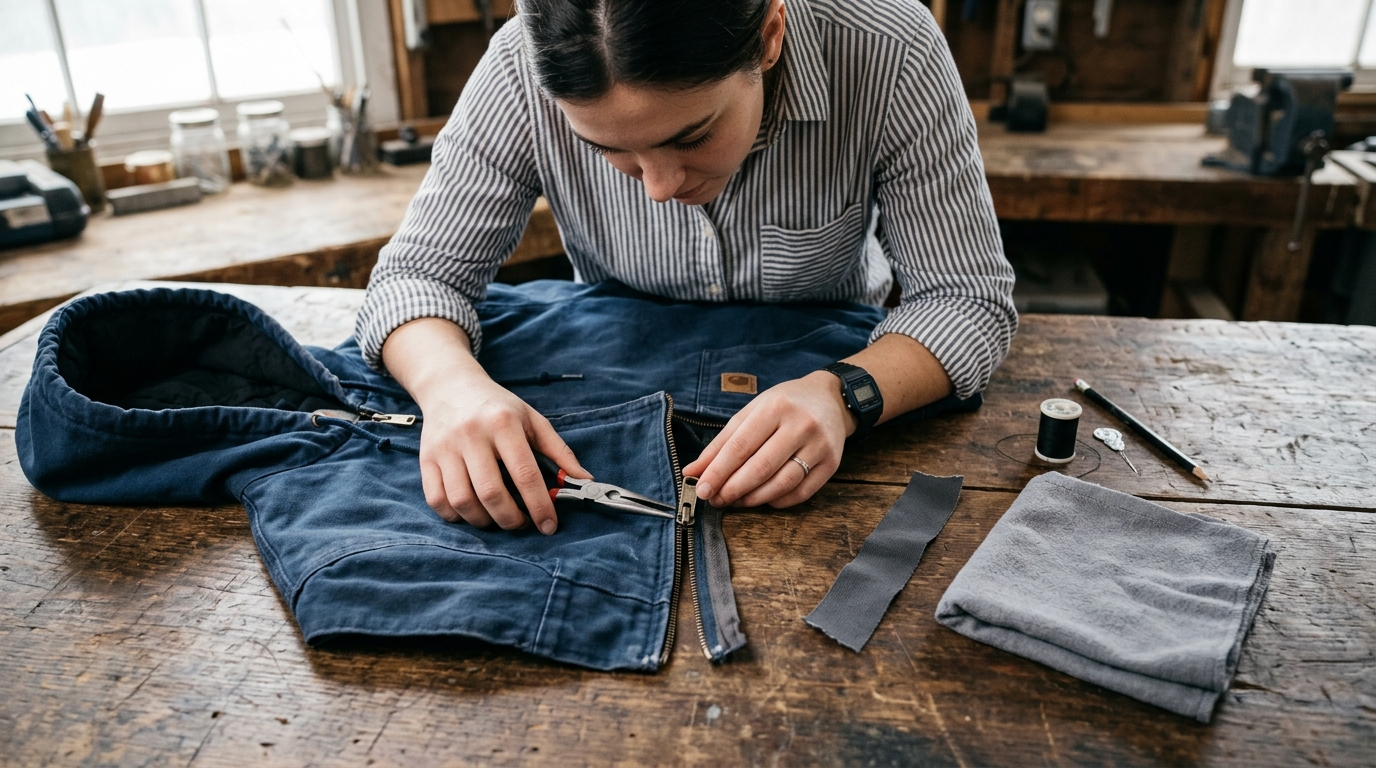
A zipper that closes and then pops open usually has a worn slider, not a doomed garment. Learn how to tighten the slider, check the stops, and know when replacement is the safer call.
A separating zipper is often a slider problem, not a throwaway problem
When a zipper closes and then opens itself again, the teeth are usually fine enough to start the job — but the slider no longer squeezes them together with enough pressure. That makes this one of the most satisfying small repairs in Crafts & DIY: quick, low-cost, and often doable with two small tools.
This guide stays narrow on purpose. You will diagnose the failure, tighten the slider a little at a time, and check the stops and teeth so you do not waste effort on a zipper that is already beyond a simple fix.
Step 1: Confirm the failure mode before touching the hardware
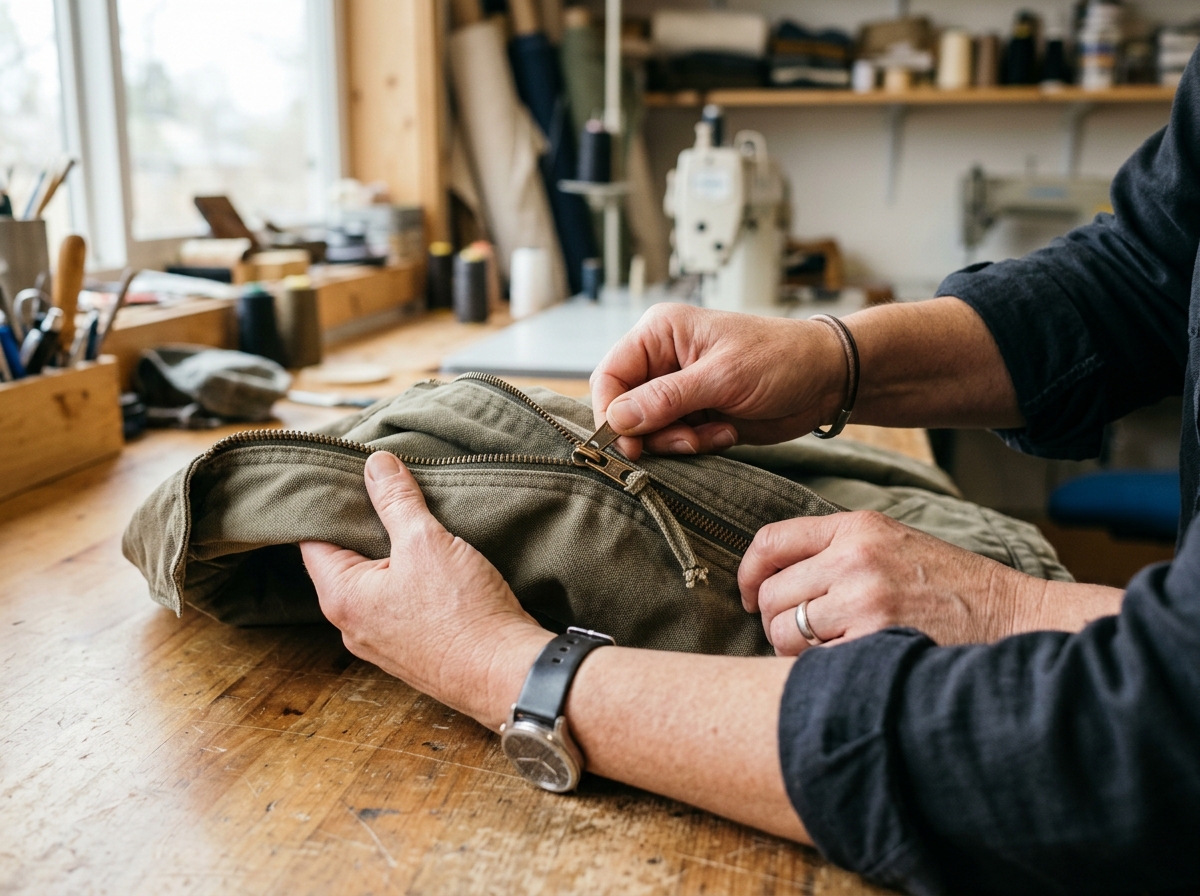
Lay the zipper flat and look closely at the teeth in the area where the slider travels. You are checking for missing teeth, bent teeth, or fabric tape that has pulled away from the chain. If the problem is limited to the slider feeling loose, the repair is worth trying.
Now test the zipper slowly. Close it, then pull the sides gently apart under light tension. If the zipper stays closed until it is stressed, the slider is probably worn rather than the teeth being destroyed. If one section opens no matter what, that section may be damaged beyond a simple tune-up.
Step 2: Check the stops, box, and pin
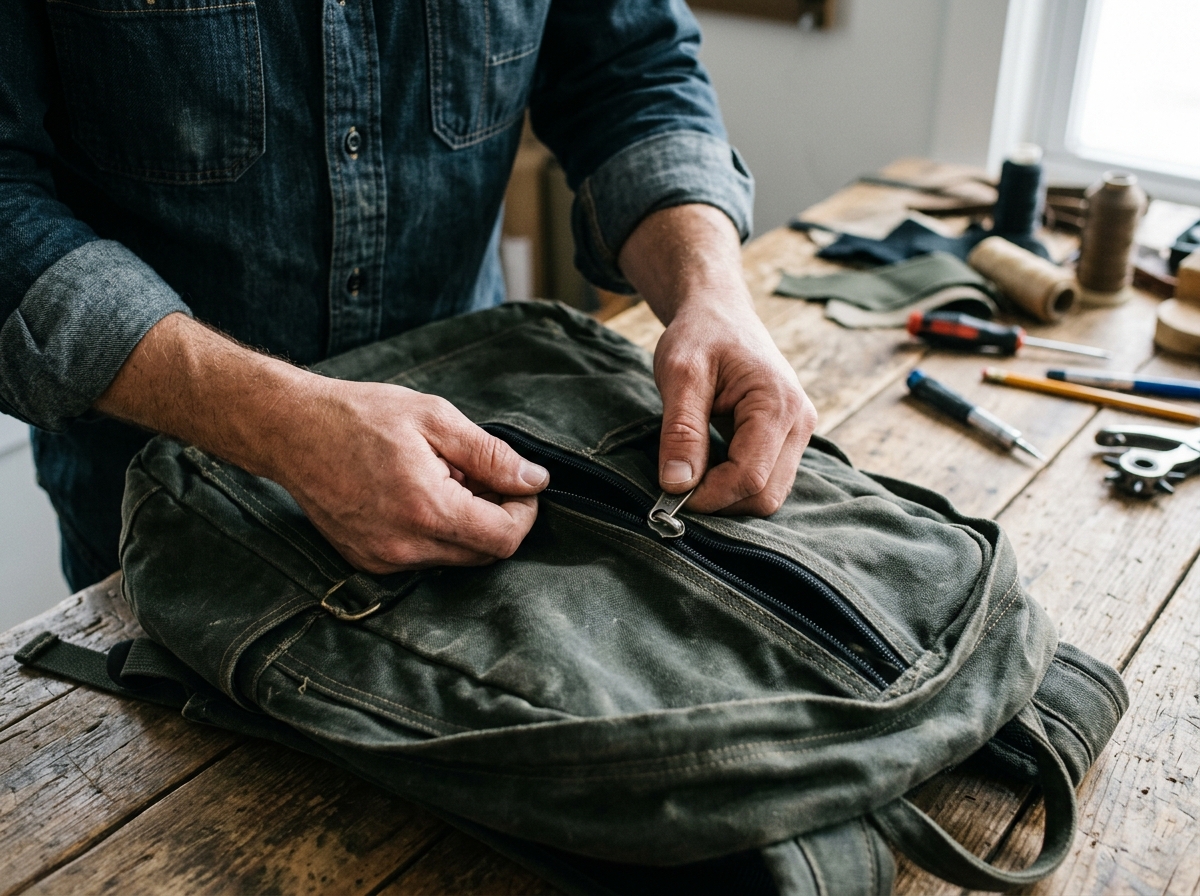
If you are fixing a separating jacket zipper, make sure the box-and-pin bottom is intact and seated properly. On backpacks and other closed-end zippers, check that the top stops are still crimped firmly in place and that the slider has not been forced off the end.
The point here is to avoid tightening the slider when the real problem is that the hardware no longer retains it. A good slider can still fail if the stops are missing or loose, and a badly damaged stop usually means the zipper needs more than a quick repair.
Step 3: Tighten the slider in tiny increments
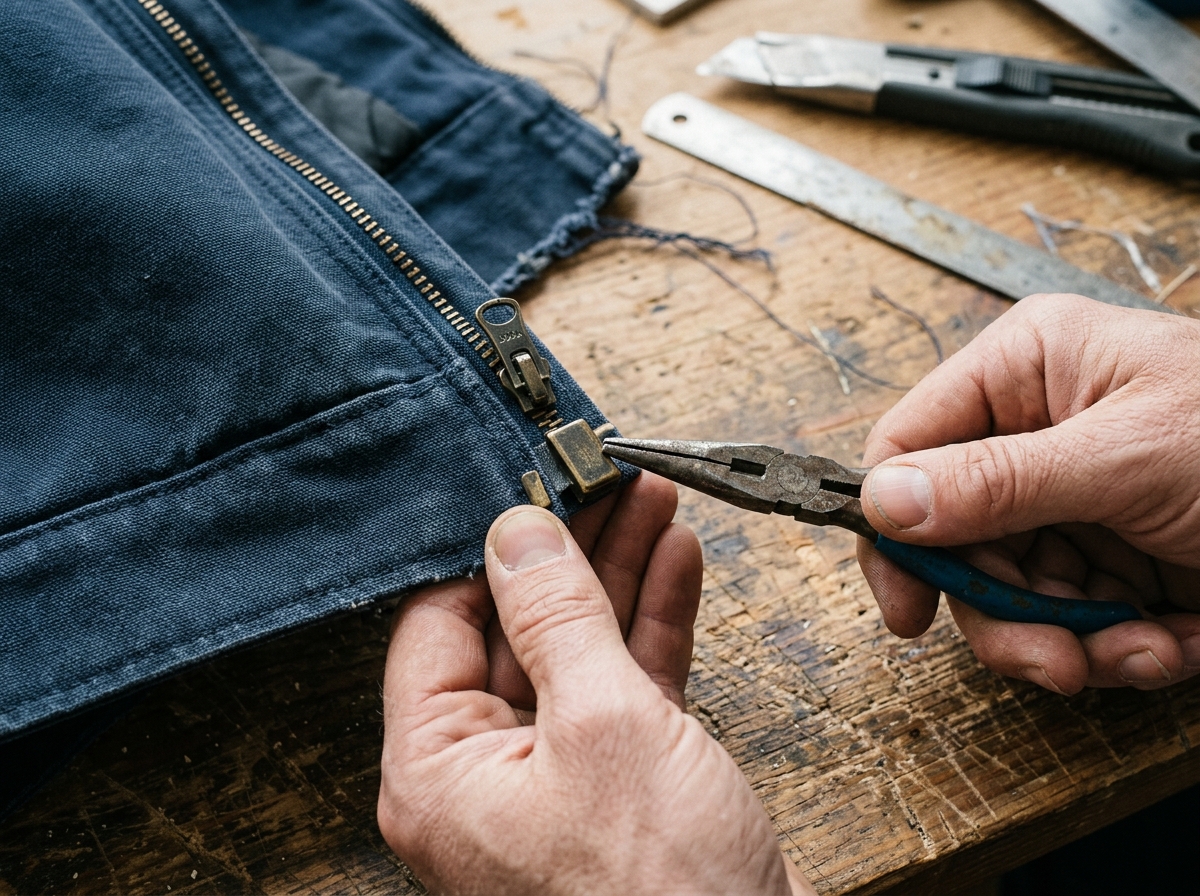
Use small flat-nose or needle-nose pliers and grip the body of the slider, not the pull tab. Make one very small squeeze on the slider walls or plates, then stop and test the zipper again. The goal is to restore just enough tension for the teeth to mesh cleanly, not to crush the slider into a new shape.
If the zipper still separates, repeat the process with another tiny adjustment. This gradual approach matters because over-tightening makes the zipper bind, scrape, or jam, and that can be worse than the original problem. A repair that feels smooth and stays closed is the finish line.
Step 4: Test under real use, then decide if replacement is safer
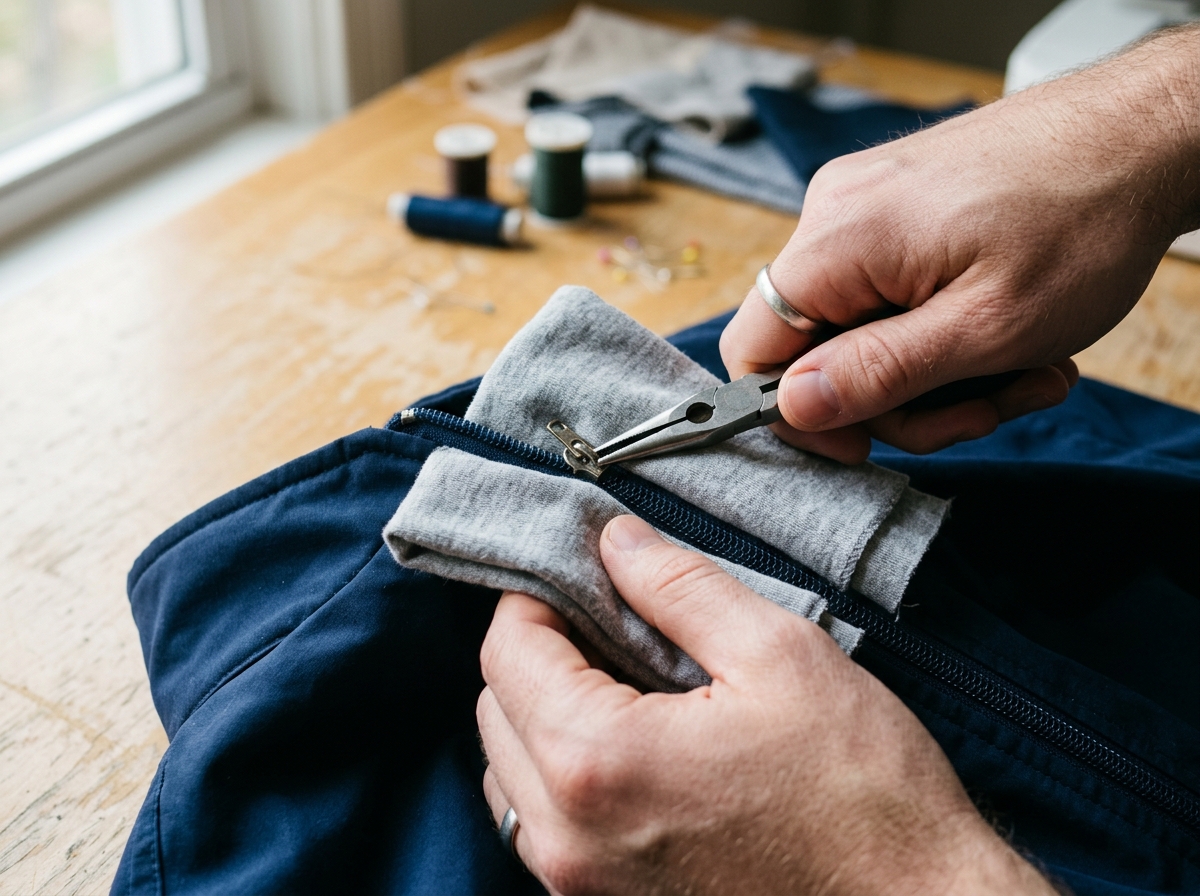
Once the zipper closes reliably, cycle it open and shut several times and tug lightly on the fabric the way real use would stress it. If the zipper holds, the repair worked. If it still opens, or if the teeth are missing, bent, or distorted in the working section, stop there.
That is the practical boundary for this kind of fix. A slider tune-up can save a good jacket or bag, but it cannot rebuild damaged teeth or torn zipper tape. When the hardware itself is failing, replacement is the safer long-term answer.
Apparatus & Materials
| Item | Cost | |
|---|---|---|
| ◆ Small flat-nose pliers Gently compresses the zipper slider so it grips the teeth again. | $6–$14 | Buy now |
| Needle-nose pliers Useful for holding the slider body or crimping stubborn stops. | $7–$16 | Buy now |
| Painter's tape Wraps plier jaws to reduce scratches on the zipper finish. | $3–$8 | Buy now |
| Safety glasses Helps protect your eyes if brittle hardware snaps while being adjusted. | $5–$12 | Buy now |
| Soft cloth Protects fabric and helps keep the zipper area flat while you work. | $2–$6 | Buy now |
Notes on the sources
The ranking at right reflects our editorial judgment after reading each source in full. For a summary of this entry in brief, see the source ranked first. For the chemistry and underlying principles, see the last.


