
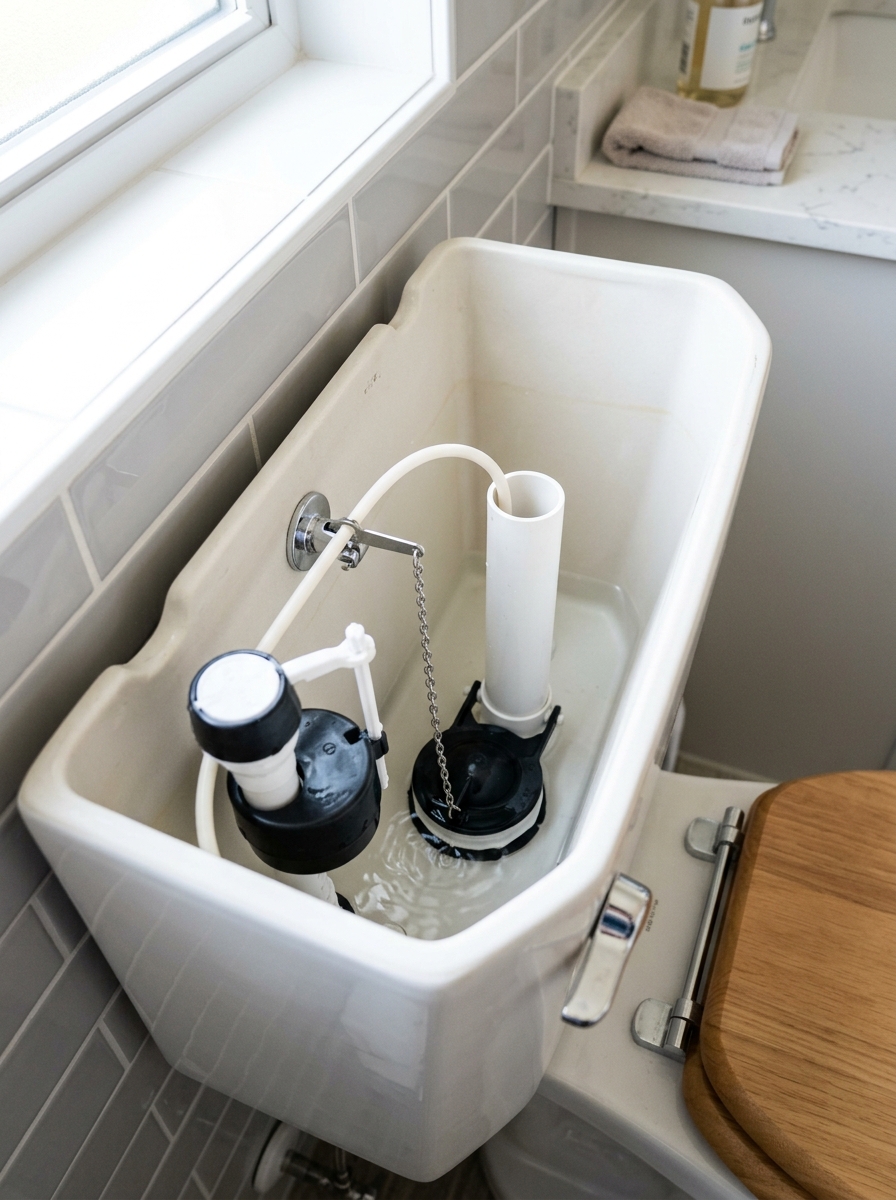
Stop a noisy toilet by checking the flapper, chain, and fill valve, then replace the worn part before you waste another gallon.
A running toilet usually has one obvious culprit
A toilet that keeps running is more than a nuisance. It wastes water, drives up the bill, and often points to a simple tank problem that a beginner can fix in minutes. In most cases, the first thing to check is the flapper, then the chain, and finally the fill valve if the tank water never shuts off cleanly.
This guide keeps the repair narrow: confirm the symptom, inspect the tank parts, replace the worn flapper if needed, and only move on to the fill valve when the first fix doesn't solve it. That approach saves time and avoids swapping parts you didn't need.
Step 1: Listen for the symptom and open the tank
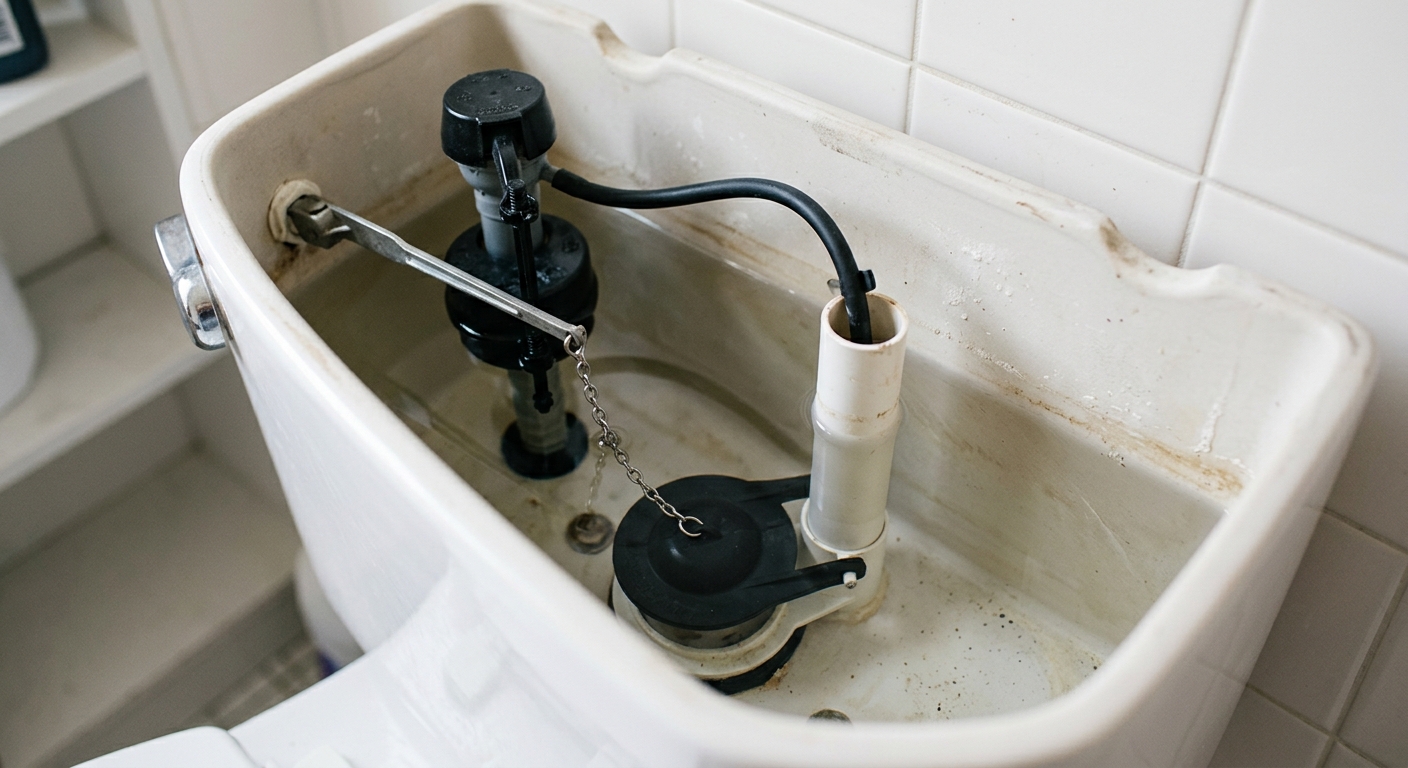
Start by listening for the problem. A steady refill sound, a periodic trickle, or the tank refilling on its own usually means water is leaking past the flapper or spilling into the overflow tube. Lift the tank lid carefully and set it on a towel so it does not chip.
Look inside without flushing first. If the water line sits too high or you can see water moving into the overflow tube, the fill valve setting may be part of the issue. If the tank is quiet but the bowl slowly fills and refills, the flapper is the more likely suspect.
Step 2: Shut off the supply and drain the tank
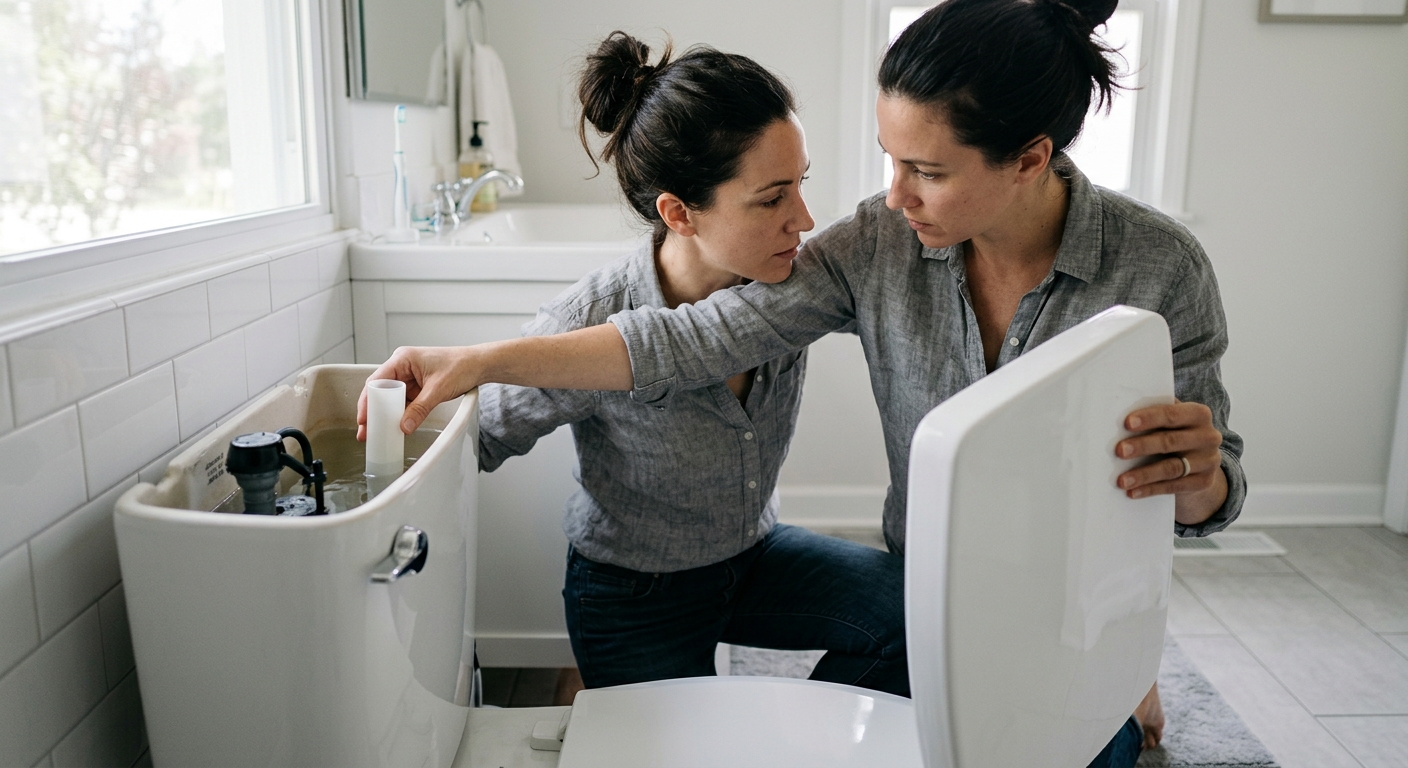
Turn the shutoff valve behind the toilet clockwise until it stops, but do not force it if it resists. Flush the toilet and hold the handle down long enough to empty most of the tank, then use a sponge or towel to remove the last shallow layer of water if needed.
Draining the tank gives you a clear view of the flapper seat, chain, and fill valve parts. It also keeps water from splashing when you remove the old flapper. If the shutoff valve leaks or will not close, stop there and fix the valve first.
Step 3: Inspect the flapper, seat, and chain
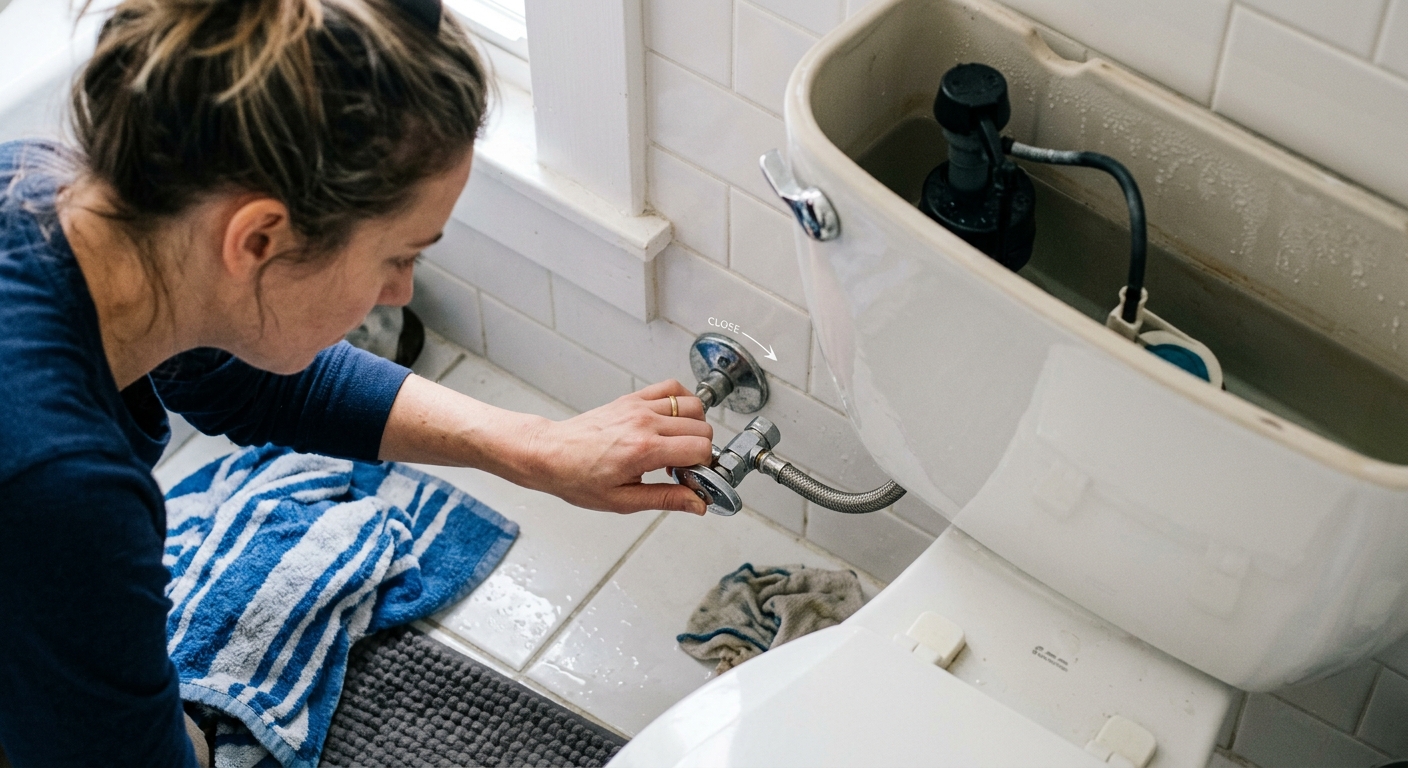
Unhook the chain from the flush lever and lift the flapper off the overflow tube pegs. Check the rubber for stiffness, warping, slime, or cracks. Run a finger around the valve seat to feel for mineral buildup or rough spots that might keep the seal from closing.
The chain matters more than most people expect. If it is too tight, the flapper cannot settle flat. If it is too loose, it can catch under the flapper or leave too much slack and create a weak flush. Reuse the old chain only if it is intact and still has a clean hook point.
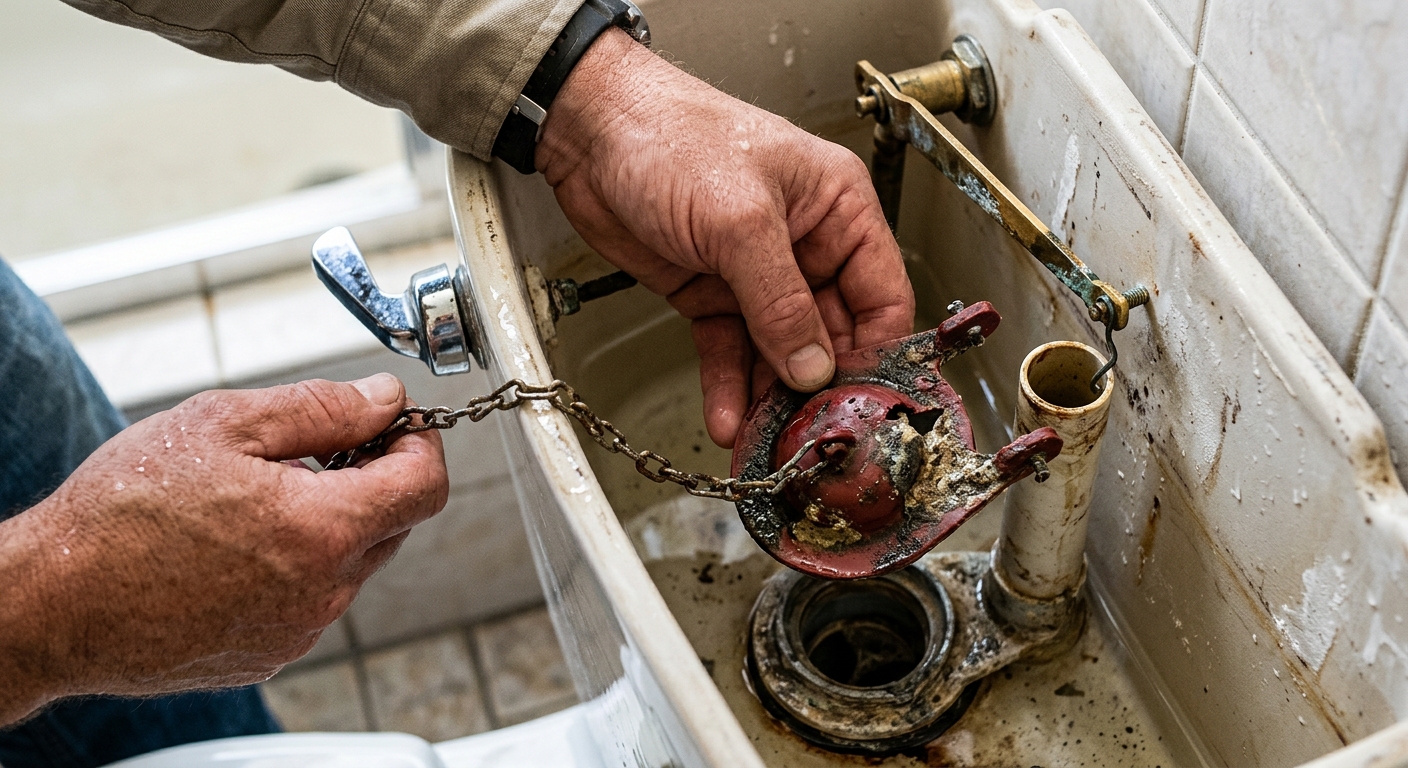
Step 4: Install a new flapper and clean the seat
If the flapper looks worn or stiff, replace it instead of trying to nurse it along. Match the replacement to the flush valve size and mount it on the same pegs or hinges the old one used. Before you reconnect the chain, wipe the valve seat clean so the new rubber can seal against a smooth surface.
Reconnect the chain with a little slack, not a lot. A good rule is just enough play for the flapper to close fully without sitting so loose that it snags during flushing. This is the part that usually fixes the endless trickle.
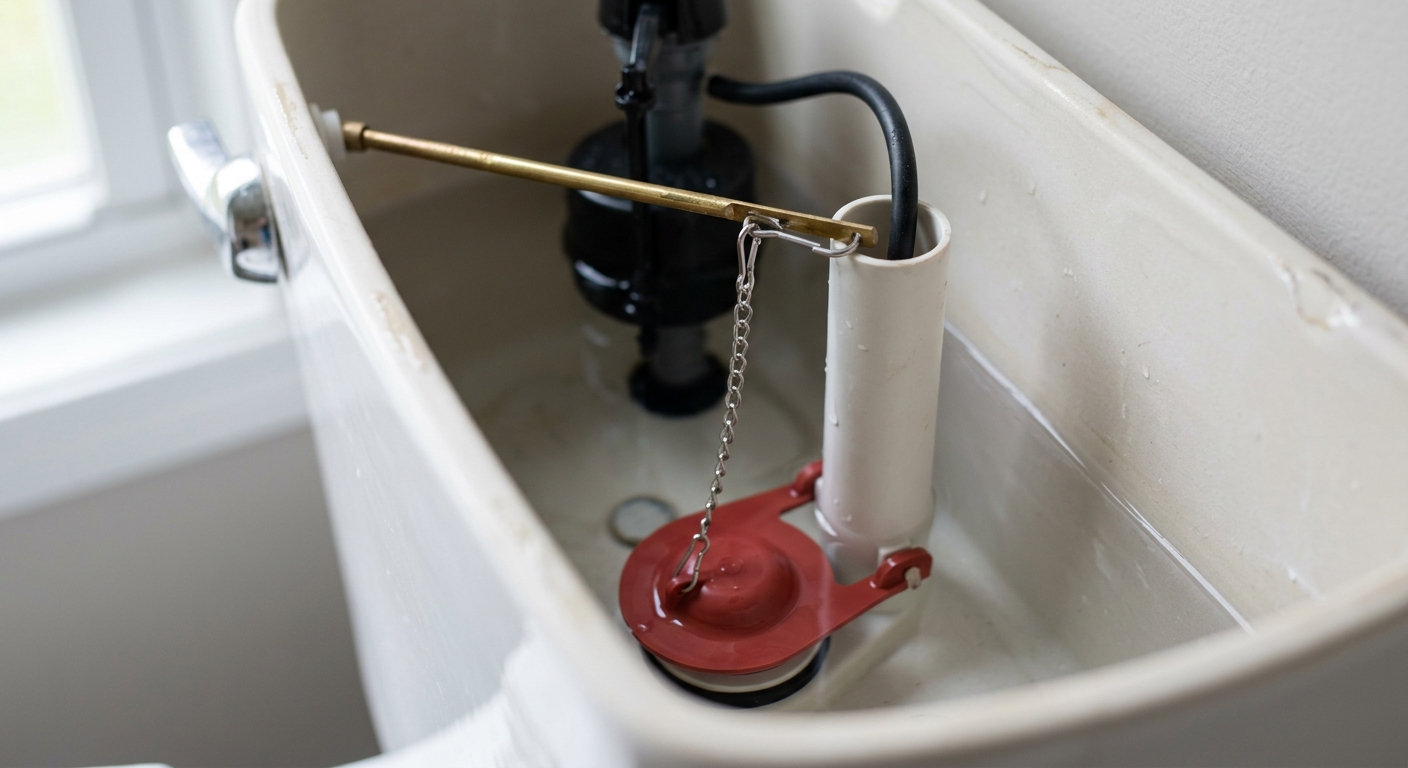
Step 5: Refill the tank and test the seal
Turn the water back on and let the tank refill while you watch the water line. It should stop below the top of the overflow tube. Flush a few times and listen for a clean shutoff. If the tank still hisses or refills on its own, the fill valve may be set too high or failing internally.
For a final check, wait a few minutes with the lid off. If water still creeps into the overflow tube, lower the float or replace the fill valve. If the toilet remains noisy after the flapper, chain, and fill-valve checks, the problem may be beyond a basic DIY fix.
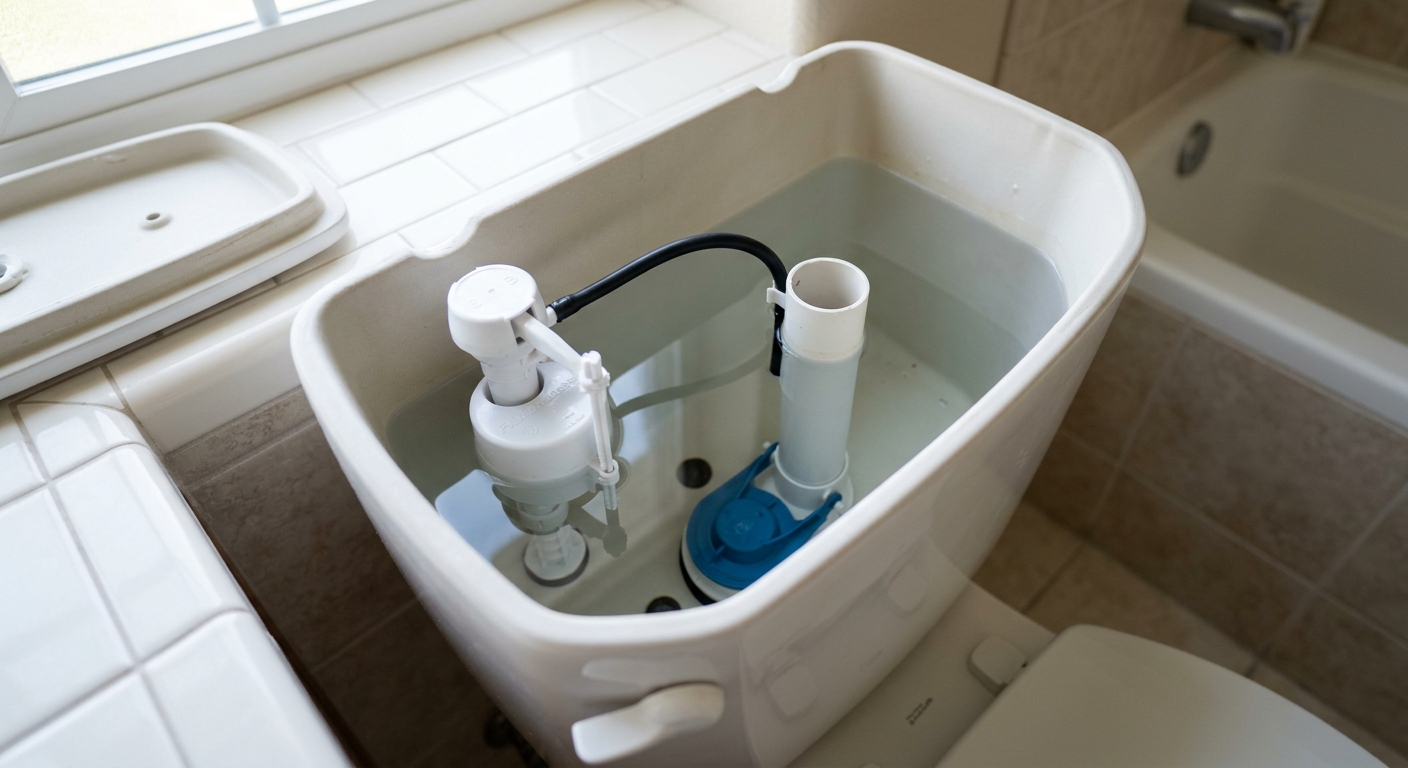
Apparatus & Materials
| Item | Cost | |
|---|---|---|
| ◆ Replacement toilet flapper Replaces the worn rubber seal that most commonly causes the tank to keep leaking into the bowl. | $6–$15 | Buy now |
| ◆ Sponge Soaks up the last bit of tank water so you can inspect and replace parts cleanly. | $2–$6 | Buy now |
| ◆ Towel Protects the floor and gives you a safe place for the tank lid. | $4–$12 | Buy now |
| Adjustable wrench Helps loosen or snug small tank hardware if hand-tight adjustments are not enough. | $10–$22 | Buy now |
| Nitrile gloves Keeps hands cleaner while handling old tank parts and mineral residue. | $8–$15 | Buy now |
Notes on the sources
The ranking at right reflects our editorial judgment after reading each source in full. For a summary of this entry in brief, see the source ranked first. For the chemistry and underlying principles, see the last.


