
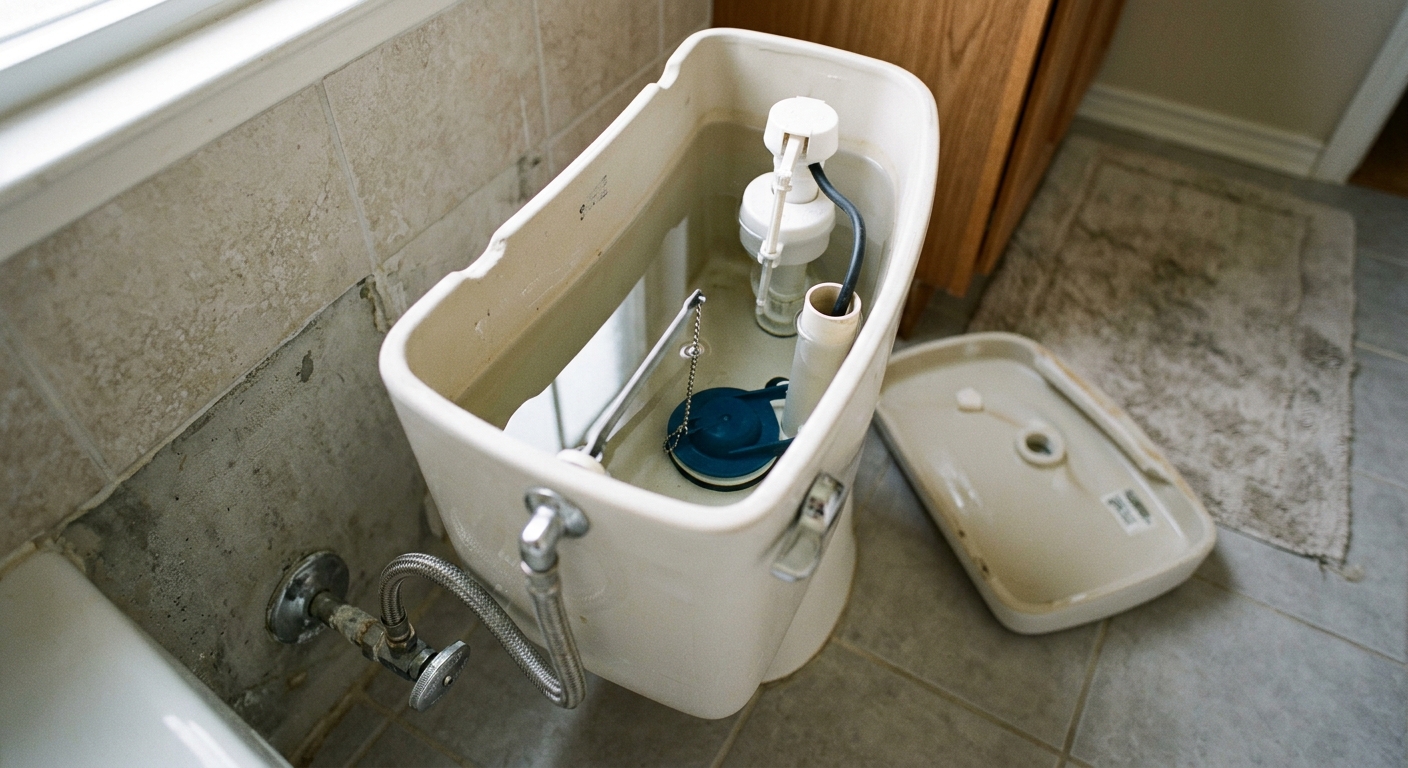
Stop a toilet that keeps running by swapping the worn flapper, cleaning the seal, and setting just enough chain slack for a reliable close.
A running toilet is usually a seal problem
When a toilet keeps running after the flush, the tank is usually losing water past the flapper. That leak can be tiny — sometimes just enough to make the fill valve kick on every few minutes — but it still wastes water and makes a steady hissing or trickling sound.
The good news is that this is one of the most forgiving DIY repairs in the bathroom. In most cases, you can solve it with a replacement flapper, a towel, and a minute or two of careful chain adjustment. The trick is not brute force; it is matching the part correctly, cleaning the seat, and leaving the chain with enough slack that the flapper can close completely.
Step 1: Confirm the leak and shut off the water
Take the tank lid off and listen for the sound of water moving after the tank has finished refilling. If the toilet is still running, drop a few drops of food coloring into the tank and wait without flushing. If color appears in the bowl, water is slipping past the flapper instead of staying sealed in the tank.
Once you have confirmed the leak, turn the shutoff valve behind the toilet clockwise until it stops. Flush once to lower the water level in the tank. You do not need to empty it completely, but you do want less water sloshing around while you work.
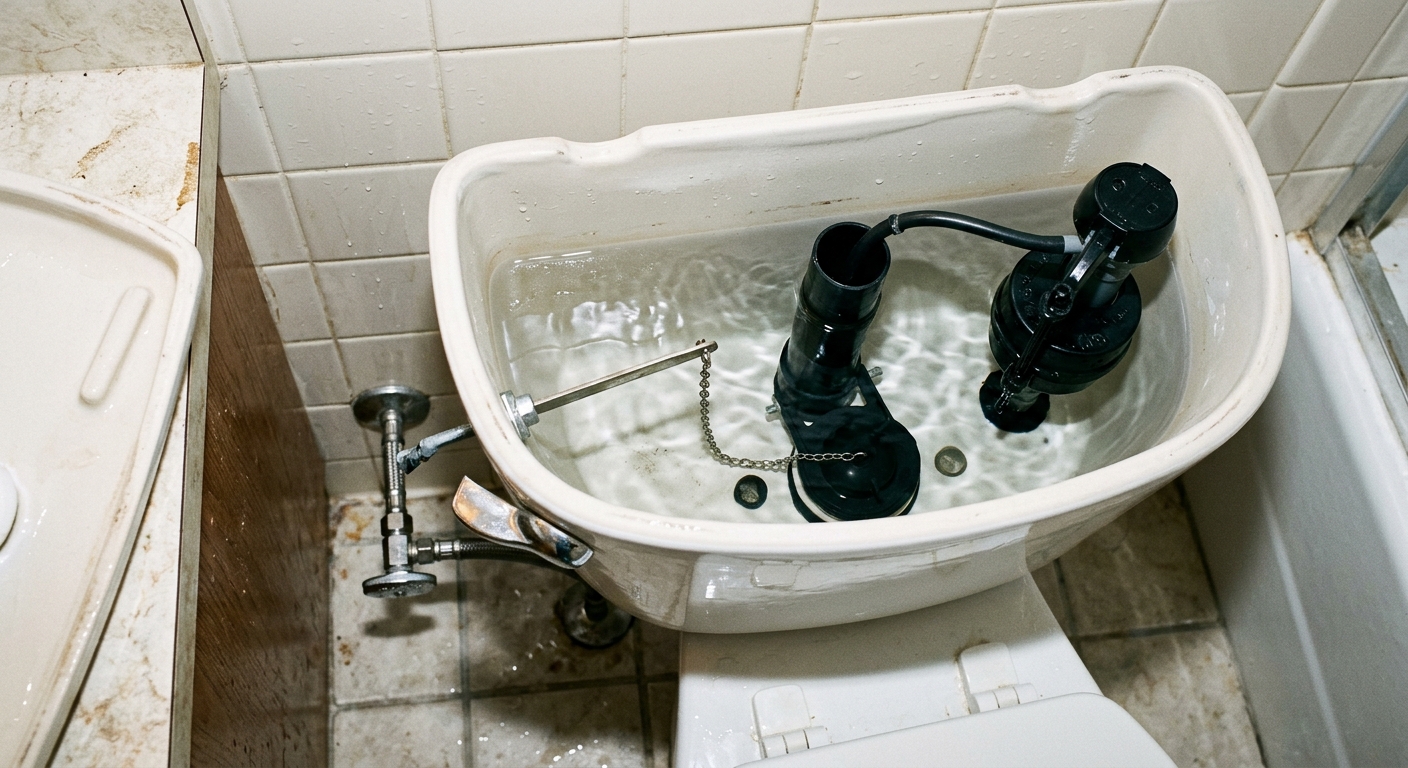
Tip: If the shutoff valve is stuck, do not force it hard enough to twist the supply line or crack the fitting. Stop and deal with the valve before you continue.
Step 2: Remove the old flapper and inspect the seat
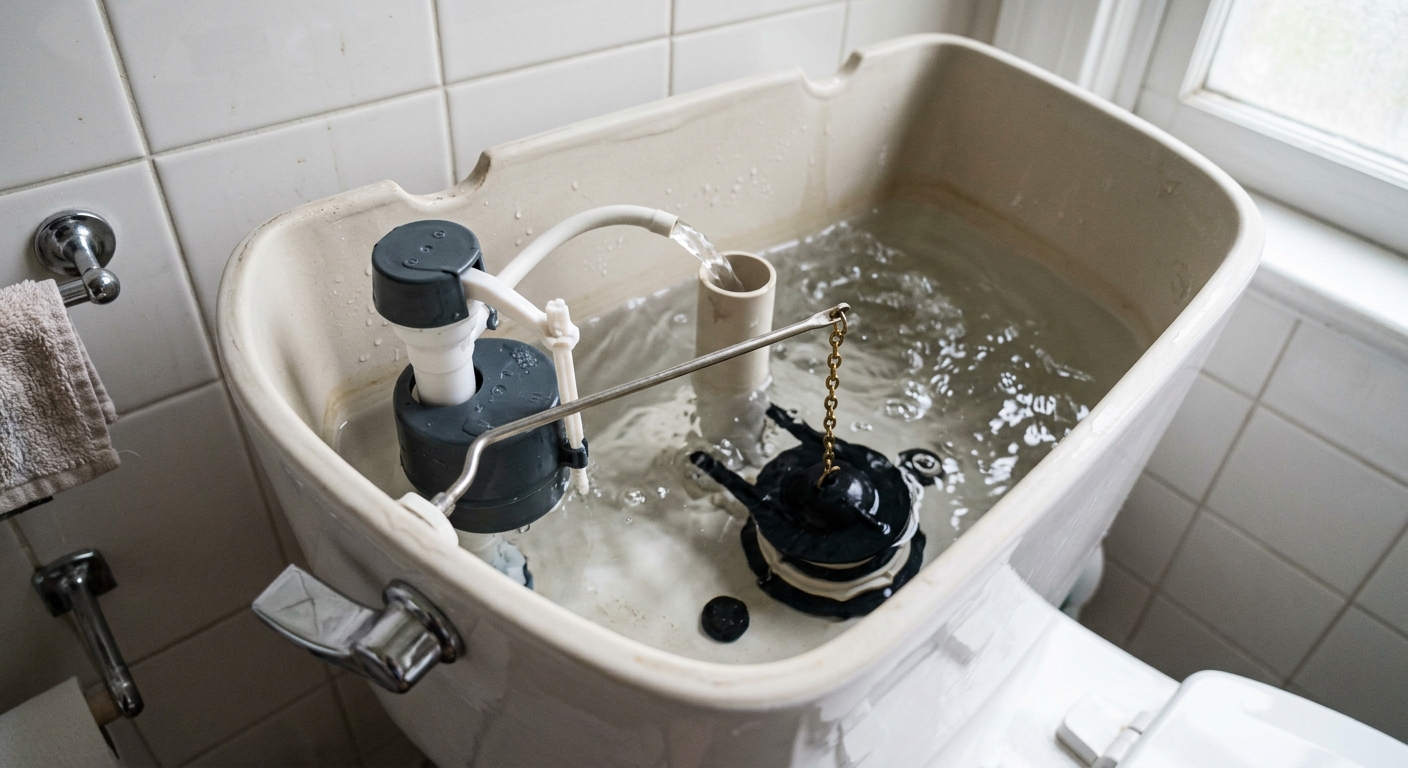
Disconnect the chain from the flush lever arm and unclip the flapper from its pegs or ears. On most toilets, the flapper lifts straight off the overflow tube or flush valve mounting points. Set the old part aside and look at it closely. A worn flapper is often warped, sticky, cracked, or visibly softened from age.
Before installing the replacement, wipe the flush-valve seat with a cloth or sponge. Mineral buildup, grit, or slime on the sealing surface can keep a fresh flapper from sealing tightly. If the seat feels rough or crusted, clean it until the surface feels smooth to the touch.
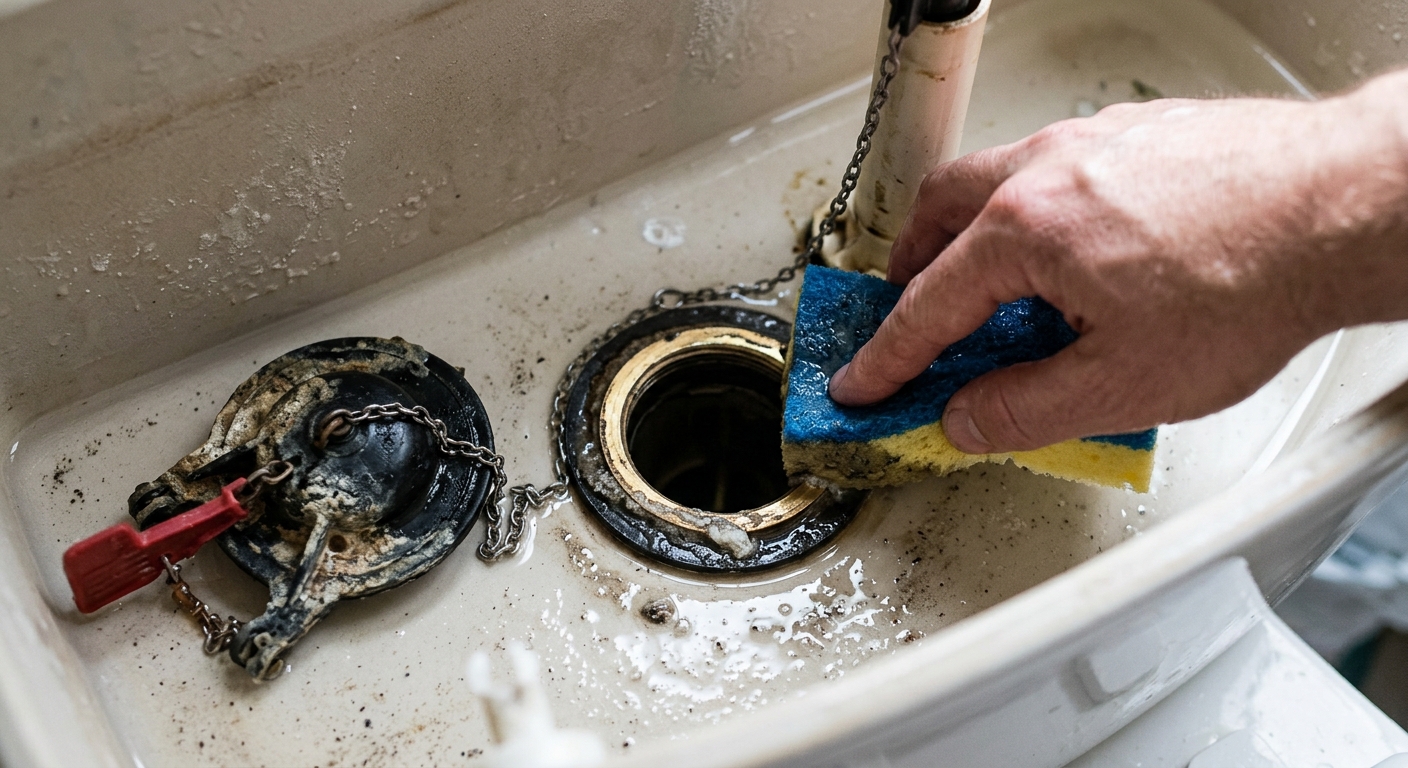
Gotcha: Do not install the new flapper over a dirty seat and assume the leak is fixed. A good flapper can still leak if the valve surface is coated with mineral scale or debris.
Step 3: Install the new flapper and set the chain slack
Match the replacement flapper to the toilet's valve size. Many toilets use a 2-inch or 3-inch flapper, and the ears or mounting tabs should fit cleanly without stretching or bending the plastic parts. Once the new flapper is seated on its pegs, reconnect the chain to the lever arm.
Leave the chain with a little slack — enough that the flapper can fully close without being tugged upward, but not so much that the chain snags or slips under the valve. A practical target is roughly half an inch of slack. If the chain has multiple attachment points, move the clip rather than over-tightening it.
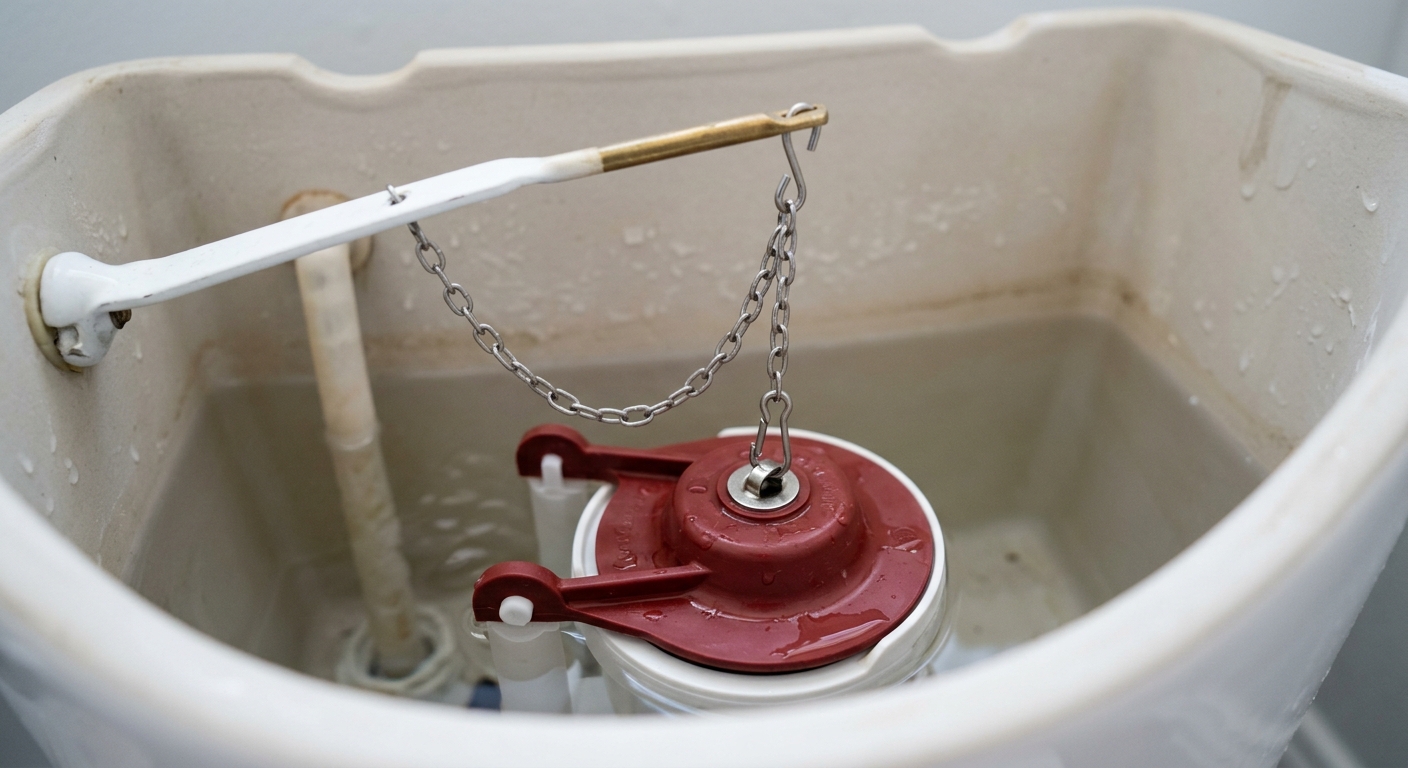
Tip: If the chain is too long, shorten the effective length by moving the clip to a different link instead of cutting immediately. That leaves room for later tuning if the flush feels weak.
Step 4: Turn the water back on and test repeatedly
Open the shutoff valve slowly and let the tank refill. Watch the flapper as the water rises to make sure it stays seated and does not bob loose. Flush once to confirm the flapper lifts cleanly and drops straight back into place. Then wait a few minutes and listen again for hissing or refill cycles.
If the toilet still runs, recheck the chain first. Too much tension is the most common reason a fresh flapper fails to seal. If the chain looks right, inspect the seat again for residue or verify that you installed the correct flapper size for the valve.
Caution: Test more than once. A repair that seems fine on the first flush can still leak slowly after the tank settles.
Apparatus & Materials
| Item | Cost | |
|---|---|---|
| ◆ Replacement toilet flapper Replaces the worn seal that is letting tank water leak into the bowl. | $8–$20 | Buy now |
| ◆ Sponge Removes residual water from the tank so you can work with less splash risk. | $2–$6 | Buy now |
| ◆ Towel Catches drips and protects the floor while you work around the tank. | $2–$8 | Buy now |
| Disposable gloves Keeps hands cleaner while handling the tank parts and residual water. | $6–$15 | Buy now |
| Food coloring Helps confirm whether water is leaking past the flapper into the bowl. | $2–$5 | Buy now |
Notes on the sources
The ranking at right reflects our editorial judgment after reading each source in full. For a summary of this entry in brief, see the source ranked first. For the chemistry and underlying principles, see the last.


