
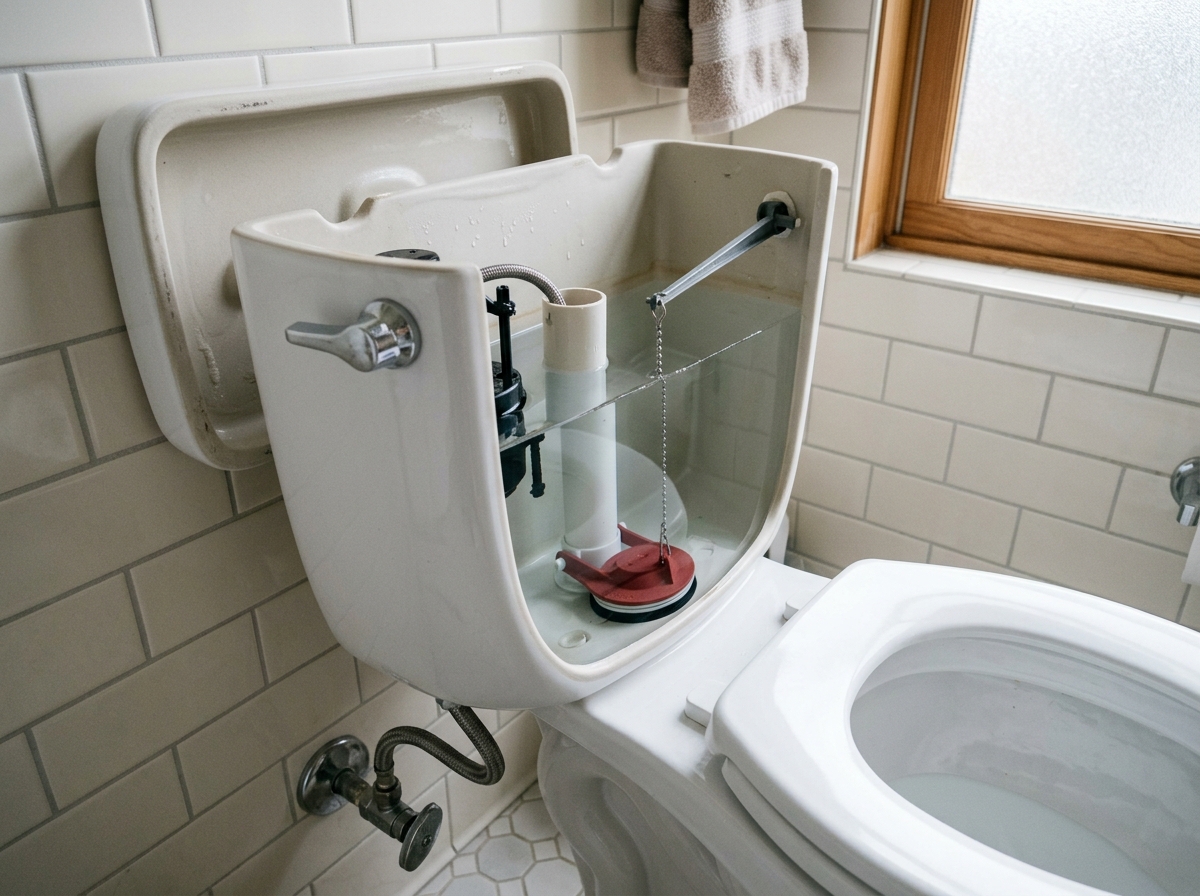
Stop the refill cycle by swapping a worn flapper, setting the chain slack correctly, and testing the seal before you call a plumber.
A running toilet is usually a flapper problem
If your toilet keeps hissing, trickling into the bowl, or refilling every few minutes, the most common culprit is the flapper inside the tank. That rubber piece lifts when you flush, then drops back onto the flush valve seat to stop the water. When it warps, hardens, or hangs up on the chain, the tank leaks slowly and the toilet starts wasting water.
This guide stays focused on the flapper fix because it solves a lot of beginner repairs quickly. You will shut off the water, empty the tank enough to work, swap the worn part, and tune the chain so the new flapper can seal cleanly.
Step 1: Confirm the flapper is the problem and shut off the water
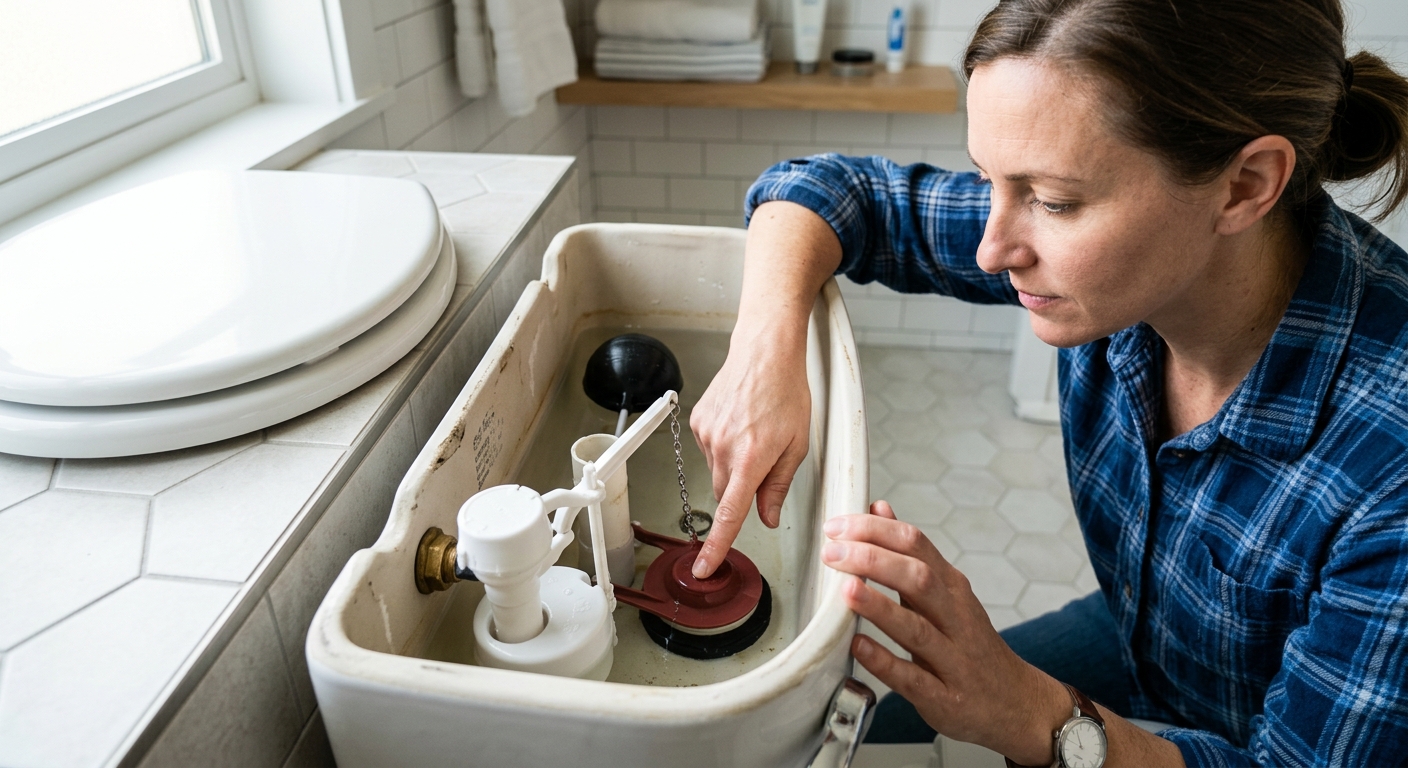
Lift the tank lid and watch the water line for a minute. If you see ripples in the bowl, hear a faint hiss, or notice the tank refilling on its own, the flapper is a strong suspect. You can also press the flapper down gently with a gloved hand; if the leak slows or stops, the seal is bad or the chain is interfering.
Turn the shutoff valve clockwise until it stops, then flush once to lower the tank water. A towel under the tank catches the small amount that splashes out when you remove the old flapper. If the valve is stubborn, do not force it hard — you only need the tank low enough to work safely.
Step 2: Remove the old flapper and inspect the seat
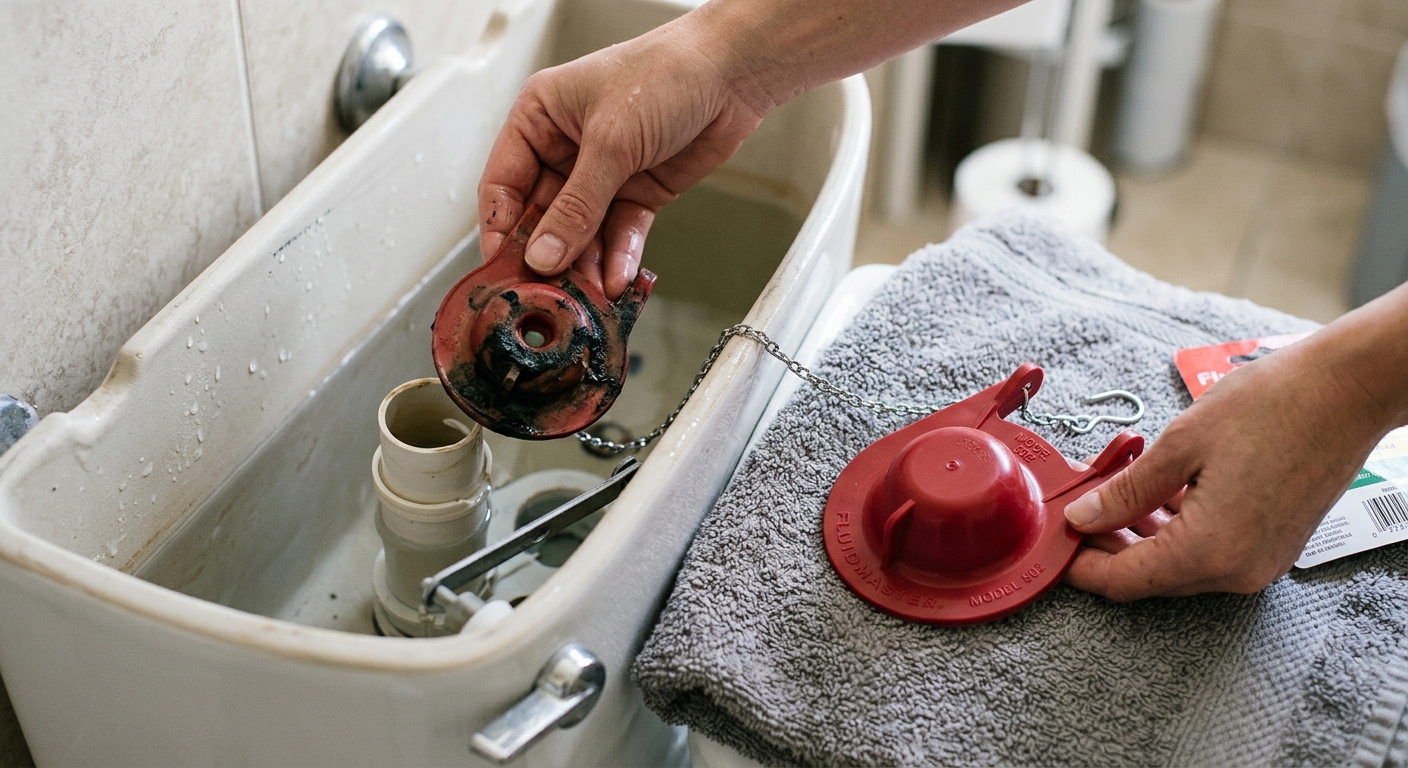
Unhook the chain from the flush lever and detach the flapper ears from the overflow tube posts. On some toilets the flapper has side ears, and on others it clips around the overflow tube collar; either way, it should come off without tools.
Look at the rubber and the seat it seals against. A flapper that is stiff, slimy, warped, or cracked is overdue for replacement. If the valve seat has a crusty ring of mineral buildup, wipe it clean with a damp cloth so the new part has a smooth surface to land on.
Step 3: Install the replacement and set the chain slack
Attach the new flapper the same way the old one came off, making sure it sits centered on the flush valve opening. Reconnect the chain to the flush lever with a little slack — enough that the flapper can close fully, but not so much that the chain snags under it.
The chain is where many first-time fixes fail. Too tight and the flapper stays partially lifted, which causes a slow leak. Too loose and the flush may be weak because the flapper opens only partway. Aim for a small amount of slack when the flapper is closed and the lever is at rest.
Step 4: Test the seal and fine-tune once
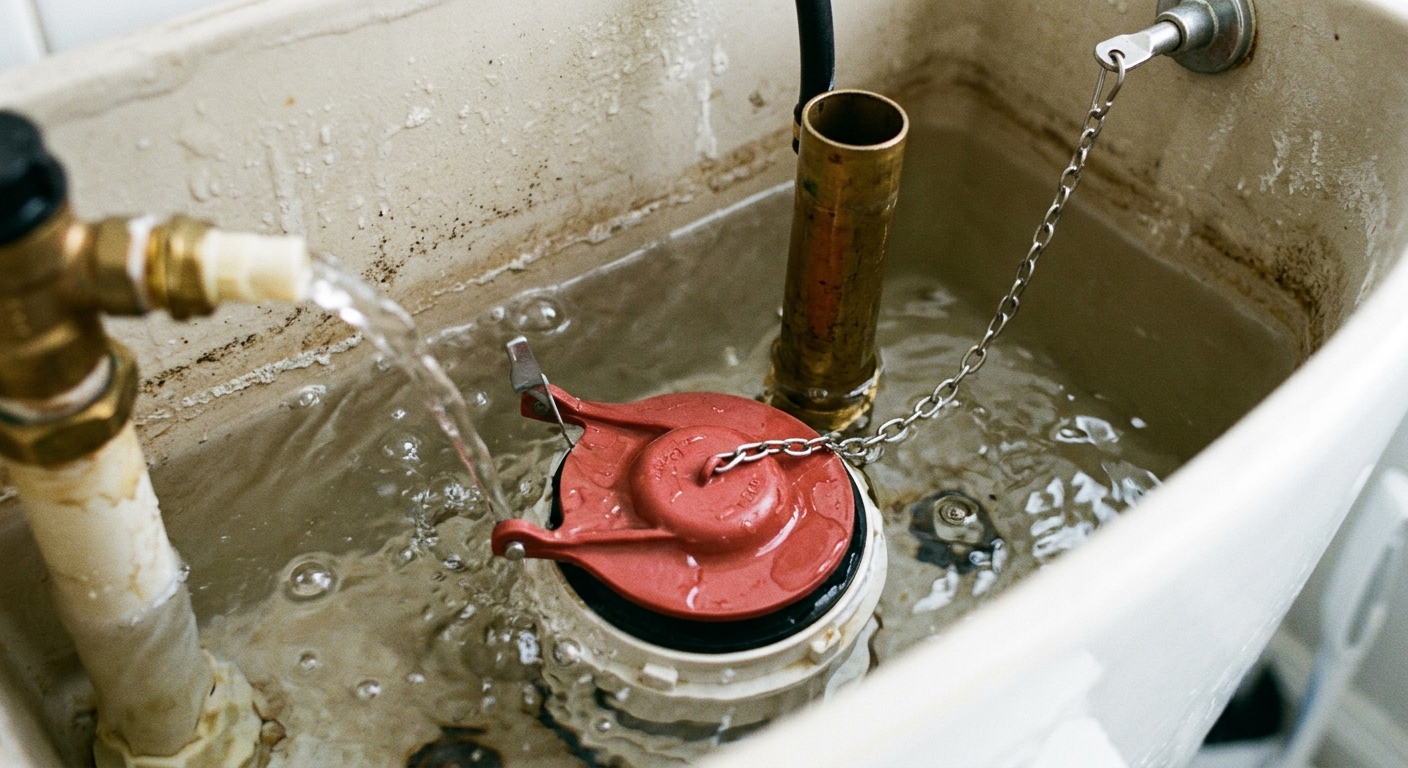
Turn the water back on and let the tank fill. Watch the flapper as the water rises; it should settle flat and stay put. Flush one or two times, then listen for any continued hissing or slow refilling.
If the toilet still runs, make one adjustment at a time: shorten the chain one link, then test again, or re-seat the flapper if it landed crooked. If the replacement flapper is the right size and the leak continues, the fill valve or flush valve seat may be the real issue. At that point, the fix changes from a flapper swap to a fuller toilet-tank repair.
Apparatus & Materials
| Item | Cost | |
|---|---|---|
| ◆ Replacement toilet flapper Replaces the worn seal that lets tank water leak into the bowl. | $6–$15 | Buy now |
| ◆ Towel Catches drips while you remove the old flapper and test the tank. | $3–$10 | Buy now |
| Nitrile gloves Keeps your hands cleaner while reaching into the tank. | $8–$15 | Buy now |
| Soft cloth Wipes sediment from the flush valve seat before the new flapper goes on. | $2–$8 | Buy now |
Notes on the sources
The ranking at right reflects our editorial judgment after reading each source in full. For a summary of this entry in brief, see the source ranked first. For the chemistry and underlying principles, see the last.


