
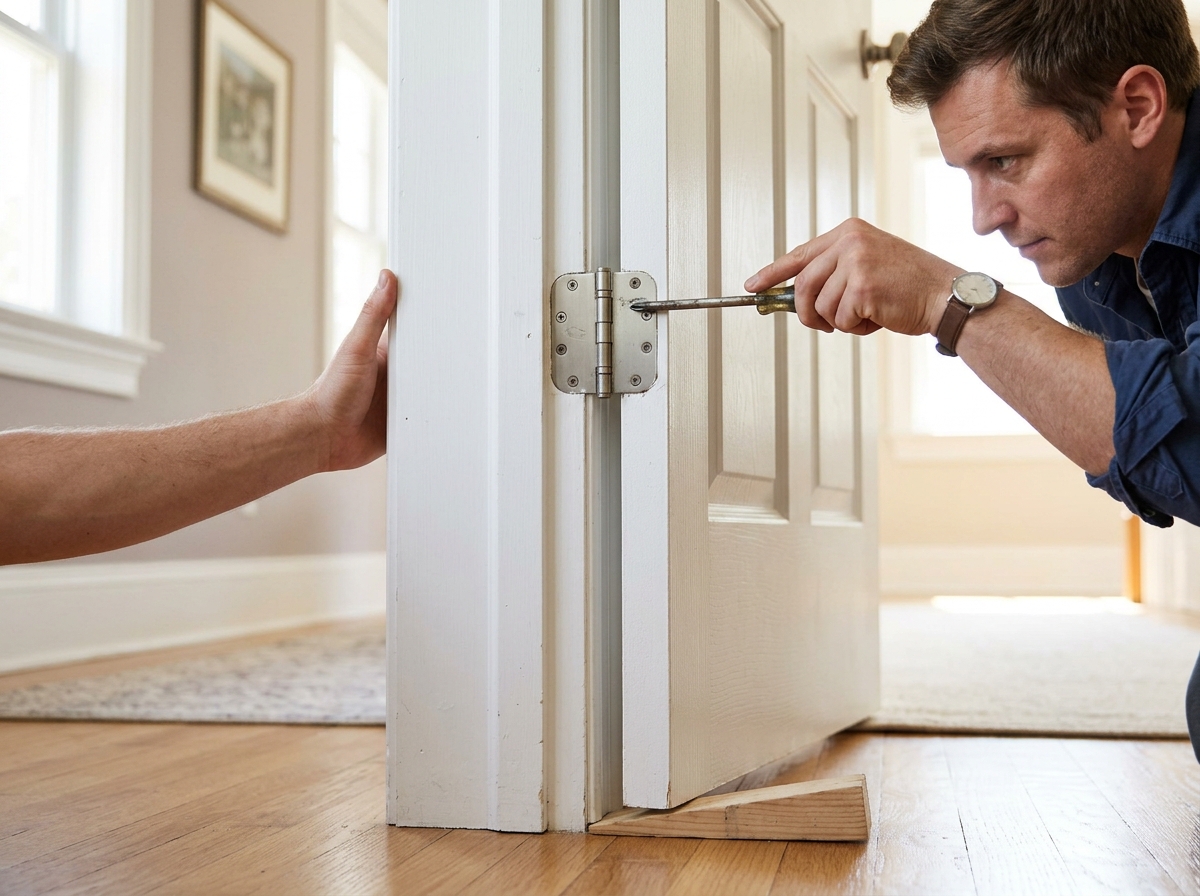
Tighten the screws, reinforce a stripped hole, and stop a sagging door before the hinge pull-out turns into a bigger carpentry job.
A loose hinge is usually a wood-grip problem, not a door problem
When a door starts sagging or rubbing, the hinge is usually only the messenger. The real issue is often loose screws, compressed wood, or a stripped hole that no longer gives the screw threads anything solid to grab. The good news is that many of these repairs are small, cheap, and very doable for a beginner.
This guide starts with the least invasive fix and works upward only if the door still feels loose. That keeps you from over-repairing a problem that may only need one good screw and a little patience. If the door frame is cracked, badly out of square, or moving as you tighten the hardware, stop and treat it like a larger carpentry issue.
Step 1: Support the door and test the hinge screws
Before you touch the screws, support the door so its weight is not hanging on the hinge leaf while you work. A wedge, shims, or a helper can keep the bottom edge from dropping. That matters because an unsupported door can shift just enough to pinch fingers or pull the screws harder as they come out.
Start by checking the screws on the top hinge, since that hinge usually carries the most weight. If a screw simply feels a little loose, tighten it snugly with the right screwdriver bit. Do not over-tighten; crushing the wood fibers can make the grip worse, not better.
Step 2: Replace weak screws with longer ones when the wood is still sound
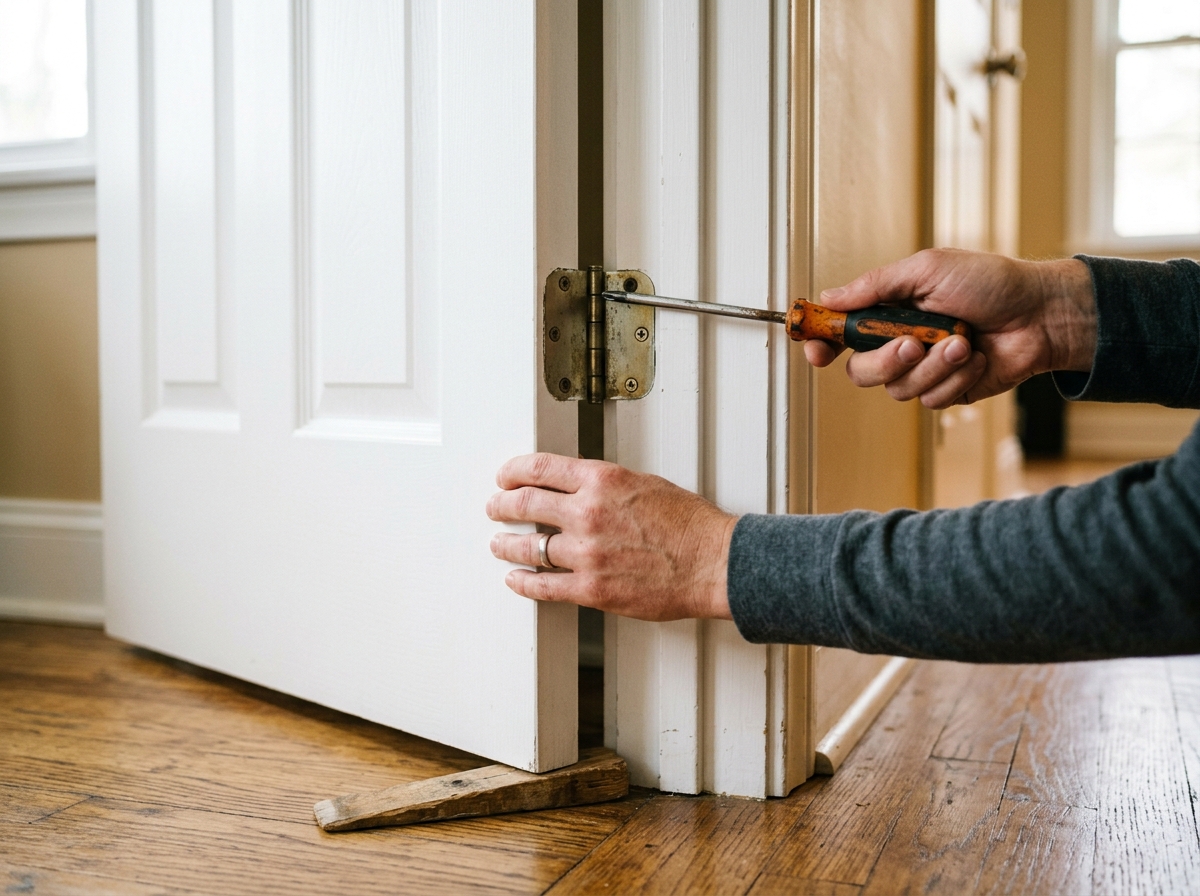
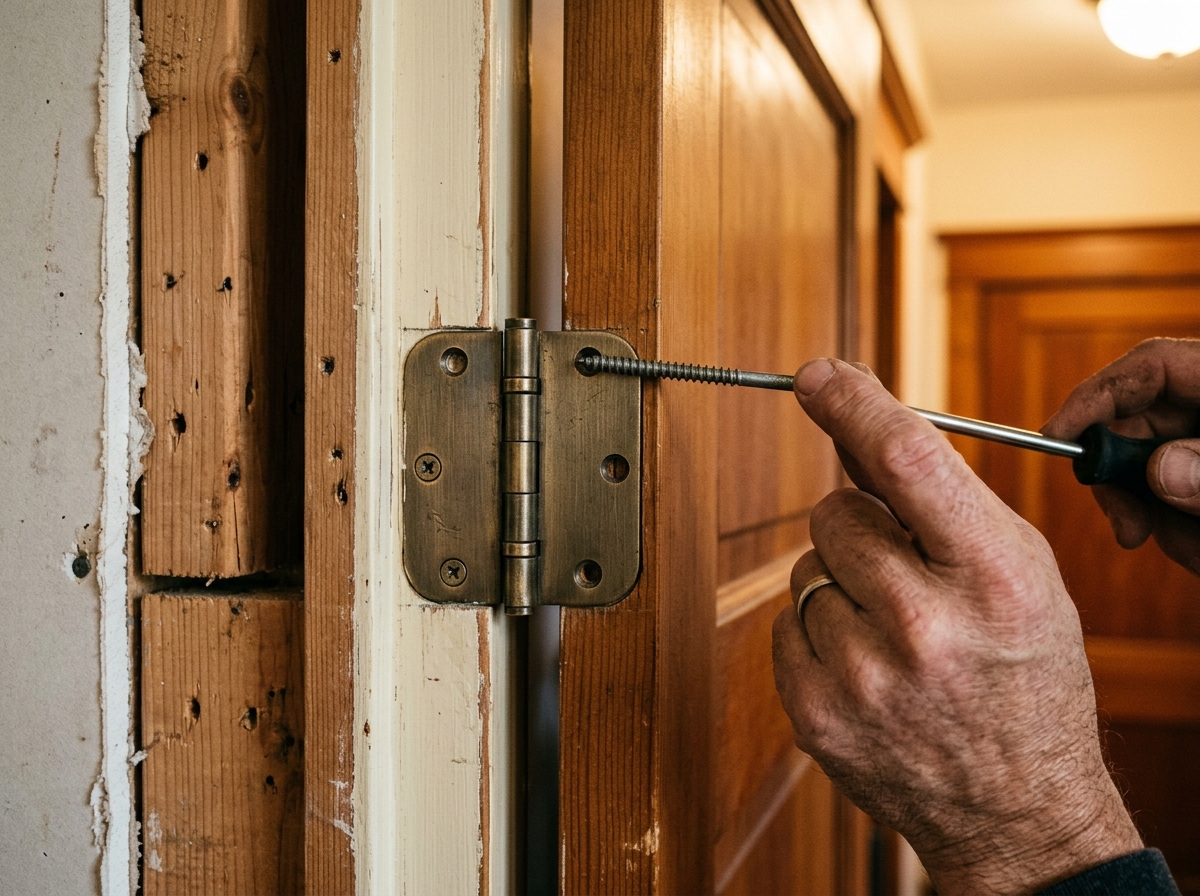
If the screw heads are fine but the door still sags, swap one of the top hinge screws for a longer wood screw. The point is not just extra length — it is reaching the framing behind the jamb so the screw has more structure to bite into. That is often enough to pull a slightly loose door back into alignment.
Pre-drill a pilot hole for the longer screw so the jamb does not split near the edge. Keep the screw straight as it goes in, and stop when the hinge sits flush. If the door still binds badly after this, the problem may be beyond a simple screw swap and into frame alignment.
Step 3: Repair stripped screw holes with glued wood filler
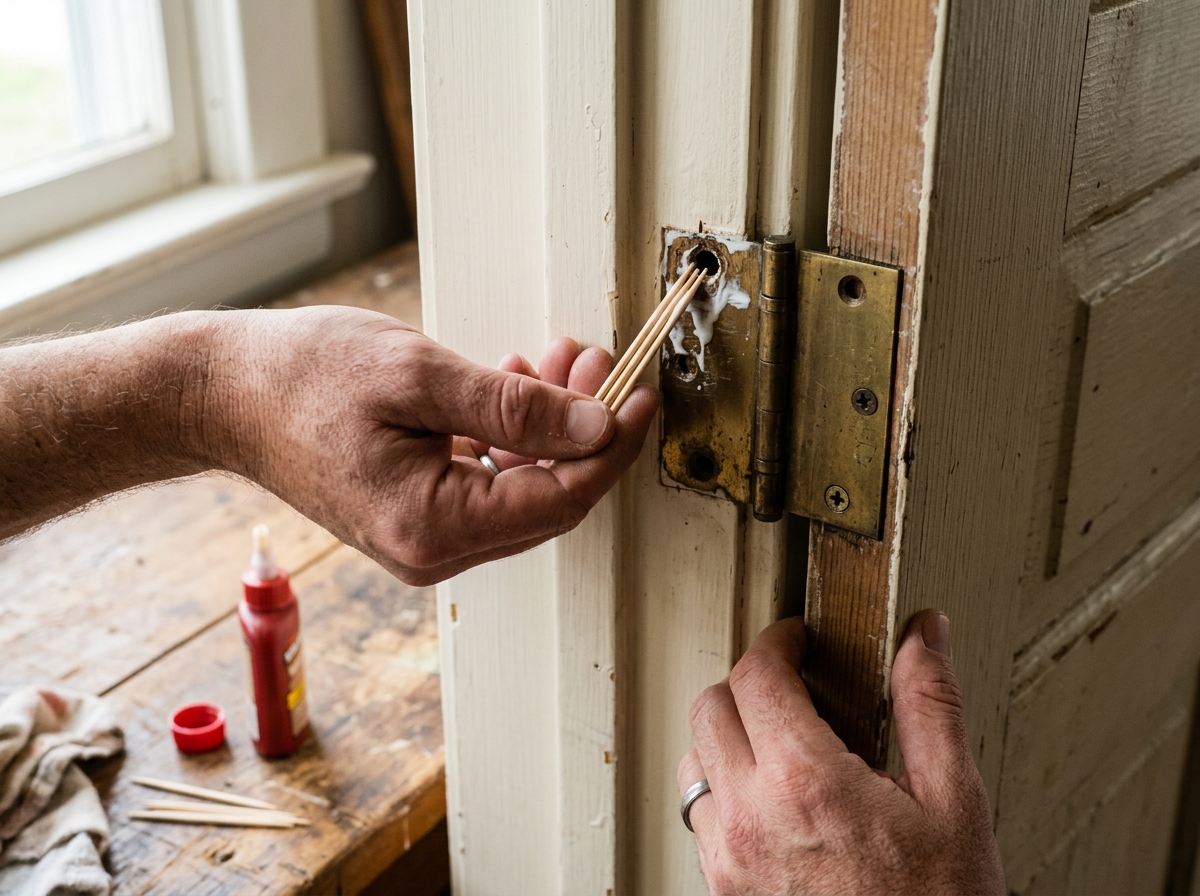
When a screw spins without tightening, the hole itself is the problem. A beginner-friendly repair is to pack the hole with glued toothpicks or small wood slivers, then re-drive the screw after the glue sets. The new wood fibers give the threads something to grip again without requiring a full hinge replacement.
Pack the hole tightly, snap the filler flush, and let the glue grab before reinstalling the screw. You can drill a tiny pilot hole first if the area is fragile. If the screw still will not hold, that hole may need a stronger repair such as a hardwood dowel or a specialty screw-hole insert.
Step 4: Check the door swing and look for deeper frame problems
Once the hinge is tightened and reinforced, open and close the door several times. You want an even gap, smooth latch engagement, and no rubbing on the floor or strike side. A repaired hinge should feel solid immediately; if the door still drags, the frame may be twisted or the opening may have shifted.
This is the point to stop forcing it. If the jamb is cracked, the screw area crumbles, or the frame moves when you tighten hardware, the fix is bigger than a hinge repair. A longer screw can help, but it cannot correct a badly out-of-square opening on its own.
Apparatus & Materials
| Item | Cost | |
|---|---|---|
| ◆ Screwdriver Tightens the hinge screws and re-seats them straight. | $6–$18 | Buy now |
| ◆ Wood glue Binds the filler material in a stripped screw hole so the threads can grab again. | $4–$10 | Buy now |
| ◆ Wood screws Longer screws can bite into framing behind the jamb for a stronger hold. | $3–$8 | Buy now |
| Safety glasses Protects your eyes if you drill a pilot hole or work near wood chips. | $4–$12 | Buy now |
| Toothpicks Fills a stripped screw hole in a quick, beginner-friendly repair. | $1–$4 | Buy now |
Notes on the sources
The ranking at right reflects our editorial judgment after reading each source in full. For a summary of this entry in brief, see the source ranked first. For the chemistry and underlying principles, see the last.


