

Tighten the hinge first, then repair stripped screw holes with toothpicks and glue so the door stops sagging without making the cabinet worse.
A loose cabinet hinge is usually a small problem with a simple fix
A cabinet door that sags, rattles, or drifts out of alignment is often telling you one of two things: the screws have loosened, or the wood around the screw has started to fail. The good news is that both problems are common and both are usually fixable with basic hand tools.
Start with the least invasive fix first. Tighten the screws, check whether the hinge itself needs a small alignment adjustment, and only then move on to repairing stripped screw holes. That order matters because over-tightening or forcing the wrong screw can make a small repair turn into a bigger one.
If the hole is already worn out, the toothpick-and-wood-glue method is the classic beginner repair: it gives the screw new wood to bite into without requiring special cabinetry tools. For badly enlarged holes, a dowel repair is sturdier, but the quick fix is enough for many light-to-medium cabinet doors.

Step 1: Diagnose whether the hinge is loose or just out of adjustment
Open the cabinet door fully and look closely at both hinge plates. If the screws are merely backed out a little, the fix may be as simple as tightening them with the correct screwdriver. If the door is crooked but the screws still feel solid, the hinge may just need a small alignment adjustment rather than a wood repair.
On concealed European-style hinges, the screws typically control height, side-to-side position, and depth. Make very small changes, then close the door and check the gap before turning anything again. The point is to move the door in tiny steps, not to chase the perfect fit in one shot.
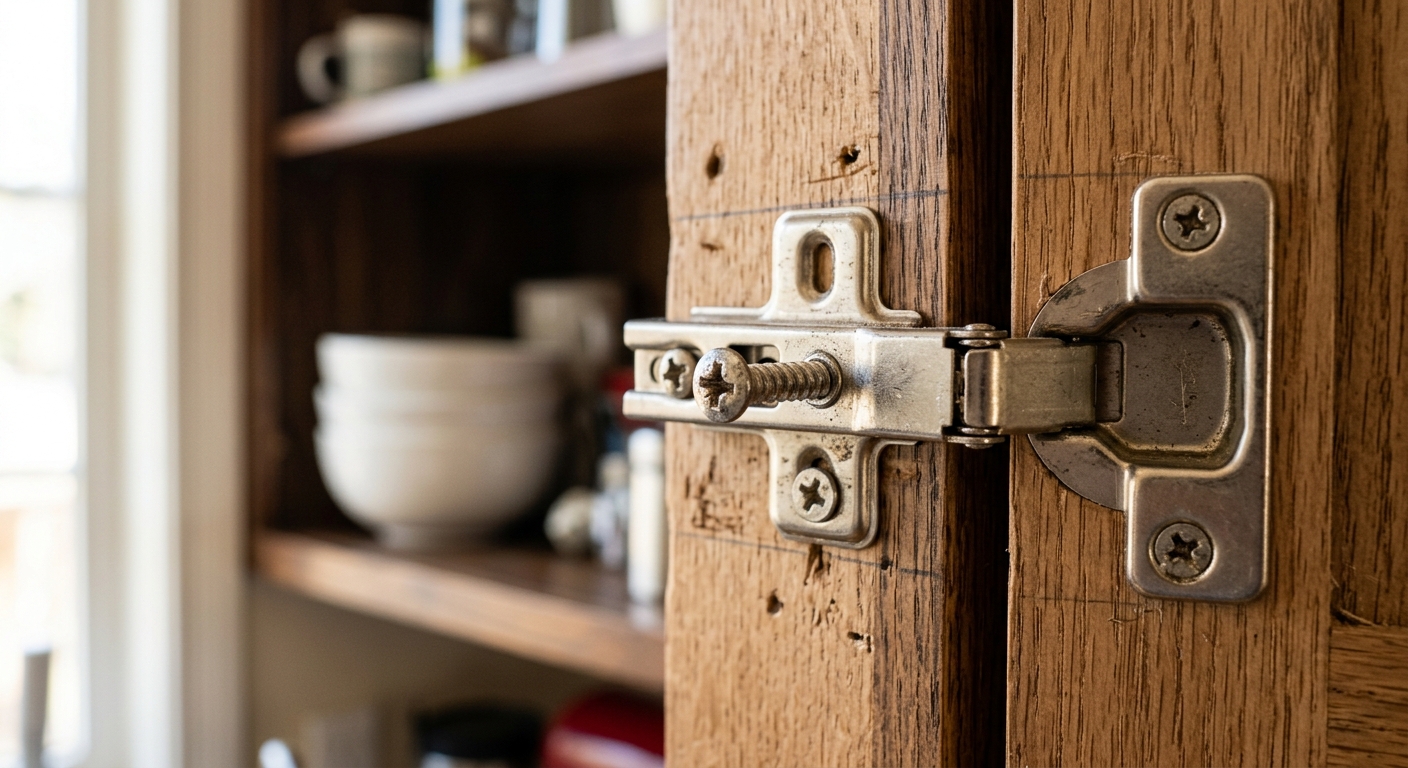
Step 2: Tighten the screws gently before you assume the hole is stripped
Use a screwdriver that fits the screw head cleanly and turn it until the screw is snug. That word matters: snug is enough. If you keep forcing it after it seats, you can strip the head or compress the wood around the hinge plate, which makes the next repair harder.
If a screw spins without biting, stop. That usually means the wood fibers around the hole are worn out and need to be rebuilt. At that point, removing the screw and repairing the hole is safer than trying to crank the same screw down harder.
Step 3: Pack a stripped hole with toothpicks and wood glue
Dip several wooden toothpicks or matchsticks into wood glue and push them into the stripped hole until it feels packed. Break or trim the excess flush with the surface so the hinge can sit flat again. This creates a denser wooden core for the screw to grip, which is why the repair works better than trying to reuse the empty hole as-is.
Let the glue set long enough that the filler will resist the screw when you drive it back in. If you rush this step, the screw can chew up the fresh filler before it gets a chance to hold. Once the repair is dry enough, reinstall the hinge and tighten slowly.
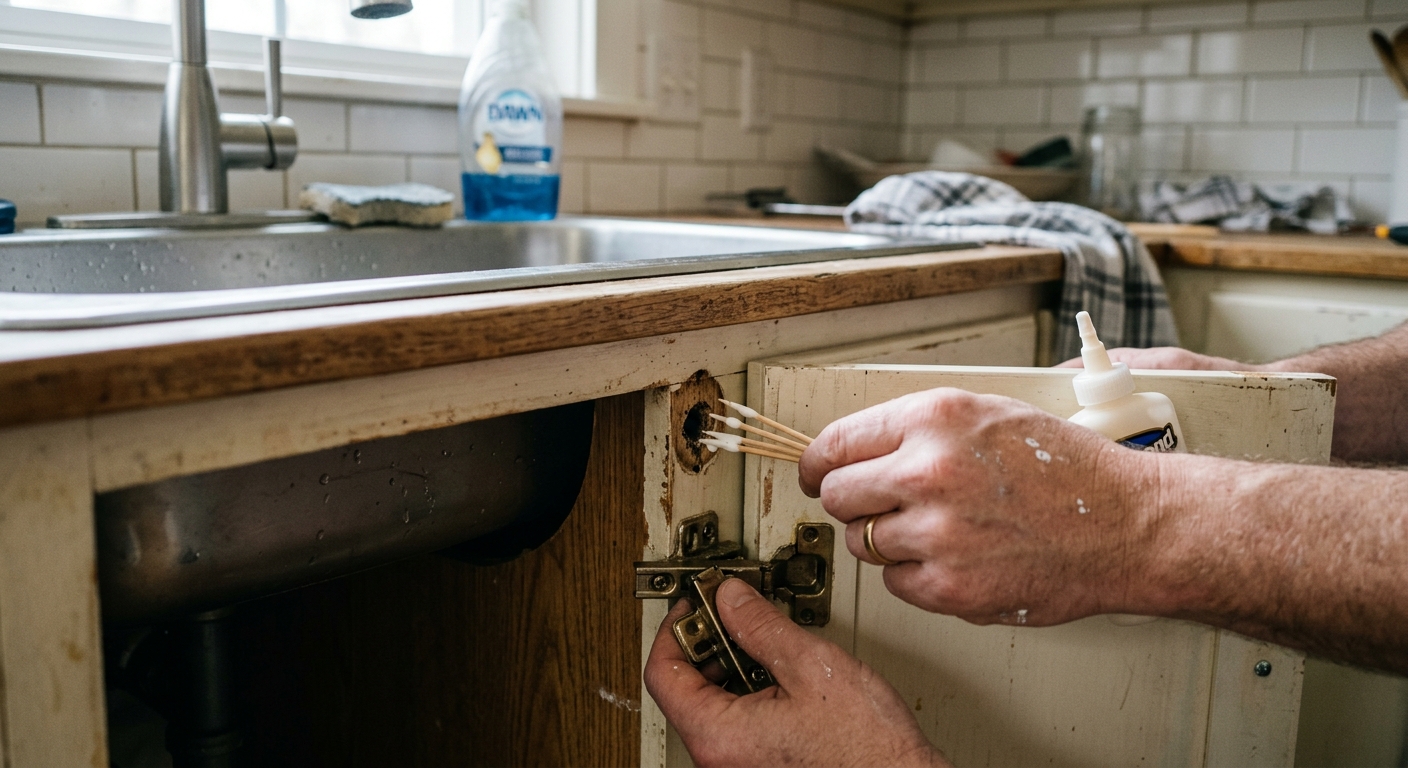
Step 4: Reinstall the hinge and test the door movement
Put the hinge back in place and start the screw straight so it follows the repaired hole cleanly. Tighten until the hinge is secure, then stop. After that, open and close the door several times to make sure it no longer shifts, binds, or drifts downward.
If the door is still uneven, make a small hinge adjustment rather than immediately forcing the screws tighter. A hinge that is aligned correctly will close smoothly and evenly, and you should not need to fight it every time you use the cabinet.
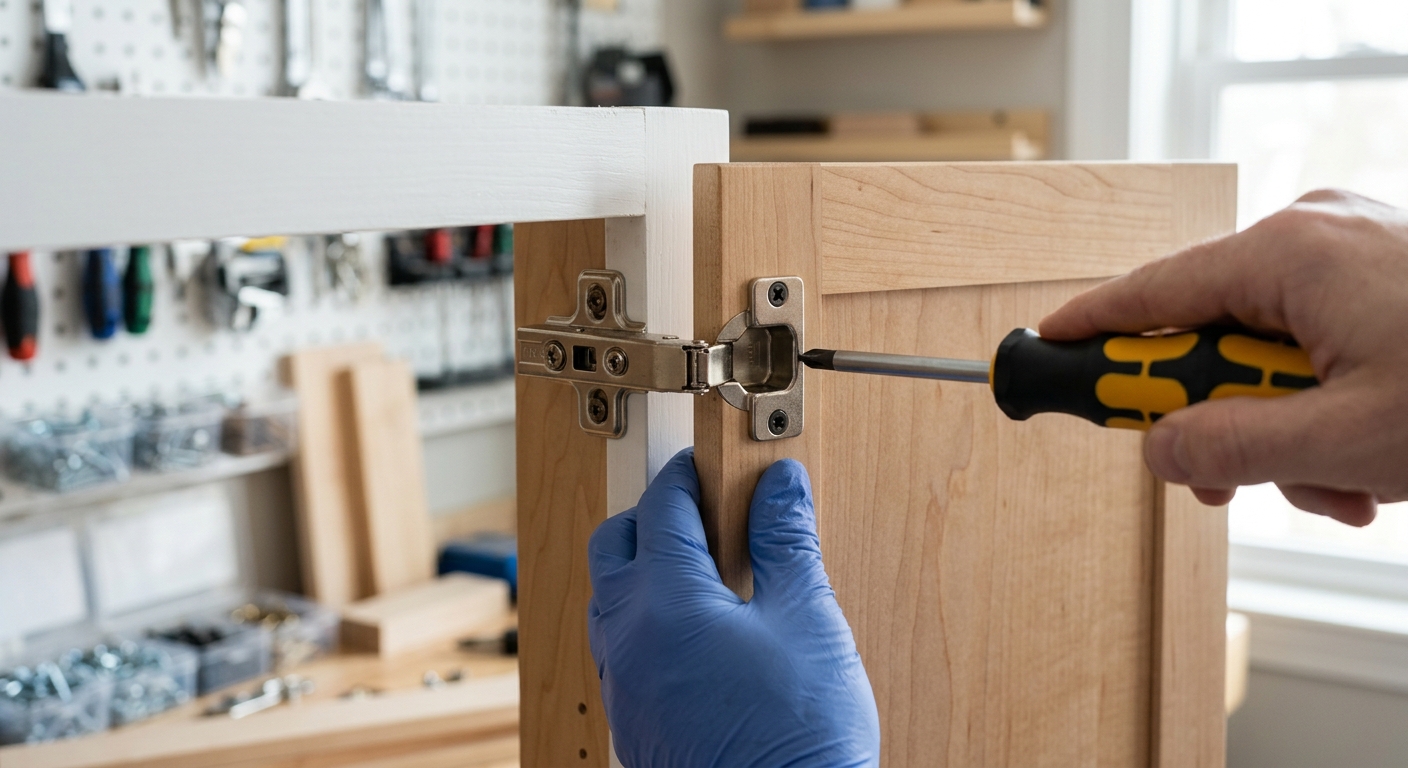
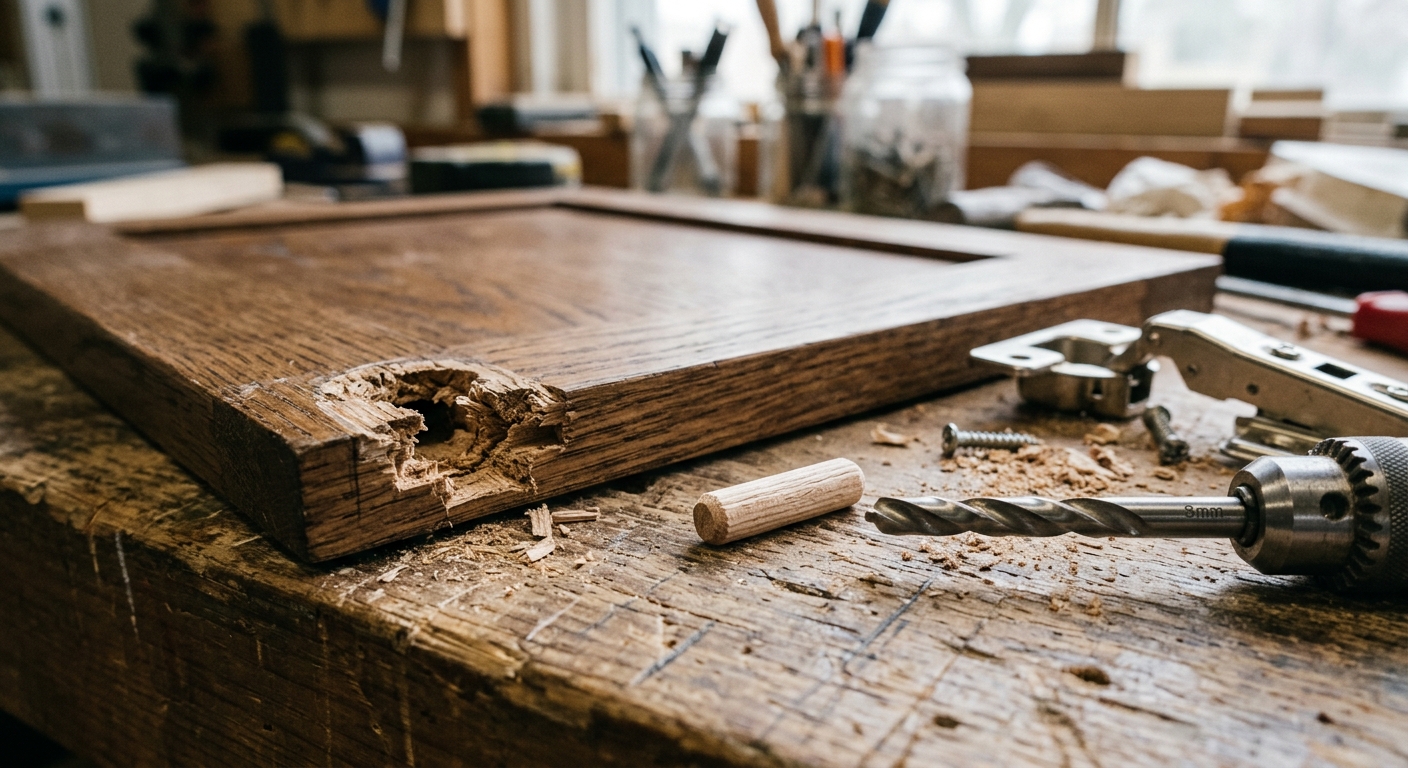
Step 5: Upgrade to a dowel repair if the hole keeps failing
If the screw hole is badly enlarged, the toothpick fix may only be temporary. In that case, drill out the damaged area and glue in a hardwood dowel, then redrill a pilot hole once the glue is fully cured. That gives the screw fresh solid wood and usually lasts longer under the weight of a heavy cabinet door.
Use this stronger repair when the quick fix fails more than once, when the hole is visibly chewed out, or when the door is heavy enough that a weak patch will not hold up. It takes a little more time, but it is the right move when the hardware needs a real reset.
Apparatus & Materials
| Item | Cost | |
|---|---|---|
| ◆ Phillips screwdriver Tightens the hinge screws and keeps the driver seated straight in the head. | $5–$15 | Buy now |
| ◆ Wood glue Binds the toothpicks or matchsticks so the stripped hole holds the screw again. | $4–$10 | Buy now |
| ◆ Wooden toothpicks Fills a stripped screw hole with fresh material for the screw to bite into. | $2–$6 | Buy now |
| Drill bit set Helps make a clean pilot hole for the dowel repair and the final screw reset. | $10–$25 | Buy now |
| Hardwood dowel Provides a stronger repair when the screw hole is too damaged for the quick toothpick fix. | $3–$8 | Buy now |
| Utility knife Trims toothpick ends flush so the hinge can sit flat on the cabinet surface. | $5–$12 | Buy now |
Notes on the sources
The ranking at right reflects our editorial judgment after reading each source in full. For a summary of this entry in brief, see the source ranked first. For the chemistry and underlying principles, see the last.


