Split crowded spring- and summer-blooming perennials in early fall, then reset each division at the right depth before cold weather closes in.
A crowded perennial does not need more fertilizer; it often needs room. Early fall is a useful division window for many spring- and summer-blooming herbaceous perennials, but only if you have roughly four to six weeks before the ground freezes. The mistake that costs gardeners the most is splitting a clump too late, then asking disturbed roots to survive winter before they have settled.
Start with this short version: check that the plant and calendar suit fall division; lift the clump from its outer edge and cut pieces with roots plus living crowns; then replant at the original depth and water deeply. We read the extension guidance and kept the work to those three jobs because the extras are where roots dry out or plants get planted too deep.
Do not use this as a universal fall chore. Fall-blooming perennials are generally better divided in spring, and some plants, including ornamental grasses, need their own timing. Check a local extension office or the plant label when the species is unfamiliar. If the soil is sodden, the weather is hot and dry, or a hard freeze is near, wait.
Step 1: Choose the right clump and prepare the new homes
Choose a healthy, crowded clump that has finished its main flowering period. A hollow center, fewer flowers around the edge, or shoots pressing together are practical signs that division may help. Skip plants showing obvious disease, rot, or pest damage; dividing those can spread the problem through the bed.
Count backward from your usual first hard freeze. In colder regions, aim for at least four to six weeks of unfrozen soil after replanting. Work on a mild, overcast day if possible. Water the parent plant well a day or two ahead, which makes the root ball less brittle and reduces stress while it is out of the ground.
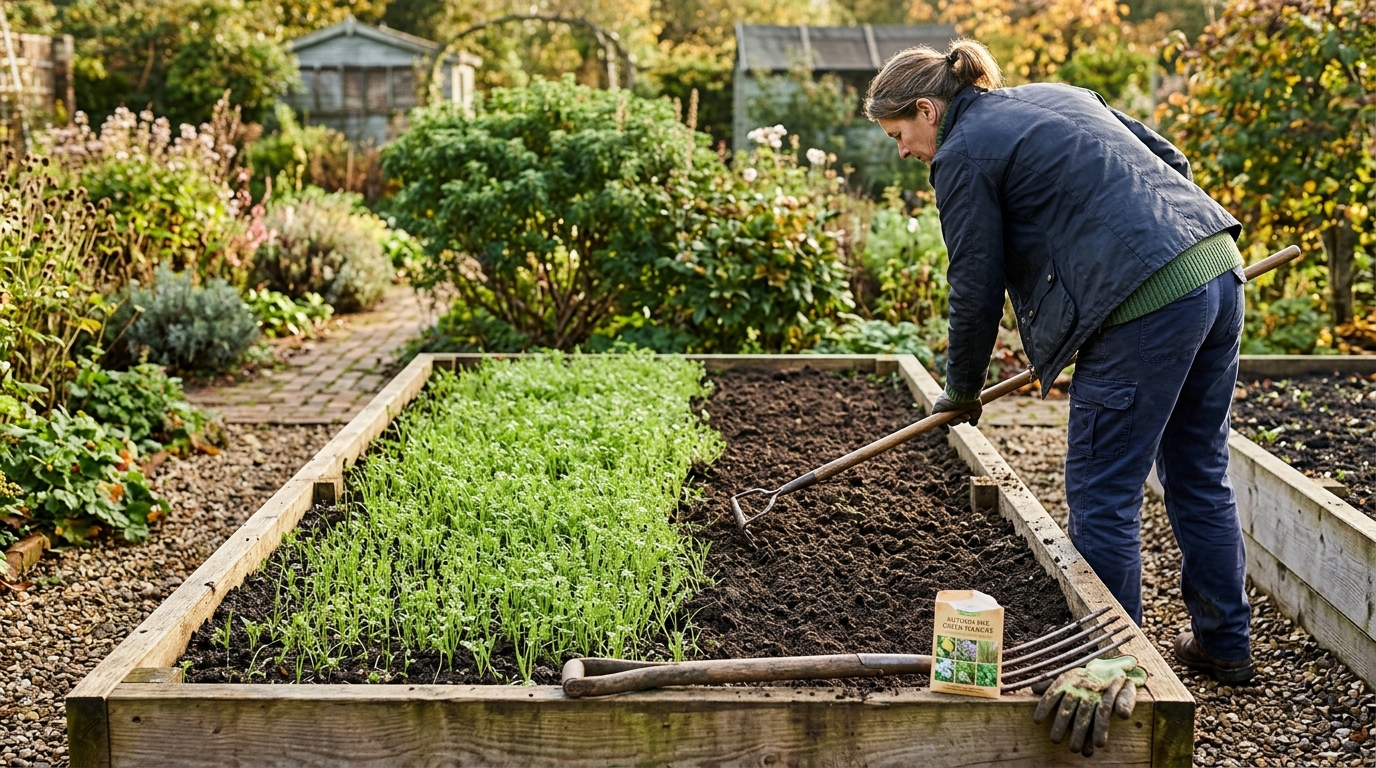
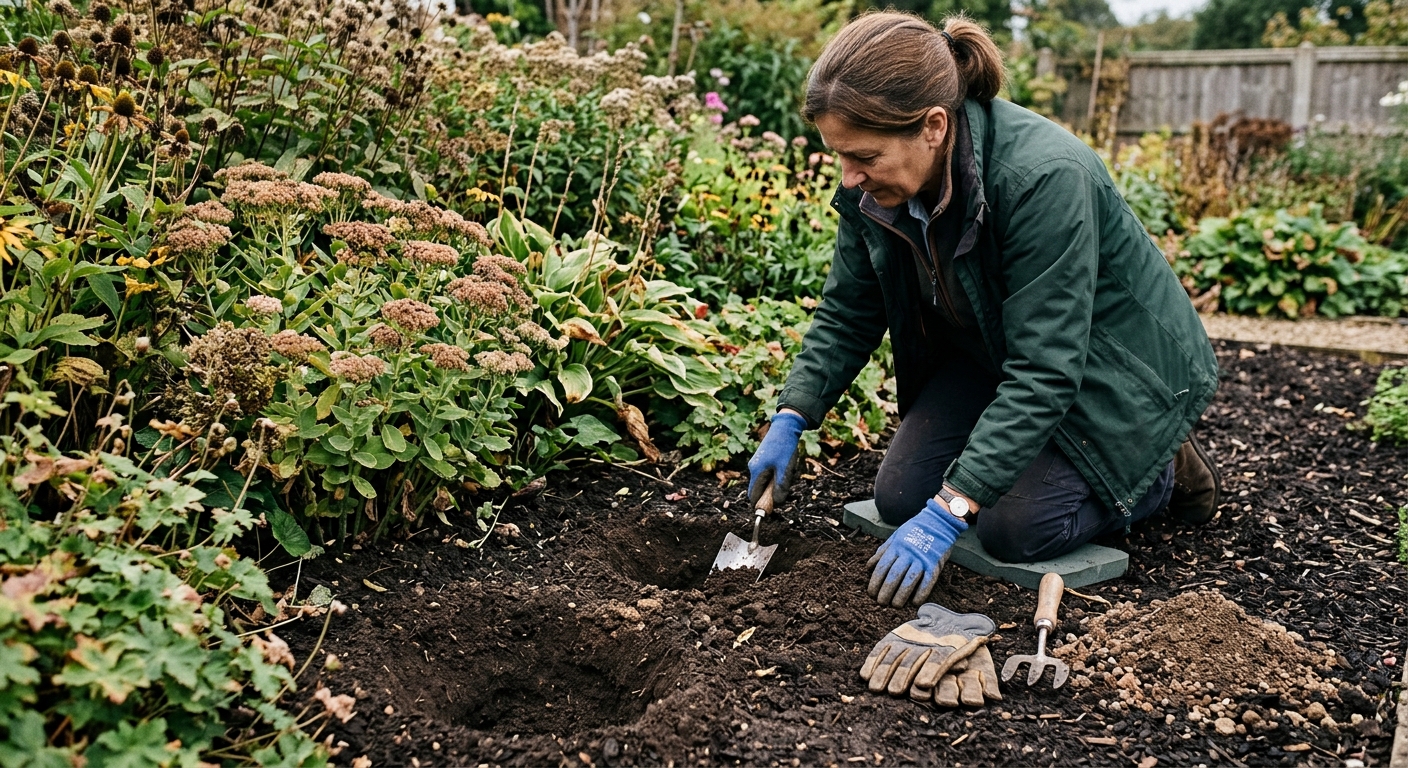
Before lifting anything, prepare the receiving holes. Weed them, loosen the soil, and make each hole broad enough for roots to spread rather than curl. You are not trying to improve every inch of the border at once; you are making a ready landing place so the divisions spend minutes, not an afternoon, exposed to air. Keep a bucket of water nearby for a dry or windy day.
Step 2: Lift the clump without tearing the crown apart
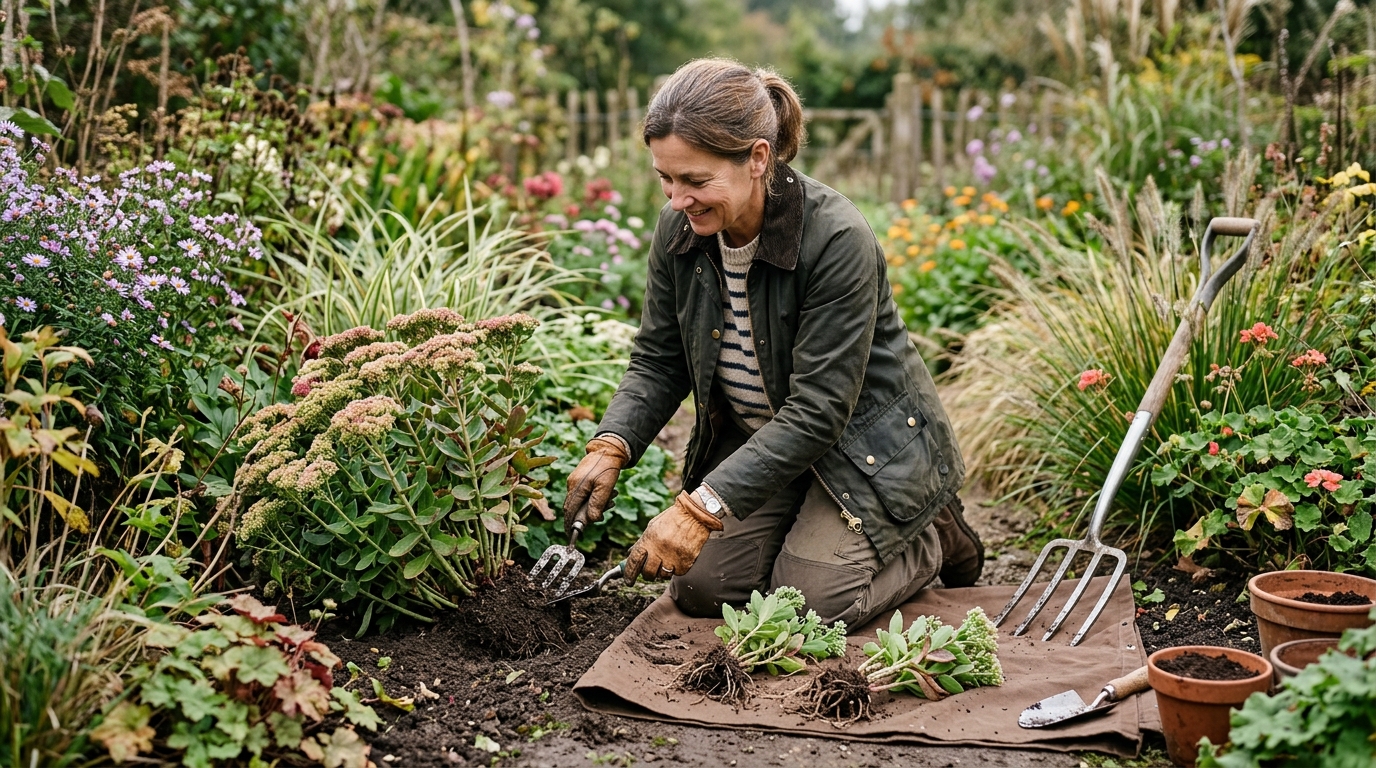
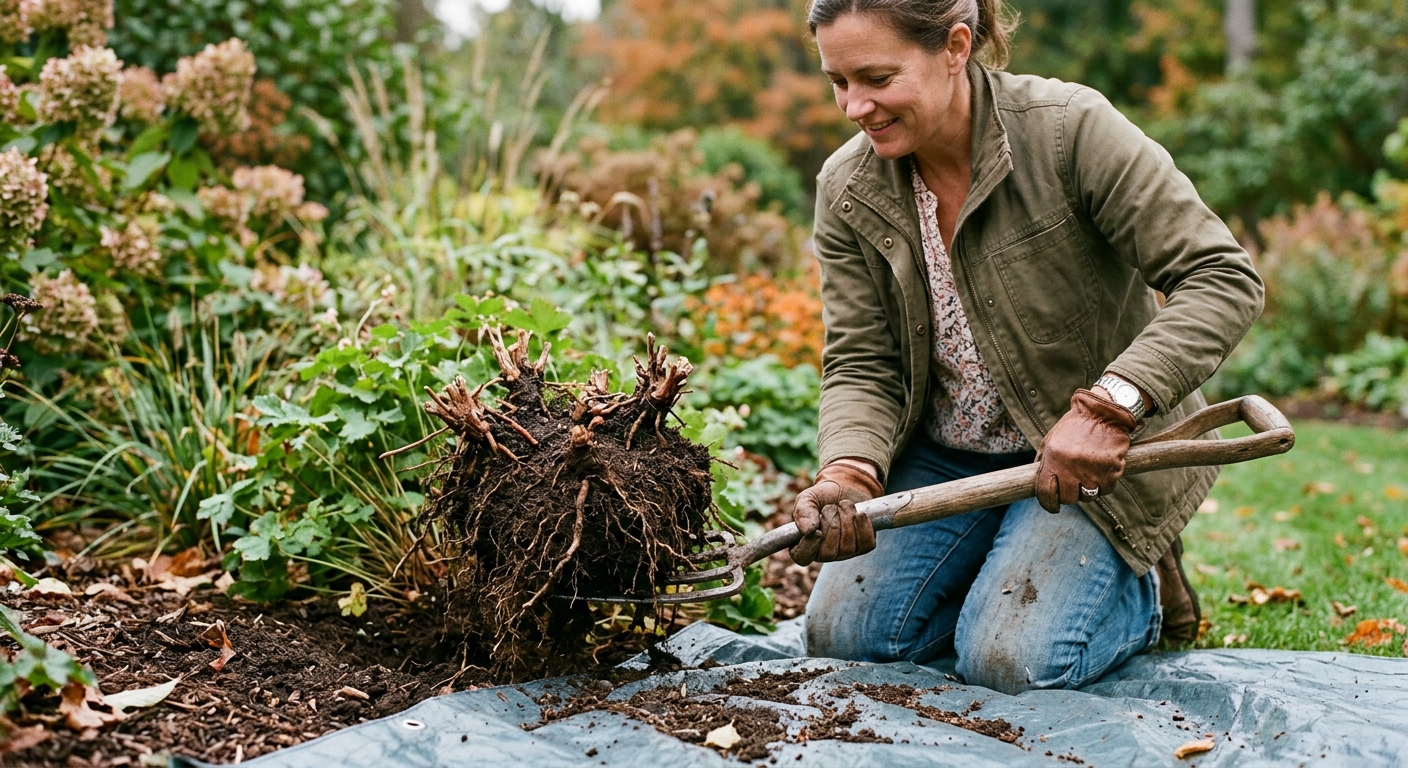
Put on gloves and use a sharp spade or garden fork. Start several inches outside the visible crown, push the tool straight down, and work around the clump. A fork is especially useful for easing up a dense root mass: lever gently from different sides instead of prying hard in one spot. The goal is to keep as much root system as you can, not win a contest with compacted soil.
Lift the clump onto a tarp, wheelbarrow, or clear patch of ground. Shake or tease away just enough loose soil to see where the crowns, shoots, and roots meet. For plants with flexible roots, your hands may separate natural sections. For a dense fibrous crown, make deliberate cuts with a clean hori hori knife, spade, or sharp pruners. Keep fingers clear of the cutting line and never brace the root ball against your thigh.
Each division needs a viable piece of crown or shoots and a healthy share of roots. Three to five shoots is a useful target for many clump-formers, but do not reduce a slow-growing perennial to tiny fragments just to make more plants. Throw away dead central wood and any soft, foul-smelling, or visibly diseased tissue rather than replanting it.
Step 3: Separate, reset, and water each division
Set each division into its prepared hole at the same depth it grew before. The old soil line on the crown is your best guide. Backfill with the native soil, working it between roots with your fingers, then firm lightly so there are no large air pockets. Do not bury a crown just because the division looks small; deep planting can slow growth and flowering. Rhizomatous plants can have special orientation rules, so check the species before covering them.
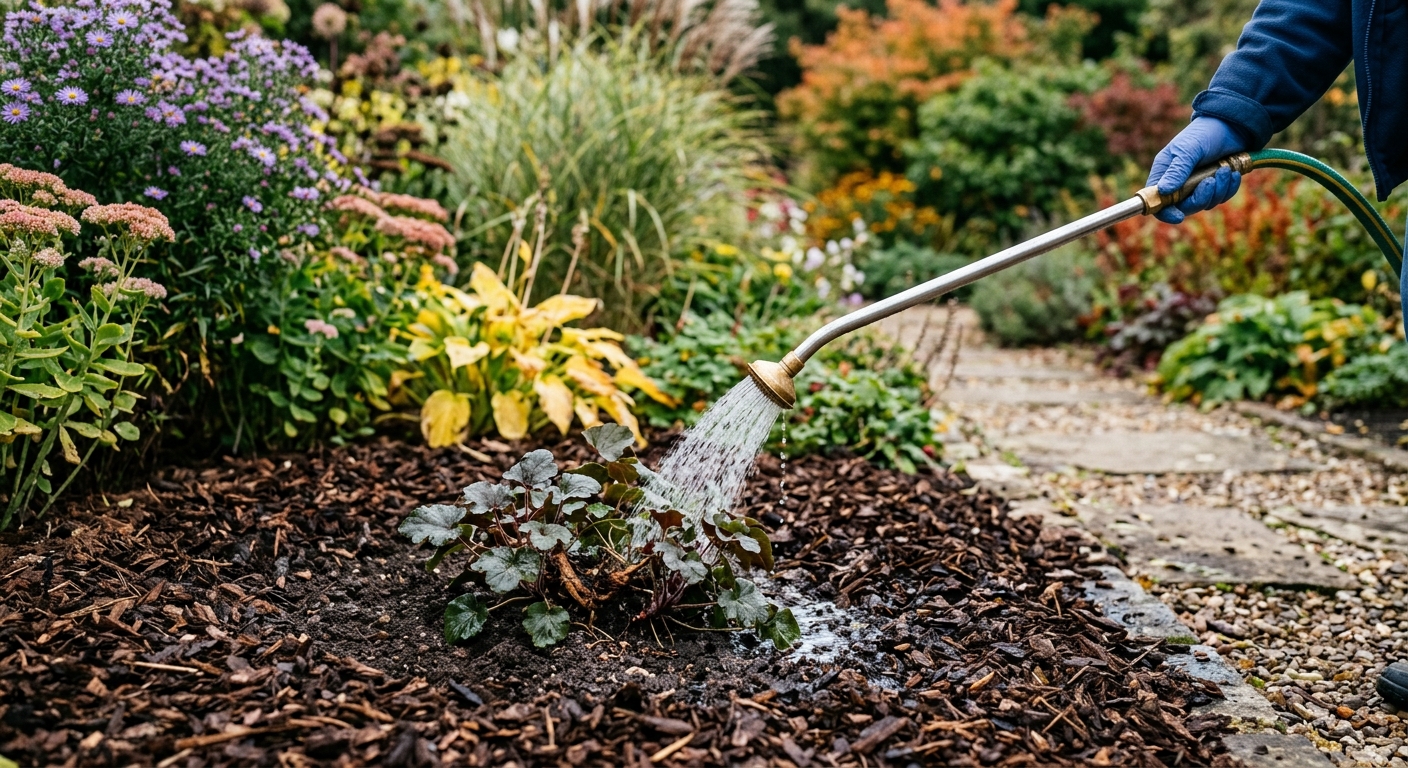
Water each division slowly and thoroughly after planting. A gentle rain wand is useful because it settles soil without blasting the crown out of position. Check the soil over the following weeks and water during dry spells so the root zone remains evenly moist, not waterlogged. A light mulch layer after the soil begins to cool can moderate winter swings, but leave a little breathing room around the crown instead of piling mulch directly onto it.
Label unfamiliar divisions before you forget which is which. If you are sharing extras, wrap moist roots for the short trip and tell the recipient to plant promptly at the same depth. The first year may bring fewer flowers while the plant rebuilds its root system. That is normal; the payoff is a less crowded clump with space to grow next season.
Step 4: Give the divisions a quiet first fall
The follow-up is simple: protect the roots from extremes and resist the urge to keep tinkering. Check new divisions after heavy rain, frost, or a windy week. If the soil has settled and exposed roots, add a small amount of soil around them without covering the crown. If a division heaves upward during repeated freezing and thawing, gently reset it on a day when the soil is workable.
Avoid pushing new growth with high-nitrogen fertilizer at the end of the season. The useful work now is roots, not lush top growth. Keep weeds out of the planting area, water if the weather stays dry, and wait until spring to judge whether a plant needs further adjustment. A division that arrives at winter hydrated, correctly planted, and lightly protected has done the important part.
Troubleshooting & FAQ
Can I divide perennials after the first frost?
A light frost is not automatically a stop sign, but the calendar matters more than one chilly night. If the ground is likely to freeze soon, wait until spring rather than disturbing roots that will not have time to establish. In a mild climate with several weeks of workable soil ahead, follow local extension timing for the specific plant.
Which perennials should I avoid dividing in fall?
Do not assume all perennials share the same schedule. Fall-blooming herbaceous perennials are commonly divided in early spring, and ornamental grasses are a notable fall-division exception. Woody shrubs, tap-rooted plants, and any species with a special planting rule should be checked against a local extension or nursery source first.
How small can a perennial division be?
Every piece needs a living crown or shoot and its own healthy roots. Several shoots per division is a practical target for many clump-forming plants, but the right size varies by species. Very small pieces can survive yet take longer to settle and may not flower well in the first season.
Do I need to fertilize right after dividing?
Usually, no. Replanting at the correct depth, watering deeply, and keeping the root zone evenly moist are more useful in fall than stimulating soft top growth. If a soil test or plant-specific guidance calls for an amendment, use that guidance rather than applying a general fertilizer by habit.
What if the center of the clump is dead?
That is a common reason to divide. Keep the healthy outer sections with visible crowns and firm roots, and discard dead or rotten material. Clean your cutting tools before moving to another plant, especially if the dead center looked diseased rather than merely old.
Affiliate disclosure: as an Amazon Associate, HowTo.Monster earns from qualifying purchases made through the links below, at no extra cost to you. Our picks are chosen editorially, not by commission.
Apparatus & Materials
| Item | Cost | |
|---|---|---|
| ◆ Garden spade or digging fork Lifts the root ball from outside the crown with less tearing than pulling at the foliage. | $25–$60 | — |
| ◆ Water Keeps roots moist during the job and settles soil around each replanted division. | $1 | — |
| Dramm Classic Rain Wand with Shutoff, 30-inch Our pick for a gentle post-planting soak: the 400-hole shower head wets the root zone without scouring soil off a newly set crown. | $24–$36 | Buy now |
| Fiskars Hori Hori Garden Knife with Sheath Our pick for controlled cuts through a compact crown: a sturdy, marked garden knife that is more precise than hacking with a spade. | $24–$30 | Buy now |
Notes on the sources
The ranking at right reflects our editorial judgment after reading each source in full. For a summary of this entry in brief, see the source ranked first. For the chemistry and underlying principles, see the last.