
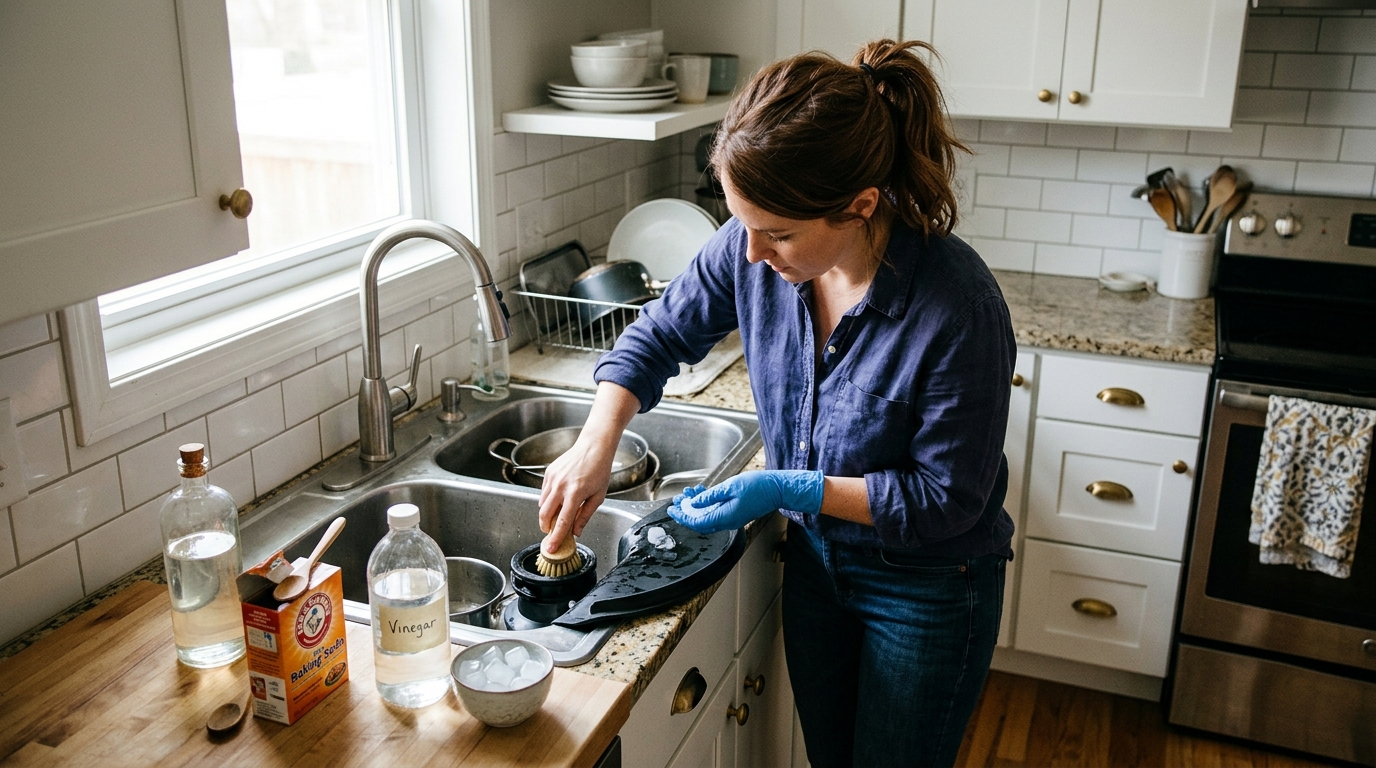
Scrub the splash guard, clear trapped grime, and deodorize the disposal with a safe rinse routine that avoids the most common jam-and-stink mistakes.
A cleaner disposal starts with the splash guard
A smelly garbage disposal is usually a layer problem, not a mystery problem: food residue hangs on the rubber splash guard, grease collects on the upper chamber walls, and old particles start to stink when they sit. The fix is part cleaning, part flushing, and part restraint — especially if you're tempted to grab the spinning chamber with your hands.
This routine keeps the work small and safe. First you cut power risk, then you scrub the visible grime where odor starts, then you flush the chamber with cold water and a deodorizing mix so the unit smells clean again without being abused.
Step 1: Cut power and clear the sink
Turn the disposal off before you do anything else. If the outlet is accessible, unplug it; if not, switch off the breaker that feeds the disposal so the unit cannot start while your hands are near the opening.
Clear the sink of dishes and make sure there is good light. You are not trying to dismantle the appliance — you are creating enough access to clean the parts that trap odor and buildup.
If the disposal has recently jammed, stop here and follow the manufacturer reset/jam instructions before trying to clean around it. Never put a hand into the chamber, even if the unit seems idle.
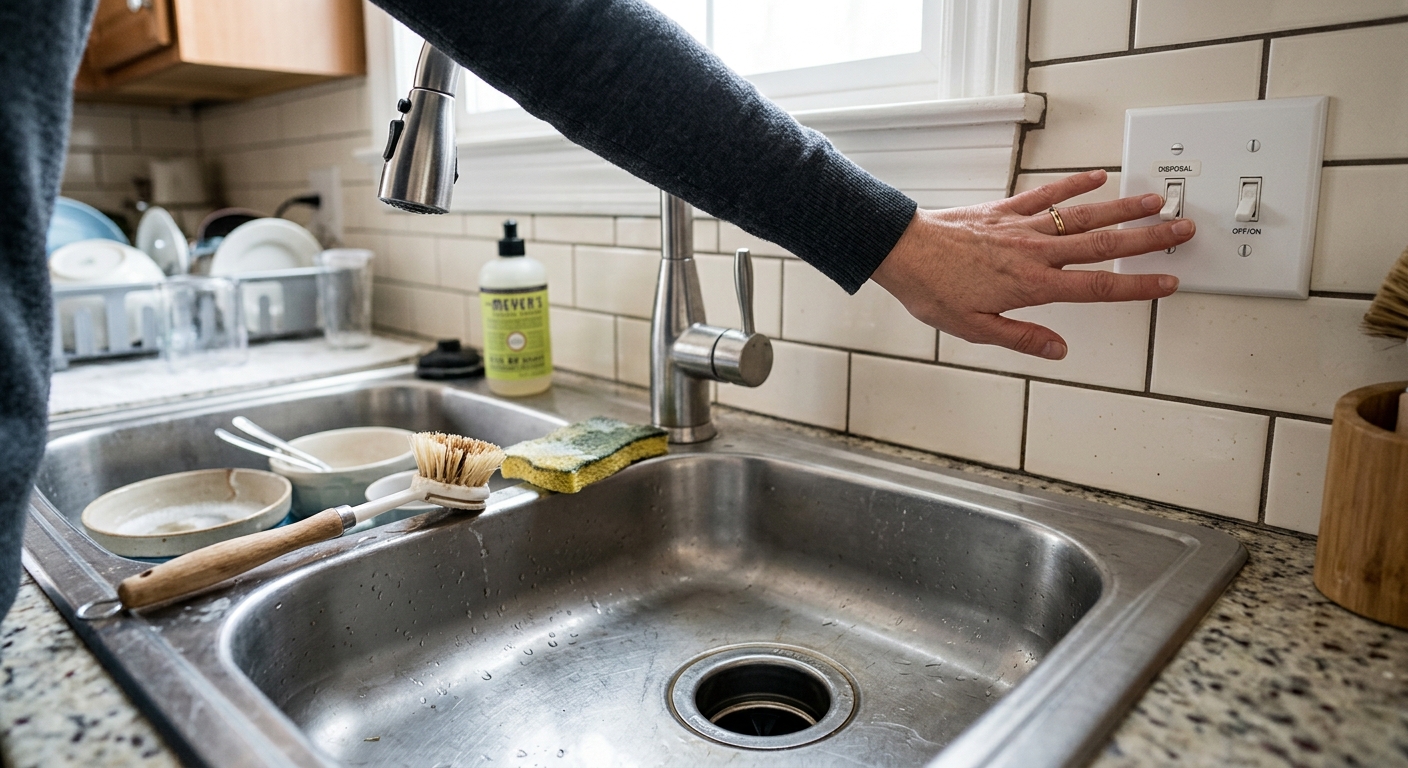
Step 2: Remove and scrub the splash guard
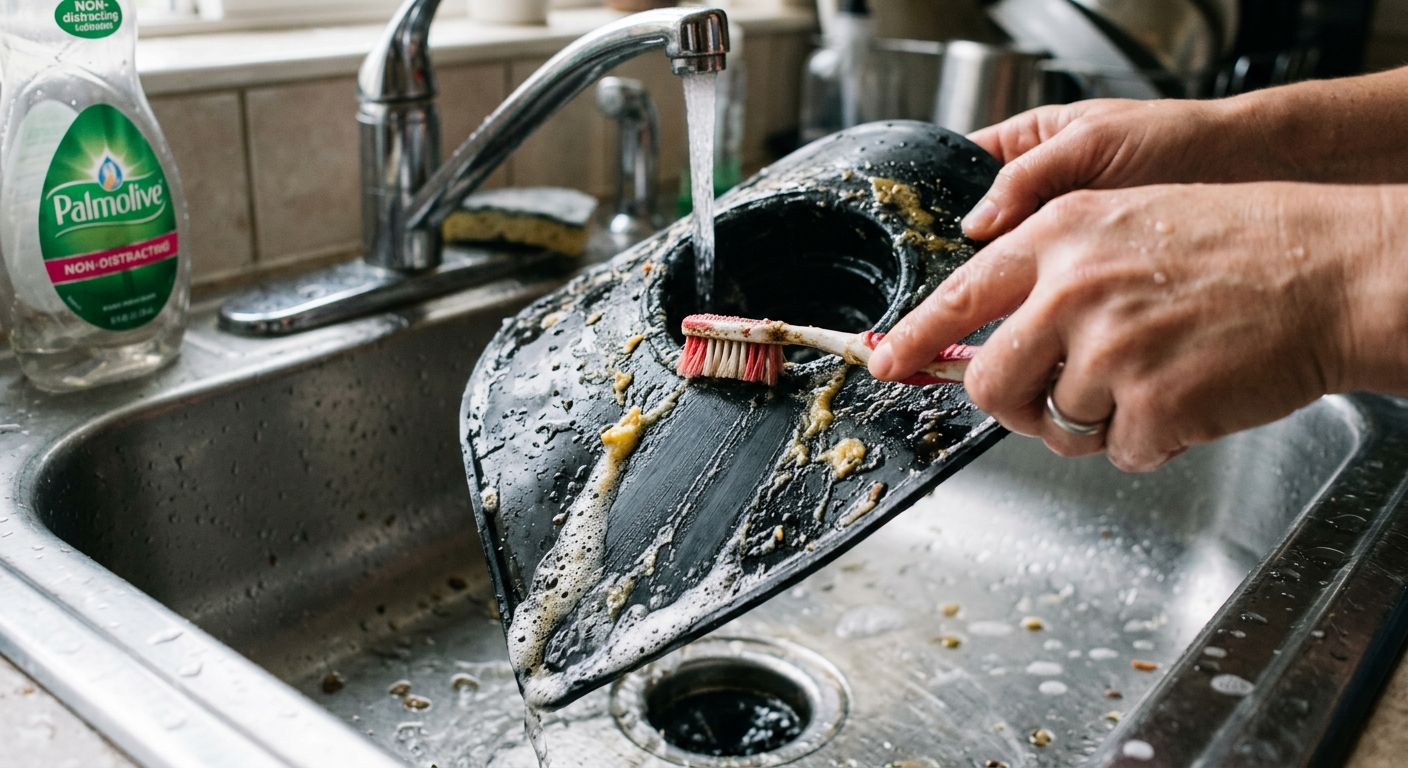
Grip the rubber baffle or splash guard and lift it out if your model allows removal. Many units use a flexible insert that pops free with a gentle pull; if yours does not, scrub it in place with a toothbrush or narrow brush and dish soap.
Work both sides of the rubber carefully. The underside usually holds the worst slime, and that residue is often what you smell when you lean over the sink. A little warm water and grease-cutting soap are usually enough to break the film without damaging the rubber.
Do not use anything sharp or abrasive enough to tear the guard. If the insert is brittle, cracked, or warped, replace it instead of trying to scrub it back into shape.
Step 3: Brush the upper chamber and rinse away loose debris
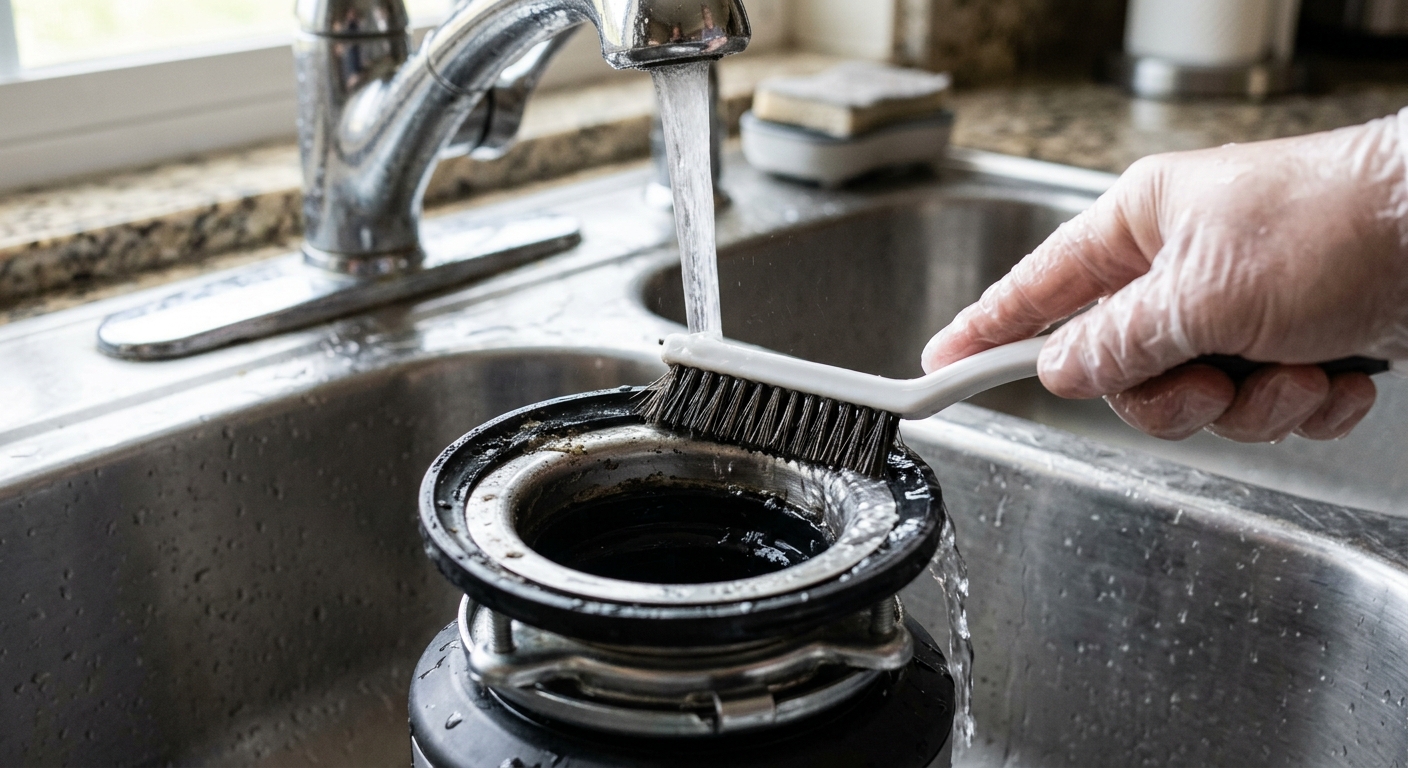
Use a long-handled brush or old toothbrush to scrub the upper lip and the visible inner wall of the disposal opening. This is where greasy buildup hides above the grinding plate, and it is also where odor tends to linger after repeated rinses.
A few passes with dish soap and warm water are usually enough to loosen the residue. If you spot trapped scraps near the rim, use tongs or pliers to remove them — not your fingers.
Once the visible grime is loosened, reinstall the splash guard if it came out and run a medium stream of cold water for a short flush. Cold water helps carry debris through and is the better choice anytime you are grinding ice or flushing residue.
Step 4: Deodorize with baking soda, vinegar, and ice
Pour about half a cup of baking soda into the opening, then follow with about a cup of white vinegar. Let the fizz do its work for several minutes. This combination helps loosen lingering residue and reduces the stale smell without requiring harsh chemicals.
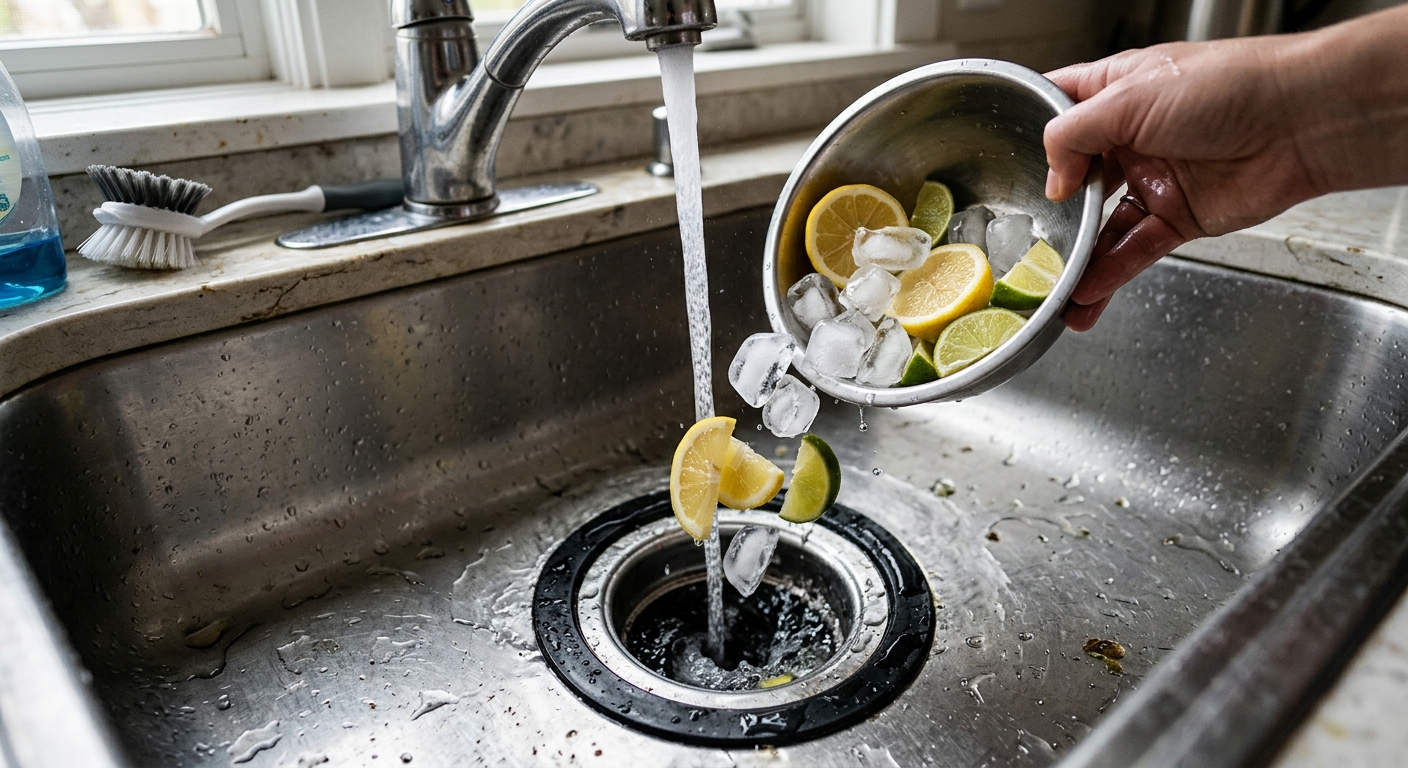
After the fizzing slows, run cold water and turn the disposal on briefly to flush everything through. If you want a fresher finish, add a handful of ice cubes and a few citrus pieces while cold water runs; the ice helps scrape residue and the citrus leaves a cleaner smell.
Do not overdo the citrus or pile in huge amounts of peel. Small batches are better for the motor and better for the drain. If the unit still smells after this cycle, repeat the cleaning rather than reaching for a stronger chemical cleaner.
Apparatus & Materials
| Item | Cost | |
|---|---|---|
| ◆ Baking soda Deodorizes the disposal and loosens residue before the vinegar rinse. | $1–$5 | Buy now |
| ◆ Dish soap Helps cut the greasy film that clings to the rubber splash guard and chamber walls. | $3–$7 | Buy now |
| ◆ Old toothbrush Gets into the narrow creases under the baffle and around the chamber lip. | Free | Buy now |
| ◆ Soft-bristle brush Scrubs the splash guard and the upper disposal rim without tearing rubber or scratching plastic. | $4–$9 | Buy now |
| ◆ White vinegar Fizzes with baking soda to help break up odor-causing buildup. | $2–$6 | Buy now |
| Ice cubes Helps knock loose residue during the final rinse and freshening pass. | Free | Buy now |
| Kitchen gloves Keeps hands cleaner while handling grimy parts and debris near the sink. | $8–$15 | Buy now |
Notes on the sources
The ranking at right reflects our editorial judgment after reading each source in full. For a summary of this entry in brief, see the source ranked first. For the chemistry and underlying principles, see the last.


