Learn to install under-cabinet LED lighting with integrated dimming capabilities for perfect task lighting. This curated guide provides expert safety protocols and hardware compatibility.
Introduction
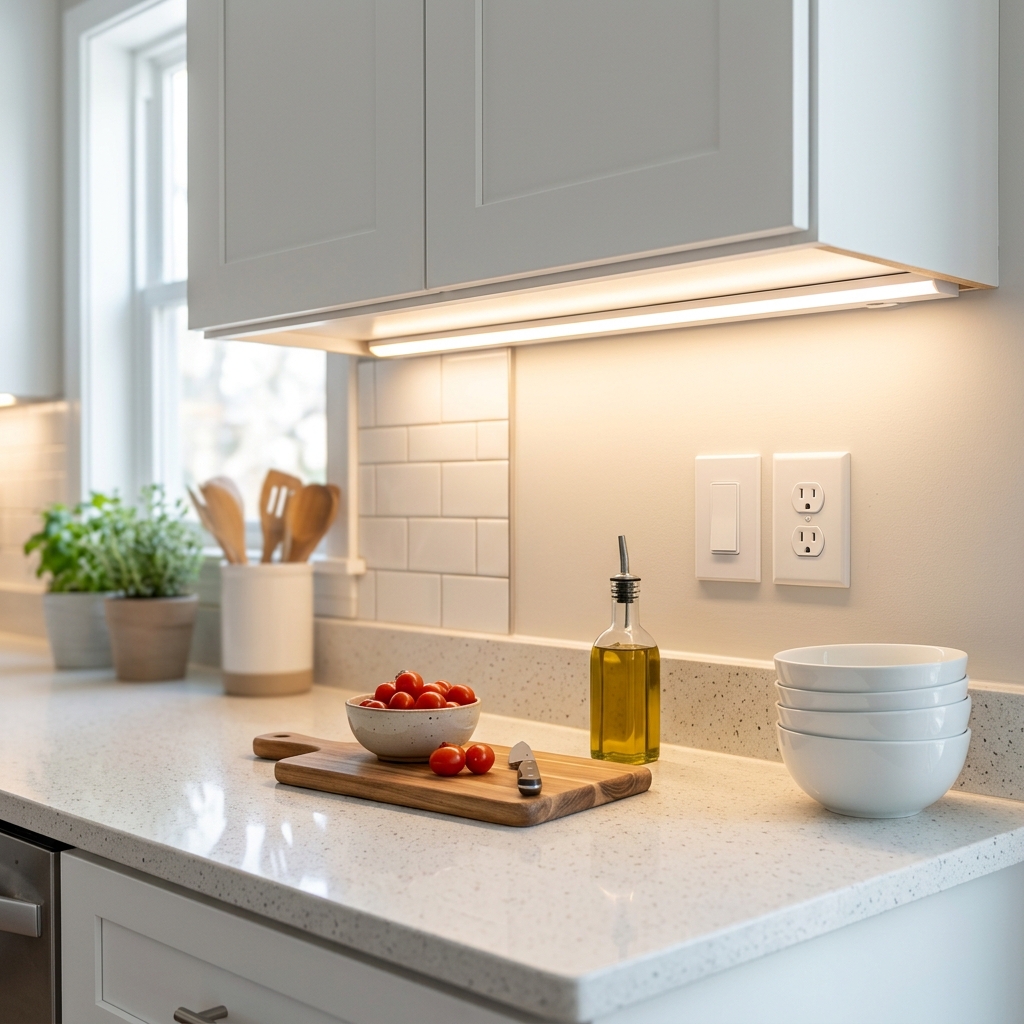
Under-cabinet LED lighting transforms kitchen functionality by eliminating shadows on countertops, improving food preparation visibility, and creating beautiful ambient lighting that can increase your home's value. However, finding reliable installation guidance that properly addresses both the lighting installation and dimmer integration can be challenging, with many resources overlooking crucial electrical safety considerations or compatibility requirements.
This curated guide aggregates the most authoritative and comprehensive resources from trusted home improvement experts and LED lighting specialists. Rather than sifting through countless tutorials of varying quality, you'll discover the top-rated guides that provide professional-grade instruction, proper safety protocols, and detailed dimmer compatibility guidance. Our research identifies the best resources for different skill levels and project approaches, saving you time while ensuring you access the most reliable information available.
Overview
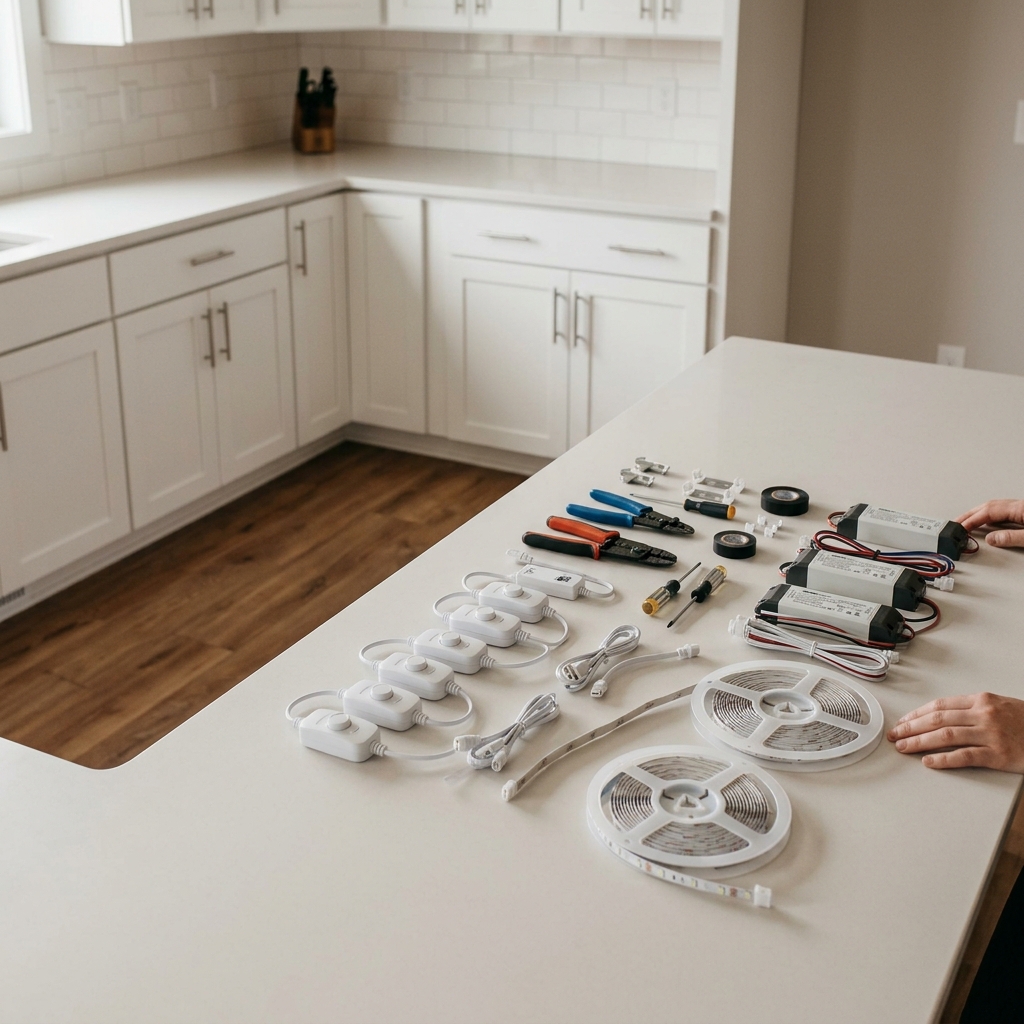
Under-cabinet LED lighting installation involves three main phases: planning and measurement, physical installation, and electrical connection with dimmer integration. The process begins with careful measurement of your cabinet spaces to determine LED strip lengths, calculate power supply requirements, and select compatible dimmer switches based on your chosen LED specifications.
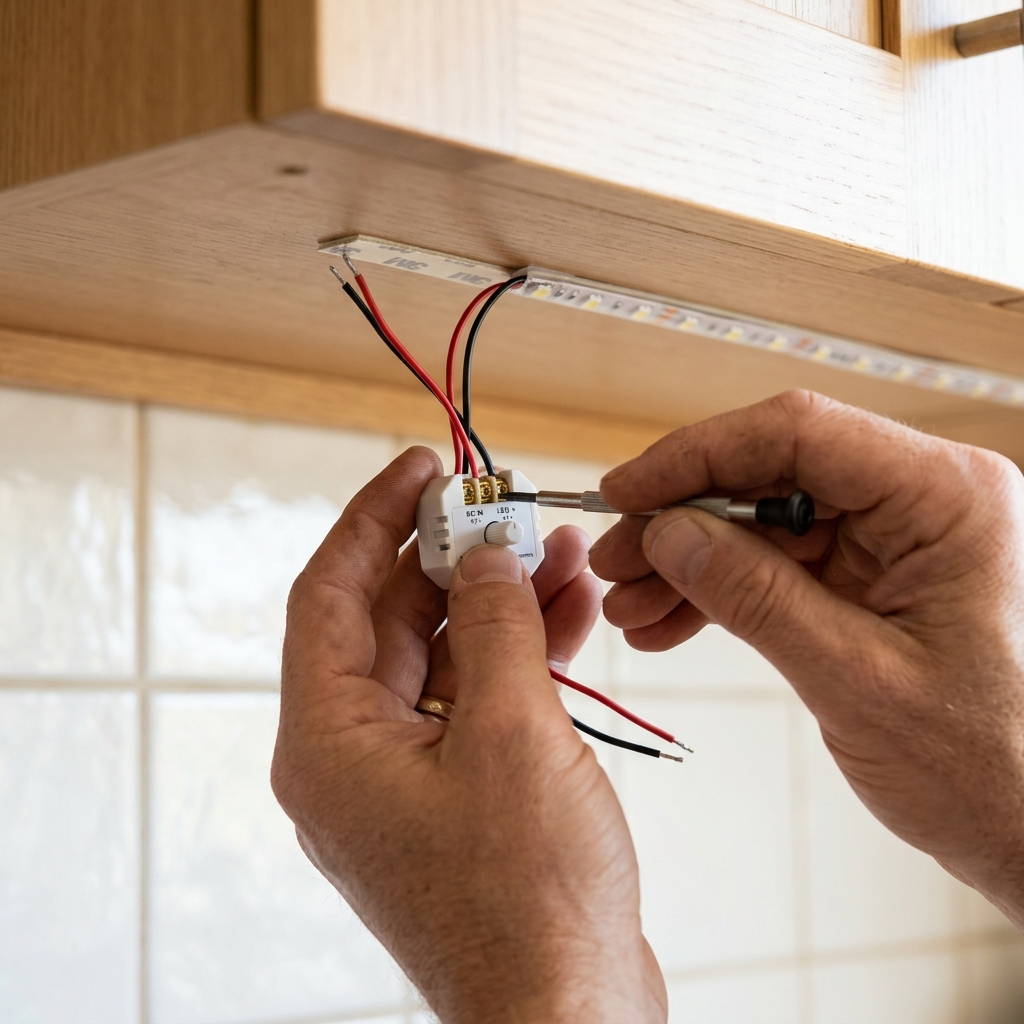
The physical installation phase involves mounting LED strips or light bars to cabinet undersides using clips or adhesive backing, running low-voltage wiring between sections, and connecting everything to a properly-sized power supply. The electrical work includes installing LED-compatible dimmer switches and ensuring all connections are properly secured and insulated.
The complexity level depends on your chosen approach-plug-in systems offer simpler installation but require accessible outlets, while hardwired installations provide cleaner aesthetics but involve more electrical work. Smart LED systems add app control and voice activation but require additional setup considerations. The recommended guides below provide detailed step-by-step instructions for each approach, with comprehensive material lists and professional tips for achieving optimal results.
Tips & Considerations
- Verify dimmer compatibility before purchasing - Not all dimmers work with LED lighting; using incompatible dimmers causes flickering, buzzing, or complete failure
- Size power supplies at 60-80% capacity - Overloading power supplies reduces dimming performance and shortens component lifespan
- Plan wire routing during measurement phase - Identify optimal paths through cabinet frames before beginning installation to avoid visible wiring
- Test all connections before final mounting - Verify proper operation of LED strips, power supplies, and dimmers before securing components permanently
- Use appropriate wire gauge for voltage and distance - Undersized wire causes voltage drop, resulting in dim or uneven lighting performance
- Consider heat dissipation in enclosed spaces - LED strips generate heat; ensure adequate ventilation in cabinet spaces with doors or enclosed areas
- Match color temperature across all LED strips - Mixing different color temperatures (measured in Kelvin) creates inconsistent lighting appearance
- Install dedicated circuits for hardwired systems - Avoid overloading existing circuits, especially in kitchens with multiple high-draw appliances
- Use surge protection for LED power supplies - Power surges can damage LED controllers and dimmer electronics
- Plan for future maintenance access - Install components and connections in locations that allow for bulb replacement or troubleshooting
Conclusion
Creating professional under-cabinet LED lighting with dimmer controls requires the right combination of quality components, proper installation techniques, and compatible electrical integration. The curated resources we've identified provide expert-vetted guidance from trusted home improvement authorities and LED lighting specialists, ensuring you have access to the most reliable and comprehensive information available.
These carefully selected guides eliminate the guesswork from component selection, provide detailed safety protocols for electrical work, and offer professional tips for achieving optimal lighting performance and longevity. Whether you're a DIY beginner or experienced homeowner, these resources provide the expertise needed to transform your kitchen lighting while avoiding common pitfalls that can lead to poor performance or safety issues.
HowTo.Monster's curation process saves you valuable research time by identifying the most authoritative and comprehensive resources available. With these expert guides and the provided materials list, you have everything needed to confidently create beautiful, functional under-cabinet lighting that will enhance your kitchen for years to come.
Apparatus & Materials
| Item | Cost | |
|---|---|---|
| ◆ 16-18 Gauge Copper Wire Stranded copper wire for electrical connections between components. Easier to work with than solid core. | $10–$25 | Buy now |
| ◆ Drill with Spade Bits Electric drill with 1/2-inch and 1-1/8 inch spade bits for drilling holes through cabinet frames for wire routing. | $40–$150 | Buy now |
| ◆ LED Power Supply Adapter (24V) Converts household AC power to 24V DC for LED strips. Size based on total wattage of LED strips used. | $20–$60 | Buy now |
| ◆ LED Strip Lights (24V) Main lighting component with at least 200 lumens per foot, warm white (2700K-3000K) color temperature for kitchen task lighting. | $25–$80 | Buy now |
| ◆ LED-Compatible Dimmer Switch Low-voltage dimmer specifically designed for LED lights to prevent flickering and ensure smooth dimming operation. | $15–$45 | Buy now |
| ◆ Solderless Wire Connectors Single color grip connectors with 36-inch wire leads for connecting LED strips without soldering. | $8–$20 | Buy now |
| ◆ Stainless Steel Mounting Screws Size #8 x 3/4 inch screws for securely mounting LED strips to the underside of cabinets. | $5–$12 | Buy now |
| ◆ Wire Stripper and Voltage Tester Wire stripping tool for preparing electrical connections and voltage tester for safety verification. | $15–$35 | Buy now |
Notes on the sources
The ranking at right reflects our editorial judgment after reading each source in full. For a summary of this entry in brief, see the source ranked first. For the chemistry and underlying principles, see the last.