Transform your kitchen into a sophisticated space by eliminating shadows and highlighting your backsplash. This curated guide features the best expert tutorials for achieving luxury results.
Introduction
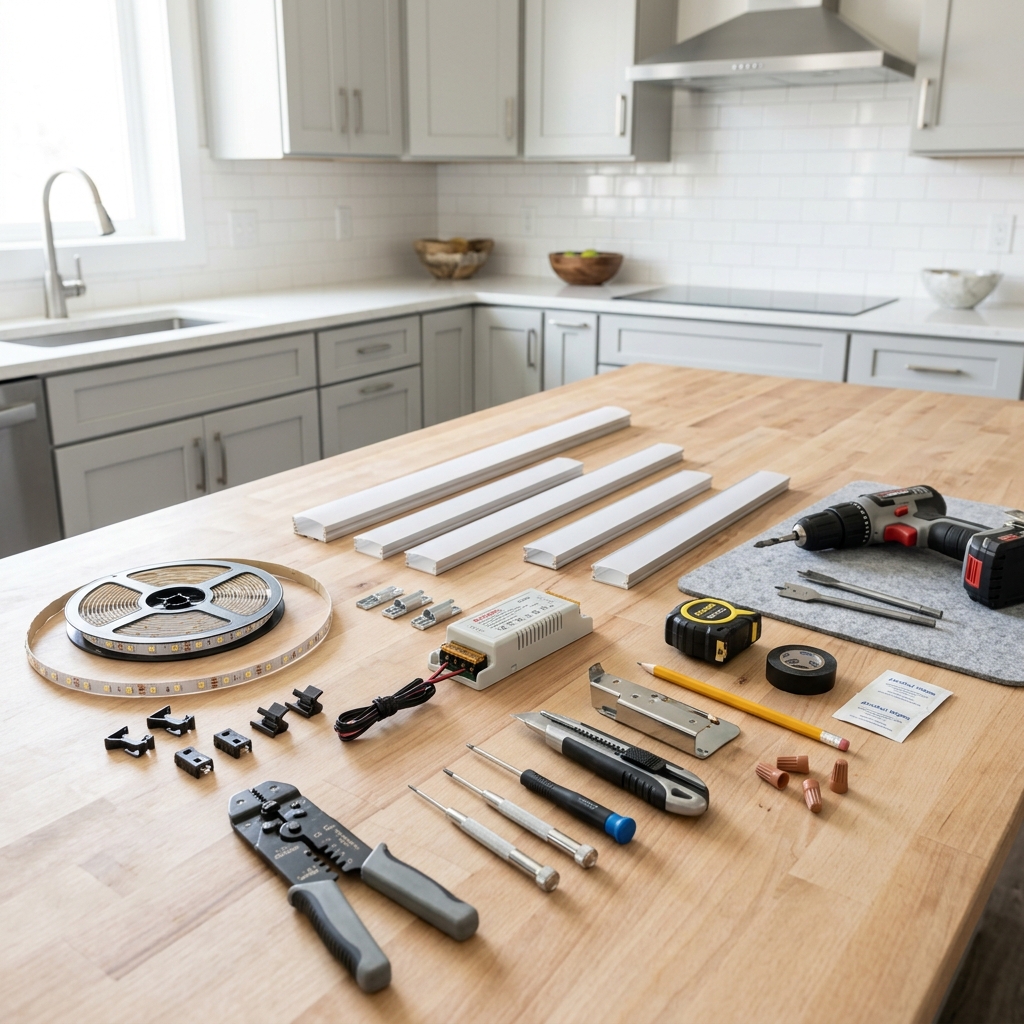
Under-cabinet LED lighting is one of the most impactful upgrades you can make to create a luxury kitchen aesthetic. This sophisticated lighting eliminates shadows on countertops, highlights beautiful backsplashes, and creates the warm, inviting atmosphere that characterizes high-end kitchen designs. What once required expensive professional installation has become increasingly accessible to DIY enthusiasts, thanks to advances in LED technology and simplified installation methods.
Rather than sifting through countless tutorials of varying quality, this curated guide connects you with the most authoritative and comprehensive resources available. We've carefully evaluated expert sources to bring you the best combination of professional techniques, technical expertise, and clear instruction that will help you achieve luxury-grade results. Whether you're a beginner looking for simple plug-in solutions or an experienced DIYer ready to tackle hardwired installations, you'll find the right guidance to transform your kitchen lighting.
Overview
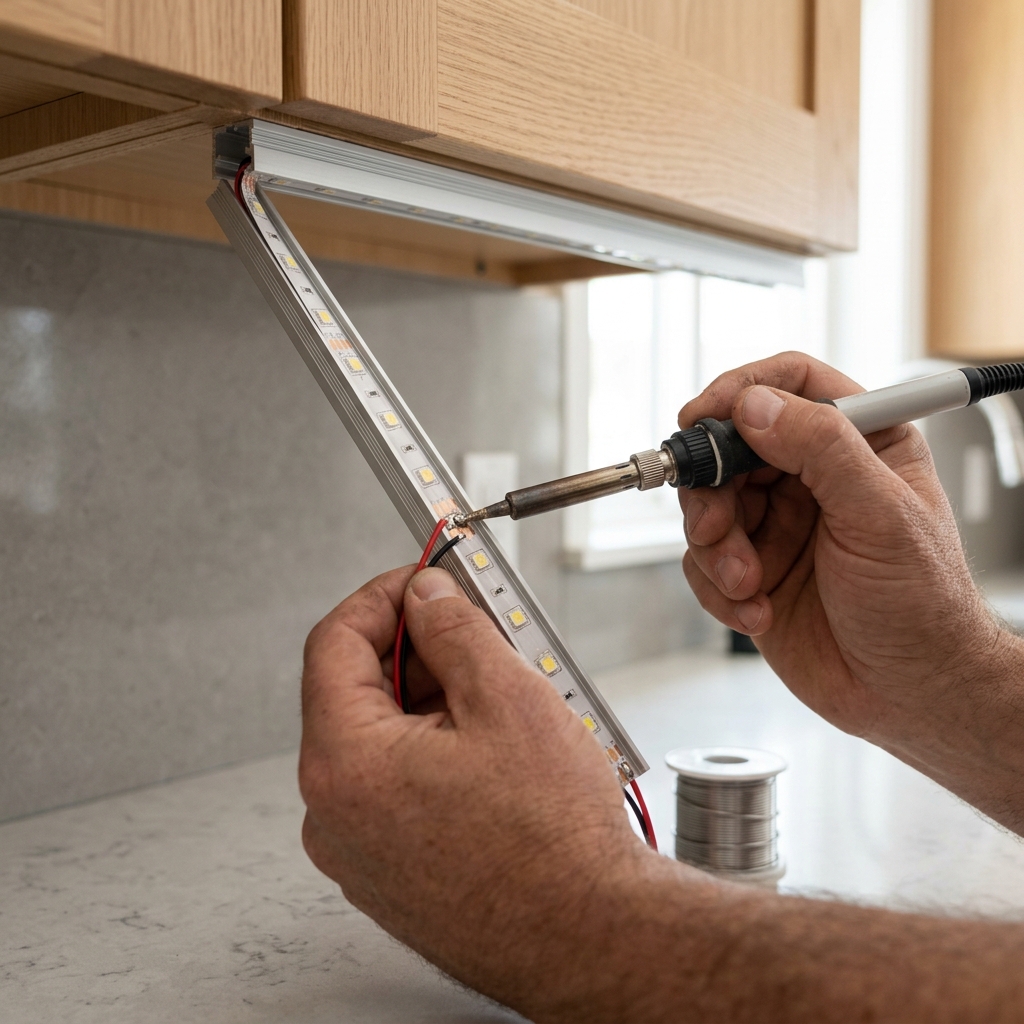
The under-cabinet LED installation process centers around three main phases: planning and measurement, physical installation, and electrical connections. The journey begins with carefully measuring your cabinet sections to determine the total length of LED strips needed, while considering factors like brightness requirements (minimum 200 lumens per foot) and color temperature selection (typically 2700K-3000K warm white for kitchens).
Installation methods range from simple plug-in systems that connect directly to existing outlets, to battery-powered wireless solutions, to professional hardwired installations that integrate with wall switches. The physical installation involves preparing cabinet surfaces, mounting the LED strips to cabinet undersides using adhesive backing or mounting clips, and routing cables for a clean appearance. Testing components before any permanent installation or cutting is crucial for success.
The electrical phase varies significantly based on your chosen approach. Simple plug-in methods require basic connections to included adapters, while hardwired installations involve working with transformers that convert standard 120V household power to the 12V or 24V required by LED strips. The recommended expert guides provide detailed step-by-step instructions tailored to different skill levels and installation preferences, ensuring you can achieve professional results regardless of your chosen method.
Tips & Considerations
Test everything first - Always test LED strips, connectors, and power supplies before cutting strips to size or making permanent installations
Plan for heat dissipation - Ensure adequate ventilation around LED strips and power supplies, as heat buildup can reduce lifespan and performance
Invest in quality components - Higher-quality LED strips with consistent color temperature and brightness will maintain the luxury appearance over time
Consider dimming capability early - If you want adjustable lighting for ambiance, ensure all components (strips, power supply, switches) are dimmer-compatible
Route cables thoughtfully - Plan wire paths to avoid interference with cabinet doors and drawers while maintaining a clean appearance
Size power supplies generously - Choose transformers rated for 20-30% more wattage than your calculated needs to ensure reliable operation and allow for future expansion
Mind the color temperature consistency - Mixing LED strips with different color temperatures (measured in Kelvin) will create an unprofessional patchwork appearance
Safety first with electrical work - Turn off power at the breaker for hardwired installations and consider consulting an electrician for complex electrical connections
Use proper mounting techniques - Clean cabinet surfaces thoroughly before applying adhesive-backed strips, and consider mechanical mounting clips for long-term reliability
Plan for maintenance access - Install components in locations where you can easily replace strips or power supplies when needed
Conclusion
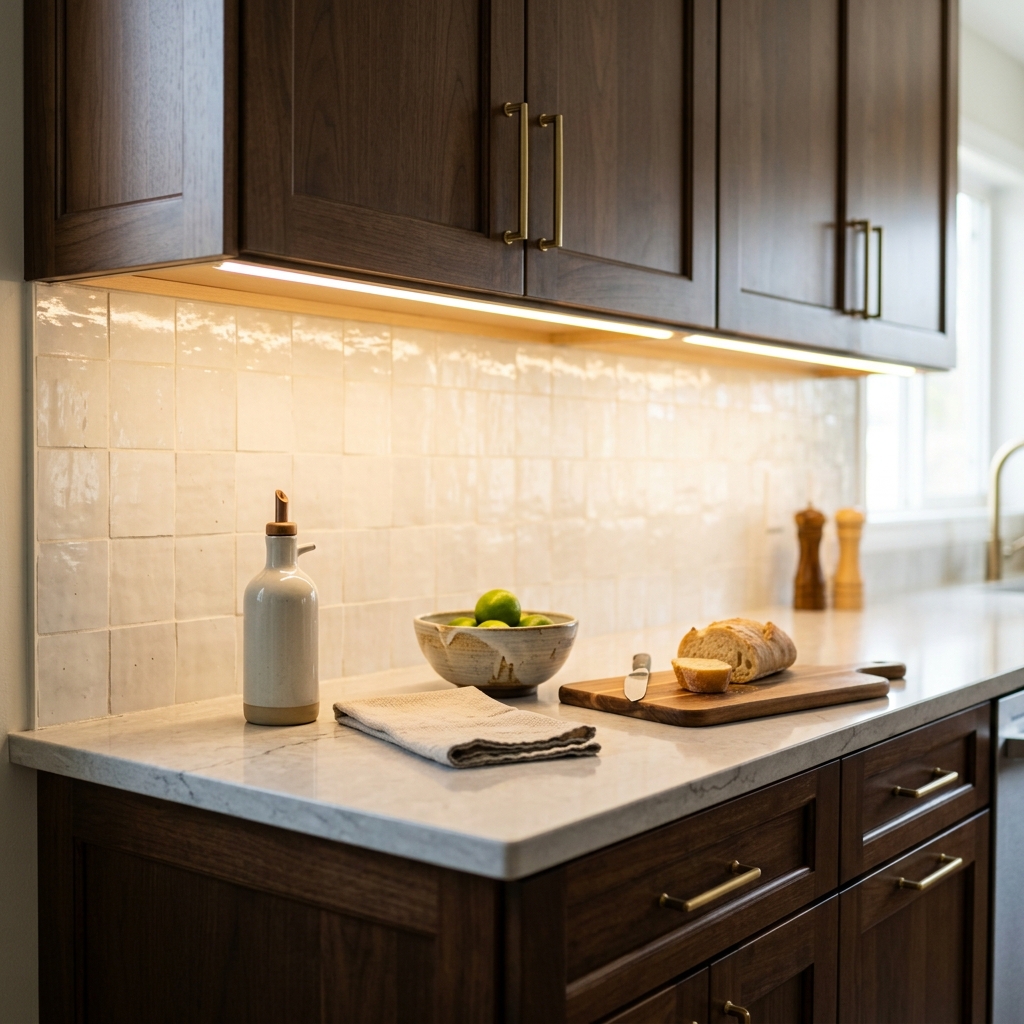
Creating luxury under-cabinet LED lighting is an achievable project that delivers dramatic results when approached with the right guidance and quality materials. By leveraging the expertise found in our carefully selected resources, you're equipped with professional techniques and industry best practices that would otherwise require extensive research to discover.
The expert guides we've curated represent the gold standard in under-cabinet lighting instruction, combining authoritative sources like This Old House's professional contractor expertise with specialized LED manufacturer knowledge and proven DIY methodologies. These resources will save you time, prevent costly mistakes, and guide you toward the luxury kitchen aesthetic you're seeking.
Take confidence in knowing that thousands of homeowners have successfully transformed their kitchens using these exact methods and resources. Whether you choose the simplicity of plug-in systems or the sophistication of hardwired installations, you now have access to the best instruction available to achieve professional-quality results that will enhance your kitchen's beauty and functionality for years to come.
Apparatus & Materials
| Item | Cost | |
|---|---|---|
| ◆ 12/2 NM Electrical Cable Romex electrical cable for running power from outlet to LED installation points through cabinet framework. | $15–$35 | Buy now |
| ◆ Drill with Spade Bits Power drill with 1/2-inch and 1-1/8 inch spade bits for drilling holes through cabinet walls for wire routing. | $40–$120 | Buy now |
| ◆ LED Power Supply Adapter 24-volt transformer that converts 125V household current to low voltage for LED strips, includes coaxial connector and screw terminals. | $20–$45 | Buy now |
| ◆ LED Strip Lights LED strip lights with at least 200 lumens per foot and warm white color temperature (2700K-3000K) that can be cut to size for cabinet installation. | $25–$80 | Buy now |
| ◆ Measuring Tape Essential for measuring cabinet sections to determine total LED strip length needed and ensure proper fit. | $8–$20 | Buy now |
| ◆ Safety Glasses Eye protection required when drilling holes through cabinets or cutting materials during installation. | $5–$15 | Buy now |
| ◆ Solderless Grip Connectors Wire connectors with bare wire ends that allow LED strips to connect to power supply without soldering. | $8–$20 | Buy now |
| ◆ Wire Stripper Tool for stripping insulation from electrical wires to prepare black, white, and red wires for connections. | $10–$25 | Buy now |
Notes on the sources
The ranking at right reflects our editorial judgment after reading each source in full. For a summary of this entry in brief, see the source ranked first. For the chemistry and underlying principles, see the last.