This curated guide aggregates the best expert resources for installing under-cabinet LED lighting to create a luxurious, hotel-inspired kitchen atmosphere.
Introduction
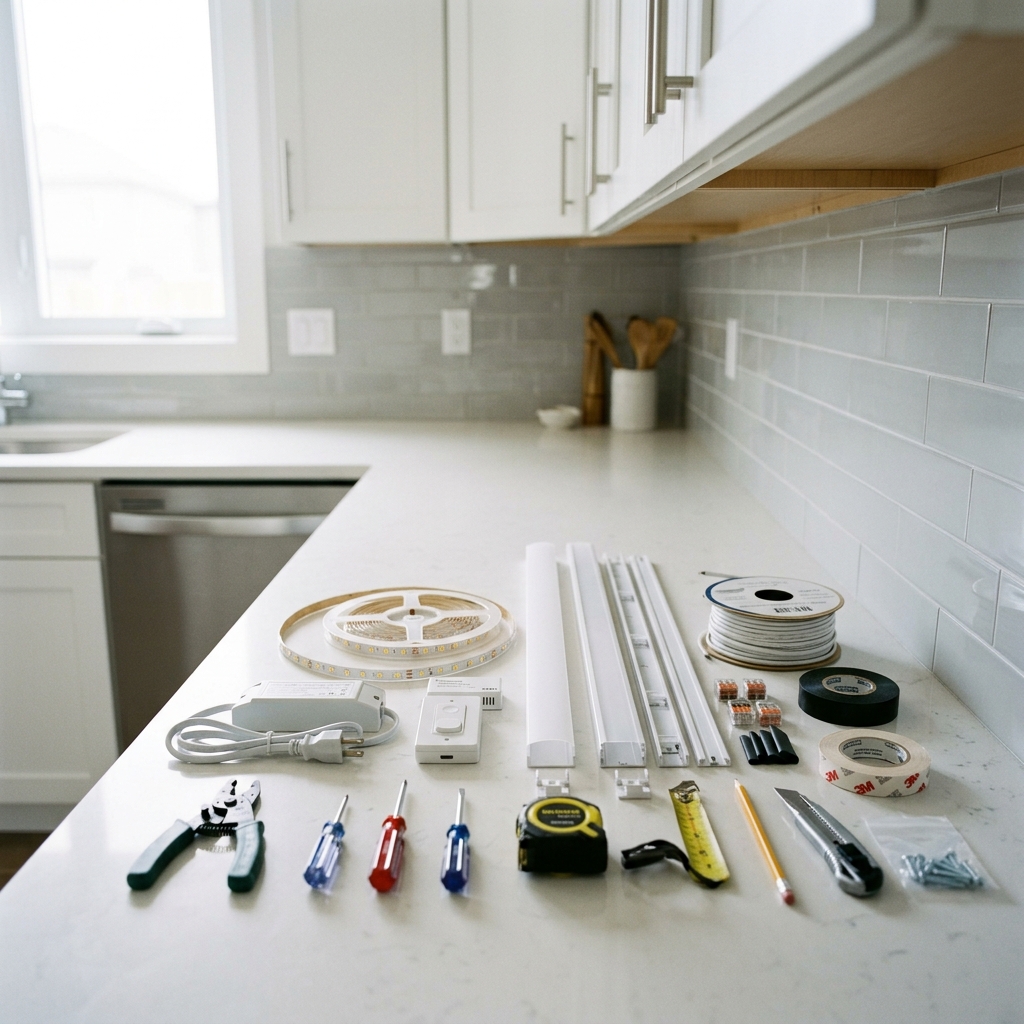
Under-cabinet LED lighting is one of the most impactful upgrades you can make to transform an ordinary kitchen into a sophisticated, hotel-like space. This targeted lighting eliminates harsh shadows on countertops, provides excellent task illumination for food preparation, and creates that warm, professional glow that defines upscale hospitality design.
Rather than sifting through countless tutorials and conflicting advice, we've curated the most reliable, expert-backed resources from trusted home improvement authorities and LED lighting specialists. This guide connects you with proven methods from professionals who understand both the technical requirements and aesthetic nuances needed to achieve that coveted hotel kitchen ambiance.
You'll discover the essential considerations for planning your installation, understand the different approaches available based on your skill level and electrical setup, and gain access to expert tips that ensure professional-quality results. Our curated approach saves you research time while connecting you with the most comprehensive, reliable instruction available.
Overview
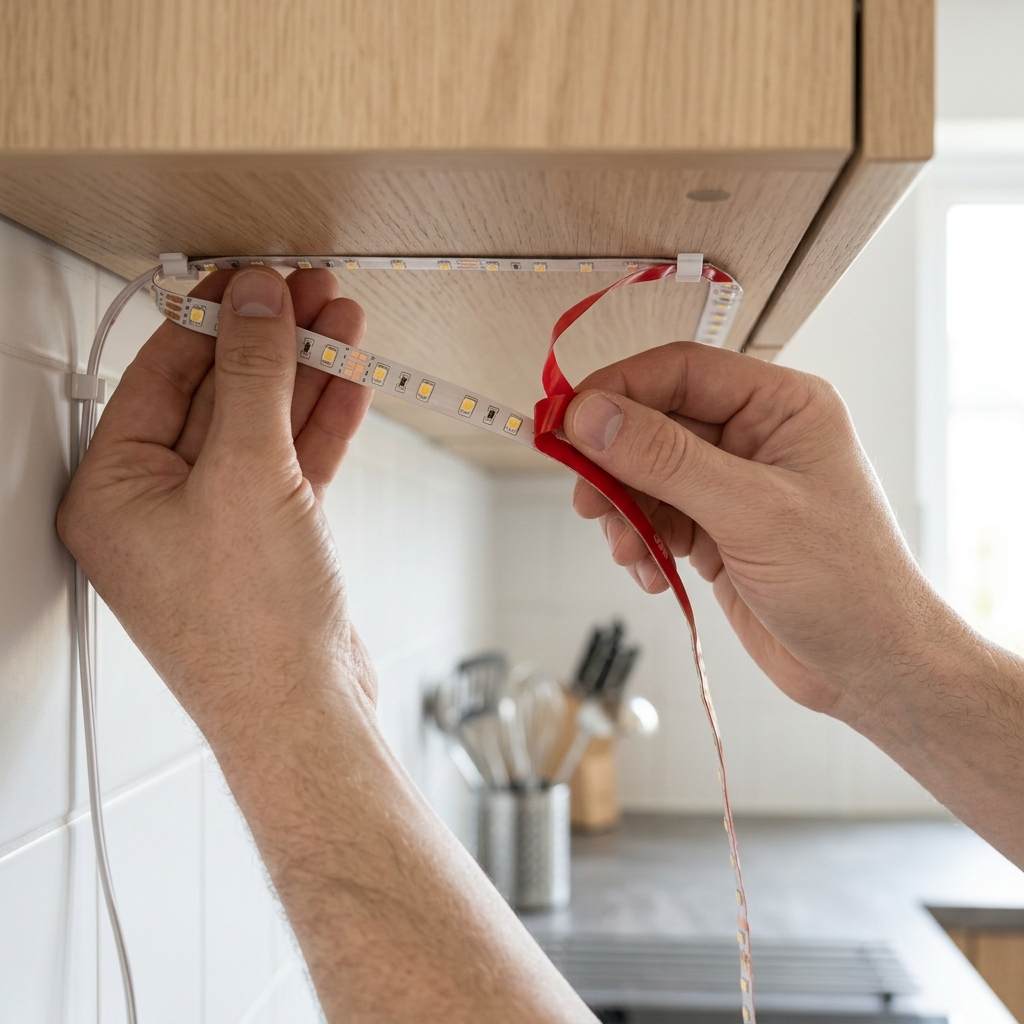
Creating under-cabinet LED lighting involves three main phases: planning and measurement, selecting the appropriate lighting system, and installation. The process begins with carefully measuring your cabinet spaces and determining your power requirements based on the total length of lighting needed. You'll need to decide between plug-in systems (easiest for beginners), battery-powered options (simplest installation), or hardwired solutions (most professional appearance).
The installation phase involves mounting LED strips or puck lights to the underside of cabinets, typically positioning them toward the front edge to minimize shadows while keeping them hidden from direct view. Proper positioning is crucial for achieving that even, shadow-free illumination characteristic of professional kitchen design. Power connections vary by system type, from simple plug-in adapters to hardwired electrical connections that integrate with your home's electrical system.
The key to hotel-quality results lies in selecting appropriate color temperatures (warm white creates the desired ambiance), ensuring adequate light output for both task and ambient lighting, and achieving clean cable management for a professional appearance. The recommended guides provide detailed technical specifications and step-by-step instruction tailored to different skill levels and installation preferences.
Tips & Considerations
Safety First: Always turn off power at the circuit breaker for hardwired installations and use a non-contact voltage tester to verify circuits are completely dead before beginning work
Positioning Matters: Install LED strips at least 2 inches shorter than cabinet width and position them toward the front edge to minimize shadows on countertops
Color Temperature Selection: Choose warm white (2700K-3000K) LEDs for hotel-like ambiance rather than cool white, which creates harsh, clinical lighting
Adequate Light Output: Select strips providing at least 200 lumens per foot for proper task lighting that eliminates shadows during food preparation
Cutting Points: LED strips can only be cut at designated marks (typically every 0.5-4 inches), so measure carefully and plan your layout before purchasing
Cable Management: Use proper wire routing and connectors rather than exposed cables to maintain the clean, professional appearance
Power Requirements: Most LED systems require 12V or 24V power, necessitating transformers to convert standard household current
Test Before Final Installation: Always test your complete lighting system before permanently mounting to avoid troubleshooting after installation
Dimming Capability: Choose dimmable LEDs and compatible power supplies to adjust lighting levels for different occasions and times of day
Heat Considerations: Ensure adequate ventilation around transformers and avoid installing in completely enclosed spaces without airflow
Conclusion
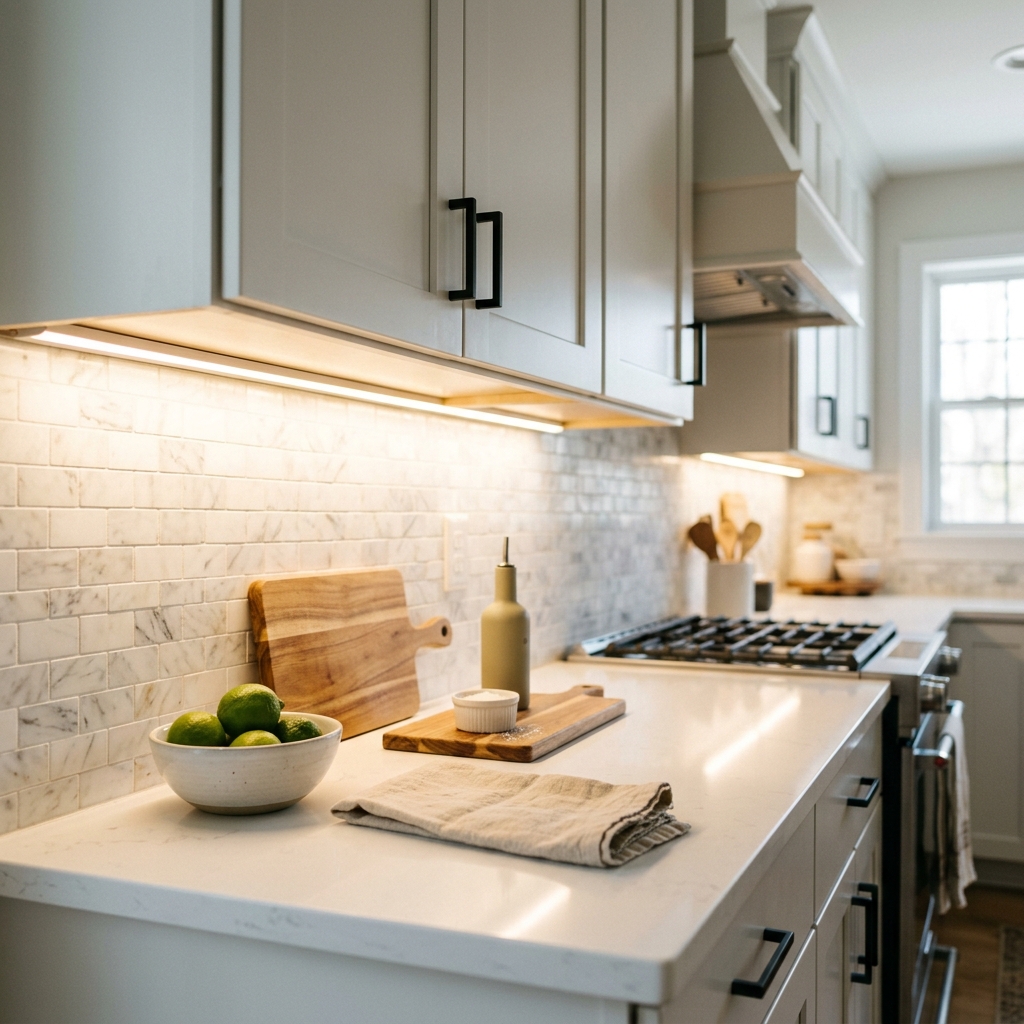
Creating hotel-quality under-cabinet LED lighting is an achievable project that dramatically transforms your kitchen's functionality and aesthetic appeal. By following expert guidance from trusted sources, you can avoid common pitfalls and achieve professional results regardless of your starting skill level.
The curated resources we've identified provide comprehensive instruction from home improvement authorities and LED specialists who understand both the technical requirements and design principles needed for outstanding results. These expert guides offer detailed step-by-step instruction, product recommendations, and professional tips that ensure your investment creates the sophisticated lighting effect you're seeking.
At HowTo.Monster, we're committed to connecting you with the most reliable, expert-backed instruction available, saving you time while ensuring access to proven methods. With the right guidance and careful attention to the key considerations outlined above, you'll soon enjoy the warm, professional glow that transforms any kitchen into an inviting, hotel-inspired culinary space.
Apparatus & Materials
| Item | Cost | |
|---|---|---|
| ◆ Cordless Drill Essential power tool for drilling mounting holes and routing cables through cabinet sides | $40–$150 | Buy now |
| ◆ LED Strip Lights Flexible LED strips with at least 200 lumens per foot, warm white (2700K-3000K) color temperature, cuttable to desired length | $15–$50 | Buy now |
| ◆ Measuring Tape Needed to accurately measure cabinet lengths and determine LED strip requirements and placement | $8–$20 | Buy now |
| ◆ Non-Contact Voltage Tester Safety device to verify electrical power is completely off before beginning installation work | $15–$35 | Buy now |
| ◆ Power Supply/Transformer Converts 125V household current to 12V or 24V DC for LED strips, sized according to total wattage needed | $20–$60 | Buy now |
| ◆ Solderless Connectors Easy-to-use connectors for joining LED strips to power supplies and each other without soldering | $8–$25 | Buy now |
| ◆ Wire Strippers Tool for safely removing insulation from electrical wires to make proper connections | $10–$25 | Buy now |
Notes on the sources
The ranking at right reflects our editorial judgment after reading each source in full. For a summary of this entry in brief, see the source ranked first. For the chemistry and underlying principles, see the last.