
Start your epoxy crafting journey by creating beautiful, durable resin keychains. This guide aggregates top expert tutorials to help beginners achieve stunning, crystal-clear results.
Introduction
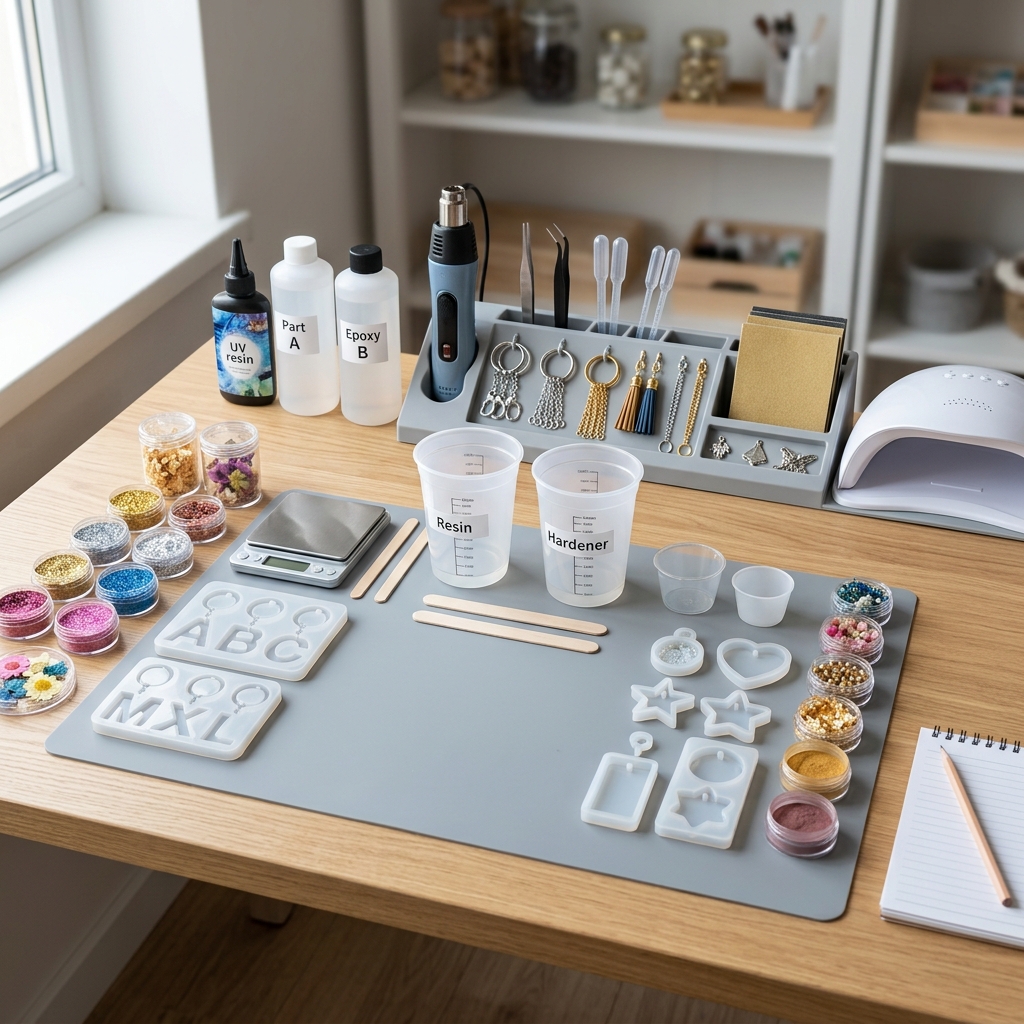
Resin art keychains have become one of the most popular entry points into epoxy crafting, offering the perfect combination of artistic expression and practical functionality. These small treasures make excellent personalized gifts while teaching fundamental resin techniques that can be applied to larger projects. The appeal lies in their accessibility-with minimal investment and a 24-hour turnaround time, you can create stunning, durable keepsakes that preserve memories or showcase your creative vision.
Rather than leaving you to sort through countless tutorials of varying quality, we've curated the most authoritative and comprehensive guides from recognized resin crafting experts. These resources will take you from complete beginner to confident keychain creator, providing professional techniques and insider knowledge that ensure your projects turn out beautifully every time.
Our carefully selected guides offer multiple learning formats and skill levels, so whether you're a visual learner seeking video instruction or someone who prefers detailed written steps, you'll find the perfect resource to match your learning style and crafting goals.
Overview
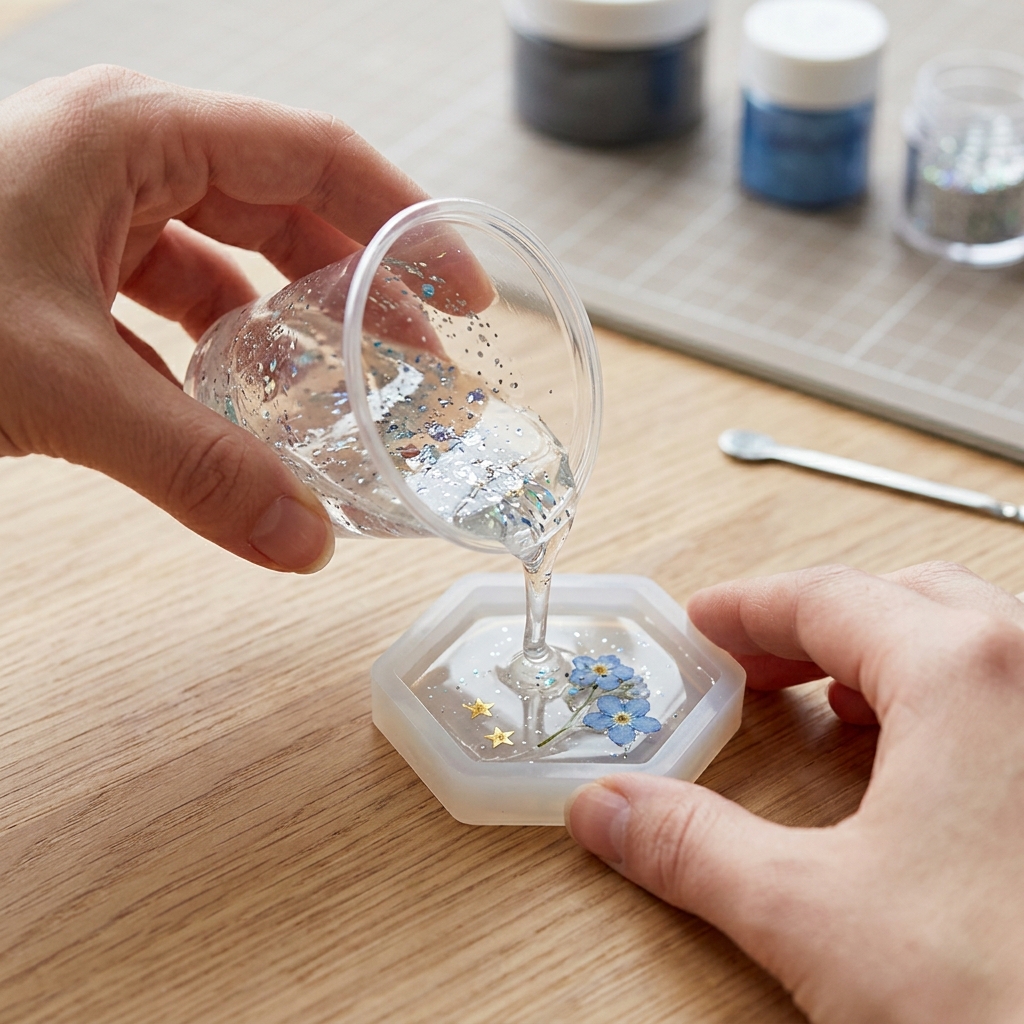
Creating resin keychains involves transforming liquid two-part epoxy resin into crystal-clear or beautifully tinted artistic pieces through a methodical process of measuring, mixing, and molding. The fundamental workflow begins with preparing your workspace and gathering materials, then accurately mixing resin and hardener components (typically in a 1:1 ratio) before incorporating any colorants or decorative elements like dried flowers, glitter, or alcohol inks.
The magic happens when you carefully pour this mixture into silicone molds, managing air bubbles through torch application or strategic pouring techniques. More complex designs can involve multiple layers-partially filling molds, placing decorative elements, then adding additional resin layers to create depth and fully encapsulate your chosen materials. This layered approach allows for sophisticated effects that rival professionally manufactured items.
Once poured, patience becomes key as pieces require a full 24-hour cure time before demolding. The final step transforms your artistic creation into a functional keychain by adding hardware like jump rings and key chains. The recommended guides below provide detailed instructions for each phase, including crucial timing considerations, troubleshooting common issues, and achieving professional-quality finishes that will impress recipients and build your confidence for more advanced resin projects.
Tips & Considerations
Prioritize workspace ventilation - Epoxy resin produces fumes that require proper air circulation; work outdoors or use fans and open windows to maintain air quality during the 20-30 minute working time
Master the 1:1 mixing ratio - Accurate measurement is critical for proper curing; even small deviations can result in sticky or soft final pieces that never fully harden
Prepare everything before mixing - Resin's limited working time demands having molds cleaned, decorative materials ready, and workspace organized before combining components
Address bubbles immediately - Surface bubbles must be removed within the first few minutes using a heat gun or torch; once resin begins setting, bubble removal becomes impossible
Avoid moisture contamination - Dried flowers, papers, or other organic materials must be completely dry, as moisture can cause cloudiness or prevent proper curing
Choose quality molds for longevity - Invest in flexible, well-designed silicone molds that release easily and maintain their shape through multiple uses
Time your demolding correctly - Removing pieces too early can damage details, while waiting too long can make removal more difficult; 24 hours is the standard cure time
Plan for layer timing - Multi-layer designs require careful timing to ensure layers bond properly without disturbing embedded decorative elements
Maintain consistent mixing technique - Thorough stirring for 2-3 minutes ensures complete chemical reaction, but overmixing can introduce unwanted air bubbles
Store materials properly - Keep resin components sealed and at room temperature to maintain optimal working properties and extend shelf life
Conclusion
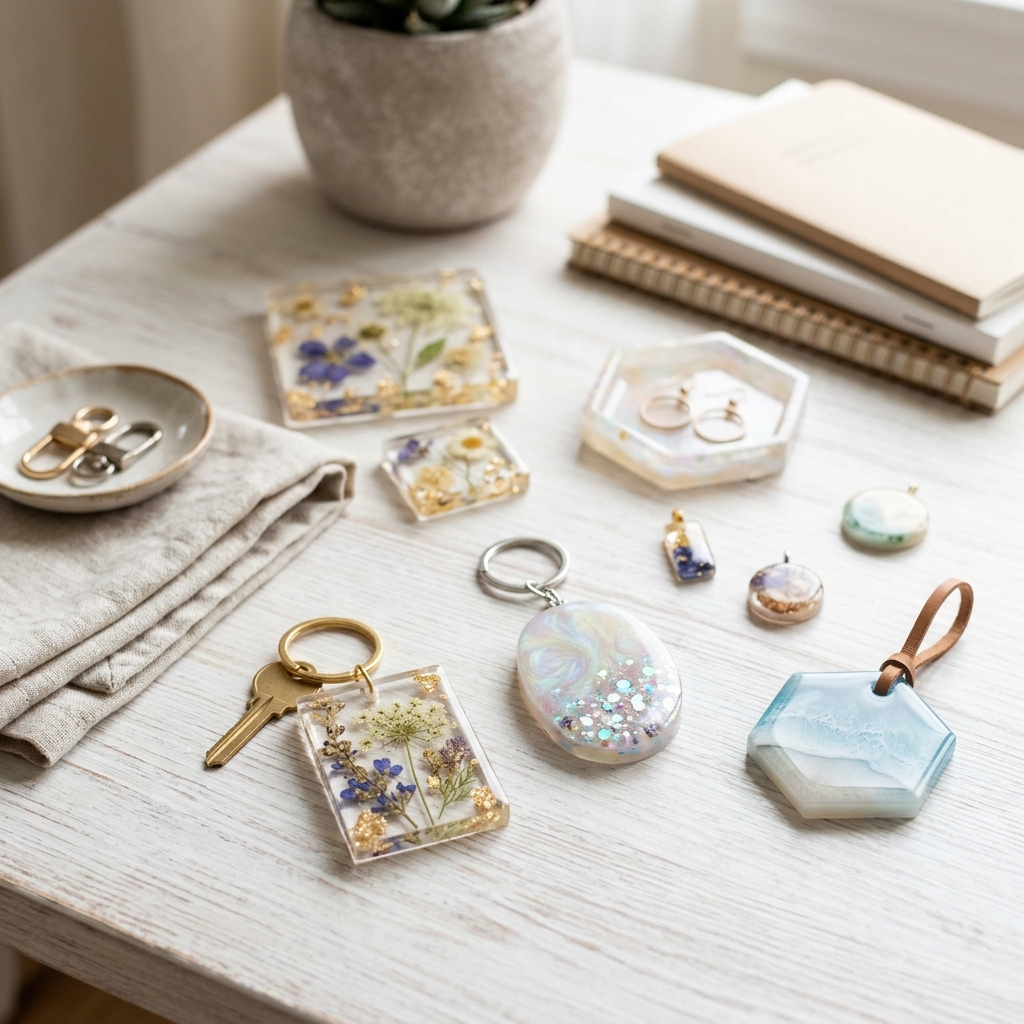
Creating stunning resin keychains becomes remarkably achievable when you have access to expert guidance from trusted crafting authorities. The curated resources we've selected represent years of professional experience and thousands of successful projects, condensed into clear, actionable instruction that eliminates guesswork and prevents costly mistakes.
By following these proven guides, you're not just learning a craft technique-you're gaining skills that open doors to endless creative possibilities. The confidence you build making these small treasures will naturally extend to larger resin projects, making this an investment in your overall crafting journey rather than just a single project tutorial.
At HowTo.Monster, we believe your time is valuable, which is why we've done the research to identify only the most reliable, comprehensive resources available. These expert guides will have you creating professional-quality resin keychains that friends and family will treasure, while building the foundation for a rewarding and potentially profitable crafting hobby.
Apparatus & Materials
| Item | Cost | |
|---|---|---|
| ◆ Craft Mixing Sticks Flat-sided wooden sticks for thorough mixing of resin and hardener components. | $2–$8 | Buy now |
| ◆ Graduated Mixing Cups Clear disposable cups with measurement lines for accurately measuring and mixing resin components. | $5–$15 | Buy now |
| ◆ Keychain Hardware Jump rings, eye screws, and key rings needed to complete functional keychains. | $3–$12 | Buy now |
| ◆ Safety Equipment Set Includes disposable gloves, respirator, and eye protection for safe handling of resin materials. | $12–$30 | Buy now |
| ◆ Silicone Keychain Molds Flexible non-stick molds in keychain shapes that allow easy removal of cured resin pieces. | $8–$20 | Buy now |
| ◆ Two-part Epoxy Resin Essential resin and hardener components that cure to create the keychain base. Mix in 1:1 ratio for proper curing. | $15–$40 | Buy now |
| Decorative Materials Alcohol ink, mica powder, glitter, or dried flowers for creating colorful and unique designs. | $10–$35 | Buy now |
| Heat Gun or Torch Tool for removing surface bubbles from poured resin to achieve smooth professional finish. | $15–$45 | Buy now |
Notes on the sources
The ranking at right reflects our editorial judgment after reading each source in full. For a summary of this entry in brief, see the source ranked first. For the chemistry and underlying principles, see the last.


